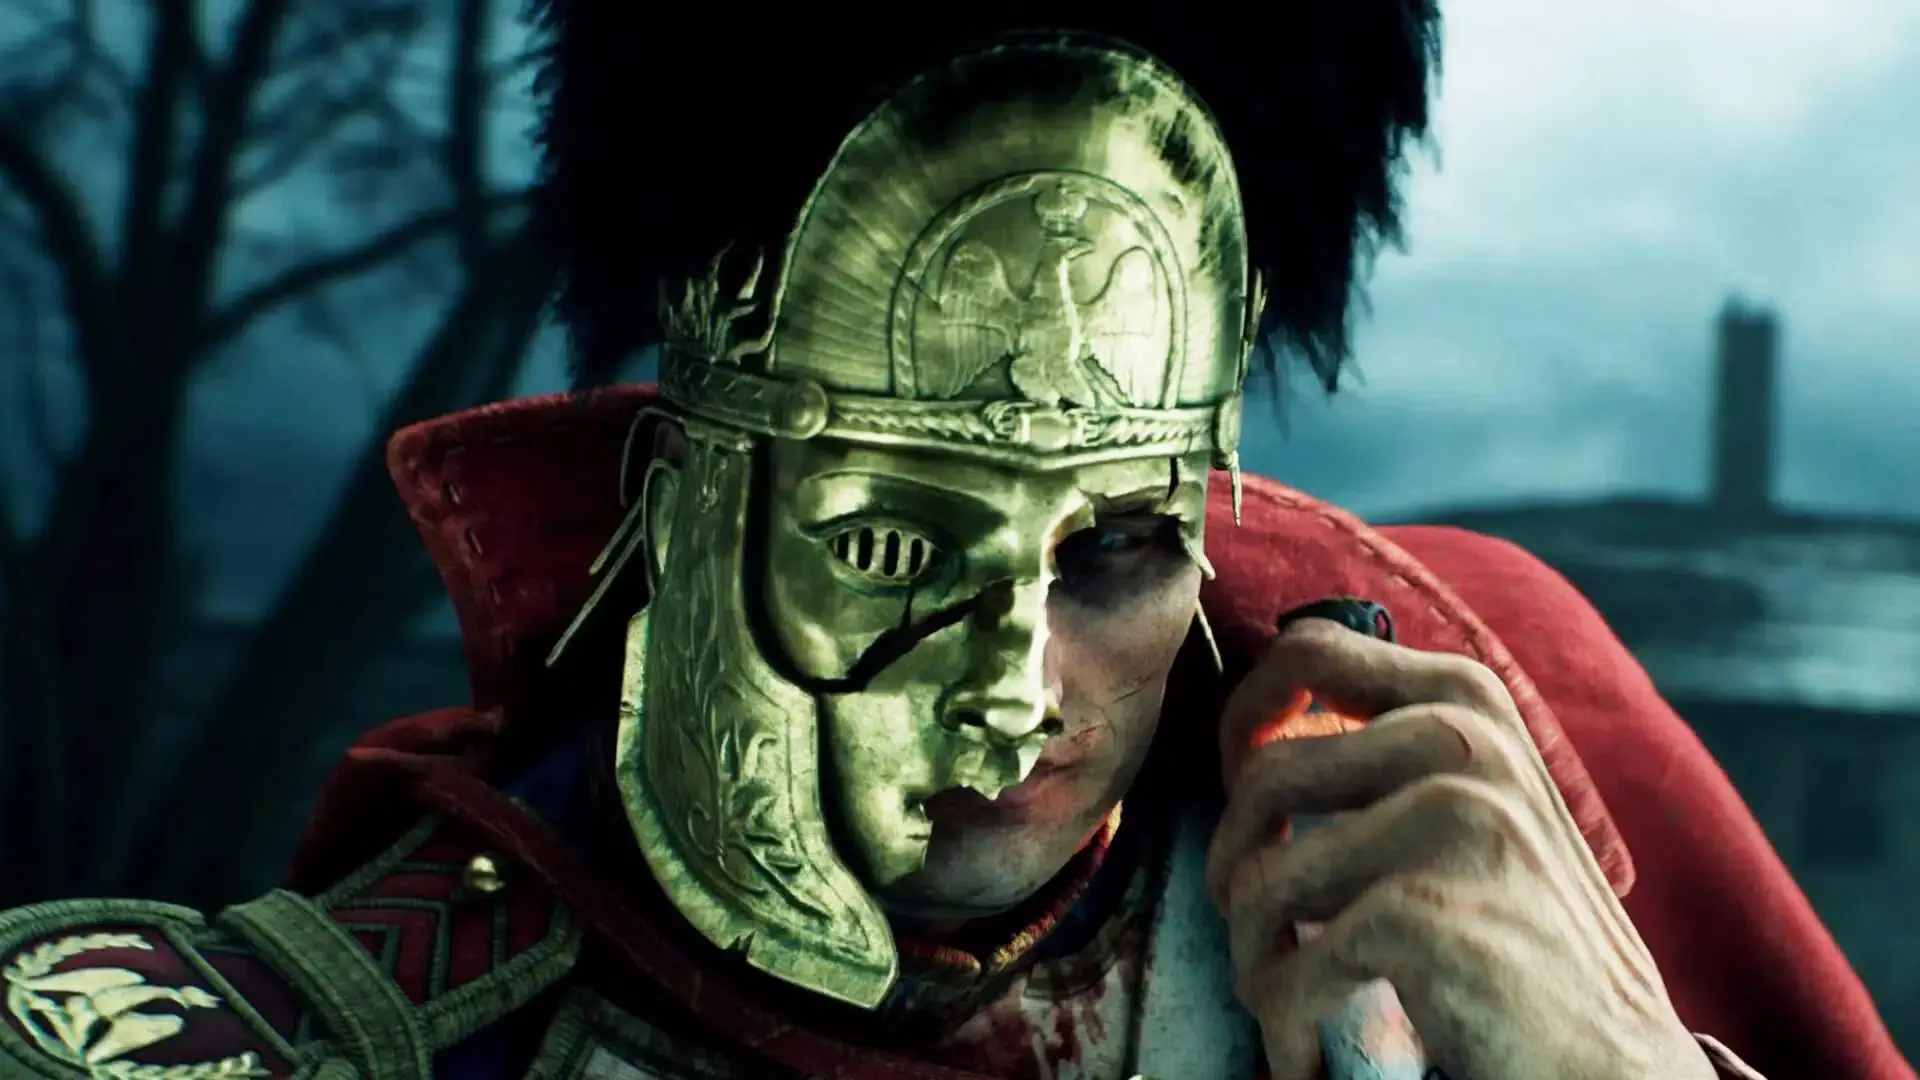
Side quests in Valor Mortis aren't always triggered in obvious ways. Some begin with conversations, others with letters you find or even an empty cradle. This guide covers all 24 side quests. We'll show you where to find them, which items you need to bring, and how to finish the longer questlines. We'll also help you collect seven emblems, find 17 children's drawings, and navigate the important choices so that one stray shot or hasty answer doesn't cost you a reward.
Most quests can be put aside and completed after the ending. If poisonous fog, an unreachable ledge, or some unusual barrier blocks your way, don't immediately start hunting for a hidden lever. You often need to unlock a new ability first. This is particularly true of The Emissary, The King of Smugglers, and The Oathbound. We recommend making a note of the nearest Lantern whenever you find a blocked side path. It'll be much easier to return once you have the right Transmutation.Pay special attention to these situations:
Complete The Choir and The Forgotten Fortune during the prison escape. You can't return there through normal fast travel.
Don't kill the parents in Mummy and Daddy. This quest calls for music and a little food, not weapons.
Your choice in Laudanum happens when you speak to the children. If you want the Amber associated with helping them, agree right away.
Try to finish the children's requests before the prison sequence. The Mice's attitude toward William matters in later encounters.
We've arranged the quests by the regions where you can start them. The lengthy questline involving seven guards is at the end, since it takes you through several regions and can't be finished on your first visit. If regular enemies are still giving you trouble, check our beginner's guide to leveling and combat first. Here, we'll focus on the side quests rather than retelling the entire campaign.
Guard Eternal - The Battlefield
This short story follows soldiers who were ordered to protect a mysterious shipment at any cost. In the opening region, find the Eternal Guard's Order, then follow the guards' trail to a blocked passage. Look for the documents around the Onslaught Arch Lantern. The closed road is just an intermediate step in the quest, not the end of it.Once you can continue, find and read the Fencer's Journal. It concludes the guards' story and reveals how little the soldiers knew about what they were protecting. Don't confuse this note with the quest to collect seven emblems. The Oathbound is a separate quest. There is no standalone item reward for Guard Eternal.
An Unheard Farewell - Valley of Ashes
Near the Guidepost Lantern, after the first Grenadier, listen for a voice coming from a suspended carriage. Speak to the adjutant and agree to find out what happened to his scouts. Head down beneath the ruined bridge, pick up the Pistol along the way, and reach the Lantern at The Climb. Shoot the red growths blocking the lift and explore the cave at the first stop on your way up.You'll find traces of the missing squad in the cave. Keep climbing until you can clear the upper section of the lift, then call the platform and ride it down. Jump off onto the side platform halfway down the shaft. Opposite the passage you visited earlier is a barrier you can burn away. The scouts' commander is waiting behind it, so prepare for a fight. After winning, collect the Letter to all Commanding Officers of the Line Infantry and check the nearby chest.Return to the adjutant using the shortcut with the ladder you can kick down. You'll receive the main Amber reward, Sleight of Hand, regardless of your answer, but an additional item depends on what you tell him:
Tell the truth. Rest at the Lantern, then return to the carriage for an Epic Catalyst Clot.
Lie. After resting, check the scouts' cave again. A consumable that lets you recover Catalysts lost on death will appear there.
Don't leave immediately after the conversation if you want the extra reward. Sleight of Hand is useful when handling firearms, and finishing this quest also unlocks a separate achievement.
The Emissary - Valley of Ashes
At the Lantern called The Other Side, inspect the carriage on the left, near the edge of the infested area. The Emissary's Seal on the table starts the quest. Poison blocks the path ahead, so feel free to leave this one for later. You'll need the Shield Transmutation, which you won't get until you reach the University much later. Trying to sprint through the fog through sheer stubbornness will only waste your time.Once you have the protection ability, return to the same Lantern, activate it, and cross the poisoned area to reach the camp. Pick up the note near the dead soldier and inspect the body among the growths in the center. This triggers a confrontation, so heal up first. Then shoot the weak point in the barrier on the carriage and follow the ghostly soldier that appears.At the end of the path, inspect the bloodstained red cloth near the blocked passage. Completing the quest gives you Sands of Time. Don't miss the chest inside the tent, either. It contains the Perfect Copy Amber. We explain how to equip these items and unlock additional slots in our Amber guide.
The Scarecrow - Fallen Village
From the Fields Lantern, head toward the field and follow the road to the right. Inspect the body tied to the scarecrow post. It's missing two belongings. Continue toward the barn, then take the right-hand path to the large tree. Pick up the Lover's Pendant from the body lying underneath it.In the next section of the fields, look for tall haystacks and a group of four enemies. Beyond them, climb the slope on the left to reach a house, then collect the Letter with a Drawing upstairs. Bring both items back to the scarecrow and follow the crows as they fly away. They'll lead you to another barn filled with exploding bodies. On the upper level, inspect the two pillows. This completes the quest, and its rewards include the Bountiful Harvest Amber.Image unavailable
Lullaby - Fallen Village
Near the Marketplace Lantern, find the house by the water where you can hear a baby crying. There's an empty cradle inside. Explore farther into the house and inspect the available interaction points to add the quest to your journal. Leave through the back door, deal with the enemies, and pick up the Weathered Key on the ground. The item you need is directly behind the house, not on the other side of the village.Head back along the route through the broken carriage where you found the Blunderbuss. On the road leading back to the previous part of the village, turn right after the tough soldier and reach the isolated house across the water. Open it with the key and take the Toy from the bed. All that's left is to place it in the first cradle. The crying will stop, and you'll receive the Tomorrow's Promise Amber.Image unavailable
Homesick - Caverns
After the Last Sunlight Lantern, find the memory of a worried mother. The Longing Wife Letter lies beside the spot where her apparition sits. Read it and continue into the large cavern full of enemies. There's a hole in the floor with a passage visible below. Drop down into it.In the next area, reach the chest near the Grenadier. Beyond his position, jump across the water to the boat and collect the Death Notice. Then return to the family's campsite where you found the first letter and wait for William to finish speaking. The quest will end, rewarding you with the Bottomless Well Amber.Image unavailable
The Lost Boy - Vale of Wrath
From the Wolfsbane Field Lantern, enter the house on the left along the main route. Mirek's Note is on a bench to your right. Grab it before exploring the nearby caves. After destroying the second weak point, reach the cave with a shortcut to the previous part of the area. Behind the spot where the miniboss stood, look for a slope leading into a separate passage.Image unavailableGo past the chest containing Blade Upgrade Material and pick up the Cellar Key beside a body. Return to the first house. There's a locked door to the right of the entrance, which you can now open. Read the note on the table inside to finish the story. Be sure to open the chest in the cellar, too. It contains the Wound that Heals Amber.
In the Name of Art - Vale of Wrath
From the Under the Bridge Lantern, follow the path to a house with a blocked front door. Go around the right side and shoot the weak point through the window. Enter the house, head upstairs, and inspect the painting to the right of the body. It'll move aside and reveal another weak point. Destroy it to gain access to the area beside the house.Pick up the Basement Key beside the grave at the top of the small hill. Return to the house, unlock the door at the back of the ground floor, and follow the basement passage while watching the memories. In the final room, collect the Painter's Final Letter in front of the body. Completing the quest rewards you with the Butcher's Carnage Amber. Once you're back outside, it's a good time to continue The Deserter, since the path to the apiary is nearby.
The Deserter - Vale of Wrath
First, collect the Wanted Notice from the building along the route from the Under the Bridge Lantern, after crossing the bridge. Then, from the exit of the painter's basement, turn right and use two grapple points. After the second one, defeat the guardsman to obtain the Beekeeper's Hut Key. Unlock the hut and read the Deserter's Diary.Now you need to find three Anubis Figurine Parts. The Beekeeper's Note outside warns that hives marked with red crosses are dangerous. Check the correct boxes, and aim at the small board near the entrance to each hive to interact with it, not the roof. The pieces are in these locations:Image unavailable
Near the Beekeeper's Hut. Look inside the square hive farthest from the house.
By the road covered in bodies. Continue toward the wooden barricades. There's another apiary on the right just before them. Check the square hive on the right.
Behind the first house in the settlement. Enter the house immediately on your right, leave through the back, and inspect the leftmost square hive in the group of three.
Once you collect the final piece, the figurine is assembled and the quest ends. Rewards include the Bountiful Harvest Amber and an achievement for completing The Deserter. You don't need to return to the Wanted Notice or wait there for another reward.
The King of Smugglers - Vale of Wrath and The Outskirts
It's easier to finish this questline once you've obtained the Shield Transmutation. From the Ship Graveyard Lantern, grapple back toward the village and turn right into the poisoned side passage. Make your way through it and cross the ship with the soldiers and flying enemies. After the wall-running section, climb onto the cargo and read the Cargo Manifest.Your next stop is the Harbour Lantern in The Outskirts. Cross the poisoned section to the side dock, pass through the ship, and descend into its hold. Defeat the miniboss, take the Harbour Residence Key, and return to the building near the poisoned passage. Read Crusty Benek's Journal upstairs, then open the nearby chest. You can get high-level firearm parts and the Butcher's Carnage Amber here.
Till Death - Cursed Hollow
After defeating the Bride, inspect the wreath on the altar at the far end of the arena. You can't finish this story yet because the wreath is missing a ribbon. Continue to the Village Church and, after obtaining the Claymore, leave through the back. On the right, find a memory and a grave containing the Red Ribbon.Image unavailableTake the ribbon back to the wreath in the Bride's arena. This step rewards you with the Tomorrow's Promise Amber, but you're not quite done. Rest at a Lantern, return to the altar, and interact with the wreath again. This second visit completes the questline and gives you an additional consumable.
Sleeping Beauty - Cursed Hollow
From the Village Church Lantern, head through the village toward the large tree. Turn right before reaching it, crouch under the fence, and make your way through the building to a tiny island with a shrine. Collect the Headman's Daughter's Prayer. Then explore the neighboring area. The miniboss in the building's second room drops the Headman's Key.Return to the locked house, open it, and go upstairs. Read the note on the table to the right, then inspect the spinning wheel. Your choice here determines the girl's fate:
Wake her up. The girl transforms into a monster, and you'll have to fight her. Prepare before interacting with the spinning wheel.
Let her sleep. The story ends without this fight.
You can obtain the Distilled Transmutation Material either way. If you want to understand what's happening first, read the diary in the room before making your decision. The spinning wheel isn't going anywhere, so there's really no reason to rush this choice.
The Curious Case of Seamus Diggory - Cursed Hollow
From the Silent Cannons Lantern, cross the river using the platforms. At the enemy with the cannon, turn right toward the wall-running section and reach the house. Speak to Seamus through the window. He'll give you an Empty Bottle and ask you to bring him blood. It's worth searching the area at this point rather than immediately running back with the first thing you find.Near the miniboss arena, inspect the pig lying on the ground to fill the bottle with blood. In the shed with the hanging animals, collect the Bottle of Wine from a barrel. Now return to the window and decide what to offer Seamus. Wine lets you go along with his view of himself, while blood leads to a different conversation. Both choices give you the main reward, a Ferrofluid Flask Power Upgrade, as well as the achievement for completing the story.
The Shrike's Anthem - The Outskirts
Beyond the Island of Whispers Lantern, pick up the Torn Page with Shrike's Anthem beside the wooden shrine. You need to recover four missing parts of the song. The children recite them from their hiding places, so listening for voices is more useful here than staring at the ground. Follow this route:
To the left of the shrine, head between the buildings, keep to the left, and break the boxes near the entrance. Climb onto the ledge inside and talk to the children at their burrow.
Cross the bridge and enter the barn on the left. Keep left again, crouch through the hole in the wall, and find the next burrow.
Go upstairs in the same building and leave through the other side. Near the water, find the house with the white marking, jump across it to the attic of the neighboring building, and speak to the children.
Reach the barn with the shortcut door, where you have to climb through the middle. To the right of the main route, cross the beams to find the final burrow.
Once you've collected every part, the anthem will be restored and you'll receive a Tiny Whisker Gift. It's best to finish this request before the prison section. You'll meet more children along the way, and not every conversation with them is just background dialogue.
Laudanum - The Outskirts
Around the Island of Whispers, after the children speak to you again, follow the street toward the weak point that opens a shortcut back to the Lantern. Before reaching it, interact with the brown door on the right. A woman inside will ask for medicine. Then go around the left side of the building and speak to the children through another wooden door.If you want to help the children, agree to their request. They'll give you a Poison-Filled Bottle. Your decision is locked in during this conversation, not when you deliver the medicine at the end. Don't refuse just to see the next line of dialogue, because you may not be able to restart the conversation.From the Market Square Lantern, cross the poisoned area to reach the house. Go upstairs, find the opening in the floor directly ahead, and drop into the bedroom. Pick up the Laudanum. If you agreed to help the children, it will be poisoned. Return to the first door and hand over the medicine.Image unavailableRest at a Lantern, then return to the house to finish the events of your chosen path. If you deliver the poisoned medicine, the woman dies and the children get a chance to escape. Giving her the regular medicine leads to a different, grim outcome. You receive the Potent Concoction Amber regardless of the outcome. The achievement for completing the quest doesn't require a particular ending.
Bedtime Stories - City of Orphans
From the Tribunal Square Lantern, go through the burning tunnel and immediately climb the stairs ahead. Speak to the two children at their burrow and offer to help. They're looking for a storybook they left in the neighboring building. Look for the entrance marked with the Shrike's symbol.Inside, make your way to the upper floor and the large room with a trapdoor. Drop into the basement and pick up the book from a shelf, then return to the children using the shortcut you can open. After handing it over, choose to read them a story. You'll get two Tiny Whisker Gifts instead of one. In a world full of monsters, sometimes it's worth spending a minute on something that isn't another monster.
Misericorde - City of Orphans
After the Shamble Street Lantern, look to the left near the stairs leading up to a shortcut gate. You'll find a soldier tied to a wooden structure. Talk to him and listen to his request. Don't shoot him right away. First, search the nearby buildings and find the intended way to interact with him.Climb to the top floor of the neighboring house, go outside, and reach a position where you can see the weak point in the attic. Shoot it, then head back down to the soldier. Finish the conversation and decide his fate. Rewards include a Remnant's Return, a consumable that recovers Catalysts lost on death. Ending his suffering also rewards you with Catalysts.
Afraid of the Dark - City of Orphans
During your conversations with the Mice in the city, listen to their request to light up the sewers. The children are afraid of the dark passageways, and you can help without hunting for a rare key in another region. Once you enter the sewers, light every unlit torch, carefully checking the side passages. If the quest is still active, you've missed at least one.The important reward here is improving the children's attitude toward William. You won't get a separate Amber for helping them. It's best to finish this task while exploring the lower tunnels for the drawings and the parents' quest. That way, you won't have to head all the way back for one dark corner after you've already said your mental goodbyes to the sewers.
Mummy and Daddy - City of Orphans
At the Sewers Lantern, talk to the children in the burrow behind the ladder on the opposite side of the passage. They'll give you Cheese and ask you to feed their parents. Follow the main path downward until you reach the chest containing the Sewers Key. Burn the golden vines on the left, then speak to the children again in the next room.The parents are in the cell on the right. Don't attack them. Killing them fails the request and costs you the reward. Instead of fighting, enter the room to the right of the cell, break the boxes, and crouch through the opening you reveal. In the small room, activate the music box on the floor.While the music plays, return to the cell, open the door, and put the Cheese on the plate. Then talk to the children through their burrow again. For the peaceful solution, you'll get a Tiny Whisker Gift and Catalysts, and the Mice will remember your help. You can leave your weapons out of the plan entirely. This quest doesn't require you to defeat the parents.Image unavailable
Monster Hunt - All 17 Drawings in the City of Orphans
The quest starts when you collect the first child's drawing. There's no special hunter to give you a contract. Simply take the picture near the Tribunal Square Lantern. All 17 drawings are in the city and sewers, and collecting the last one automatically completes the quest. Check your journal entries as you go. The collection order doesn't matter, only getting the full set.
Drawings Near Tribunal Square
Start with four pictures around the first Lantern:
Lancer. On a tree immediately beside the Tribunal Square Lantern.
Risen Soldier. On the wall by the river, around the corner from the children's burrow. From the square with the guillotine, head down the street, then look for stairs leading to the water.
Howler. Go through the burning tunnel, turn left, and check the small dead end on the right.
Volunteer. In the building with boxes in the first room. Look to the left of the sloping ramp to the second floor.
Image unavailable
Drawings Near Shamble Street
Collect eight more pictures in the next part of the city:
Eternal Guard. After exiting the building where you found the previous picture, turn toward the burning area, then left again. The drawing is in a recess in the wall.
General Lothaire. On the crates in a cart near the entrance to the next burning tunnel.
Sapeur. In the house with the barriers you can control. From the room where the two ranged enemies stood, drop through the opening on the right and quickly escape the poisoned section. The drawing is on the wall of the next large room.
Slaughtermill. After grappling across the courtyard, don't go down the stairs. Enter the room on the right and check inside the cabinet.
Swarm Mother. Climb to the top of the house near the soldier from Misericorde. As soon as you step onto the balcony, turn right.
Shambling Civilians. Near the slope leading to the next burning passage, check the small area with stairs on the left. The drawing is attached to a pillar.
Remnant of the Iron Regiment. On a pillar next to the building beyond the large square with the tower. Go around its front right corner.
Sphinx. Climb the tower, ride the zipline down, and go around the sewer building on the right. The drawing is at the end of the passage.
Drawings in the Sewers
The final five pictures are in the lower passageways:
Grenadier. In the open room with a creature hanging from the ceiling. Jump to the other side and check the wall on the right.
Carrion. At the fork, go right beneath the boards, use the grapple point, and reach the ladder near the shortcut to the Lantern. Descend into the poisoned lower area. The drawing hangs on the right beside a wooden walkway.
Unknown Monstrosity. In the circular room, unlock the side door with the Sewers Key. Grapple to the opposite side and turn right into the dead end by the barred gate.
Abomination. Continue along this path until you reach the fork before the round tunnel. Check the wall on the left.
Unknown Figure. Keep going until you reach the exit outside. At the edge of the platform by the water, turn right around the corner. The final picture is on the wall.
Your reward for completing the set is Quintessential Transmutation Material and the Monster Hunt achievement. You don't need to defeat every pictured enemy again. This is a scavenger hunt, not a contract to kill 17 monsters.
Two Towers - Fortress
Near the Main Gate Lantern, read the Curfew Notice. It explains that the local gates are connected to signal pyres. You need to climb both towers and light two signal fires. The order doesn't matter, as long as both are burning.Once that's done, return to the newly opened passage near the Traverse Lantern. There's no separate reward for the journal entry, but you'll find a chest containing high-level Transmutation Material immediately to the left of the gate. Don't overlook it just because the tower objective is already complete.
The Choir - Napoleon's Prison
Finish this questline before you leave the prison for good. During the escape, search the room on the left with a musical instrument. You'll find Prison Warden's Journal - Part One on the table. Climb to the large hall with patrolling soldiers and beams beneath the ceiling, then inspect the locked door at the end of the long corridor. If exploring without weapons is too awkward, you can recover your equipment first.Next, collect the documents and key in this order:
Prison Warden's Journal - Part Two. On a table in the small room near where you find the Armoury Key.
Key to the Chapel. On a table in a side room containing a memory, across the upper floor.
Letter to Headquarters - A List of Deceased Prisoners. Behind the bodies inside the chapel you just unlocked.
Continue escaping with the letter. After you leave the sewers and reach the city, inspect the board right beside the Lantern and pin the document to it. Only then will The Choir be marked as complete. You'll receive a Remnant's Return consumable as a reward.
The Forgotten Fortune - Napoleon's Prison
This is another quest you should finish before leaving the prison. Find the locked cell with a conspicuous item inside, then search the neighboring cells. The Prisoner's Note asks someone to burn the body of a hanged prisoner, which tells you where to look for a way to open the door. Don't waste time trying regular keys from other parts of the prison.Use fire on the indicated body and pick up the Silver Lockpick it reveals. Take it back to the locked cell, open the door, and collect the treasure. The sequence is simple: note, body, lockpick, cell. Before leaving, make sure you've actually picked up the item inside, not just opened the bars.
The Oathbound - Seven Eternal Guard Emblems
The longest side quest on this list begins when you defeat one of the special guardsmen. Each one leaves behind an Emblem and a Mysterious Stone Pyramid. You'll need to find all seven enemies across different regions to open a secret chamber in the Fortress. You don't have to encounter them in a specific order.Some of the routes only become accessible after unlocking new abilities, so don't try to finish the whole questline at the beginning. The blocked passage on the Battlefield requires a firearm, some ledges require the grapple ability, and the poisoned area in the city requires the Shield Transmutation. If you're having trouble winning the duels, our guide to parrying and counterattacks should help.
Where to Find All Seven Guardsmen
Visit the following locations and collect an Emblem from each enemy:
Valen Duroc - The Battlefield, Onslaught Arch. Turn around at the Lantern, climb back up the cliffs, and continue past the camp to the fork with enemies. On the left, shoot the weak point in the wall. The guardsman waits behind the newly opened passage.
Lucien Lafontaine - Valley of Ashes, Demolished Path. From the spot where you kick down the shortcut ladder, descend along the overgrown path. Behind the group of three enemies, take the left branch.
Jean Pierre Polnaire - Caverns, Old Mine. In the next area, use the crate suspended from a crane to cross to the other side. Climb the ladder, then use the crate to reach the upper platform. A separate cave with the guardsman is at the end of the path.
Etienne Vauclair - Fallen Village, Marketplace. Head back through the carriage and turn left at the fork. Once you can interact with the special Nephtoglobin structures, follow this branch to the cave.
Severin Susse - Cursed Hollow, Deep Water. On the long stretch before the church, look for the circular area with a hay bale and an enemy carrying a cannon. Go around the hay on the right-hand island. The guardsman is standing beside a building.
Adrien Cassell - City of Orphans, Shamble Street. Go through the large shortcut gate toward the river, then turn left toward the slope with two tall enemies. At the bottom, cross the poisoned area on the left using your protection ability, climb into the house, and shoot the weak point. The guardsman waits at the end of the side path.
Bastien Beaufort - Fortress, Courtyard. Follow the corridor beneath the hanging banner and turn left in the large room. Defeat the monstrous guardsman, then inspect the body he leaves behind. You only receive the required quest items after this interaction.
How to Open the Secret Chamber and Finish the Quest
After collecting every Emblem, you'll receive the Mysterious Stone Slab. Return to the room in the Fortress where you fought Bastien and inspect the opposite side. Look for the Oathbound symbol on the wall and use the slab to open the passage. Inside, read the The Codex of the Oathbound on the table. That's the final action needed to complete the quest.Image unavailableSearch both chests in the chamber. One contains an Empty Ferrofluid Flask, while the other holds Quintessential Blade Material. The questline also unlocks its own achievement. If the wall doesn't respond, count your Emblems and check the final guardsman's body again. Defeating an enemy and collecting his quest item aren't always the same thing here.