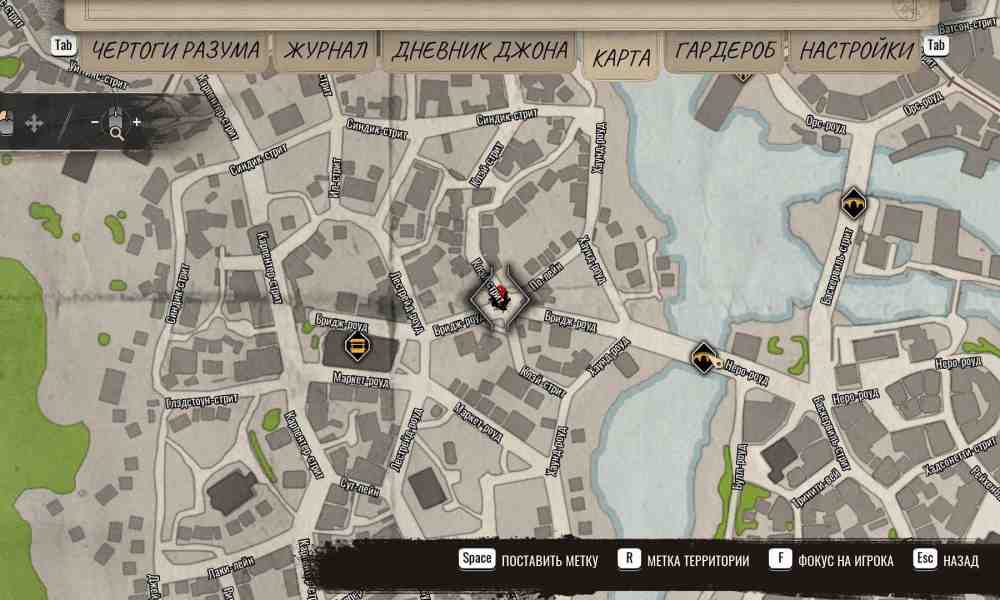
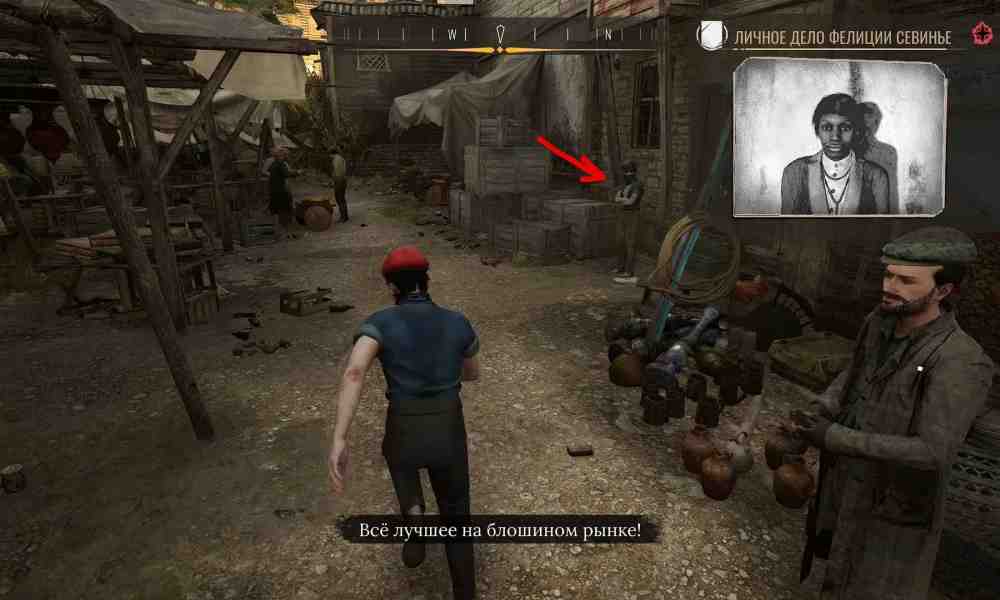
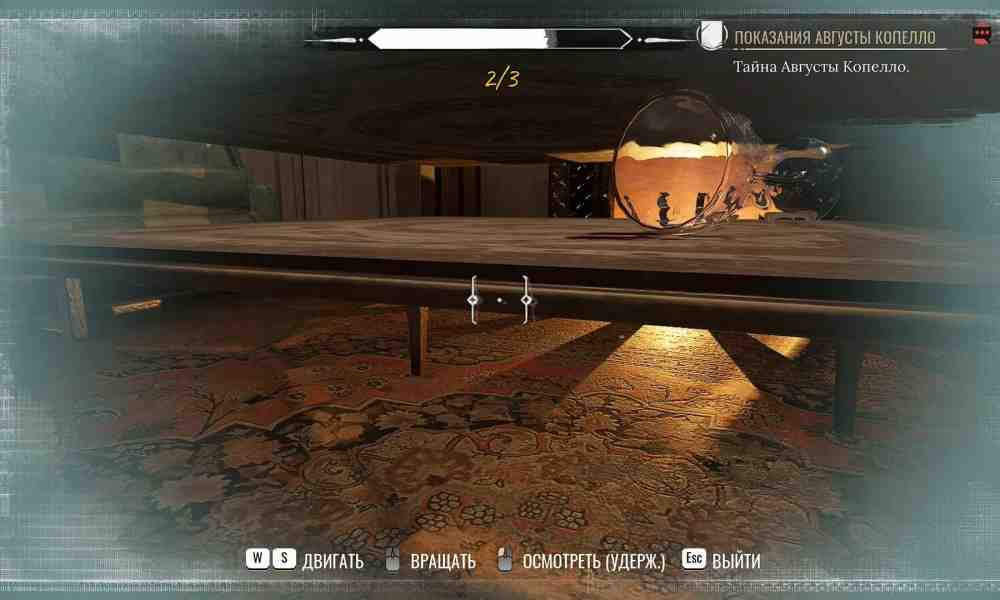
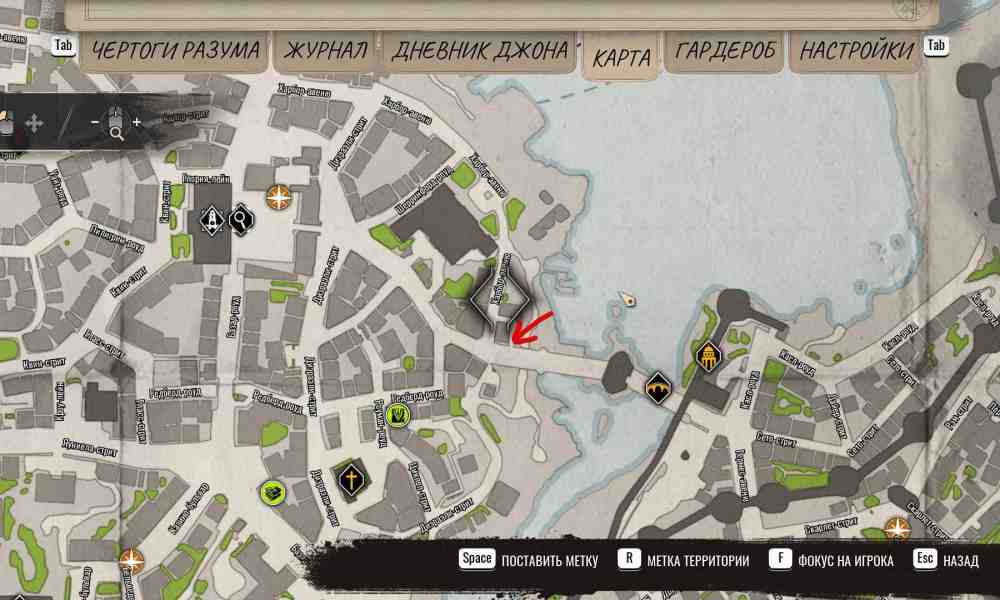
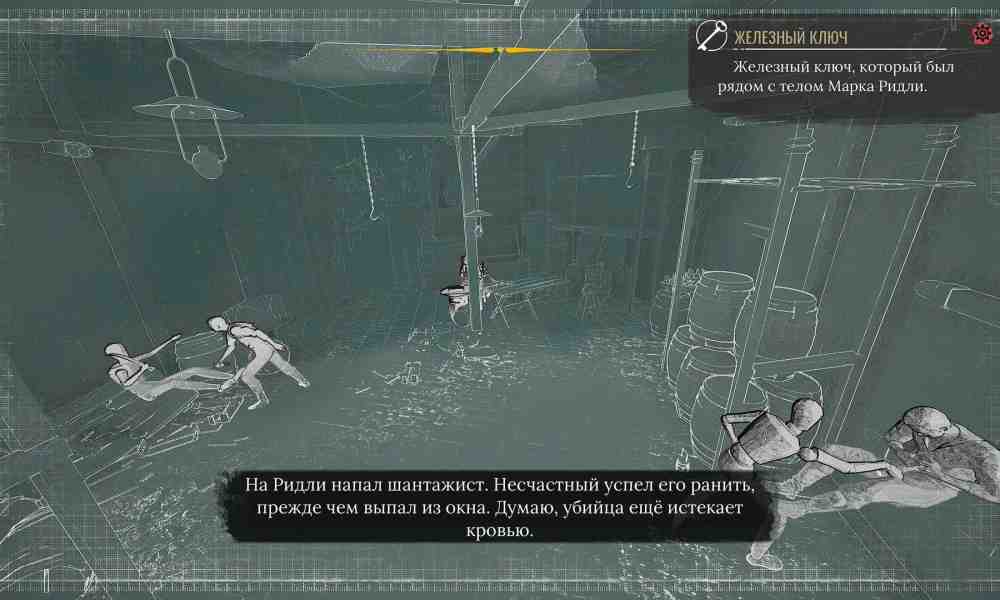
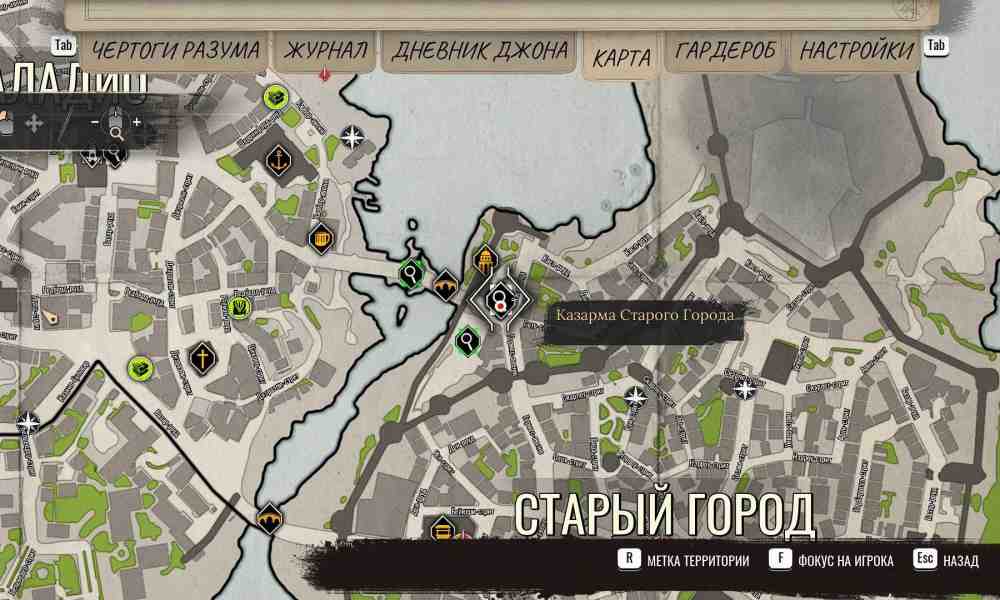
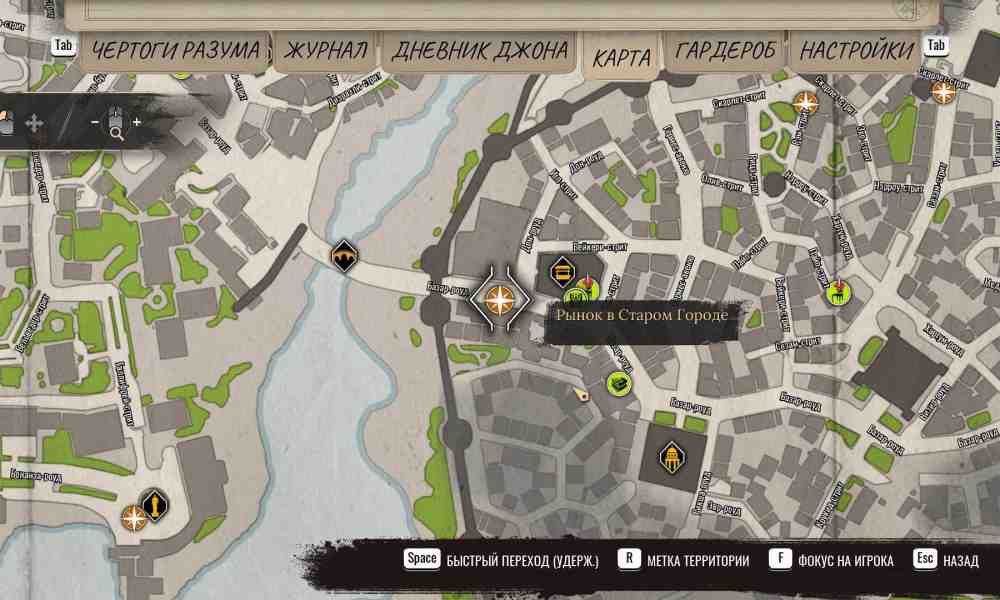
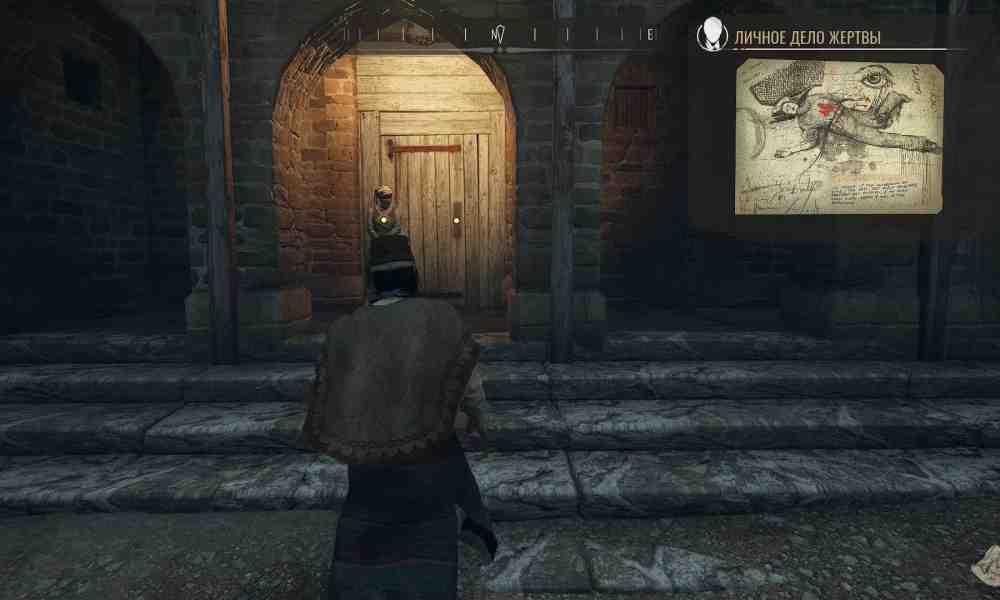
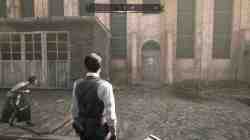
The story of Sherlock Holmes Chapter One follows a much younger Sherlock Holmes as he returns to his childhood home on Cordona to uncover the disturbing truth behind his mother's death. I have put together a detailed walkthrough covering the main story, investigations, clues, optional cases, and collectibles. I have also completed the sections that were missing from the original guide, but kept those additions more concise so the walkthrough does not turn into an endless checklist.
Tips
If we get stuck during an investigation, first make sure the clue we actually need is pinned in the Casebook. Without the correct evidence pinned, some interactive objects, traces, or dialogue options simply will not appear.
No new clues are appearing for Sherlock's story? It may be time to do something else. Explore Cordona, pick up another case, or complete one of the available side investigations. Several story steps only open after other cases are finished.
Jon is Sherlock's imaginary friend. We can argue with him and either win or lose his challenges. Jon does not like it when Sherlock wastes time, pesters random people without reason, or behaves cruelly. His attitude toward Sherlock can be followed through the Casebook and Jon Challenges.
During combat, try to arrest enemies instead of killing them. Most bandits have weak points or environmental objects we can shoot first. Stun them, run up, and perform a takedown. This is also important for several Jon Challenges and achievements.
My Story: A Mother's Love
This is the main story case. We will return to it again and again until the end of the game.
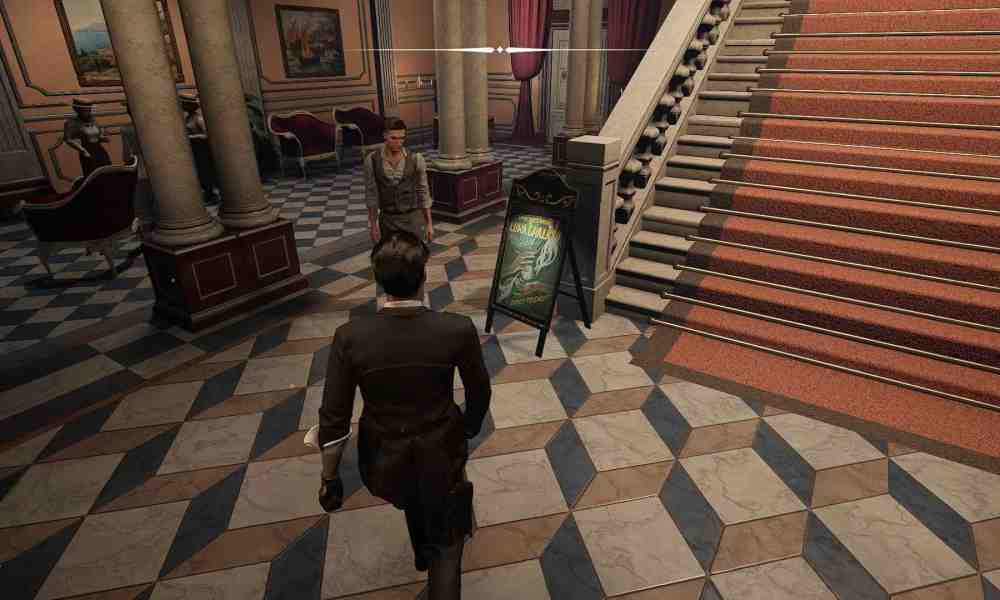
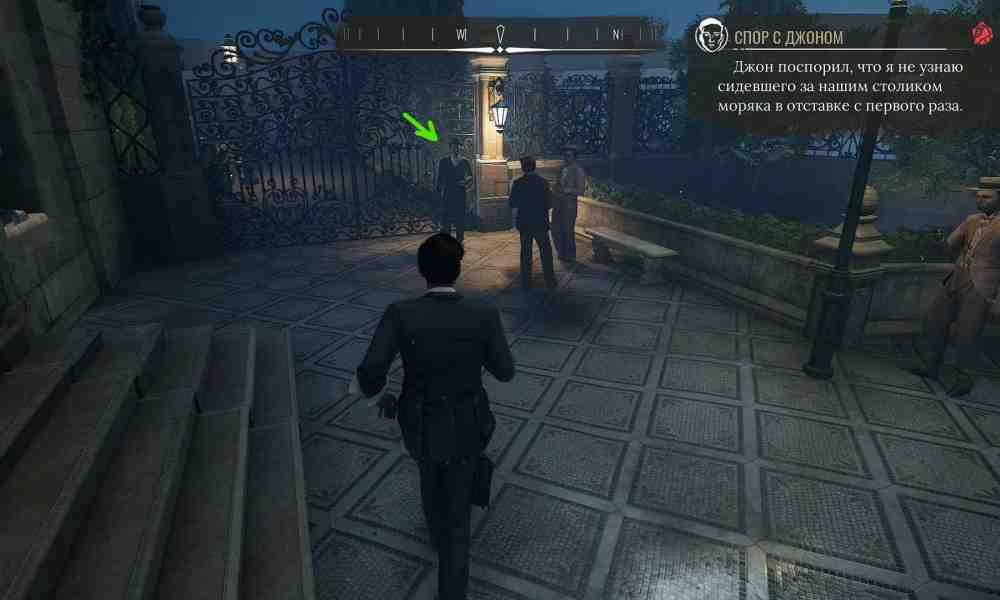
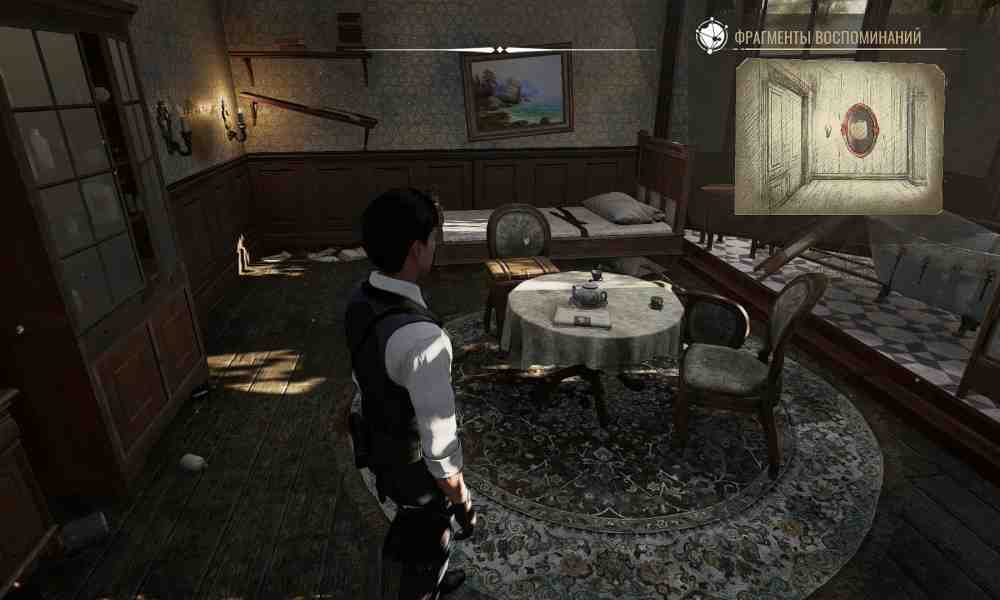
We arrive in Sherlock's hometown with his imaginary friend Jon. Take the room key from the receptionist, walk through the bar, and head upstairs. The room is not ready yet, so go back down to the restaurant and talk to the bartender. Examine the advertisement to the left of the stairs, take the plate from the bar counter, and sit down at the table.Image unavailableTalk to Jon and inspect the walking cane left on the table by another guest. There are three inspection points. Jon challenges us to identify the owner without asking around too much. Open the Casebook, select The Lost Cane, and pin it. The clue will appear in the upper-right corner of the screen. Leave through the main entrance, turn left, and inspect the man in the dark suit.Image unavailableReturn to the restaurant and find the only door to the left of the staircase on the first floor. Open it and watch the cutscene. Observe Lord Craven and choose his profile:
Bored British aristocrat.
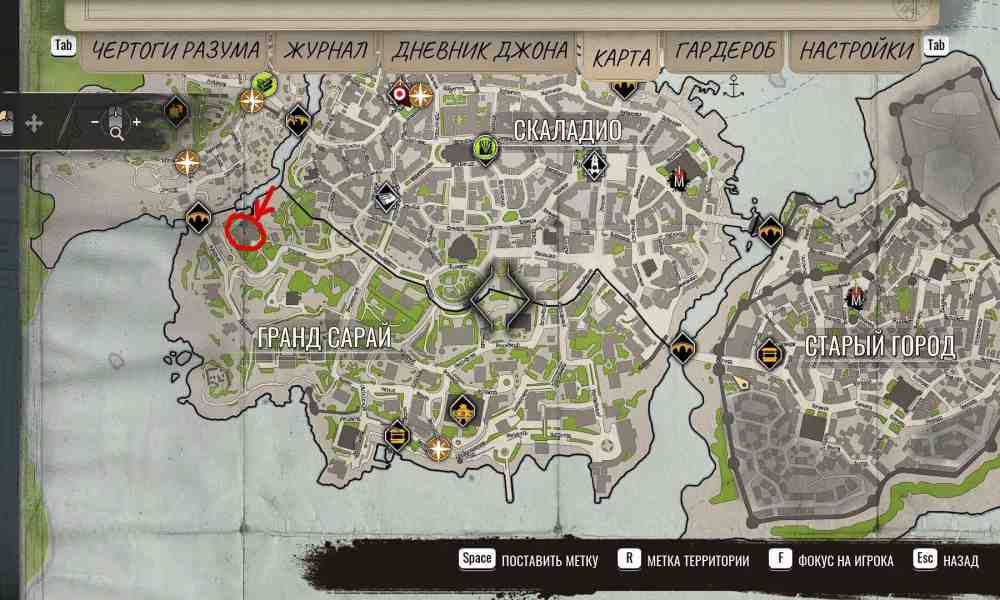
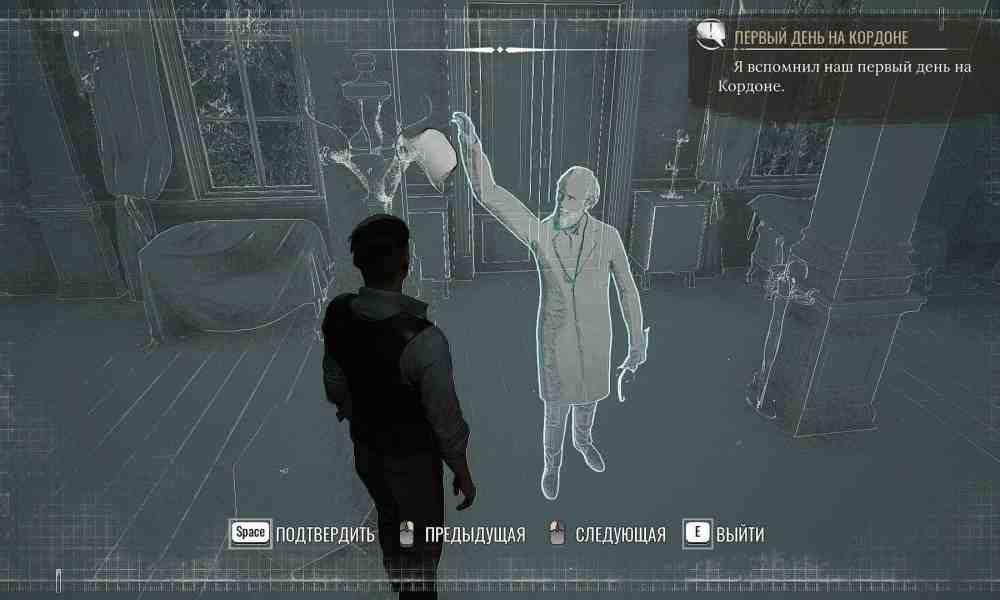
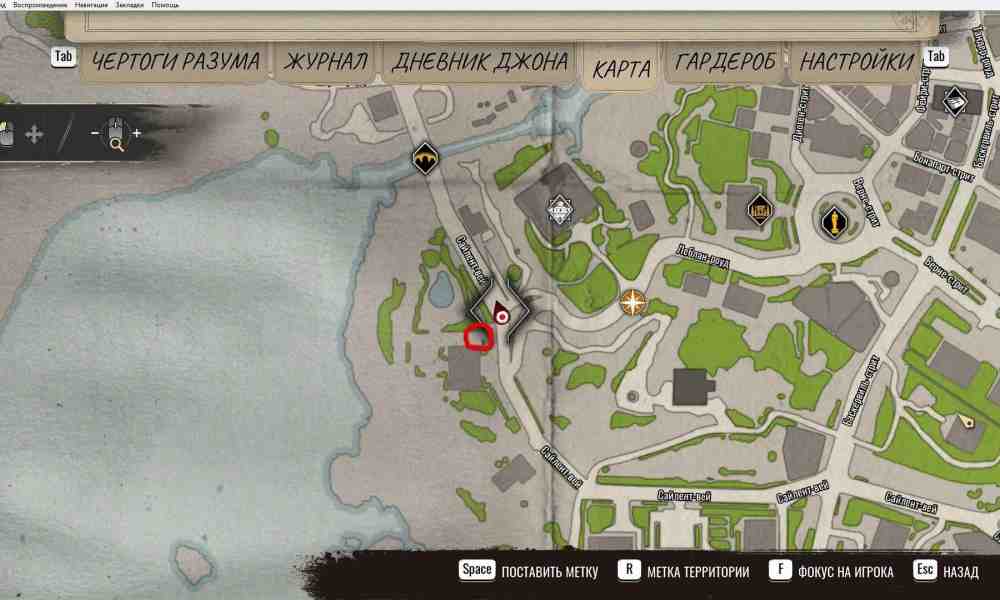
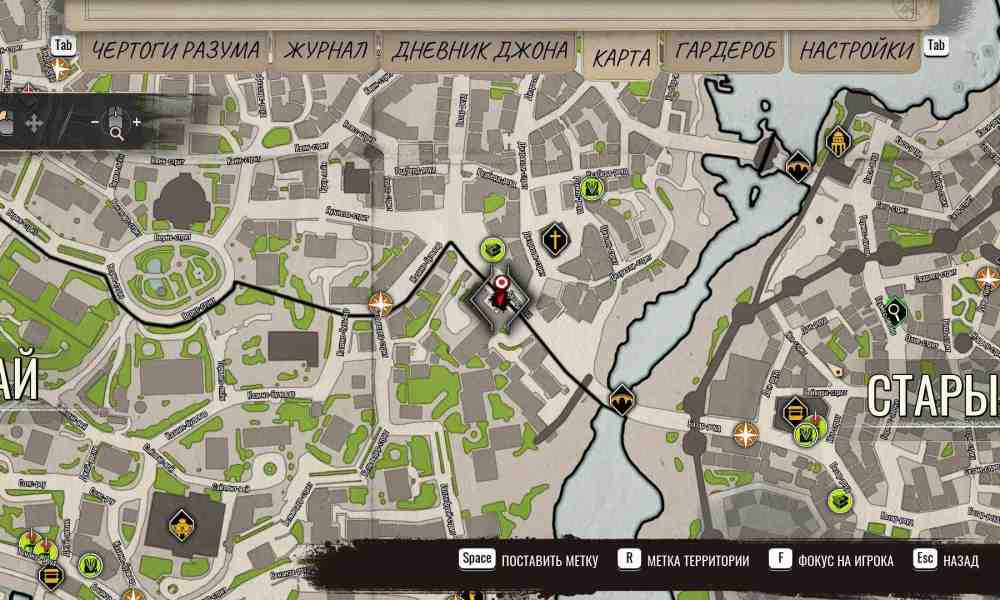
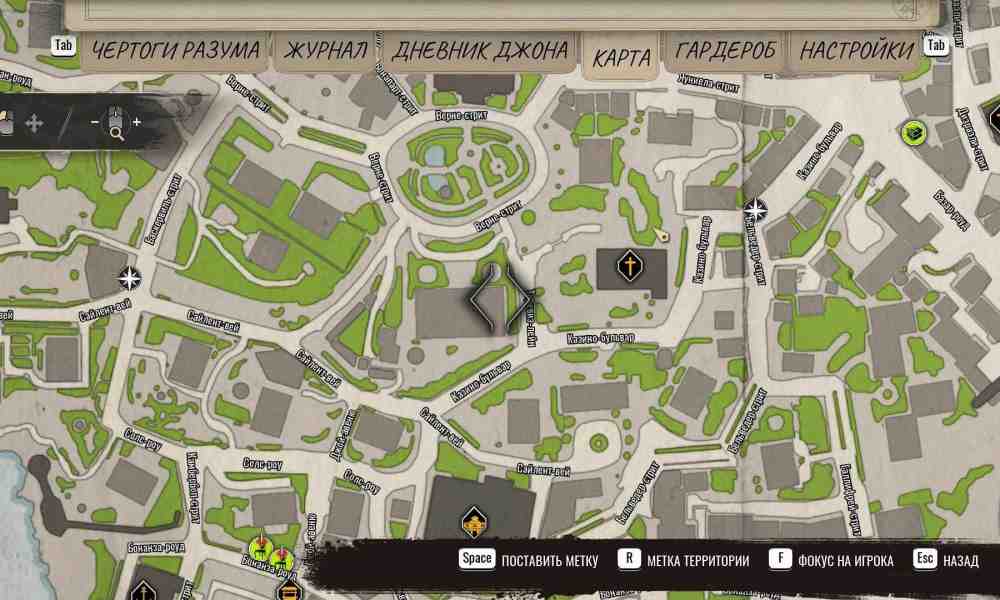
This starts a new case, Ghosts of the Past.We continue A Mother's Love after completing The Master of Disguise. This gives us access to the Police Archive, and Sherlock remembers the manor where he lived as a child. Stonewood Manor is in Grand Saray, near the Greek Bridge. Find the estate on the map and head there.Image unavailableInspect all interactive objects in the courtyard, use Concentration, and recall the events of the past. Enter the house and examine the umbrella, coat rack, Mycroft's table, and the staircase railing. Reconstruct the memory:
Mycroft is dealing with the luggage.
Sherlock is helping his mother up the stairs.
The doctor is standing near the entrance.
Image unavailableOnce we reconstruct the scene correctly, the door to Sherlock's childhood bedroom opens upstairs. Go in and inspect everything:
The improvised laboratory.
The books and newspaper on the desk.
The wooden handle under the newspaper.
The balloon to the right of the bed.
The toys in the chest.
The picture of a criminal and a dog.
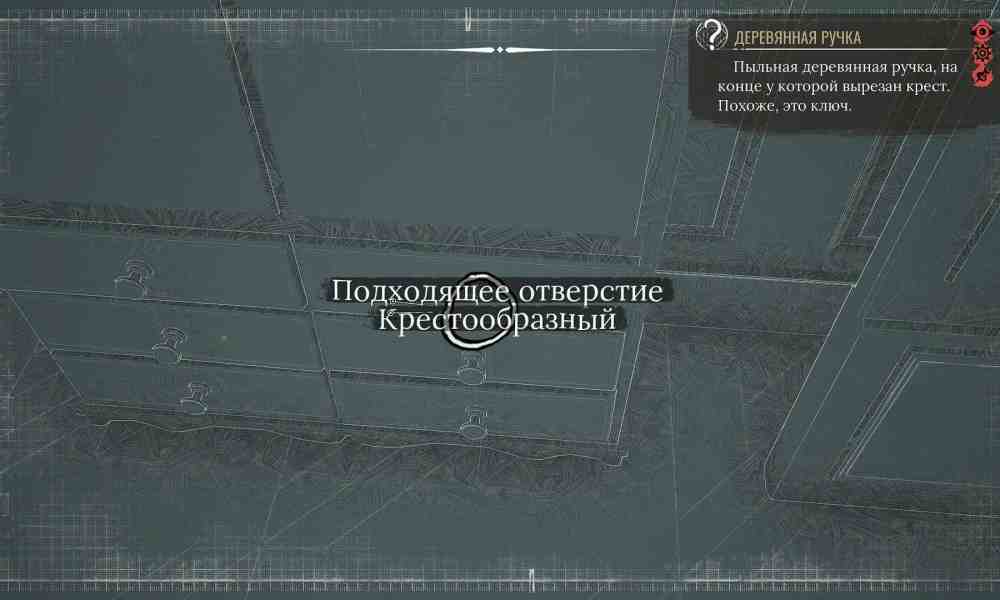
To complete Jon's challenge and find the hidden compartment, pin the Wooden Handle clue and use Concentration near the cabinet. Inside we find Sherlock's father's old pipe.Image unavailableThe clue Looking for a Family Friend appears in the Casebook. Leave the manor and run down the street to the right. Turn left at the intersection. We will see a crowd and a broken gate. Enter the property and examine the body of the dead neighbor. This begins the new main case A Gilded Cage.We return to Stonewood Manor after finishing A Gilded Cage and receiving new information from the dead neighbor's daughter.Go upstairs. Near the locked room with the mirror, use Concentration and follow the fragmented memory.Image unavailableEnter Violet Holmes' room and inspect all the clues:
The medicine cabinet.
The drawings to the left of the bed.
The restraints on the bed.
The case on the chair, including the tools and the bottle that can be chemically analyzed.
The newspaper and note on the table.
The tea set and sedative bottle by the window.
The letter to Siger in the drawer near the window.
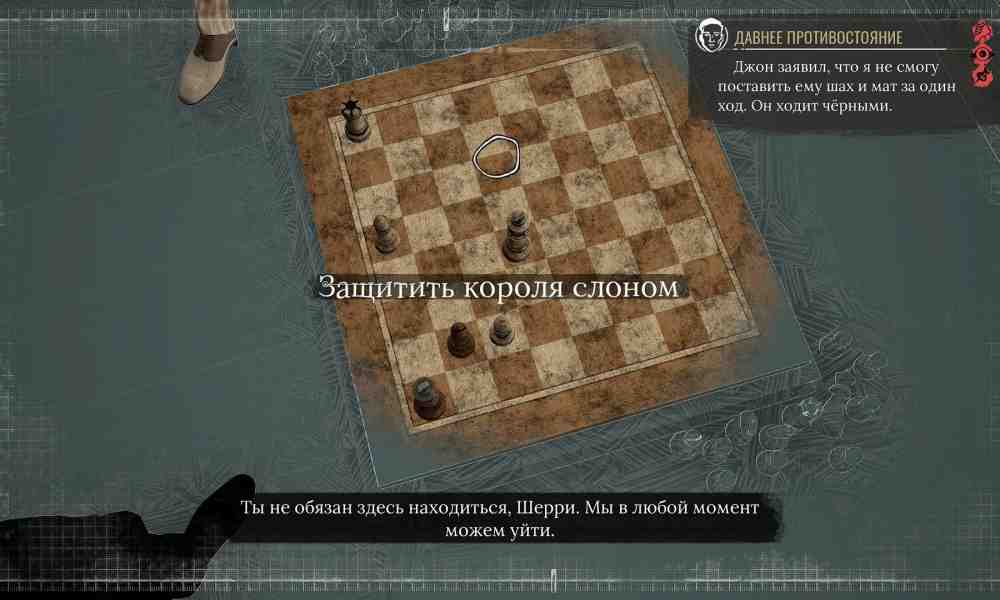
The chessboard near the entrance.
To complete Jon's challenge, use the move Protect the King with the Bishop on the chessboard.Image unavailableInspect the painting near the entrance and pin the clue Morning Mania. Three new points can now be examined:
The broken dish.
The overturned table.
The tray on the floor by the window.
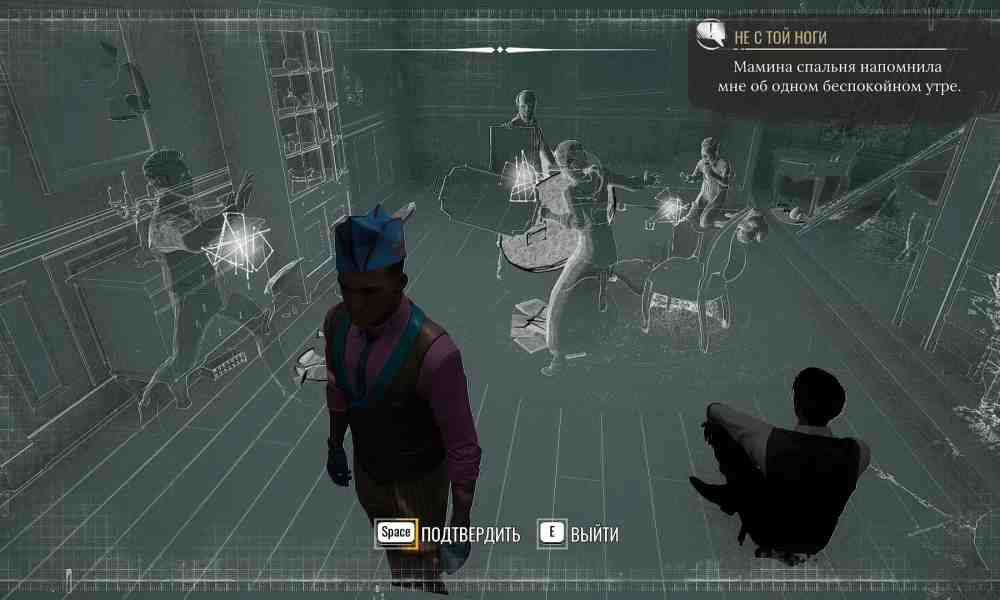
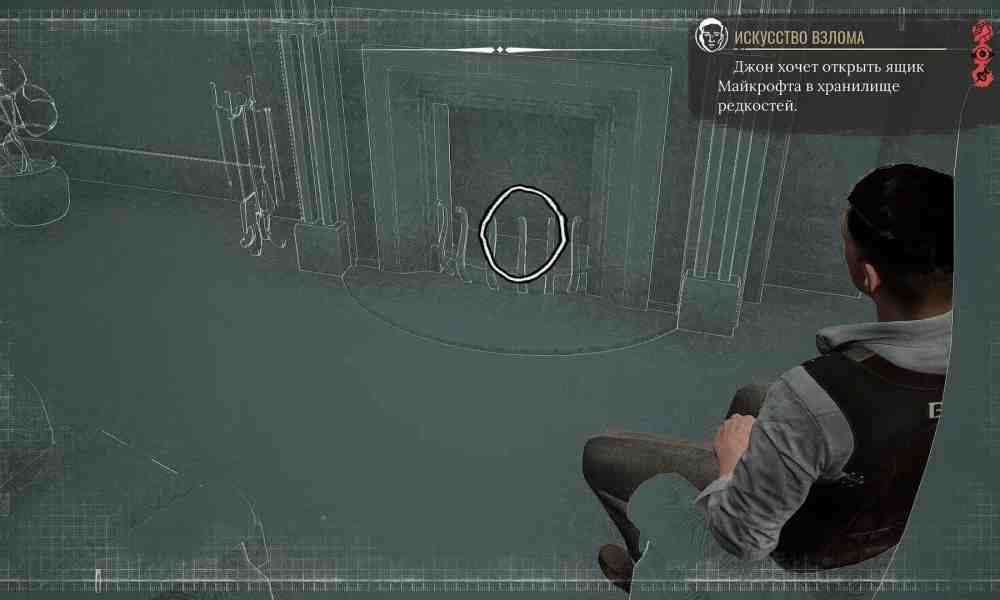
Reconstruct the events:Image unavailableWe receive new clues. During the conversation with Jon, choose I have to continue. Someone will knock at the door, starting the next main case, The Muse From Abroad.Finish The Muse From Abroad, receive Vogel's gift, and return to Stonewood Manor. Mycroft's agent is waiting near the gate, and Mycroft himself appears later. Inspect Vogel's parcel and enter the house. Reconstruct the memory and examine the Cabinet of Curiosities. To complete Jon's challenge, inspect the desk and discover the locked drawer.Image unavailableActivate Concentration, leave the room, and run upstairs. Inspect the painting on the left and then the fireplace. The key is hidden inside the fireplace. Use it on the locked drawer to obtain a bottle of whisky and documents. Examine the remaining objects in the room and reconstruct what happened:
Sherlock and Jon are standing near the table.
Sherlock and Jon hide behind the statue.
Mycroft attacks the doctor.
We then hear a noise in the hall. Near the door, we find a strange parcel with a note. At this point we can work on Mycroft's case Love, Death, and Cordona or move on to the next main case, Sacrificial Lamb.After completing Sacrificial Lamb, return to Stonewood Manor and inspect the first-floor door leading into the back garden. Find a cup from Violet's favorite tea set and watch the memory. In the gazebo, inspect Violet's journal and trigger another memory. The last one appears near the manor door. Here we finally see Violet trying to drown Sherlock.Image unavailableCombine the evidence in the Mind Palace. The game lets us settle on one of several interpretations:
The final memories show that Otto Richter pulled Violet away from Sherlock after she tried to drown the boy. Violet died during the struggle, and Richter then tried to save her. Mycroft later hid what really happened from Sherlock and allowed him to believe that the doctor had murdered her. The game deliberately leaves the final interpretation to us. Any of the four conclusions leads to the ending.Before entering the garden and confirming that we are ready to finish A Mother's Love, make a manual save. This is the point of no return. After the final cutscenes, the game returns to the main menu. To continue exploring Cordona and finish side content, load the save made before entering the garden.
Case: Ghosts of the Past
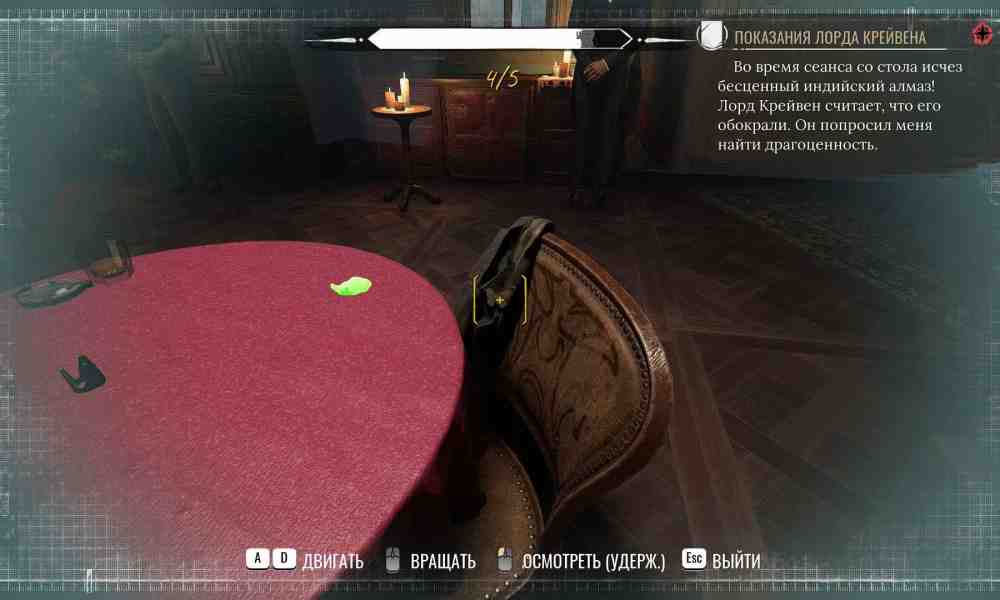
Inspect the medium's room. Check the cabinet and mirror, speak to the medium to receive another clue, then observe Lord Craven's wife. On the table, inspect:
The ectoplasm.
The broken wine glass.
The whisky and cigar.
The moth pin on the jacket hanging over the chair.
Use Concentration and inspect the stone holder.
Image unavailableGo out to the courtyard with the pool. Use Concentration and find the heel near the window. Pin it as evidence and question the guest near the pool. Go to the staff room and find the shoe that matches the heel. In the lobby, speak to the maid. We learn that one employee came to work wearing her own shoes. Head upstairs above the bar, where the musicians were sitting earlier, and question the maid. Tell her we are investigating and pressure her. She gives us another clue.Return to the medium's room and reconstruct the scene:
Lady Craven sits opposite the window.
Lord Craven sits to the left of his wife.
The medium sits opposite Lord Craven, near the mirror.
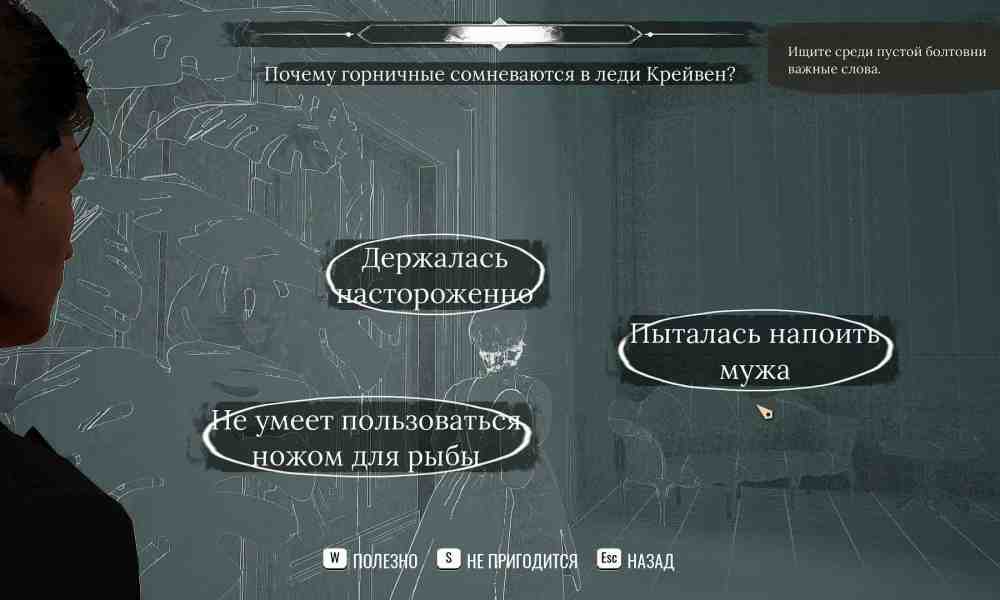
Upstairs, find room 226 where two maids are talking. Eavesdrop on them and select:
Acted suspiciously.
Doesn't know how to use a fish knife.
Tried to get her husband drunk.
Image unavailableEnter the room. Lord Craven is there with his murdered wife, Emma. He asks us to find the killer. Agree and inspect the room. On the bed, examine Emma's body, the diamond, and the inside-out handbag.Inspect the dressing table:
Use Concentration to discover the false bottom in the jewelry box.
The money.
The moth ring.
The engraved ring.
The cosmetics.
Notice the weak lock on the door connecting room 226 to room 225. In the sitting room, read the two notes and present the evidence to Lord Craven. Go downstairs to the receptionist and take the key to room 225. Ask the hotel worker at the bar how long Lord Craven remained there after the seance. Then enter room 225 and speak to the medium. Observe him and choose:
Former thief became a medium.
Inspect the objects on the table and perform a chemical analysis of the ectoplasm. If the chemistry puzzle gives us trouble, we can simply choose to skip it. At this point we have enough evidence to build the accusation against Luka. Open the Mind Palace, combine all available clues, and follow the path:The game can also lead us toward Lord Craven if we deliberately choose the opposite deductions, but the evidence is meant to point us toward Luka Ghalichi. Once we settle on Luka, we have two options:
Bring Luka Ghalichi to justice: Luka killed Emma after realizing she had framed him. He could have gone to the police instead, but chose revenge.
Help Luka Ghalichi escape: Luka acted after Emma put him in a position where his criminal past would almost certainly condemn him. We can decide not to hand him over.
The choice changes Luka's fate, but does not alter the rest of the main story.Image unavailable
Return to Cordona
Run to the cemetery, talk to Jon, use Concentration, and reconstruct Sherlock's memories of the funeral. Place the flowers at Violet Holmes' grave and inspect the pocket watch. Use Concentration again and follow the traces to the bicycle. The man who brought the watch is the artist Verner Vogel. Speak with him and leave the cemetery.After the conversation with Vogel, we receive the clue Mysterious Visitor for A Mother's Love. Head to the Cordona Police Station and speak with the desk sergeant. This starts the new case The Master of Disguise.
Case: The Master of Disguise
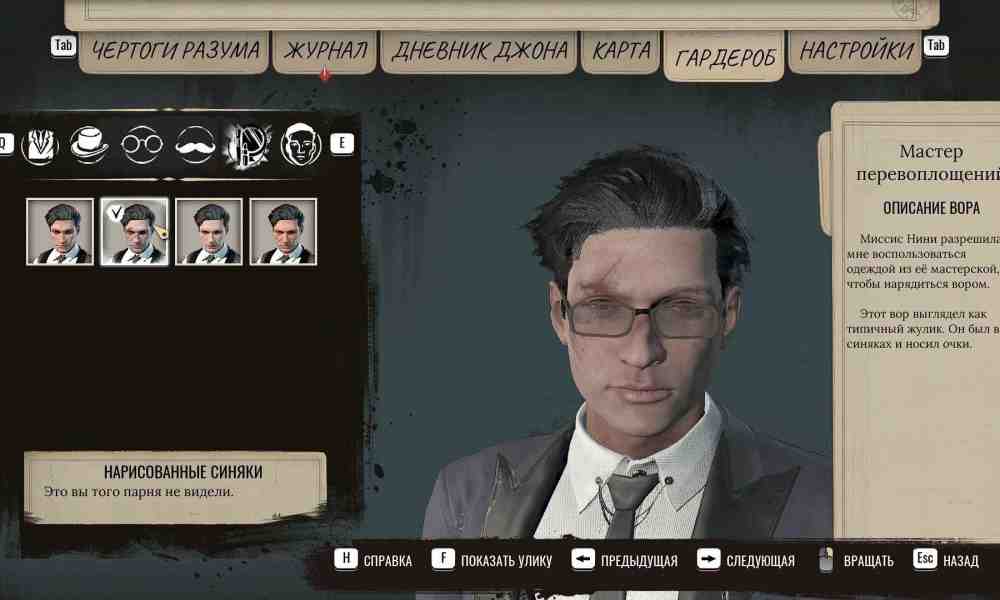
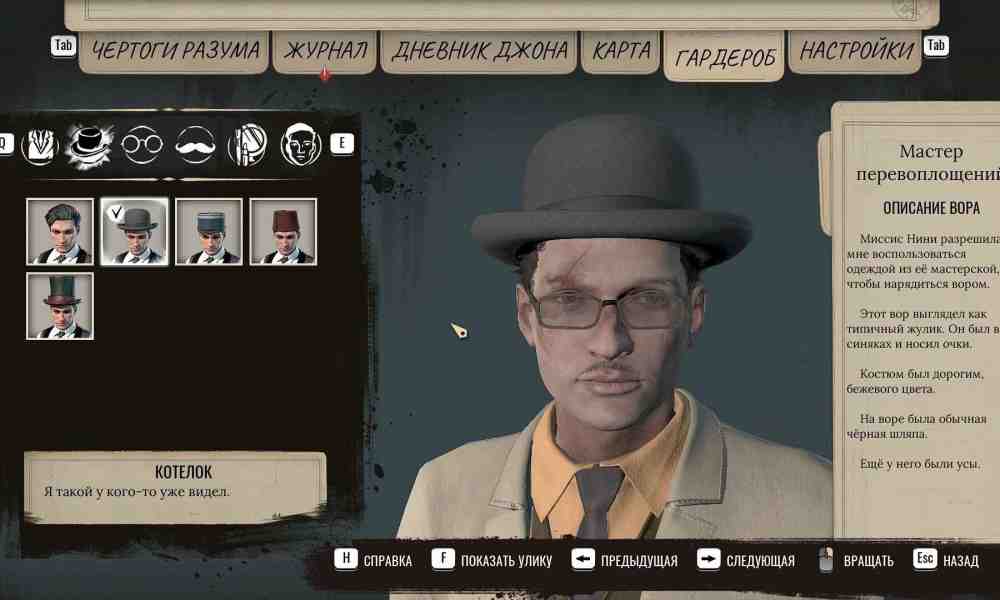
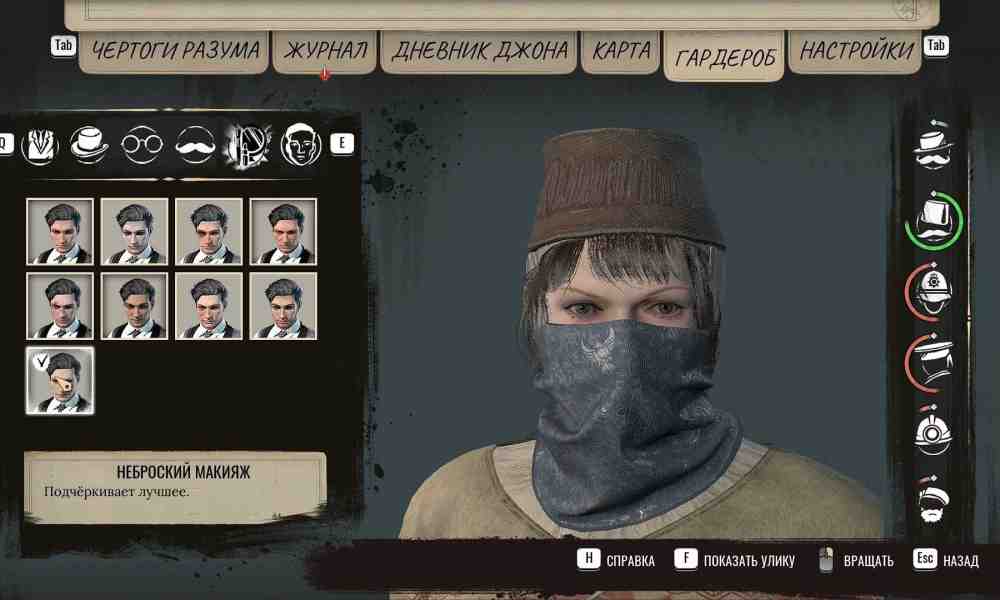
Leave the police station, turn right, then turn right again at the intersection. Run down the street until we see Mrs. Nini's Atelier on the left. Talk to Mrs. Nini and enter the workshop. Take the clothes. First equip the Scar Makeup and Old Glasses.Image unavailableThen put on the beige suit with an orange shirt, moustache, and plain black hat.Image unavailableReturn to Mrs. Nini, then go back to the Police Station. We can complete Jon's challenge by finishing his disguise request before Mrs. Nini gives her testimony. Report back to the desk sergeant and enter the Police Archive.Select:
Crimes: Crimes Against the Person.
Subjects: Victims.
Evidence: Documents.
We receive the information Sherlock needs and unlock access to the archive. Before leaving, complete the police combat training. It teaches us how to exploit weak points and arrest enemies instead of simply killing them.
Case: A Gilded Cage
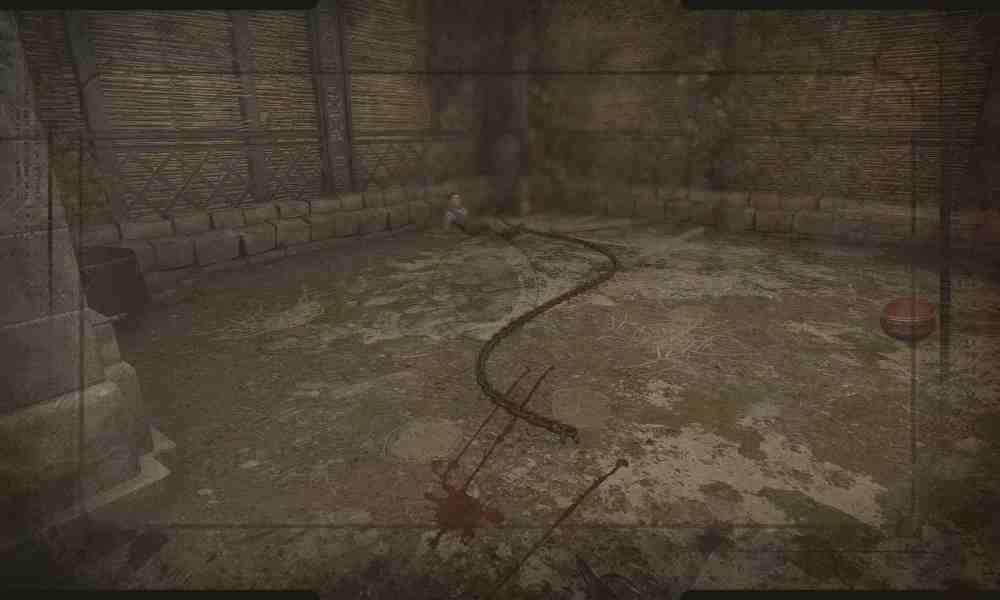
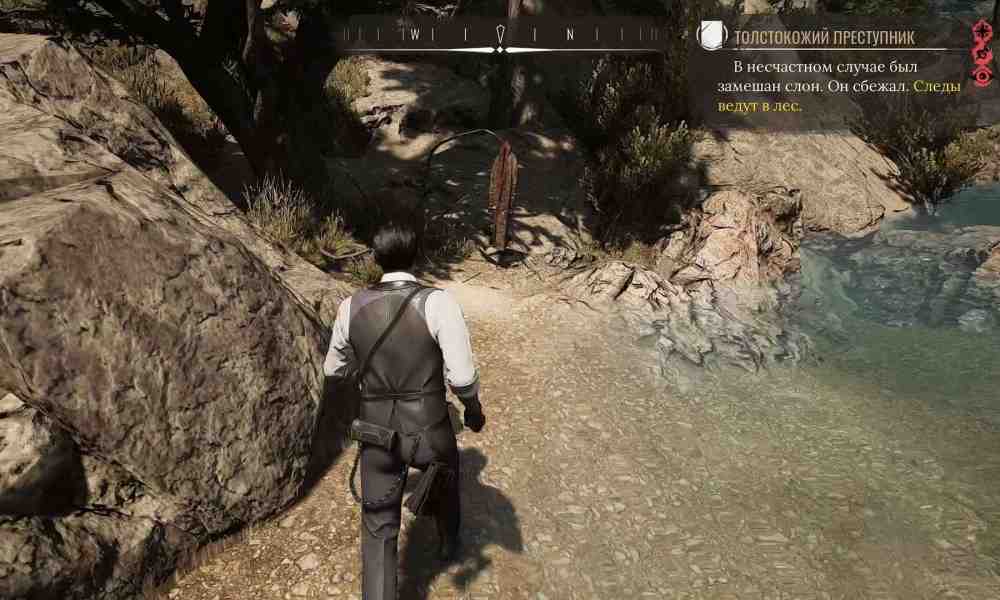
This case starts after we first explore Stonewood Manor, open Sherlock's childhood room, and follow the clue Looking for a Family Friend.Image unavailableInspect the broken gate and the destruction in the courtyard. Examine Theodore Gilden's body. Pay attention to the broken spine, shattered knee, and the missing finger on his right hand. Head to the elephant enclosure. Examine the broken chain, goad, adult elephant tracks, and blood on the ground. Photograph the important evidence.Image unavailableStill in the courtyard, find the tethered balloon. Outside the gate on the left is a damaged shed and gas cylinder. Examine the bosun's knife, its worn blade, and the broken boards.Pin the clue Elephant's Life and go to the Cordona Chronicle. Use the archive with:
Period: 1870-1879.
Section: Articles and Interviews.
People: Journalists.
We receive the relevant article and can complete Jon's challenge. Return to the Gilden estate and reconstruct the attack:
Goliath grabs Theodore with his trunk.
The elephant drags Theodore and drops him near the gate.
A third person watches from nearby. Goliath throws that person toward the shed.
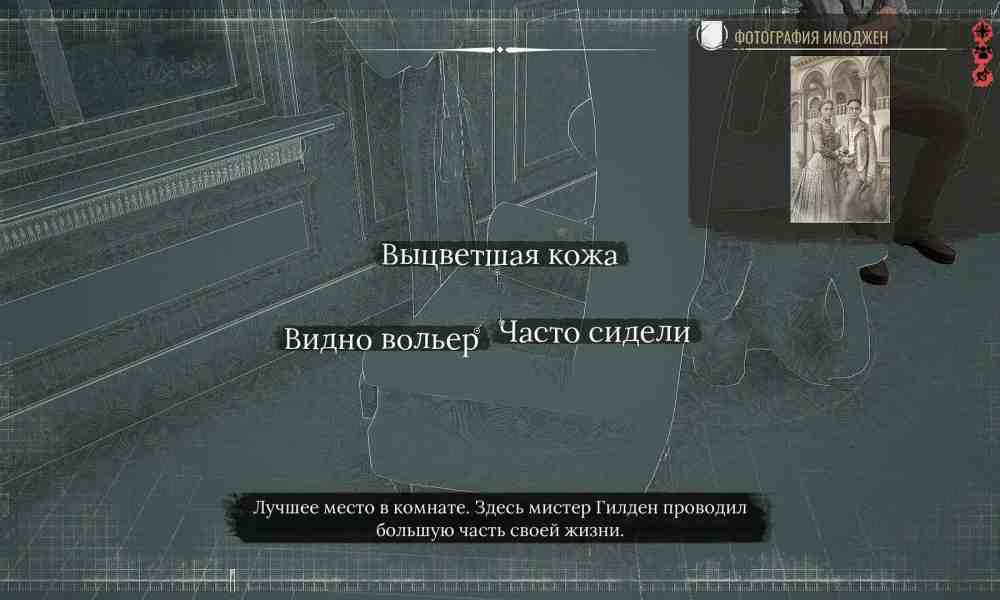
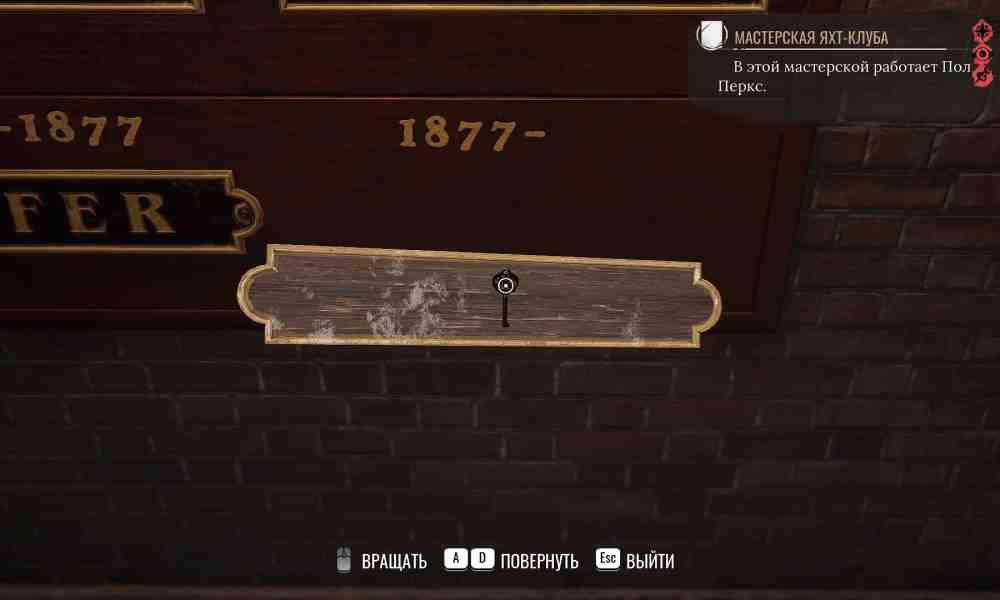
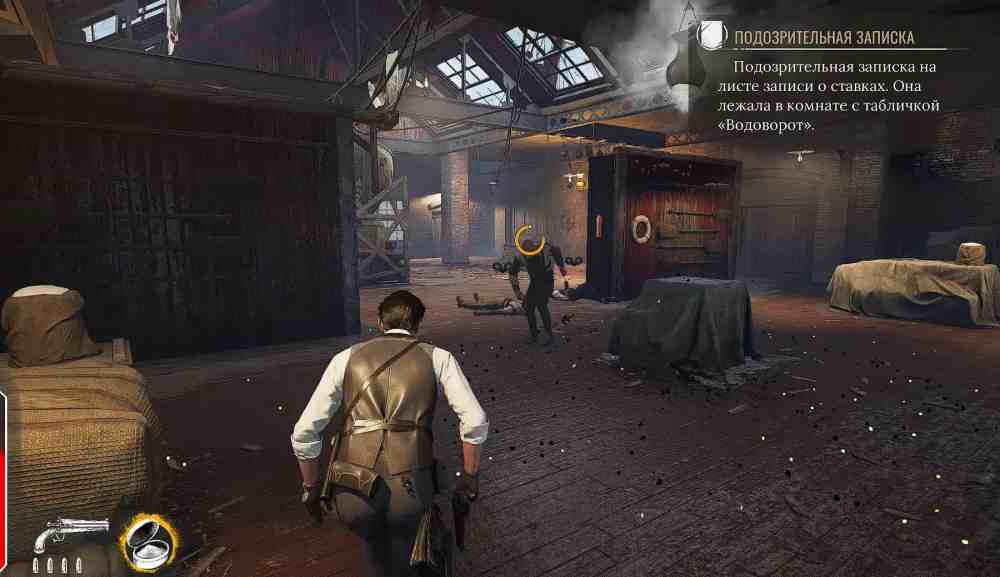
Use Concentration and follow Goliath's trail across the Greek Bridge. Turn left immediately after the bridge, then right at the sign. Keep following the broken vegetation. Near the water we find Theodore's robe. Search the pockets for the house key and letter.Image unavailableNow we can enter the house. By the time we return, the police will already be there. Go upstairs and speak to Imogen Gilden. Examine the belongings she has not packed yet, take the photograph, collect The False Idols, Book 1 of 3, and inspect the room.On the second floor, enter Theodore's study. Examine the photographs on the desk, the Ivory Baths construction plan, and the newspaper articles. Take the strange perfume. On the left side of the study, use Concentration near the chair. Do not forget to photograph the construction plan.Image unavailableReturn to Imogen, present the evidence, and ask about the person in the photograph. We receive a lead pointing to the Yacht Club. By this point, every clue in the house and courtyard should be collected. The location markers will turn green. If they do not, search both areas again. Easy-to-miss objects include the paintings downstairs and the damaged gate outside.Head to the Yacht Club and find the workshop by the water. Pin Photo of Imogen and ask the men sitting nearby about it. Inside the workshop, look through the window at the bloody bandages in the locked room. Use Concentration and follow the paint traces. They lead through the storage room toward the yacht Whirlpool. In the storage room, collect Sails of Hatred, Book 2 of 3.To continue, pin Yacht Club Workshop. Inspect the locked door, the machine opposite it, and the Whirlpool plaque. The key is hidden behind the plaque.Image unavailableOpen the room. On the desk, find the darts, expensive tools, and threatening note. Return to the storage room and inspect the tea tins containing smuggled goods. Leave the room and talk to Paul Perks. Sherlock realizes that Paul is actually a woman. Build the profile:
Professional yachtswoman.
Fight the bandits. Arresting them is the cleaner choice if we are trying to keep Jon happy, although this encounter does not change the ending of the case. Present Paul with all the evidence, leave the workshop, and show the new clues to Imogen.Image unavailableOne important clue remains: Ivory Baths Construction Plan. Open the map and travel to City Hall. Use the archive and select:
Subjects: Businesses.
Registry: Legal Documents.
Districts: Old City.
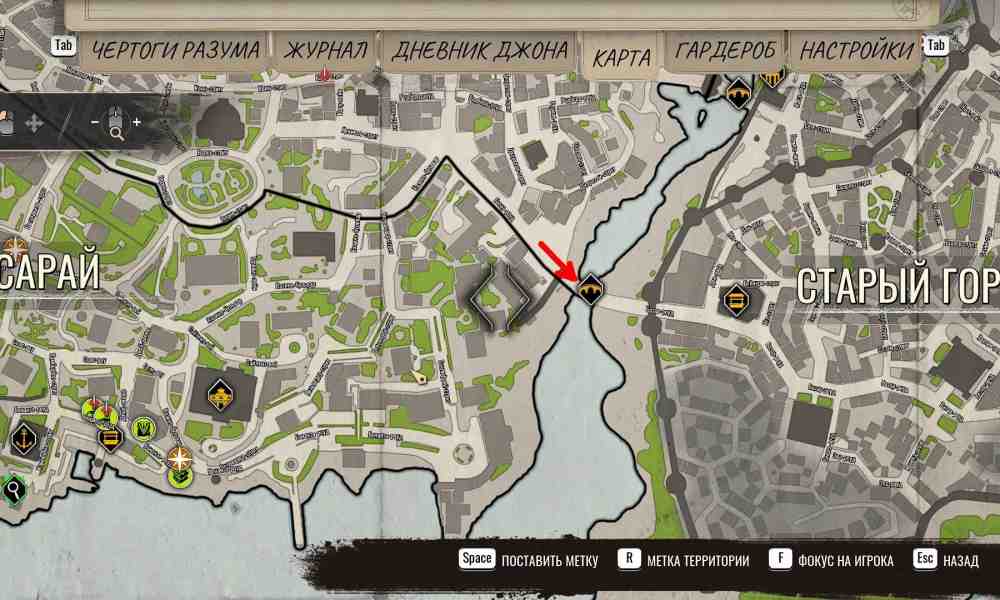
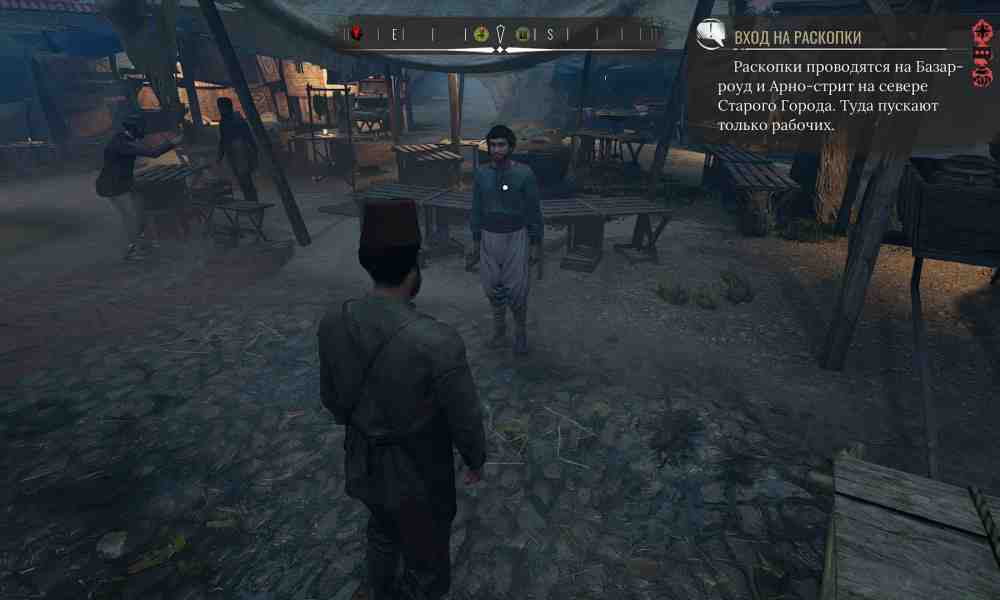
We receive the address of Gilden and Swift, whose excavation is in Old City near Bazaar Rd and Arnaut St.Image unavailableIf we have never visited Old City before, use fast travel to Grand Saray and enter through the northern gate. The route directly from City Hall can be misleading because some gates are blocked.Image unavailableAt the excavation entrance, eavesdrop on the two workers and select:
Scar on his neck.
Old City Market.
Loyal to the British.
Change into worker clothes. If we do not own a suitable outfit, buy one from a clothing trader. Go to the western market near the bridge into Old City and find the man with the scar.Image unavailableDuring the conversation, answer:
That's why I support them.
I like tea.
We receive permission to enter the dig site. Return to the entrance and speak with Professor Arthur Swift:
I'm ready to begin!
An archaeological treasure.
Observe the professor and choose Driven by knowledge. Inspect everything in the excavation area: the map and notes behind Arthur, the crate with fabric, the broken statue with a sickle, the Latin inscription, and A Sharp Pick, Book 3 of 3 in the tents.Image unavailableEavesdrop on the workers discussing a broken statue with a lion-head helmet:
Closer to the shore.
Someone pushed the statue.
Lion-head helmet.
After collecting the clues, Arthur Swift's Research updates. Return to the broken sickle statue and reconstruct the original arrangement:
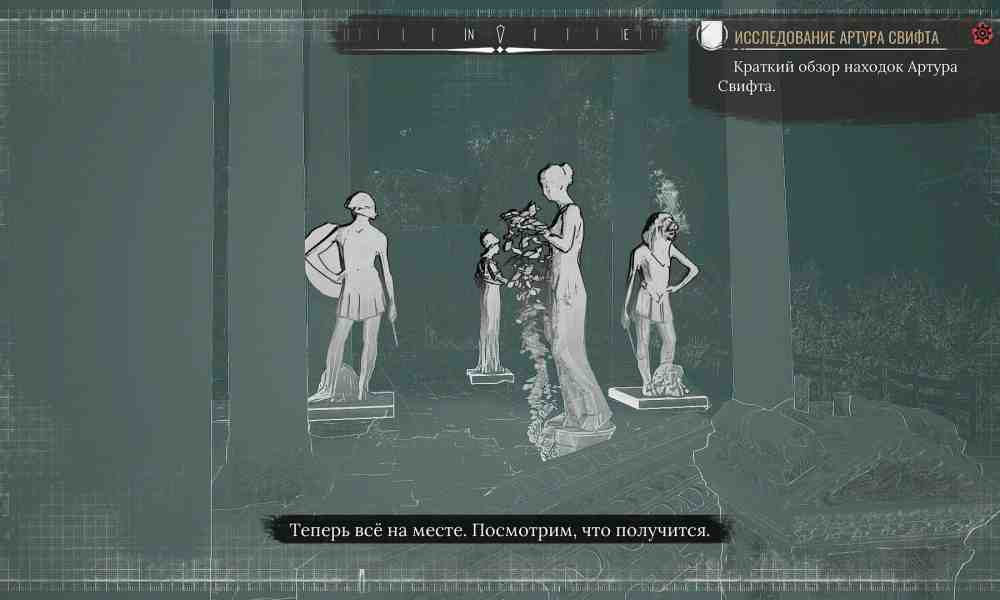
The statue with the sickle faces east.
The woman with the basket faces west.
The man without a helmet faces south.
The man with the lion helmet faces north.
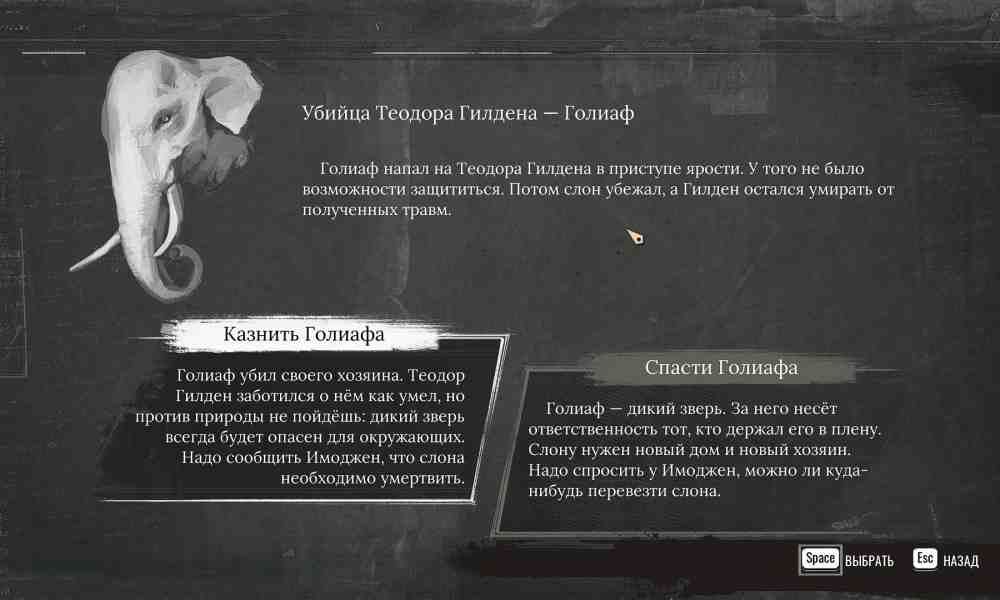
Image unavailableUse Concentration and run toward the shore. On the right, discover the burial site and tell Arthur about it. While the professor is occupied, return to his desk and read the journal. Speak with him again and present the evidence. Now we need to bring Goliath home.Collect the required items:Image unavailableTravel to Mrs. Nini's Atelier near the Police Station and ask her to make an elephant decoy. Inflate it with gas near Goliath's enclosure. Use the different elephant calls until Goliath returns.Inspect Goliath. Examine the scratches, eyes, tusks, and most importantly the poisoned dart. Perform a chemical analysis. The dart contains strychnine, which explains the animal's violent behavior.The Mind Palace can produce three possible culprits. The game intentionally does not reveal one unquestionable answer:Image unavailableNo suspect gives Sherlock a definitive confession, so choose the conclusion that best fits our reading of the evidence. If we want to protect the elephant, make sure the final decision explicitly saves Goliath.
Case: String Theory
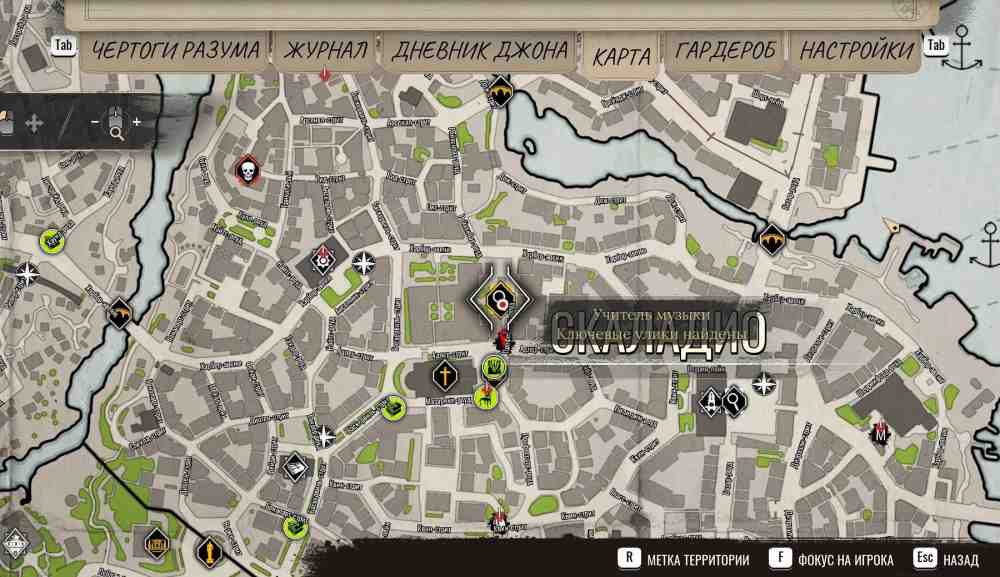
This case becomes available after A Gilded Cage. We can start it by inspecting one of the posters about a stolen violin in Scaladio. The poster points us toward the intersection of Adler St and Professor's Rd. Walk past the music teacher's house and listen to Jon.Image unavailableSpeak to the teacher and take the case. Enter his house and inspect the broken display where the violin used to be. Find:
The bow.
The piece of cloth.
The bloodstain.
The broken whisky bottle.
The weak lock.
The piano cover.
The awards.
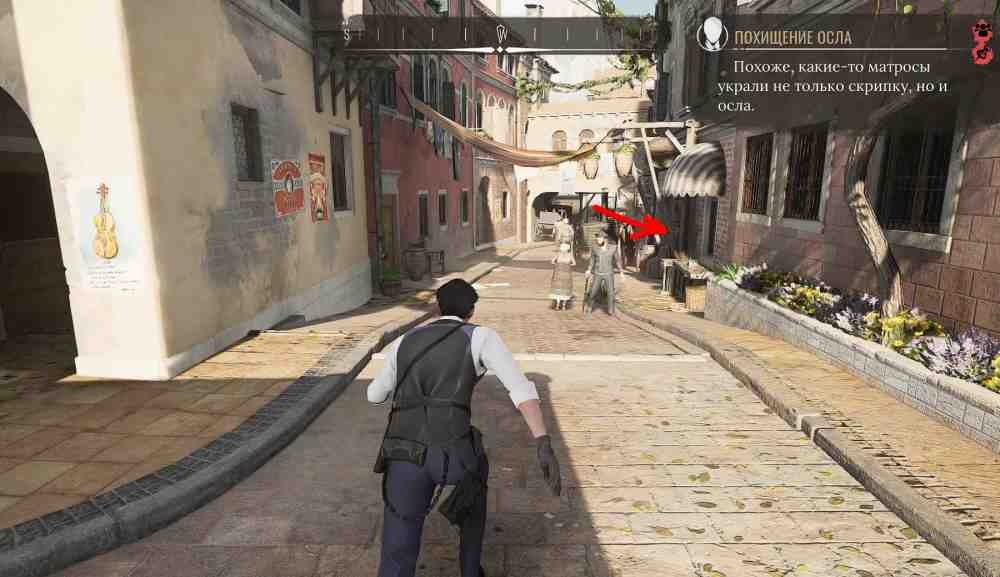
Use Concentration and follow the blood trail. It ends at a market. Speak with the boy selling fruit. He tells us that sailors recently passed through carrying a violin, stole some fruit, and took his donkey. Continue down the street. We will find a sailor's cap and bananas. After the first intersection, stay on the right and enter the first alley.Image unavailableSeveral frightened people are standing nearby. Eavesdrop and select:
Rowdy sailors.
Customers are scared.
Destroying the tavern.
Enter the tavern and deal with the sailors. Return to the fruit seller first and tell him where he can recover his donkey. This completes Jon's challenge. Then go back to the music teacher and return the violin. He gives the instrument to Sherlock, making it the first violin Holmes owns.
Case: The Muse From Abroad
This main case begins after we finish investigating Violet's room in Stonewood Manor. Someone knocks at the door. Go downstairs and speak to the sailor. Observe him and choose:
Artist disguised as a sailor.
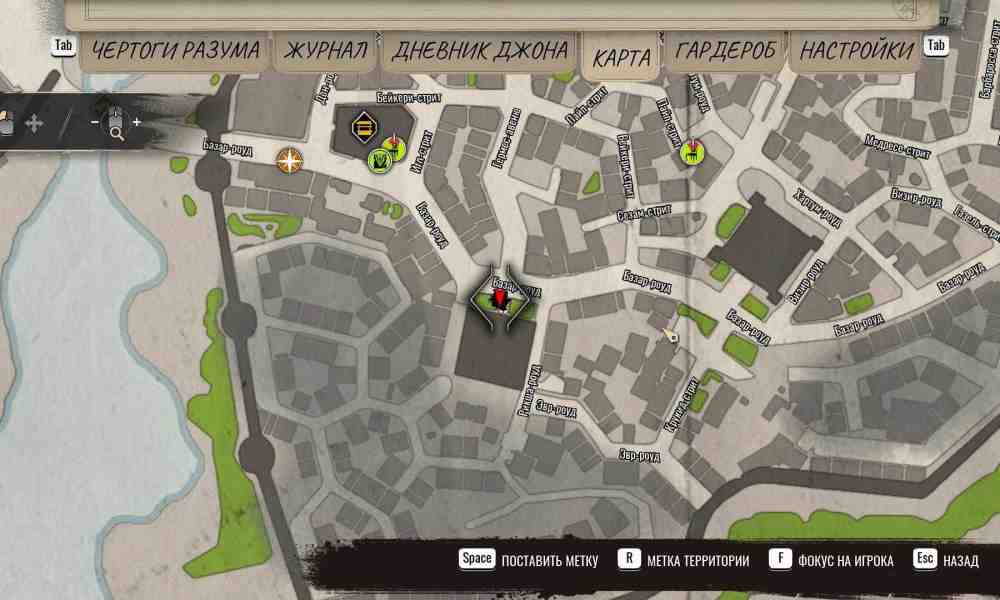
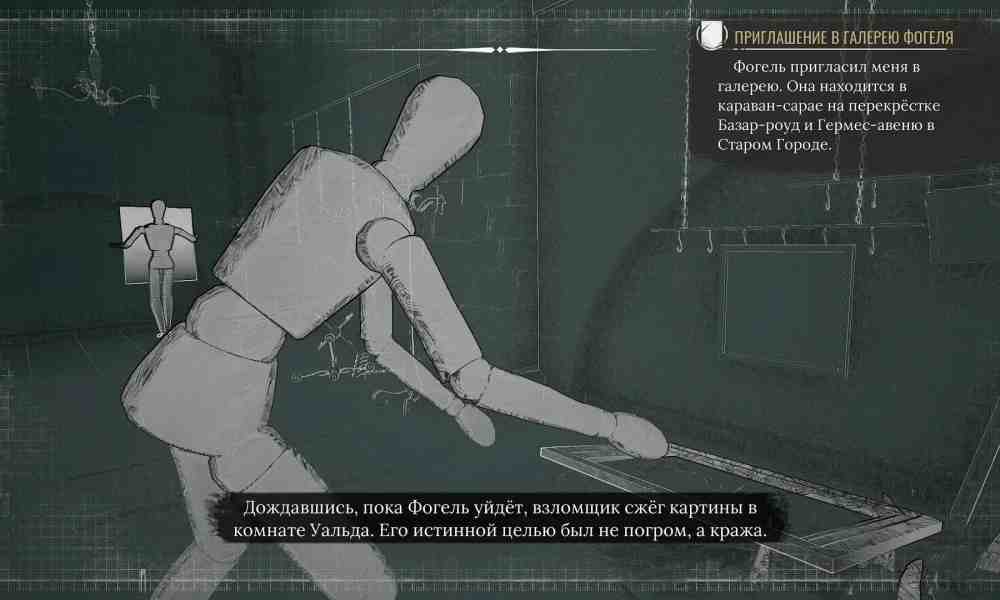
The disguised artist gives us an invitation to Verner Vogel's gallery. Leave Stonewood Manor and open the map. The gallery is inside the Gul Afshar Caravanserai in the southwestern part of Old City.Image unavailableEnter the gallery and speak with Vogel. Go down into the Undergallery and inspect the scene:
The shovel.
The footprints.
The scratches inside the pipe.
The boot marks inside the pipe.
The disturbed skeleton in the coffin.
The raven.
The charcoal mark inside the coffin.
The burned paintings.
The cigarette butt.
The painting stand.
Reconstruct the theft:Image unavailableReport back to Vogel and receive several new leads. Pin Mercurio's Address and travel to the Cordona Chronicle. In the archive, use:
Period: Recent.
People: Celebrities.
Districts: Old City.
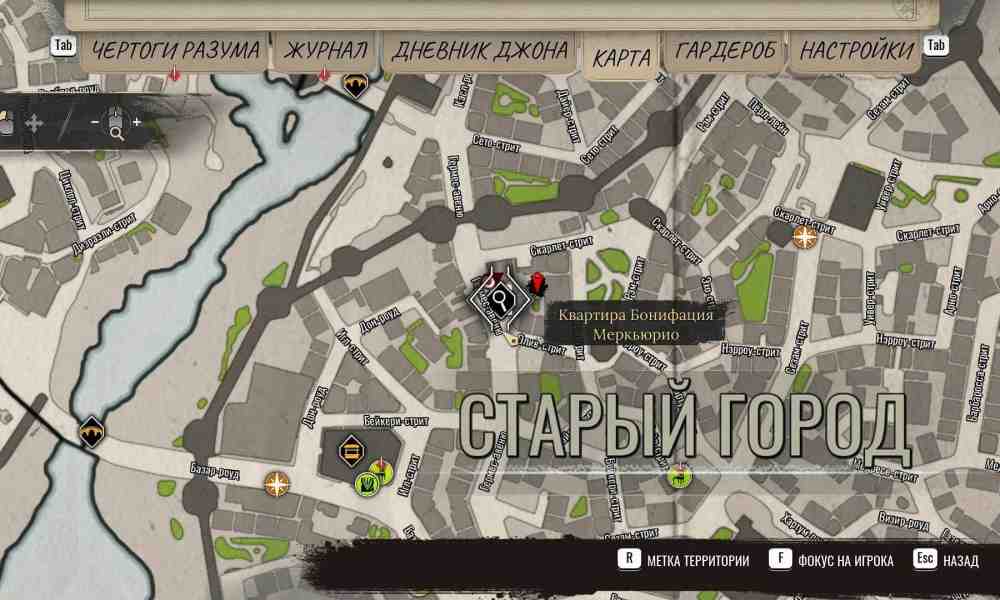
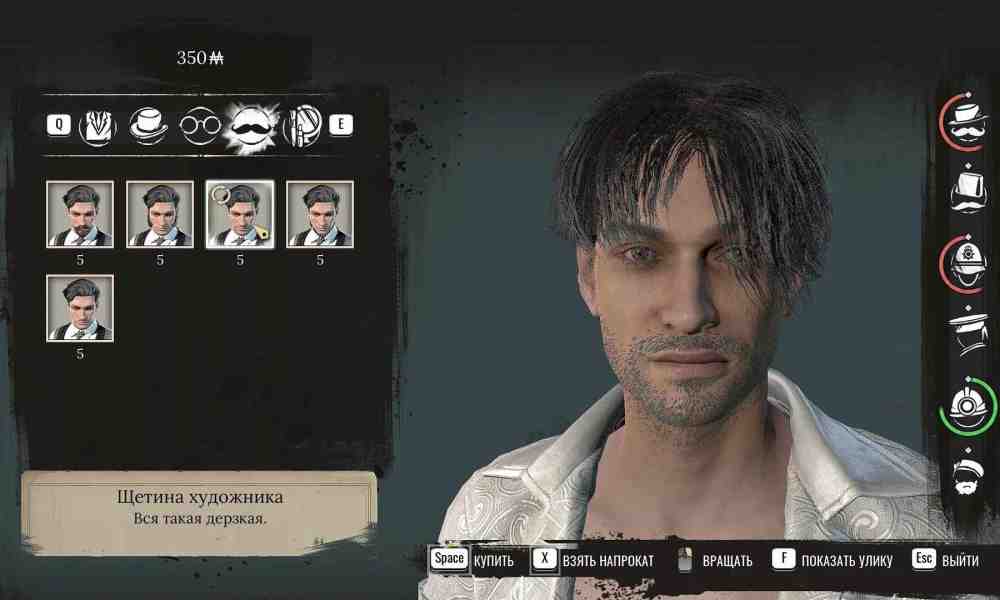
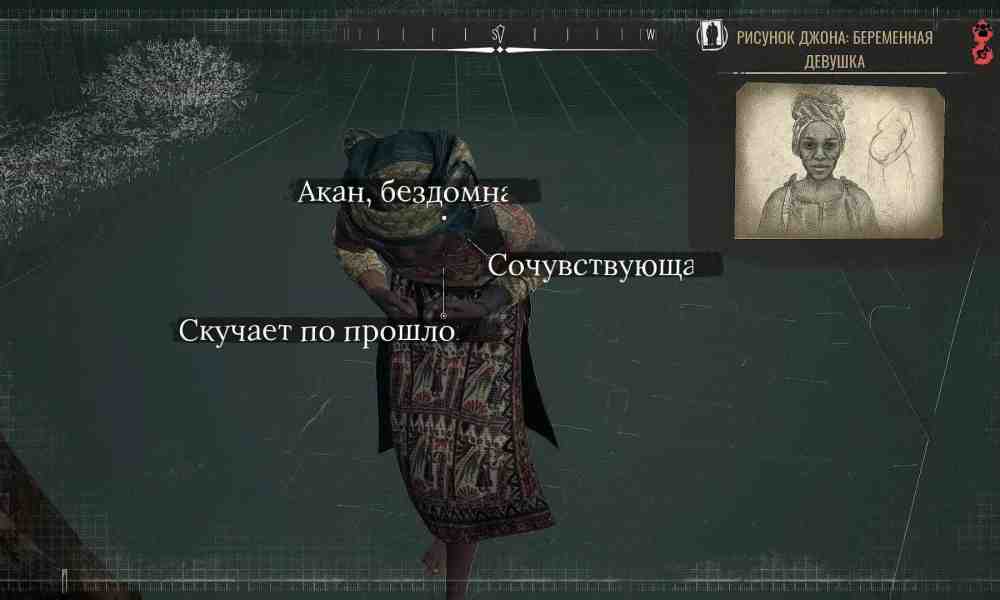
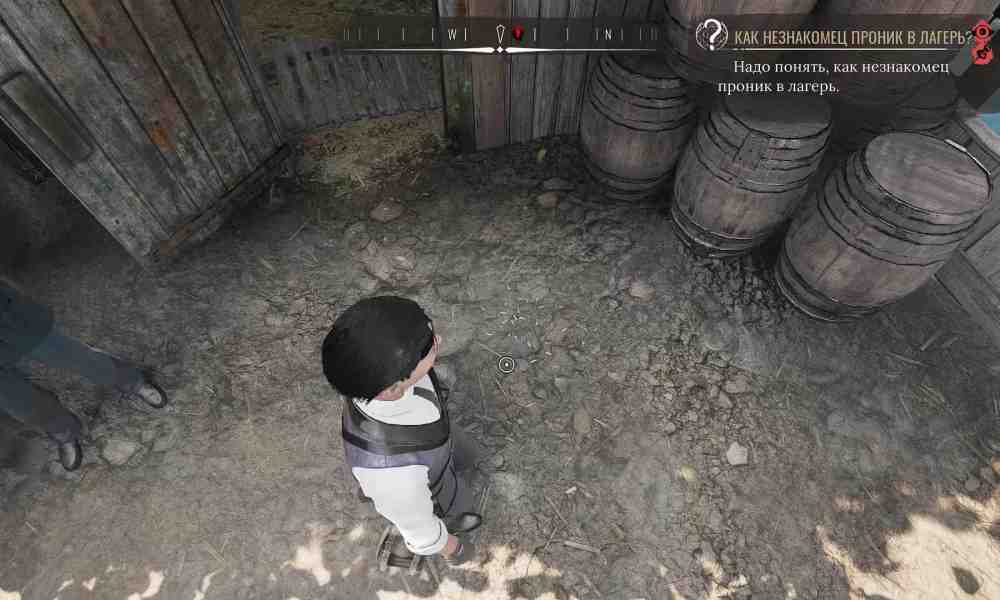
We receive the article and Mercurio's address. His apartment is in Old City, on Hermes Ave between Scarlet St and Olive St.Image unavailableEnter the building and speak with the landlady. She will not let us into Mercurio's room while Sherlock looks like himself. Buy the required disguise from a clothing trader and equip a Bohemian Outfit, Artist's Bristles, Artist's Tan Powder, and a suitable messy hairstyle.Image unavailableReturn to the landlady and go upstairs. Mercurio is dead. Search the apartment and reconstruct the killing:Image unavailablePick up the bloodstained painting and perform a chemical analysis. Place the restored painting on the easel and compare it with the room. A goat skull is missing. Find it in Mercurio's darkroom and pick up the photograph lying nearby. Go downstairs and ask the landlady about the limping stranger. If we want to complete Jon's challenge, stay in character and calmly ask her to call the police instead of immediately announcing Mercurio's death.We now need information about the African refugees shown in the photograph. Wear an African-style outfit and speak to someone from the Akan community while the relevant clue is pinned. We learn where the refugee camp is located.Image unavailableTravel to the camp beneath Victoria Bridge, between Scaladio and Silverton. Change back into Sherlock's usual clothes and speak with the policeman at the entrance. Tell him we are a private detective. Observe Ronald Harlow and choose:
Stunned formalist.
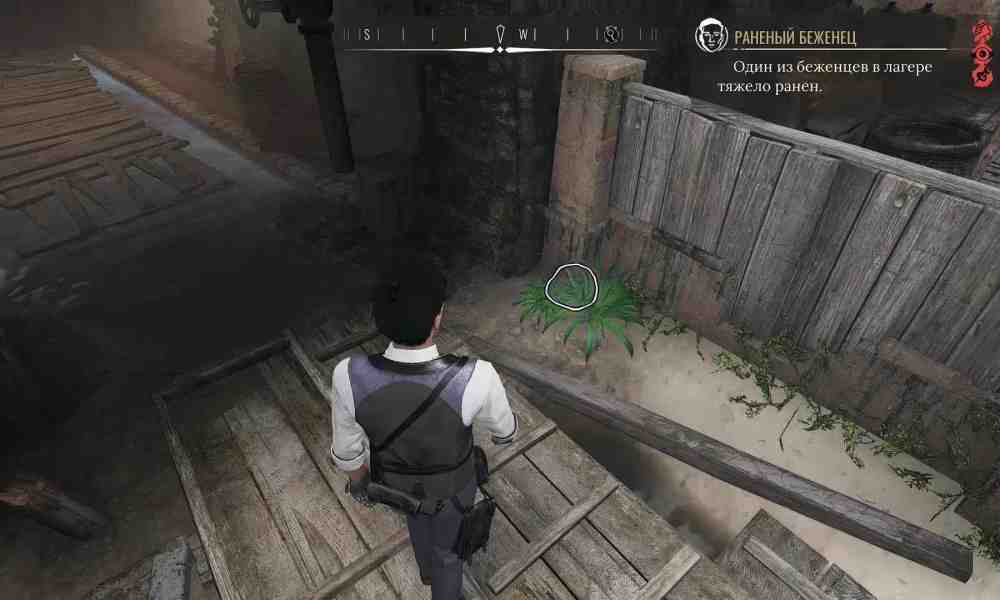
We are allowed into the camp. Search the area and examine the body. To complete Jon's challenge and improve our standing with the refugees, help the injured man. Find clean water in the cooking pot, a clean cloth from the laundry line, and aloe near the corpse. Eavesdrop on the policemen by the secondary entrance and ask the inspector about what we heard. Later, once the refugees are allowed out, speak with them as well.Image unavailableNow determine how the stranger entered the camp. Inspect the shore opposite the injured refugee, the locked gate at the secondary entrance, and the ladder behind the inspector. Run toward the main exit and inspect the ground. There are two types of cigarette butts. One belongs to the unknown man. This reveals that the police themselves let him inside.Image unavailableReconstruct the incident:Tell the inspector and Harlow what happened. Ask the inspector about the tattoo on the dead man's neck to receive another clue. Return to the camp and question the girl. We now have enough information to continue. Before leaving, do not forget Jon's challenge and the conversations with the refugees.Image unavailableFirst go to City Hall and use the archive:
Subjects: Officials.
Period: British, 1800s.
Registry: Occupation.
Then go to the Police Station and search the Police Archive:
Crimes: Smuggling.
Subjects: Suspects.
Districts: Scaladio.
We receive two major leads. From here the investigation splits into three routes. We can follow one of them or investigate all three before deciding who gets the photograph.
Vogel's Route
For the shortest ending, simply return to Vogel's gallery and give him the evidence. Vogel will expose what happened publicly, but this route does not directly improve the refugees' situation.
Nicolo Bernadotti's Route
Head to eastern Scaladio and find Bernadotti's building on Bazaar Rd.Image unavailableThe front entrance is locked. Go around the building and inspect the crates and barrels. Speak with the man at the gate and choose Hit him. Enter the warehouse, fight the guards, find the stolen painting and smuggled goods, then reach Nicolo Bernadotti. Observe him and choose:
Ruthless leader.
Talk to Bernadotti and make the final decision. If we give him the photograph, he promises to provide a safer future for the abused girl and her child, but he himself avoids punishment for his criminal business.
Thomas Norton's Route
Go to City Hall and find Thomas Norton's office. Observe him and choose:
Ambassador who loves parties.
Speak with Norton. If we give him the photograph, he promises to use his influence to improve the legal status of the refugees, but he escapes accountability for what happened to the girl.There is no universally correct ending to The Muse From Abroad. Bernadotti, Norton, and Vogel each offer a different outcome, and the game deliberately leaves the moral choice to us.
Case: Sacrificial Lamb
Put on the clothes we received from Vogel and travel to Turquoise Ln in Grand Saray, to the building opposite Cordona Abbey.Image unavailableEnter Manchios Mansion. We can immediately work on Jon's challenge by eavesdropping on two pairs of guests.For the first conversation, select:
Political crisis.
Unfaithful fiance.
Insulted countess.
For the second:
Mysterious disappearance.
Magic circle.
The architect was fascinated by the occult.
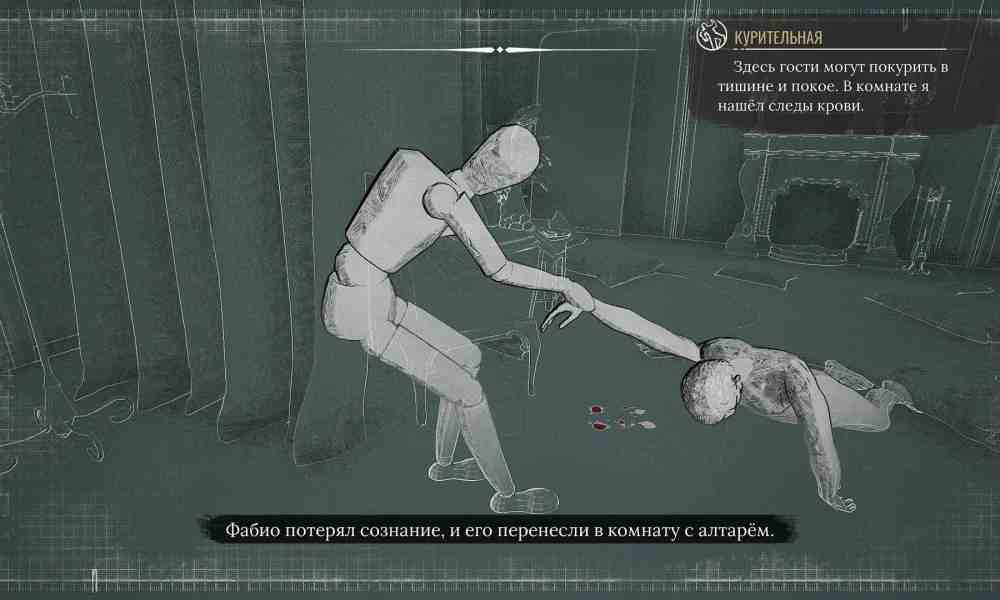
Search the library, find Vogel, and take the key to the altar room. Examine Fabio's body, the smoking room, and the dressing room. Once we have all the evidence, speak with Vogel and reconstruct the sequence:Image unavailableFind the owner of the mansion in the hall. Kurt Manchios is wearing a dark mask decorated with golden stars. While we are talking to him, the police raid the mansion. Sherlock ends up in a cell.Talk to the inspector and examine the evidence on the table. Take the interrogation-room keys, evidence voucher, police report, and witness statement. Speak with Vogel, Manchios, and the victim's girlfriend in the neighboring cells. Ask the inspector to bring in the witness, Santos Pinchetti.Observe Kurt Manchios and choose:
Hiding his age.
Observe Matista and choose:
Punishing herself for her past.
Observe Santos Pinchetti and choose:
Living in poverty.
Go to the evidence room and hand over the voucher. Inspect the belongings, then return to the suspects and present the new clues. We will have to move between them several times to unlock all of the deductions in the Mind Palace.Once the evidence is complete, the case can lead to two suspects:
The evidence most strongly supports Kurt Manchios killing Fabio out of jealousy.
The decision ends the case and gives Sherlock the final fragmented memory needed to finish A Mother's Love.
Case: Iron Coffin
We can start this case in the Cordona Police Station after The Muse From Abroad by eavesdropping on the conversation inside. Select:
Doesn't admit guilt.
Copello's Workshop.
Body in a safe.
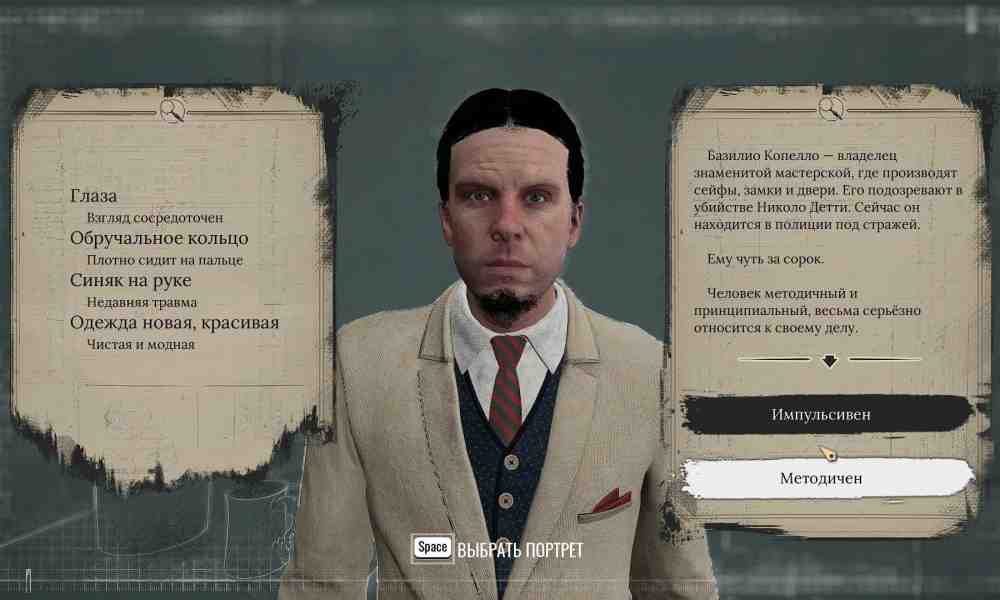
After receiving the case, pin the clue about the dead man in the safe. If we want to complete the relevant Jon challenge and achievement requirements, put on the Police Uniform before questioning suspects.First go to the prison cells downstairs. Speak with Mr. Copello and observe him:
Methodical.
Image unavailableQuestion him and return upstairs. In the inspector's office, meet his wife Augusta Copello. Observe her:
Shaken.
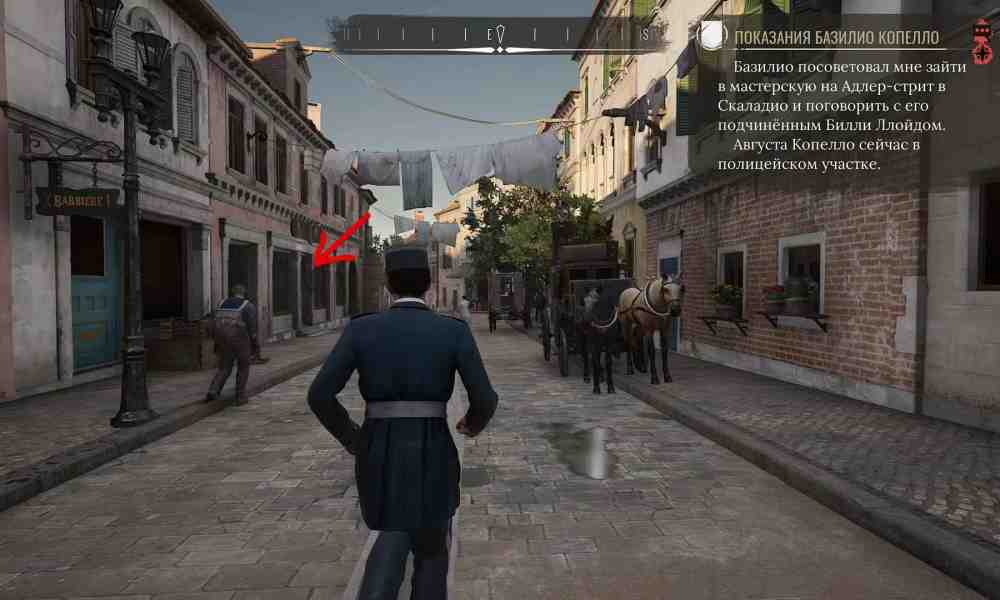
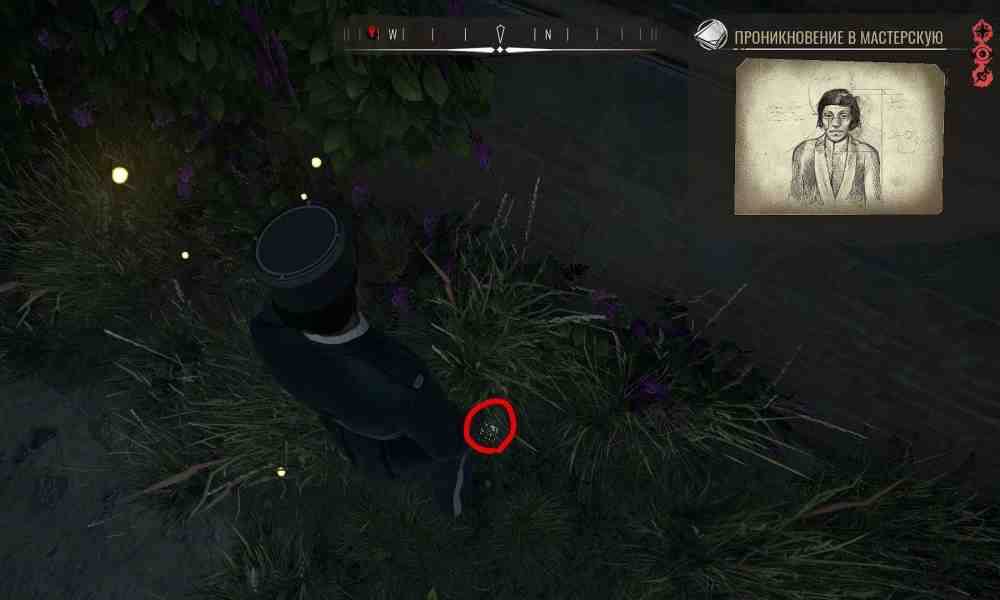
Leave the Police Station and head toward St. Clement's Cathedral. Follow Adler St east until we see Copello's Workshop on the left.Image unavailableSpeak with Billy Lloyd, inspect the corpse, and search the second floor. Some objects cannot be investigated yet, so we will return after catching the thief. Billy's description gives us a profile of the woman who broke in.Leave the workshop and go around to the rear entrance. Inspect the door lock and broken railing. Beneath the railing, examine the trampled grass and bag of lockpicks.Image unavailableReturn to the Police Archive, pin the clue about the Workshop Break-In, and use:
Crimes: Theft.
Subjects: Suspects.
Evidence: Instruments of Crime.
We learn where Felicia Sevigne's gang is hiding. Travel to Clay St in Miner's End.Image unavailableTwo bandits are talking nearby. Eavesdrop and select:
Beggar agents.
Limp.
Miner's End Market.
Dress like a local criminal and go to the Miner's End Market. Find the limping bandit and speak to him. We can choose how difficult we want the upcoming fight to be. Picking the harder option lets us take down the gang in one major encounter.Image unavailablePut the Police Uniform back on and return to the gang hideout on Clay St. Enter the courtyard and defeat the bandits. Felicia is arrested after the fight. Observe her:
Prepared.
Question Felicia at the Police Station. We learn that Augusta had an affair with the dead man. Return to the workshop and inspect the two workbenches. Find the theater tickets, notes, and journals. Do not forget the guest table in the room with the safe. A glass is hidden underneath it.Image unavailableReturn to the suspects and present all the evidence. To correctly accuse Augusta Copello, use:Augusta admits her role in Nicolo's death. Decide how Sherlock wants to treat her and close the case.
Case: Love, Death, and Cordona
This is one of Mycroft's cases. It becomes available after The Missing Shopkeeper once we have progressed far enough into The Muse From Abroad. Return to Stonewood Manor and speak with Mycroft's agent, Emilio Estevo. He sends us to the terrace of the Primrose Cafe near the Old City Bridge.Image unavailableSit at the table and watch the scene. An officer falls from the Bridge Tower. Approach the body and examine:
The head injury.
The stab wounds.
The missing knife.
The broken leg.
The key marked with the number 4.
The scarf.
Go up into the Bridge Tower and inspect:
The broken table.
The open chest.
The papers on the table.
The bloody blade.
The marks near the window.
Reconstruct what happened:Image unavailableBefore leaving, inspect the bloodied rope and take the officer's clothes. Slide down the rope and examine the Pillar of Knives below. One blade matches the murder weapon. Photograph it. This also starts the short Cordona Story Pillar of Knives, which we cover later.Find the military barracks nearby. Put on the officer's uniform and enter. Find room 4, move the cabinet, read the note, and inspect the money.Image unavailableOn the lower floor, eavesdrop on the officers:
Disobedience.
The general will give a speech.
Revenge.
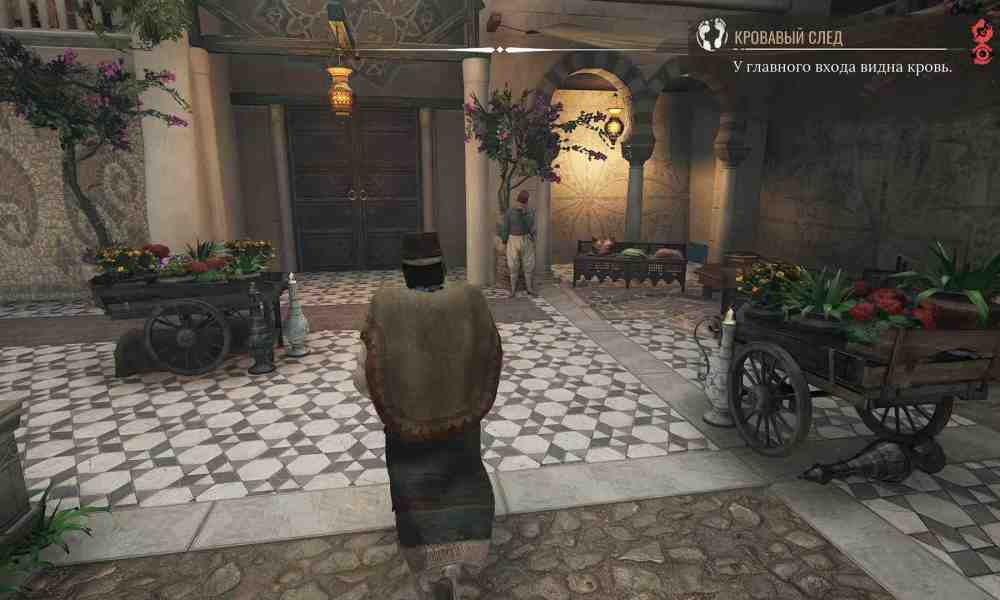
The sailors are furious about the corporal's death and want to take justice into their own hands. Their superior orders them to wait.Go to a clothing trader and buy an Ottoman woman's outfit and shawl. Equip the scarf taken from the dead corporal as well. We first need to clean the blood from it.Image unavailableTravel to the Old City Market. Find the entrance without the eagle emblem above it and go inside.Image unavailableImage unavailableInside, pin the Blood Trail clue, use Concentration, and follow the tracks. Examine the dirty clothes, then return to the courtyard. The killer is standing near the main entrance in a green shirt and white trousers.Image unavailableConfront him. For the correct accusation sequence, choose:We now decide what to do with the murderer. Keeping the peace satisfies Mycroft's political objective but lets the killer go. Arresting him punishes the murderer and prevents the sailors from taking revenge, although Mycroft's agent will not be pleased. If we are chasing the Not His Toy achievement and the correct-accusation chain, arrest him.
Case: In For A Penny
This optional coin hunt is tied to the Victorian Starter Pack content. After visiting Stonewood Manor, inspect Mycroft's coin collection and letter on the upper floor. Ten clue locations appear across Cordona. Each clue points us toward a hidden coin, so pin the corresponding entry before searching.
Hidden Coin #1
The first clue sends us to southern Miner's End. Follow the route between the cemetery area, Ripper St, Harbour Ave, Moran Rd, and Bee Ln. The coin is hidden in a decorative stuffed fish mounted on a wooden wall along the dirt path.
Hidden Coin #2
The next clue concerns a road that different groups call by different names. Wear suitable disguises and question upper-class citizens, fishermen, and members of the local gang if we want to solve it normally. The destination is the block between Poe Ln, Bridge Rd, and Hound Rd in Miner's End. Check the porch of the old house and lift the loose board.
Hidden Coin #3
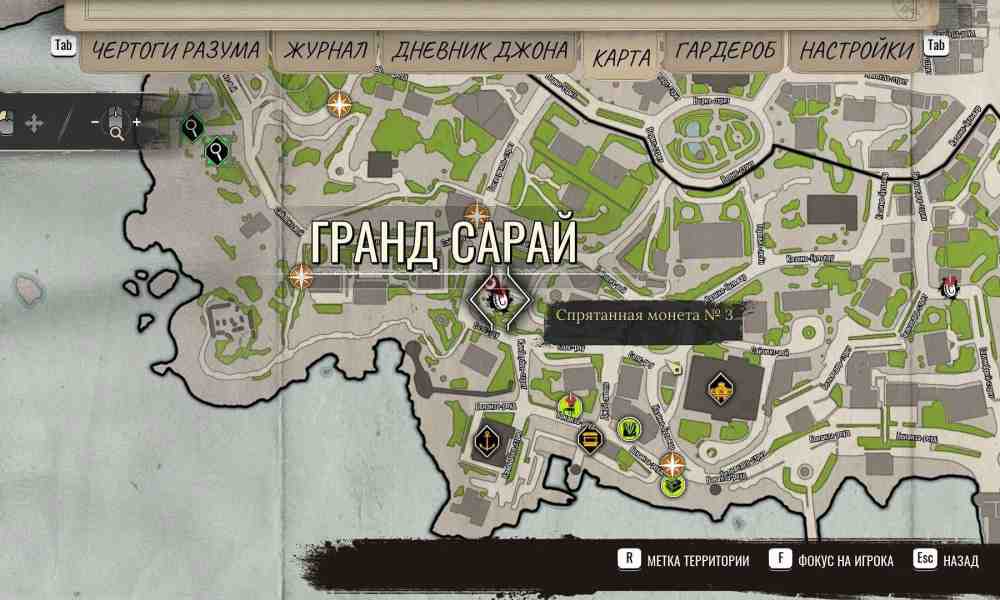
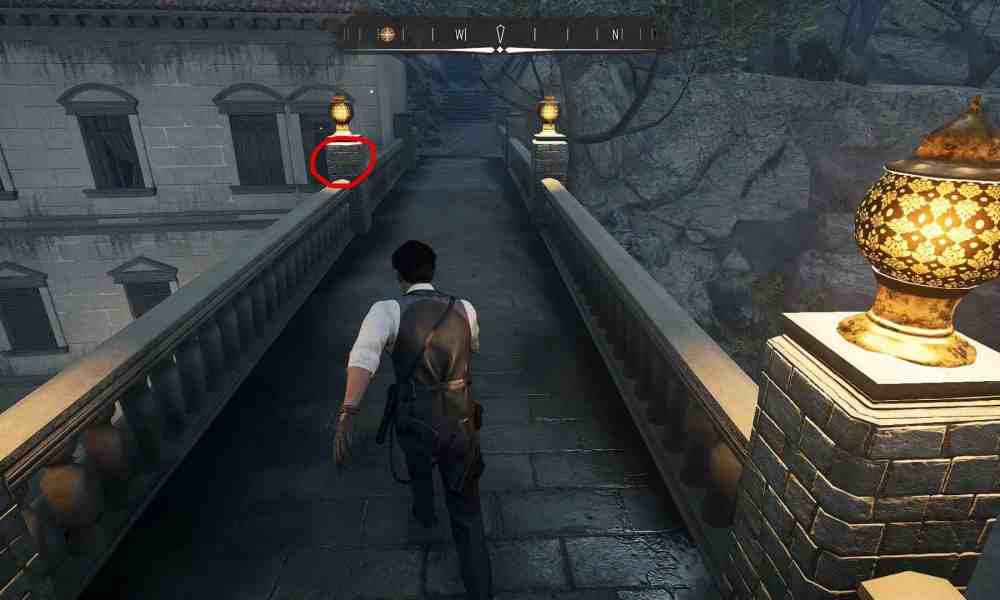
The clue is in Grand Saray. It describes two places used by gangs to warn each other when the police were approaching. One point is a gazebo, and the other is near the intersection of Baskerville St and Vernet St. The hidden coin is on the pedestrian bridge that can be seen from both positions. Check the base of one of the gas lamps.Image unavailableImage unavailable
Hidden Coin #4
The fourth clue leads toward Cordona Abbey in eastern Grand Saray. Use Concentration near the abbey gates to identify the place connected to the old shooting. Walk down toward the nearby Bandit Lair. Two trees stand in front of it. The coin is hidden between the roots of the smaller tree.
Hidden Coin #5
In southeastern Scaladio, we find a broken vase where the clue should have been. Use Concentration and follow the animal tracks to recover the note. After learning the location of the guesthouse, head toward the stone bridge on Redbeard Rd near Bazaar Rd. The coin is tucked behind a loose stone at the base of the bridge.
Hidden Coin #6
The clue is behind the Legacy Theatre in southern Scaladio. Mycroft mentions watching one of the rear theater entrances and hiding the coin inside a toy boat. Look northwest of the theater toward the drained canal. The boat is still there, with the coin inside.
Hidden Coin #7
Find the clue near the Gul Afshar Caravanserai in Old City. If needed, use an Ottoman-style disguise and question people connected to the Rhamir family. The coin itself is under a large tree in the courtyard between Bakery St and Hermes Ave, north of the caravanserai.
Hidden Coin #8
The clue is near Geleneksel Kahve in northern Old City. Follow the moon symbols through the streets in the order indicated by the clue. They eventually lead to the small park between Scarlet St, Ram St, and Riza St, close to Hava Watchtower. Search beneath the tree there.
Hidden Coin #9
This one is simple. The clue is in eastern Silverton and tells us to follow the railway until it meets the sea. Go to the northeastern end of the tracks, around the far end of Bazaar Rd, and search beside the rail terminus.
Hidden Coin #10
The final clue is near Iron Bridge in Silverton. Put on a military or sailor-style outfit if we need help from locals. Cross Iron Bridge and turn onto Grange St. The trail leads to an abandoned bar. Deal with the thugs inside and search the building to recover the last coin and finish In For A Penny.
Other Cases and Cordona Stories
The sections above cover the large investigations from the original walkthrough in detail. The base game contains 30 cases in total, including shorter Police Cases and Cordona Stories. Below I have added the missing ones in a more compact format so the walkthrough is actually complete.
Eel Hunting
After finishing A Gilded Cage, visit the Cordona Chronicle and speak with Ms. Sertel. Mycroft wants Sherlock to investigate the Eels, a smuggling gang operating through Silverton.Three warehouses are marked during the investigation. The correct location is Warehouse No. 2, the middle warehouse. Enter it, defeat the smugglers, and deal with Friedrich Panzer. Return to Ms. Sertel to finish the case.
The Missing Shopkeeper
Ms. Sertel offers this case immediately after Eel Hunting. Travel to Angelo Dondolo's bookshop at the eastern end of Ceto St in Old City. Inspect the lock and letter, pin the new clue, then follow the footprints to a nearby yard.Question the locals in worker clothing and follow the trail along Castle Rd until it reaches the old cart and the bandit hideout. Clear the hideout and search the tables for the keys. Angelo's body is inside one of the cells.If we want the optional achievement, inspect the other cell, use Concentration near the mattress, and check the loose floor tile to find the hidden red copy of Crime and Punishment. Return to Ms. Sertel. We can tell her the truth about Angelo or lie to spare her the details. Either way, the case ends.
The Collie Shangles
After the police combat tutorial, take the next report from the board inside the Police Station. The crime scene is the Golden Eel bar in Old City, on Scarlet St west of Sesame St.Inspect the broken furniture, bottles, blood, knife, and other marked evidence, then reconstruct the fight. The important conclusion is that the soldier tried to stab the trader but accidentally killed the sailor. Return to the Police Station and report the result.
Splitting the Loot
This Police Case follows The Collie Shangles. Go to the backyard on Engineer Ln in northern Silverton, between Ebernote St and Coalpit St. Search all six marked areas and reconstruct the shootout.After the first reconstruction, Sherlock realizes something is missing. Pin The Missing Piece and inspect the footprint near the dying robber. This reveals that Officer Schmidt killed the final survivor and took the stolen money. Report the truth at the Police Station.
What Was Did in the Shadows
Take the next police report and travel to Cordona Cemetery. Two men were found dead with apparent bite marks, but there are no vampires involved.Inspect the open grave, campfire, blood, tools, hats, and bottle, then reconstruct the scene. One man killed the anatomist after catching him exhuming his sister. The reporter then tried to fake a supernatural attack by making bite-like wounds and accidentally killed the second victim. Return to the station.
The Scapegoat
After What Was Did in the Shadows, collect the next report. Travel to the Forest Ruins west of Cordona Cemetery in Miner's End.Search the ritual site, including the goat remains and the necklace hidden in the bushes. Reconstruct the drunken ritual and work out what happened to the stolen goat. Once Sherlock has the full sequence, return to the Police Station.
Plan Bee
This is the final Police Case and starts automatically after The Scapegoat. Analyze the burned papers and follow the information about the Hive Master to the apiary.Observe the man there carefully. The important deduction is that he is Chief Inspector Placido, not the Hive Master. After the conversation, return to Sergeant Stark. We can reveal that Placido is alive or respect his wish to disappear. Either choice closes the police-case chain.
Siren Song
After A Gilded Cage, eavesdrop on the sailors near the Drinking Dutchman in Silverton. They talk about a drowned sailor and a supposed siren.Investigate the body near the cemetery, follow the footprints, and inspect the cigarette at the jetty. Use the Police Archive to find the second drowned sailor, then investigate the public park in Scaladio. The evidence eventually leads us to the woman responsible for the deaths. We can hand her over or tell her to stop. The case ends either way.
Street Magic
After A Gilded Cage, eavesdrop on the men on Harbour Ave in Scaladio. They mention a fortune-teller boy who was chased after calling someone a liar.Inspect the destroyed stall and pick up the magician's hat. Pin Magical Prodigy and follow the tracks down toward the beach. Observe the boy and choose Bored rich kid. Speak with him to finish the case. Wearing the magician's hat during the conversation also completes the related optional challenge.
Blindsided
After The Muse From Abroad, eavesdrop on the men inside the Cordona Chronicle. They mention a man whose eyes were shot out at the Old Ruins in southwestern Grand Saray.Investigate the duel scene and perform both reconstructions. The second one reveals a hidden fourth participant. Search the archives, investigate the von Staub residence, and then find the Blind Duelling Club at the southern end of Baskerville St. Wear the yellow Duellist Suit to enter.The investigation ultimately points to Magda von Staub. For the correct accusation sequence, use LeMat Revolver, Duel in the Ruins, and Letter to Mr. Boddington. We can still decide whether to punish or spare her.
The Tale of the Empty House
This Cordona Story is tied to restoring Stonewood Manor. As we explore the city, furniture and antique traders sell objects connected to Sherlock's childhood.Buy the required items from the art, garden decoration, luxury furniture, cheap antique, and oriental furniture traders. Return to Stonewood Manor and inspect the restored areas while the corresponding Casebook objectives are pinned. Completing every room finishes the story.
Silence is Golden
Visit City Hall Square and the story starts automatically. Pin it in the Casebook and use Concentration near Jon. Follow the childhood silhouettes around City Hall, inspecting each part of the memory until Sherlock and Mycroft leave the square. The story ends as soon as the memory is complete.
Treasure Island: Stage 1
Speak to the street crier at City Hall Square. He gives us eight photographs showing the first set of treasure locations. The boxes themselves are not marked on the map, so pin a photograph and compare it with recognizable landmarks.The first set is:
Carriage in a Yard.
Long Bridge.
Lion Monuments.
Short Bridge.
Bench on a Pier.
Snug Gazebo.
Sandy Shore.
High Tower.
Find all eight and return to the street crier to unlock Stage 2.
Treasure Island: Stage 2
The second group contains:
Rocky Shore.
Secret Sea View.
Tower Stairs.
Closed Mine.
Big Depot.
Tower Near Bridge.
Little Park.
Crumbling Column.
After finding all eight boxes, return to the same street crier for the final photographs.
Treasure Island: Stage 3
The last eight treasures are:
Near the Crane.
Rocky Mountain.
Tree on a Bridge.
Old Bridge.
Under the Pipes.
Aqueduct.
Segmented House.
Hidden Market in a Yard.
Return to the quest giver after collecting all 24 treasures. Make sure we do this before entering the garden at the end of A Mother's Love, because there is no free roam after the final story sequence unless we reload an earlier save.
The Hand-Me-Down
This small treasure hunt begins near eastern Scarlet St in Old City. Inspect the monument and follow the first riddle to the initial stash.The second stash is in southwestern Grand Saray. Another clue in that area leads to the final treasure nearby. Recover it to finish the story and receive the magnifying glass reward.
Flashes of Merriment
Visit the Legacy Theatre in Scaladio and inspect the poster at the main entrance. Go around to the rear of the theater, pin Memories of the Play, and use Concentration.Follow the childhood memory from one silhouette to the next: the boys fighting, the girl, the boy behind the table, the crowd, the man on the stairs, and finally the child entering the theater. The story completes automatically.
The Ghost-Hunter
Near the Drinking Dutchman in Silverton, inspect the yellow ghost poster at the entrance to the docks. Go down to the dockside scene and examine the broken glass, blood, and fallen sign.Reconstruct what happened, then pin The Hunter Becomes the Hunted and follow the trail south. It ends at a shack near Bazaar Rd and Ebernote St. Search the table inside. Sherlock discovers that the Ghost-Hunter was creating the ghost himself with a costume and modified flute, then charging frightened people to deal with it.
For the Birds
Visit the Silver Mines Monument in Miner's End and inspect the empty bird cage. Wear working-class clothing and question the locals about the Silver Canary.The trail leads to the Flowers of Good pub at the northern end of Lestrade Rd. Eavesdrop on the conversation outside and select the clues about poverty in Miner's End, the lost family, the stolen canary, and the bird being thrown into the sea. This reveals the canary's fate and finishes the story.
A Mad Rogue
Visit the Fortress of the Holy Spirit Ruins in Old City. Pin the story and use Concentration on the first childhood silhouette.Follow Sherlock and Jon's old memory through the streets until the final pair of silhouettes. Search the rocks at the end of the route and pick up the skull hidden underneath. This completes the case.
Pillar of Knives
This Cordona Story starts automatically during Love, Death, and Cordona when we inspect the bloodied Pillar of Knives below the Bridge Tower.To complete it, eavesdrop on two conversations. At Old City Market, select Family honour, Blood vengeance, and Old custom. At the barracks, select Just give the order, Near the barracks, and Ottomans taunt us. The story ends immediately after the second conversation.That covers the main story, Mycroft investigations, Police Cases, other side cases, Cordona Stories, the In For A Penny coin hunt, and the Treasure Island chain in Sherlock Holmes Chapter One. Before finishing A Mother's Love in the garden, make a manual save so we can return to Cordona and clean up anything we missed.