A detailed walkthrough for Pathfinder: Wrath of the Righteous, a party-based RPG inspired by Paizo's tabletop Pathfinder Adventure Path of the same name. In this guide, you'll find answers to the most important questions about the game, including difficulty settings, character creation tips, and walkthroughs for the main quests and companion errands.[/note]
Choosing the Difficulty in Pathfinder: Wrath of the Righteous
Before starting the main story, choose the game's difficulty. Every player has to do this. If you simply want to enjoy the story of Pathfinder: Wrath of the Righteous, choose Story mode. The higher the difficulty, the harder not only the main story quests but also other activities will become.
Critical Hits
This option determines the strength of critical hits dealt to your party.
Off: party members will not suffer critical hits.
Weak: damage bonuses are not multiplied on critical hits against your party, making them less dangerous.
Normal: party members take full critical hit damage.
Death's Door
Enable this option to prevent your characters from dying immediately after suffering a lethal injury. Instead, they receive the Death's Door condition, delaying their death. If a character takes another lethal hit while under this condition, they will die. Some effects bypass Death's Door entirely, so characters can still die instantly.
Dead Companions Rise After Combat
Enable this option if you do not want your character or companions to die permanently. They will simply fall unconscious and get back up after combat ends.
Remove Negative Effects on Rest
Characters in the game can suffer various negative conditions, each normally removed in a specific way. Enable this option and these conditions will be cleared automatically after resting at camp.
Auto Level-Up
This option determines which party members level up automatically as you progress through Pathfinder: Wrath of the Righteous. When enabled for all possible characters, progression happens automatically. You can disable auto-leveling for any companion when they gain a level, but from that point onward you will have to level that character manually.
Enemy Stat Adjustments
This option determines the difficulty of many checks and adjusts enemy stats:
Extremely Weaker.
Much Weaker.
Slightly Stronger.
Normal.
Strong.
Extremely Strong.
Damage to Party
This section lets you fine-tune how much damage your party takes from all sources. Set the slider anywhere from 0.2 to 3.0.
Enemy Strength
This option determines how heavily enemy stats are modified:
Weak enemies have their ability scores reduced by 4. Their base attack and defense modifiers are reduced by 2.
Normal enemies use their regular stats.
Strengthened enemies have their ability scores increased by 4. Their base attack and defense modifiers are increased by 2.
Unfair enemies have their ability scores increased by 8. Their base attack and defense modifiers are increased by 4.
Number of Enemies
This option affects the size of combat encounters as well as the strength and stats of the enemies in them. It has two settings:
Reduced number of enemies: many combat encounters contain fewer enemies.
Increased number of enemies: many encounters contain more enemies, and some foes are replaced by more dangerous variants.
The Party's Speed Depends on the Weight You're Carrying
In Pathfinder: Wrath of the Righteous, you explore the world by traveling across the global map. With this option enabled, the total weight of carried items affects your party's movement speed. The more weight you carry, the slower the group moves.
Enable Character Retrain
With this option enabled, you can retrain your character and all available companions. Changing this setting switches the game difficulty to Custom.
Character Creation in Pathfinder: Wrath of the Righteous
In Pathfinder: Wrath of the Righteous, you can choose a premade character whose stats and skills were set by the developers. In this case, there are six heroes to choose from.
Cavalier
Cavaliers are warriors who swear to put their cause above everything else and do whatever it takes to fulfill it. They excel at mounted combat and can often be seen charging across the battlefield beneath the long, flowing banner of their order.Attributes:
Strength: 19 (+4).
Constitution: 12 (+1).
Wisdom: 10 (+0).
Dexterity: 14 (+2).
Intelligence: 10 (+0).
Charisma: 14 (+2).
Skills:
Athletics +4.
Persuasion +9.
Mobility +6.
Perception +3.
Stealth +2.
Trickery +2.
Use Magic Device +2.
Abilities:
Animal Companion: the character chooses a companion from the available animals. It can wear armor and grows stronger as the Cavalier levels up.
Order: every Cavalier chooses the knightly order they belong to. The order grants the Challenge ability, which provides an advantage against a single enemy.
Tactician: the character gains bonus teamwork feats that improve combat effectiveness when fighting alongside allies who share the same feats. The effect extends to all companions.
Cleric
Always ready to defend their deity's honor in battle, Clerics can be durable and capable fighters. Their true strength, however, lies in channeling divine power to empower themselves and their allies.Attributes:
Strength: 14 (+2).
Constitution: 16 (+3).
Wisdom: 17 (+3).
Dexterity: 12 (+1).
Intelligence: 18 (-1).
Charisma: 14 (+2).
Skills:
Athletics +2.
Persuasion +7.
Mobility +1.
Perception +2.
Stealth +1.
Trickery +1.
Use Magic Device +2.
Knowledge (Arcana): -1.
Knowledge (World): -1.
Lore (Nature): +3.
Lore (Religion): +3.
Abilities:
Channel Energy: every Cleric chooses a deity and gains the ability to channel positive or negative energy. Channel Energy can heal or damage everyone nearby depending on whether the energy is directed at living creatures or undead.
Domains: a Cleric chooses two available domains, which grant additional spells and abilities. They can also influence the Cleric's specialization.
Spontaneous Casting: a Cleric can prepare a limited number of spells after each rest. Any prepared spell can be converted into a healing or inflict spell.
Fighter
Fighters belong in the thick of battle. They are exceptionally good at surviving and defeating enemies. With access to a wide range of tactics, few opponents can match them in a direct confrontation.Attributes:
Strength: 16 (+3).
Constitution: 16 (+3).
Wisdom: 10 (+0).
Dexterity: 15 (+2).
Intelligence: 13 (+1).
Charisma: 10 (+0).
Skills:
Athletics +7.
Persuasion +0.
Mobility +3.
Perception +0.
Stealth +2.
Trickery +2.
Use Magic Device +0.
Knowledge (Arcana): +1.
Knowledge (World): +5.
Lore (Nature): +4.
Lore (Religion): +0.
Abilities:
Combat Feats: Fighters gain twice as many feats as most other classes. Some are directly tied to combat, and Fighters also have unique feats that improve damage and hit chance.
Weapon Training: a Fighter can select a weapon group and gain bonuses to attack and damage rolls while using it. Later, the Fighter can select additional weapon groups or unlock unique abilities.
Armor Training: Fighters use armor more effectively than any other class, gradually reducing the penalties associated with wearing it.
Rogue
Rogues excel at moving unseen and catching enemies off guard, but they usually avoid direct confrontations. Their many skills and abilities make them extremely flexible, and every Rogue tends to specialize in a particular field.Attributes:
Strength: 10 (+0).
Constitution: 16 (+3).
Wisdom: 10 (+0).
Dexterity: 17 (+3).
Intelligence: 14 (+2).
Charisma: 12 (+1).
Skills:
Athletics +0.
Persuasion +1.
Mobility +7.
Perception +7.
Stealth +11.
Trickery +7.
Use Magic Device +1.
Knowledge (Arcana): +3.
Knowledge (World): +8.
Lore (Nature): +0.
Lore (Religion): +0.
Abilities:
Sneak Attack: Rogues usually gain an advantage when enemies are distracted by other party members. Attack from darkness, blind enemies, and use other ways to catch them off guard to deal as much damage as possible.
Rogue Talents: as a Rogue levels up, they can select unique abilities that improve both utility and combat potential.
Debilitating Injury: after successfully landing a Sneak Attack, the Rogue inflicts a special wound that weakens the enemy and applies a negative effect. Several different effects are available, and you choose which one to apply.
Slayer
Slayers are masters of tracking prey and highly skilled hunters. They spend their lives perfecting their weapon skills while studying the habits and anatomy of their enemies.Attributes:
Strength: 10 (+0).
Constitution: 14 (+2).
Wisdom: 12 (+1).
Dexterity: 19 (+4).
Intelligence: 16 (+3).
Charisma: 8 (-1).
Skills:
Athletics +0.
Persuasion +3.
Mobility +8.
Perception +5.
Stealth +10.
Trickery +4.
Use Magic Device -1.
Knowledge (Arcana): +4.
Knowledge (World): +3.
Lore (Nature): +1.
Lore (Religion): +1.
Abilities:
Study Target: an active ability that grants bonuses to attack and damage rolls against a studied enemy.
Slayer Talents: as the Slayer progresses, they choose unique abilities in addition to regular feats. These improve combat potential and help define the character's playstyle.
Sneak Attack: Slayers usually gain an advantage when enemies are distracted by other party members. Attack from darkness, blind enemies, and use other ways to catch them off guard to deal as much damage as possible.
Sorcerer
Although Sorcerers wield magic directly, they know relatively few spells but can cast them frequently. This makes them a formidable force in battle. As they grow stronger and learn new spells, Sorcerers gain additional abilities that can differ greatly from one another.Attributes:
Strength: 8 (-1).
Constitution: 14 (+2).
Wisdom: 10 (+0).
Dexterity: 14 (+2).
Intelligence: 10 (+0).
Charisma: 20 (+5).
Skills:
Athletics -1.
Persuasion +9.
Mobility +2.
Perception +0.
Stealth +2.
Trickery +2.
Use Magic Device +9.
Knowledge (Arcana): +4.
Knowledge (World): +0.
Lore (Nature): +0.
Lore (Religion): +0.
Abilities:
Bloodline: every Sorcerer descends from someone touched by the magic of dragons, fey, devils, or other mystical beings. A Bloodline grants access to a set of spells as well as unique feats and abilities that support a chosen specialization.
Other Classes
Alchemist.
Arcanist.
Bard.
Barbarian.
Witch.
Shaman.
Skald.
Ranger.
Paladin.
Hunter.
Oracle.
Bloodrager.
Monk.
Magus.
Wizard.
Kineticist.
Warpriest.
Cleric.
Druid.
Chapter 1. Trapped in the Darkness
Day of the City
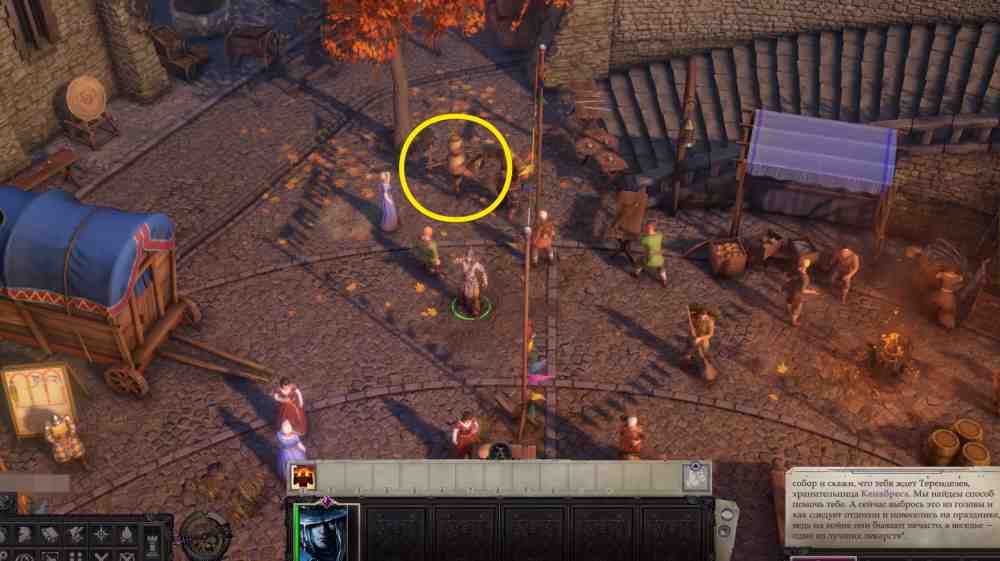
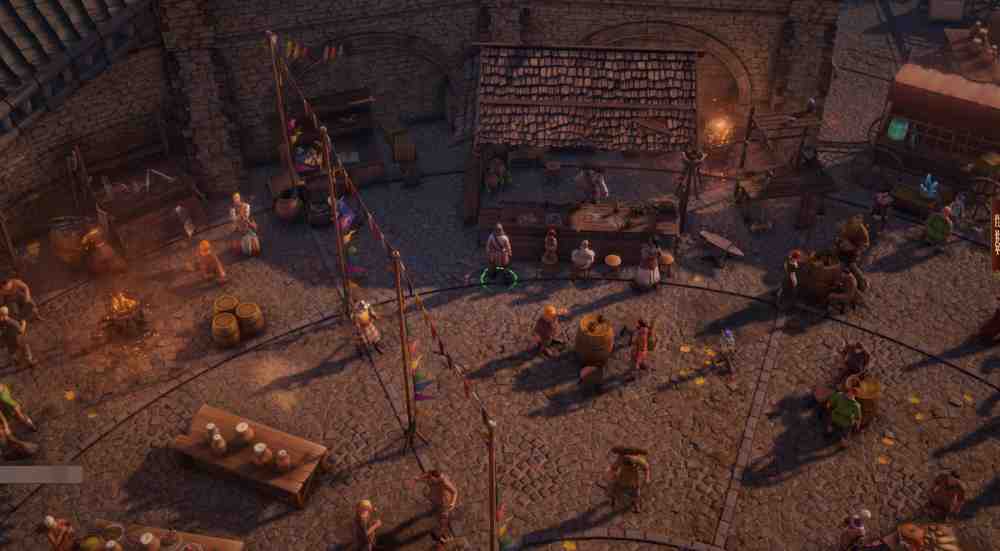
At the very beginning of the game, we are brought into the city. Answer Hulrun's questions, ask Terendelev a few questions, and receive the first quest, Day of the City. The streets are packed with celebrations, so we need to sample the festival drink, throw a dart at a target, and hit a training dummy.The dummy is to the right of the spot where we were carried in.Main Quests. Day of the CityMain Quests. Day of the CitySearch the upper part of the square and try the festival drink.Main Quests. Day of the CityMain Quests. Day of the CityWe will not have time to complete the third activity because demons attack the city. Watch the cutscene and speak with the guard. He gives us a light weapon, but we still do not get a chance to fight the demons. The protagonist falls into the chasm.
Devoured by Darkness
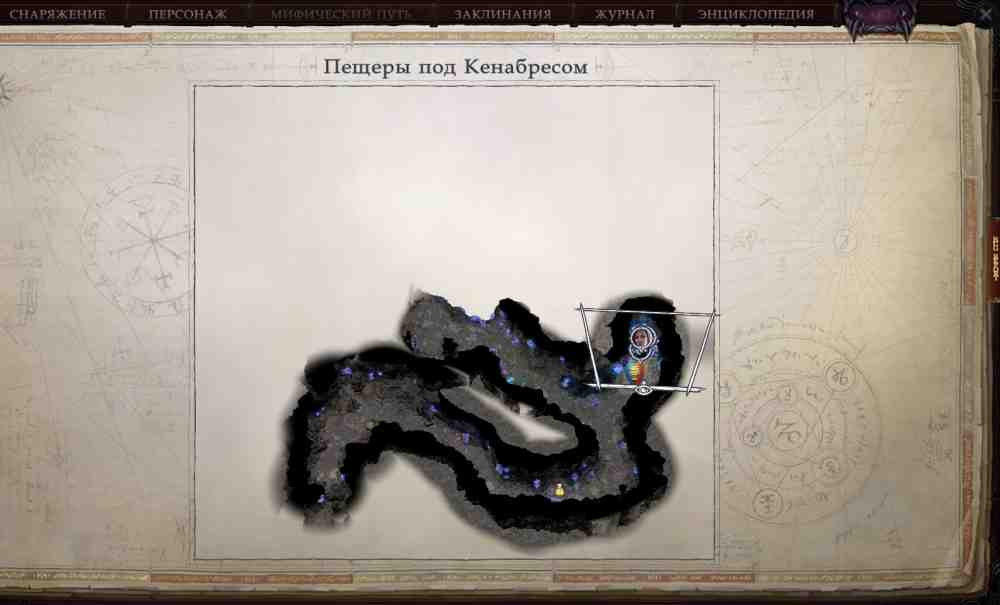
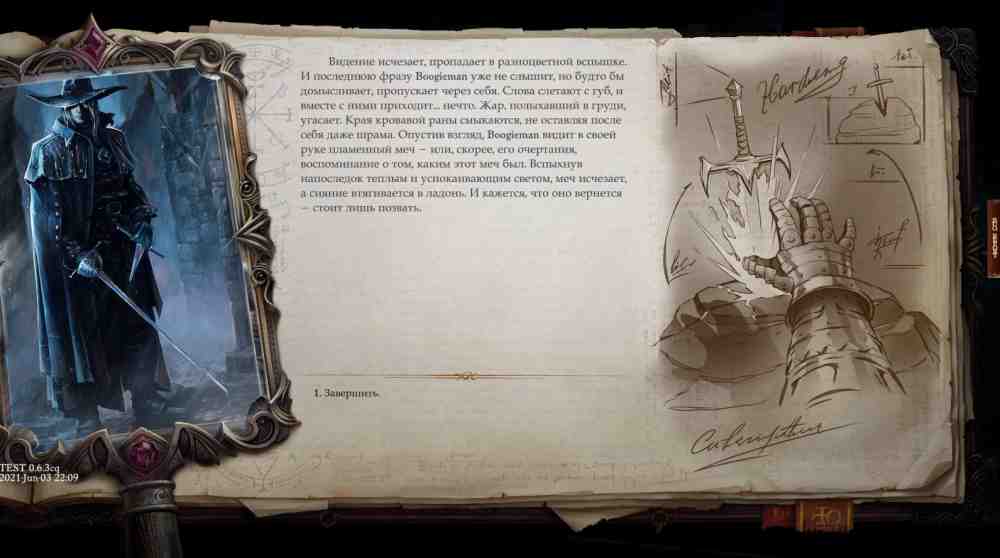
Head deeper into the cave and find two women, Seelah and Anevia. You receive 125 XP. Speak with them. Anevia is trapped beneath a pile of rocks, and you can choose what to do: Choose one of the options depending on your skills. If you help for free, Seelah joins the party. Continue deeper into the cave and loot the chest. Later, another woman, Camellia, joins us. Inspect the corpse and equip a torch in the off hand. Continue through the cave until you reach a fork. Go right, find a corpse, and inspect it. Return to the fork and head left.Main Quests. Devoured by DarknessMain Quests. Devoured by DarknessMeet Lann and Wenduag. You can kill them, but if you spare them, they help the group look for the sword and you receive a good amount of XP. If you choose the second option, inspect the piles of rocks scattered around the cave and find the sword. A dialogue window with a short story appears. Choose:Choose the first option. The protagonist tries to heal the girl with golden hair:Choose the first or second option. The protagonist shakes off the pain and numbness, raises the flaming blade, and strikes the flesh of the demonic creature attacking them. Before the vision ends, the monster speaks a line that you need to complete:Devoured by DarknessDevoured by DarknessTo leave the cave, pass a Mobility check. We now have five party members. On the way, Wenduag asks us not to show Sull the Light of Heaven. Tell her that you will think about it and leave the first part of the cave.We arrive in the mongrel village. Decide whether to tell Sull about the heavenly light or keep quiet. In the first case, you confirm Lann's words (Lawful). In the second, you make him look like a liar (Chaotic).Make your choice and head to the hut to rest. On the way, meet Horgus Gwerm. Ask who he is and what he is doing here. He asks for help. If your Diplomacy is high enough, you can raise his payment to 2,000 gold. This gives access to the next chapter, The Wardstone Legacy.Near the hut, meet the merchant Dyra. Talk to her and trade if you want, then rest in the hut. In the morning, speak with Lann. If you told Sull about the Light of Heaven, Wenduag leaves the party. An exit marker appears on the right side of the map. Follow it to reach the caves near the Shield Maze.On the approach to the maze, you encounter tribe members who are afraid to go inside. You can stay and explore the cave or enter the old castle ruins immediately. Kill the cultists, disarm the trap, and collect all valuable items. There is also a locked door here. Go down into the dungeon, kill every enemy, and find a clue pointing to the torch near the locked door in the maze. Return upstairs, use the torch, and open the door.Devoured by DarknessDevoured by Darkness
How to Solve the Colored Stone Puzzle in Pathfinder: Wrath of the Righteous
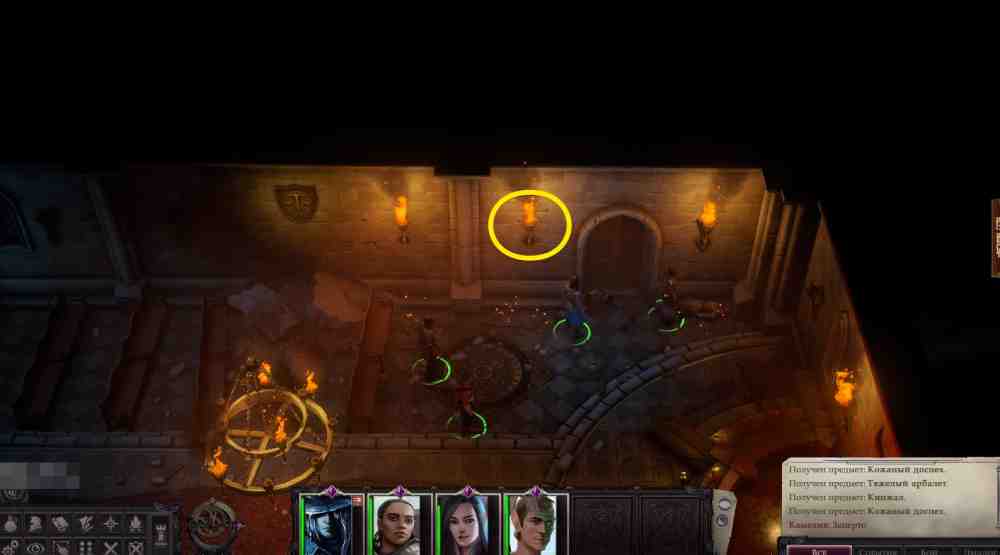
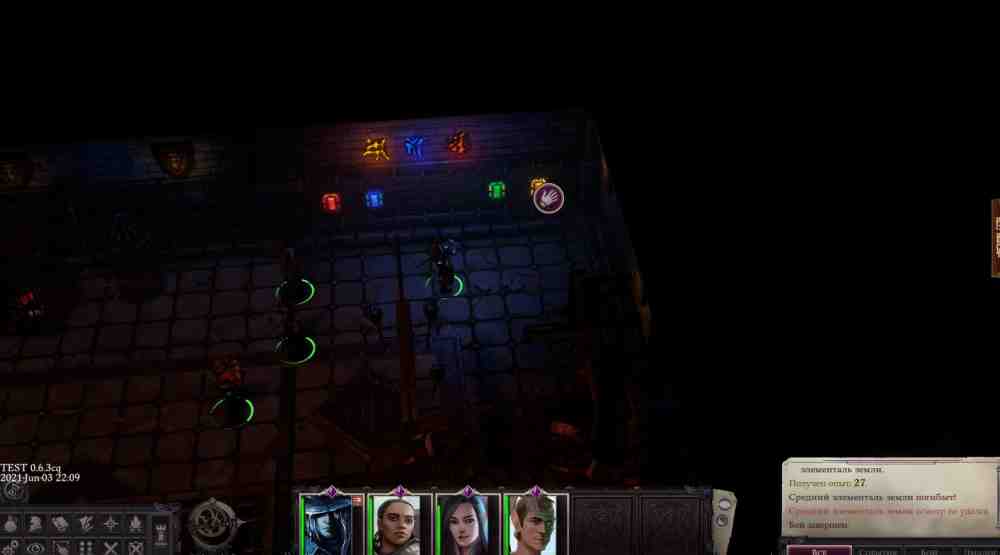
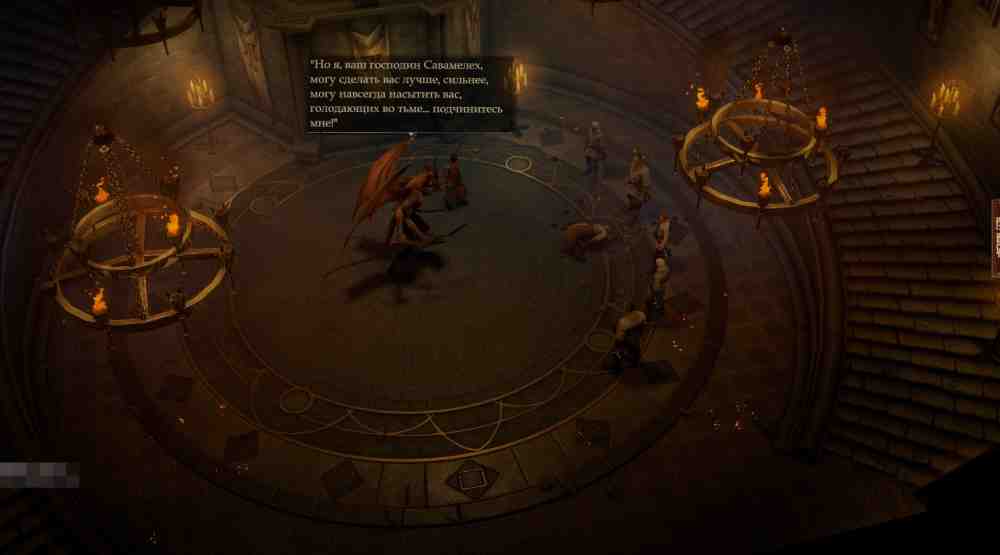
Near the statue of Baphomet, search two rooms, one of which is hidden and can also be opened with a torch, then head into the room on the right. Kill several enemies here. On the left wall, you will see colored stones. The story reveals the clue later, but if you are already reading this walkthrough, you can open it now. Speak with your companions and collect the useful items from the hidden room.How to Solve the Colored Stone Puzzle in Pathfinder: Wrath of the RighteousHow to Solve the Colored Stone Puzzle in Pathfinder: Wrath of the RighteousDo this and return upstairs to the main hall. Open the door to the right of the altar and fight several dretches. Climb the long spiral staircase and watch the cutscene with the monsters.How to Solve the Colored Stone Puzzle in Pathfinder: Wrath of the RighteousHow to Solve the Colored Stone Puzzle in Pathfinder: Wrath of the RighteousImmediately after the cutscene, you can either surrender to rage or grasp the light hidden within the protagonist. Fight Hosilla and Wenduag, then several more demons. Wenduag survives and manages to escape, leaving you to exit the dungeon. The transition to the next location is in the adjacent room with the channel.
Chapter 2. The Wardstone Legacy
Chapter 2. The Wardstone Legacy — Pathfinder: Wrath of the Righteous WalkthroughChapter 2. The Wardstone Legacy — Pathfinder: Wrath of the Righteous Walkthrough
The Burning City
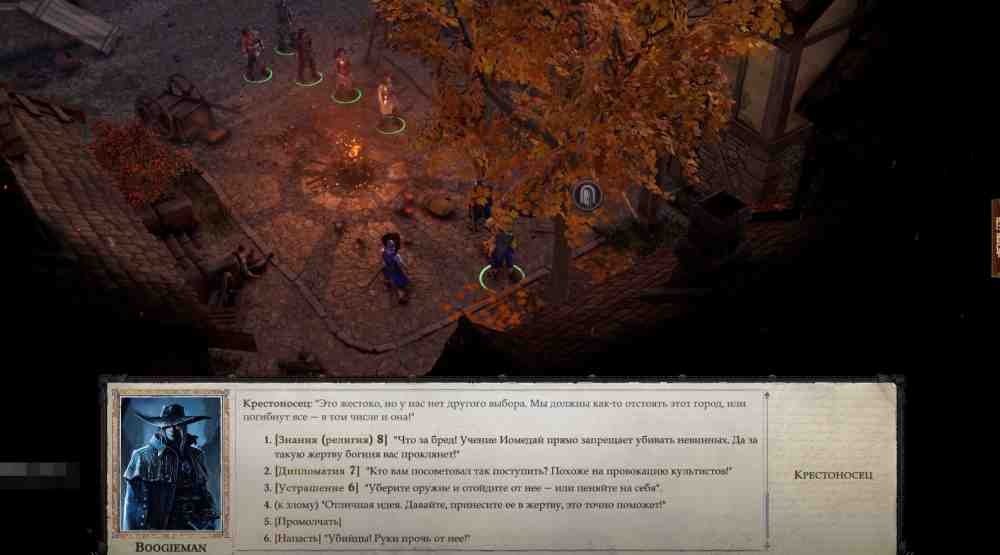
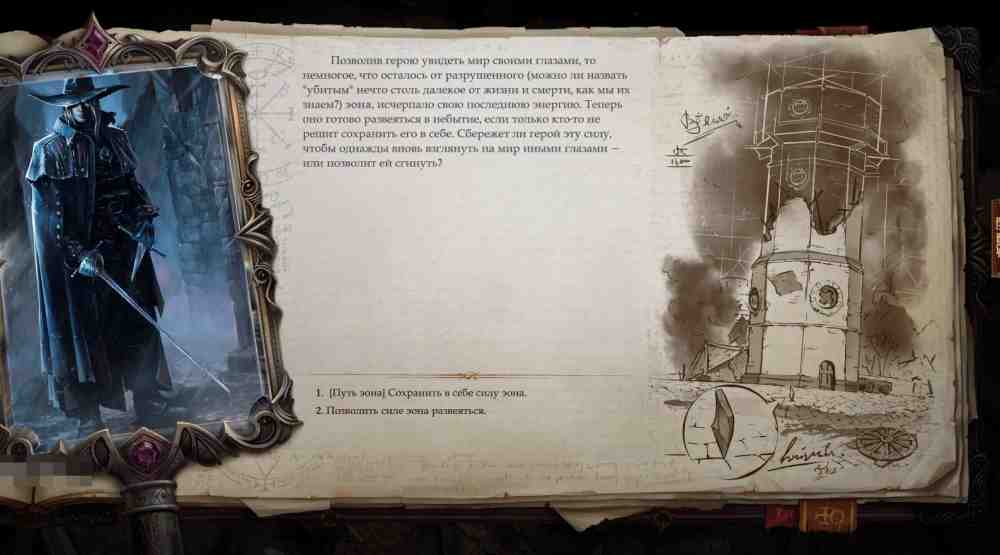
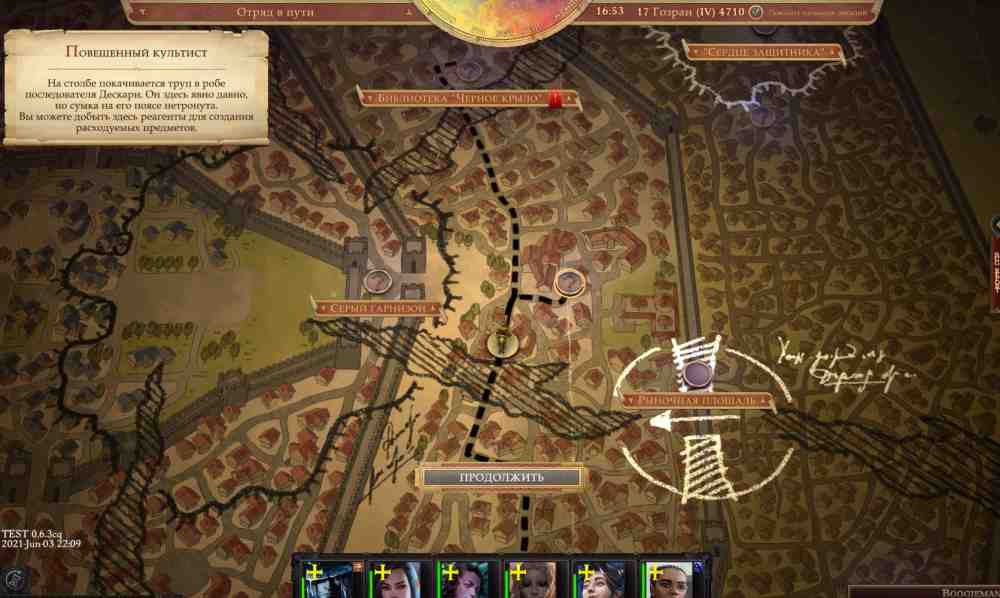
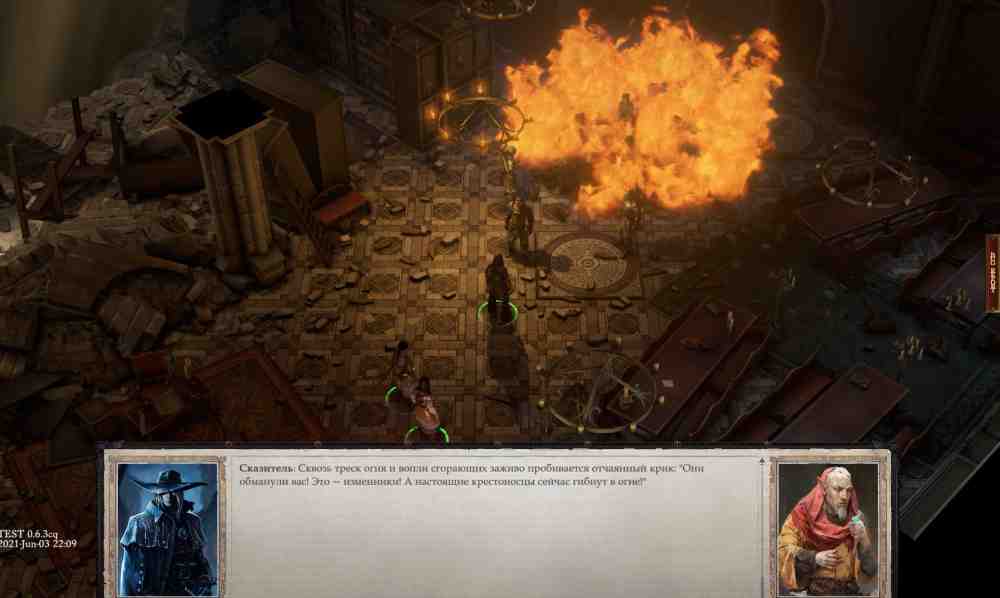
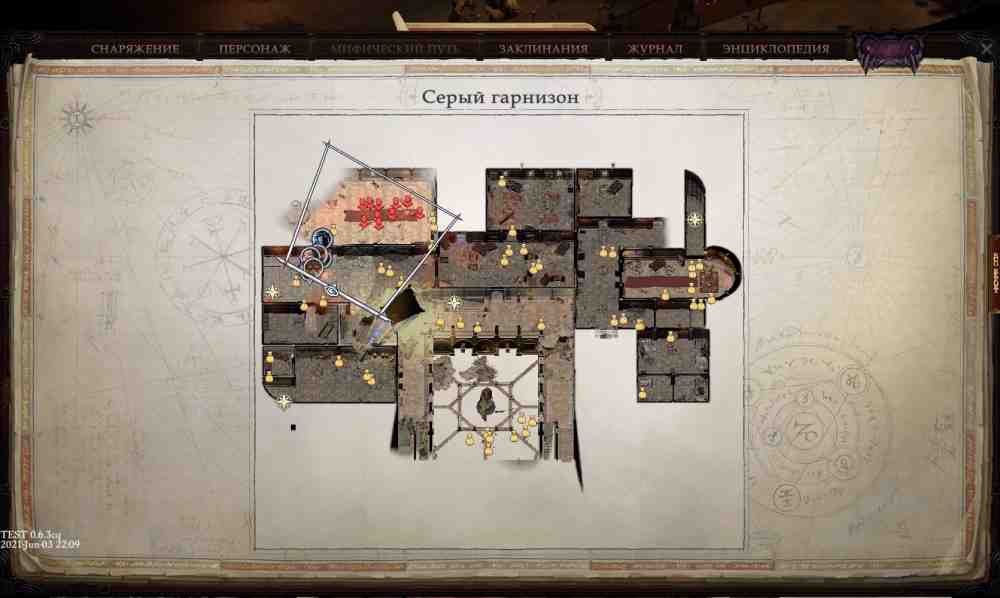
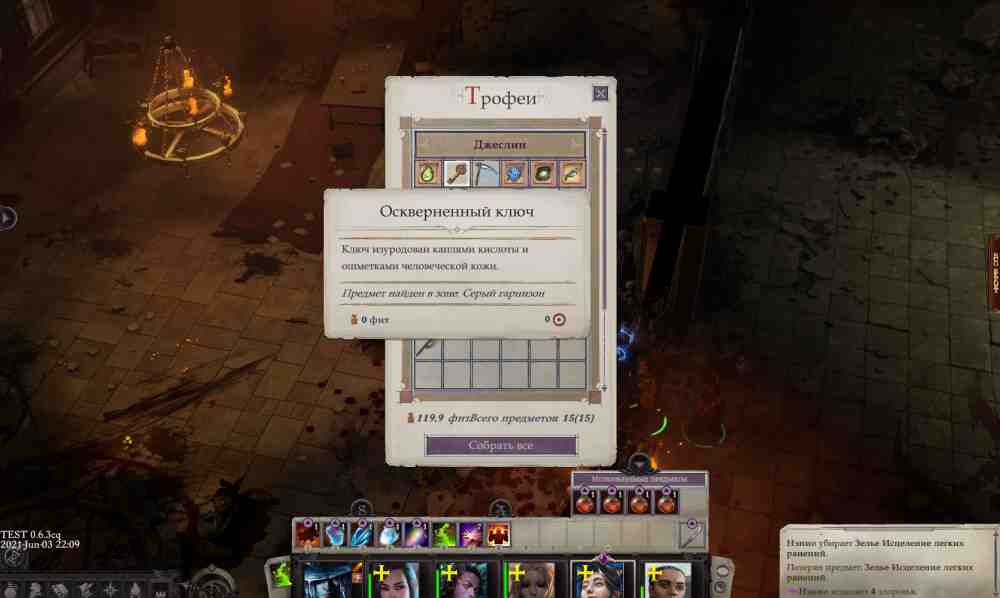
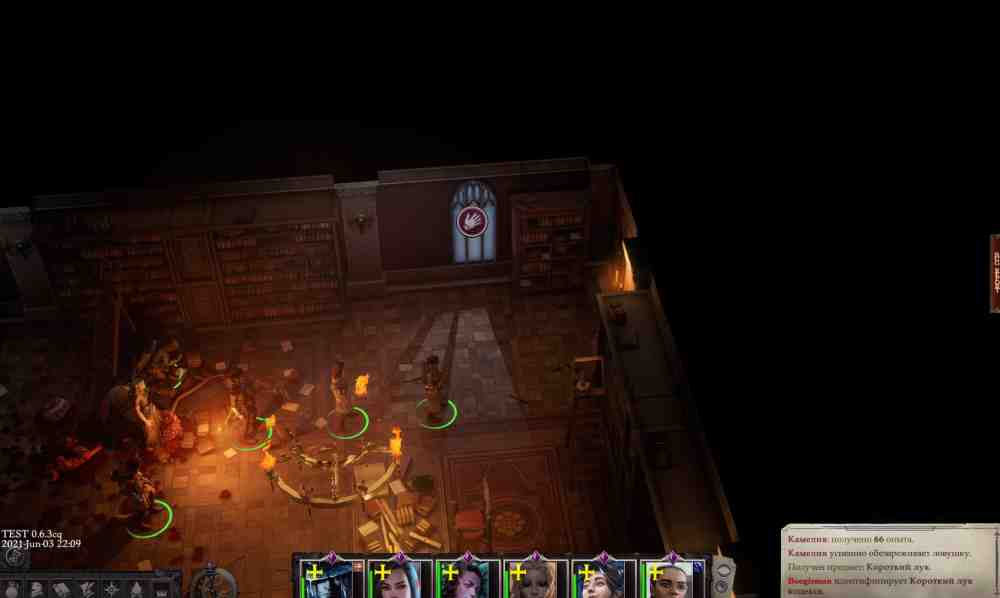
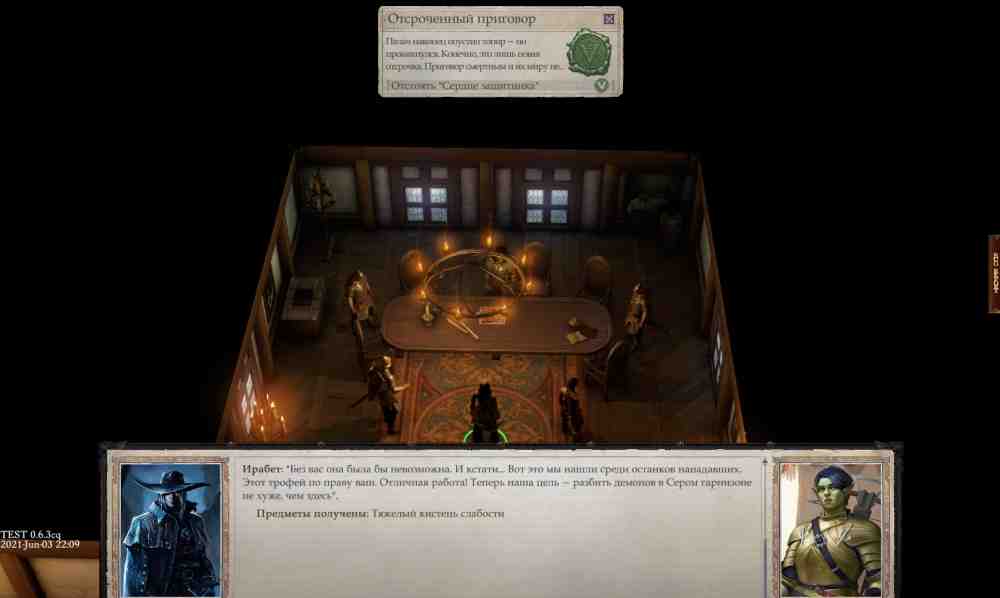
Things are no calmer on the surface. Fierce fighting is still raging across the city. You meet Irabeth, who has just cut down about a dozen demons. Speak with her and climb to the second floor using the stairs. Watch the scene with the defector, kill all the cultists, and follow Irabeth to the third floor.Here you meet the succubus Minagho. Make several choices that shift your alignment toward Angel or Demon, then try to kill the demon. She is extremely strong and may even kill several members of your party.Soon afterward, you wake up in an unfamiliar house in a room with Irabeth. You need to find Staunton and speak with him. He is here in the tavern. After the conversation, a new location opens up: Blackwing Library.Leave for the city map and head down to Market Square. Behind the houses, find several guards who want to kill an innocent girl named Ember. Use one of your skills to talk them out of it, or simply kill them.Main Quests. The Burning CityMain Quests. The Burning CityThis gives us a sixth companion. Reach the far side of the chasm and find the Athletics check.Main Quests. The Burning CityMain Quests. The Burning CityOnce you make it across, you complete the errand The Divided City.Where next? Clear the location and continue down through the city. Meet the inquisitor and decide his fate. The conversation with the inquisitor is covered in more detail in the companion quest A Friend in Need Is a Friend Indeed.Decide the inquisitor's fate and search the ruins. During the conversation with Ramien and the inquisitor, you receive the quest Feud of the Faithful, where you have to decide which of them survives. Regardless of the side you choose, tell the other side that their opponent is dead and complete the quest. This also gives you another quest, Starward Gaze.Look at the world through the Aeon's eyes and choose whether to retain its power within yourself or let it dissipate.Main Quests. The Burning CityMain Quests. The Burning CityAt the festival grounds, kill the monsters and find the servant. Speaking with him activates the errand No Better Time for a Banquet.Head to Blackwing Library above Market Square. Along the way, you can discover a location with a hanged cultist. You can collect the following items there:Main Quests. The Burning CityMain Quests. The Burning CityOnce you reach the library, speak with Chaleb. Pay attention to the way he talks and realize that he is lying. Choose the [Lawful] [Athletics 12] option or attack them. If you simply attack, Chaleb will have enough time to set the crusaders on fire.Main Quests. The Burning CityMain Quests. The Burning CityIn that case, only the Storyteller survives, and the game offers to take you directly to Defender's Heart to speak with him. Agree. Talk to the Storyteller, who is sitting near your room in the tavern, show him the stone and the knife, gain XP several times, and finish the conversation.Main Quests. The Burning CityMain Quests. The Burning CityOnce all related quests are complete, return to Irabeth and tell her you are ready to attack the Gray Garrison. Climb to the second floor and kill the demons. You will see a demon carry off one of the warriors. Go back down to the first floor using the other staircase. Clear the first floor of demons and reach a group of cultists led by Othirubo.Main Quests. The Burning CityMain Quests. The Burning CityKill the cultists and find a door disguised as a bookcase. Behind it is a staircase leading to the second floor. In a small room on the left, you find the demon. She delivers a speech and disappears, while you can collect the ingredient Demoness Heart from the chest.Main Quests. The Burning CityMain Quests. The Burning CityDeal with the remaining demons and find a locked door. It is too early to go through because you do not have the key yet. Pass through the library to the glowing stone and open the door to the large hall opposite it. Another battle awaits here, this time against monsters led by the cultist Jeslyn.Main Quests. The Burning CityMain Quests. The Burning CityJeslyn is a fairly powerful opponent, so prepare before fighting her and her followers. Kill every enemy and loot the Corrupted Key from Jeslyn's body. Use it to open the locked door on this floor.Main Quests. The Burning CityMain Quests. The Burning CityReach the sacred font that the demons have defiled with human organs and cleanse it. That is not enough, however. Go through all the rooms once more and find the sacred paintings that have also been desecrated by demons. One is here on the second floor, while several more are on the first floor in the right and left sections of the garrison.Watch the scene with the demon and the soldier, then climb to the third floor. Pass a Mobility check and touch the Wardstone. Make your decision:Watch the scene of the attack on the city. The demon appears in front of you again. Fight her and witness a traitorous crusader freeing the demon. Return to your allies and complete the quest.
Starward Gaze
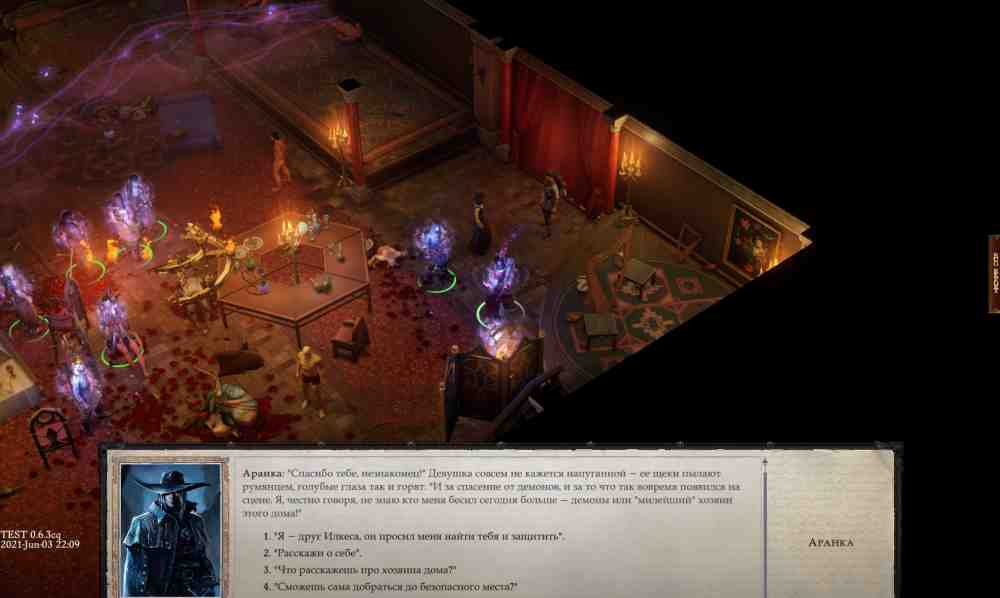
If you sided with Ramien, kill the inquisitor and find Ramien near the festival grounds. Speak with him to begin the quest. A man named Ilkes is standing nearby. Talk to him. He asks you to find Aranka, who is hiding somewhere in the city among friends and admirers. If Ilkes is not standing next to Ramien, go to the Temple of Desna. Head to the Arendae Party House and find the girl there.Starward GazeStarward GazeReturn to Market Square and speak with the only crusaders still alive here, who are standing near a peasant. Show one of them Aranka's shawl, and Thall appears. Speak with the inquisitor's men and choose the alignment response you prefer, but make sure Thall survives.Go to the Temple of Desna and speak with Ilkes. Aranka and Thall are already there. If you want, you can kill all three of them or simply complete the quest.
Spies Amidst Our Ranks
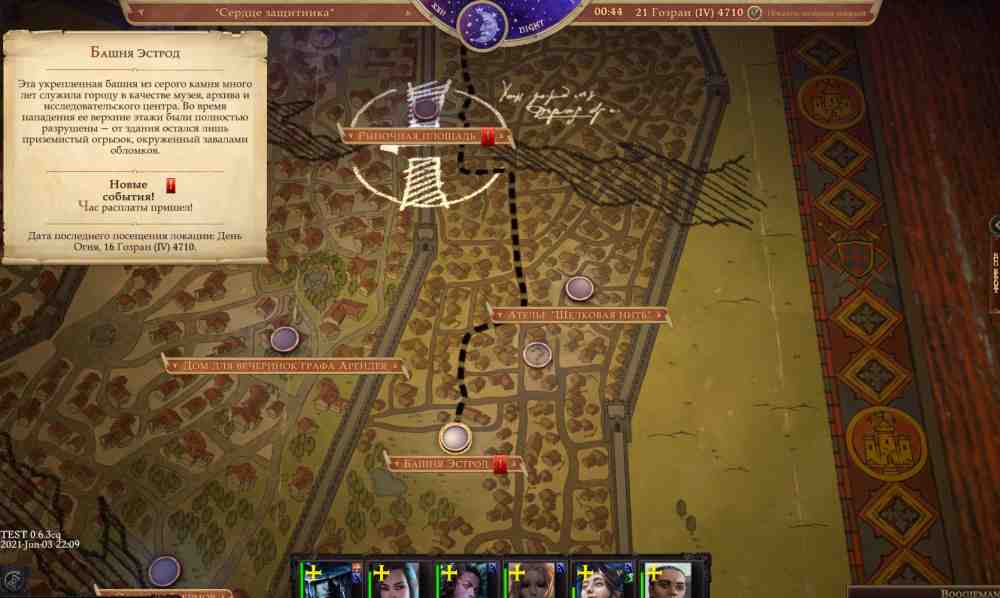
As part of the story, you meet a stranger named Nenio. She approaches the cultists, and you can either stand back and watch what she does or intervene and kill everyone.If you choose to remain silent, you can answer Nenio's questions, but you need sufficient Knowledge skills in Religion and World. Kill all the cultists and answer the girl's final question. If you pass the Knowledge check, the game provides the answer. Otherwise, choose:For Nenio's second question, answer:For the third question, answer:If you answer all three correctly, you receive 120 XP and unlock Nenio's companion quest More Than Nothing.Leave the location and head to the Tower of Estrod, located below Market Square and the atelier. You will encounter two visions here and can speak with them. The door to the tower is locked, but you can see a dwarf on top. Climb the ruins to reach him and watch the scene with the monsters and cultists.Spies Amidst Our RanksSpies Amidst Our RanksDo not waste time. Return to the tavern, report what you discovered to Irabeth, and receive the new quest A Common Cause.To make the majority of the demons leave the tower, you need to complete A Stay of Execution! Then return to the Tower of Estrod and wipe out the remaining enemy forces.Spies Amidst Our RanksSpies Amidst Our RanksQuestion the demon about what he is doing in the tower and kill his followers. Before leaving, go down into the basement and find a man named Teldon. Politely ask him to hand over the museum keys, steal them, or kill him, then ask him to head to Defender's Heart. You can now attack the Gray Garrison as part of The Burning City.
A Common Cause
In this quest, you need to assemble a group of fighters who will help during the assault on the tower.Where to Find Reinforcements:
Gwerm Family Secrets
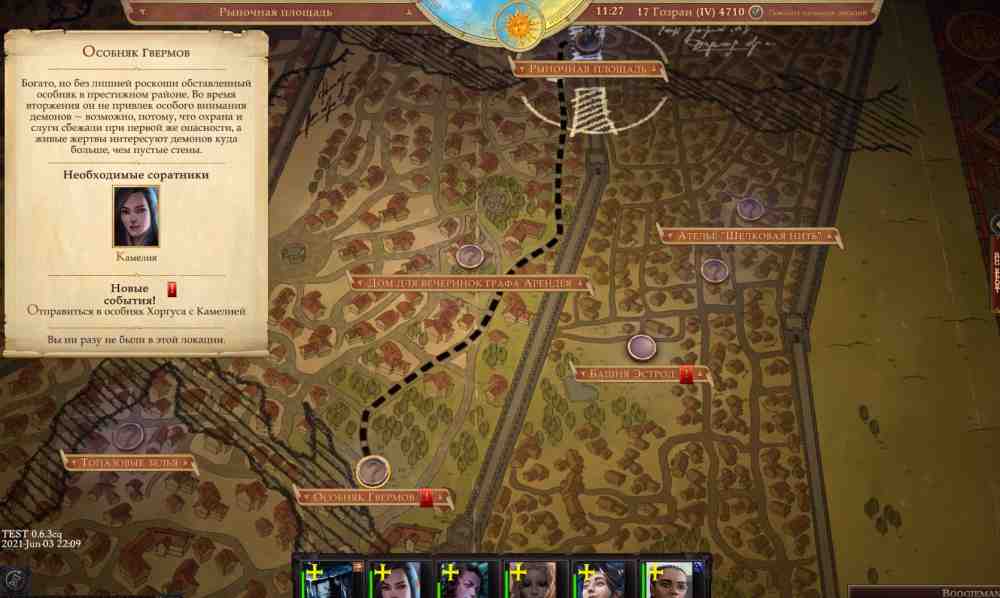
After meeting the demon and losing the fight, you end up in the tavern. First, speak with Horgus, who is there. He gives you the amount of gold you negotiated in the underground area, 2,000 gold in my case. Afterward, he gives you another errand: travel to Gwerm's Mansion with Camellia.Gwerm Family SecretsGwerm Family SecretsReach the mansion and explore it. On the first floor, eliminate several enemies, then climb to the second. Kill several cultists of Baphomet and cambions there as well. In the far room, you find two monsters. This room also contains a door disguised as a bookcase. You cannot open it yet. Find the window opposite the bookcase and wave to Horgus to show that the danger has passed.Gwerm Family SecretsGwerm Family SecretsA moment later, Horgus appears and asks you to follow him after opening the door disguised as a bookcase. Speak with the estate's owner, who turns out not to be the real Horgus. You can kill him or simply take the reward and leave, receiving 2,000 gold.Before leaving the estate, do not forget to search every cabinet and chest and collect all the loot!
A Stay of Execution
To continue this quest, return to the global map and head toward the lower rift. You meet a messenger who reports that Defender's Heart is under attack by demons.Speak with Irabeth and say that you are ready to fight. Kill the horde of cultists, then defeat the Minotaur Bruiser. Repel the remaining attacks and complete the quest.A Stay of ExecutionA Stay of Execution
The Outcast
While exploring Market Square, find an elf named Kaylessa. You can kill her or let her go. If you spare her, speak with Forn in the field hospital during the third chapter and learn that she will soon strike again.
Chapter 3. The Sword of Valor
Chapter 3. The Sword of Valor — Pathfinder: Wrath of the Righteous WalkthroughChapter 3. The Sword of Valor — Pathfinder: Wrath of the Righteous Walkthrough
The Beginning of a Long Road
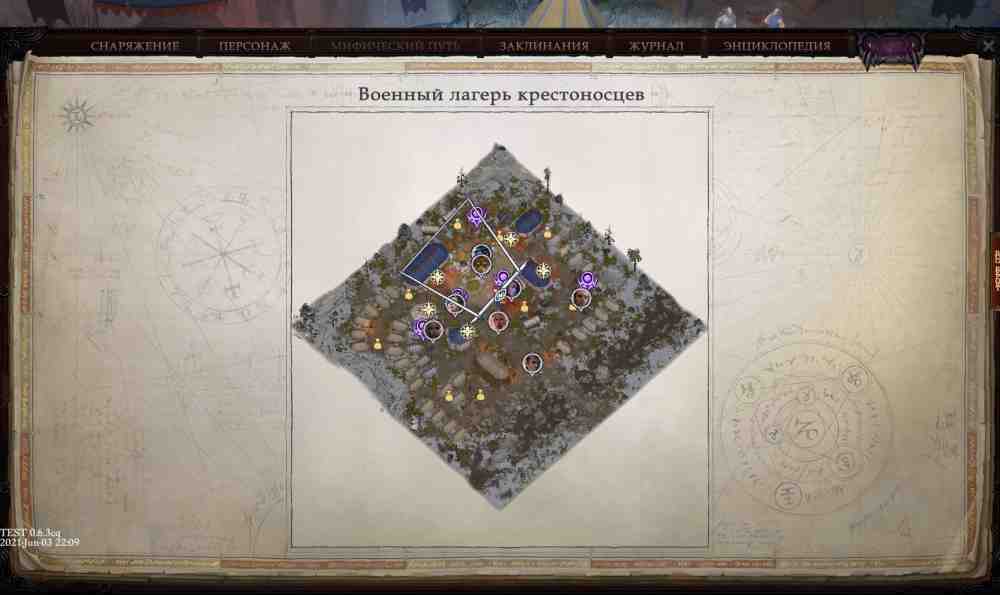
As soon as you receive this quest, open the journal. You need to:All four objectives are located on the same map. Walk around the area and interact with the crusaders to complete them. The army quartermaster is Wilcer Garms, who can be found near the center of the location.The Beginning of a Long RoadThe Beginning of a Long RoadAfter that, enter the commander's tent and speak with Queen Galfrey. Receive the quest, speak with the count, and complete the first part of the mission.
Banner over the Citadel
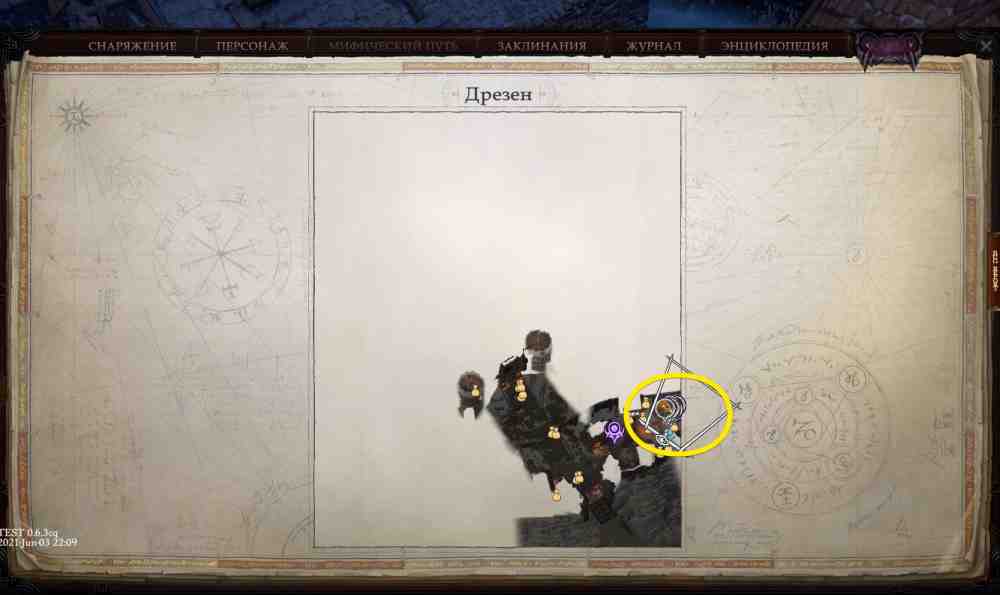
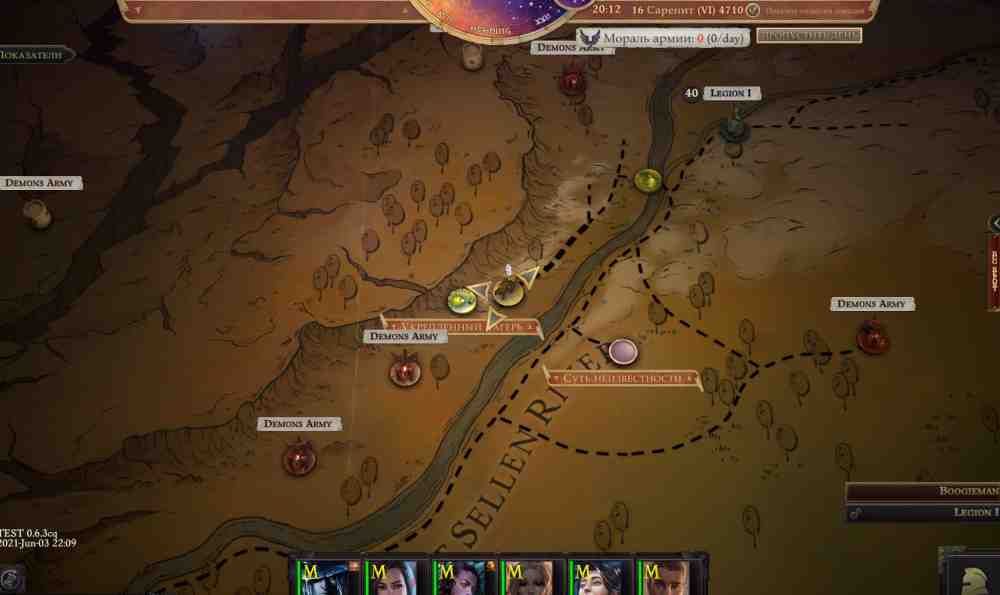
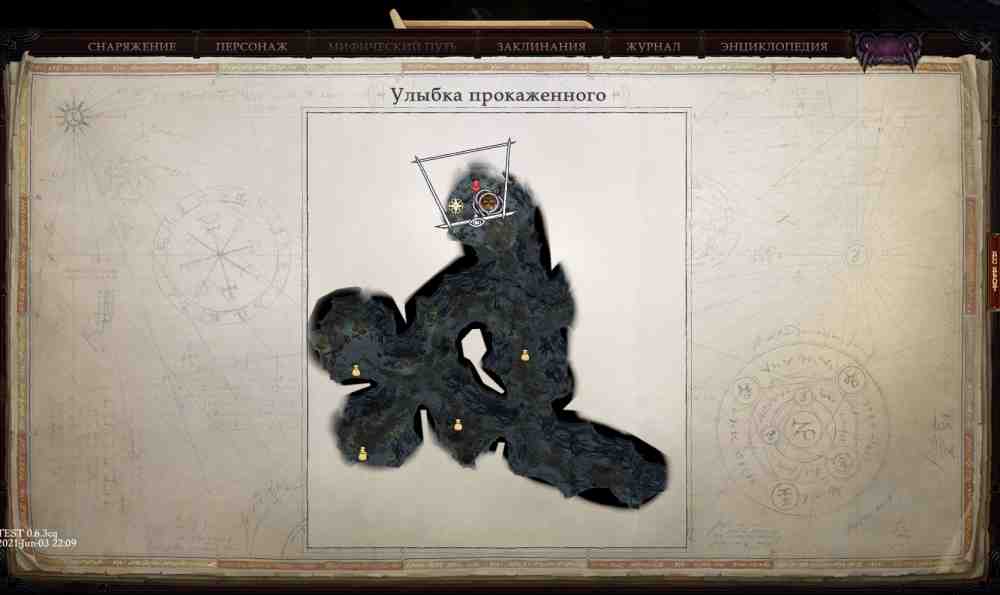
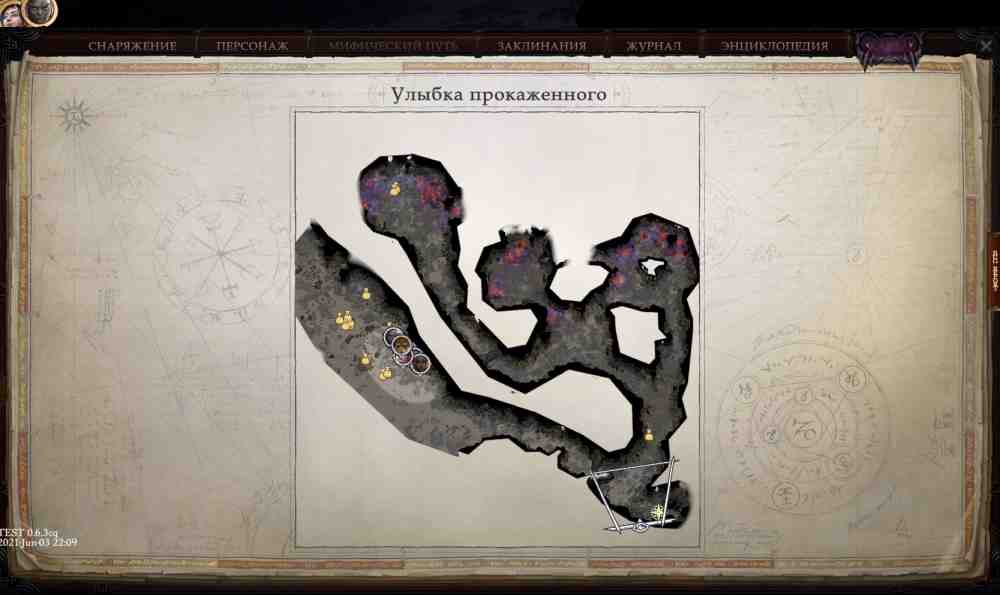
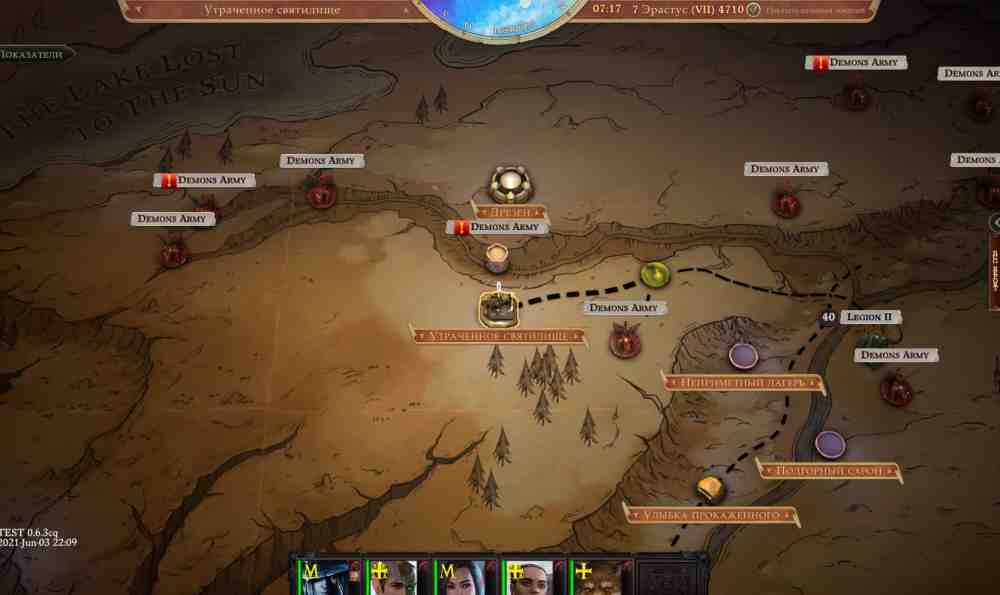
Finish the first part of the previous quest and go to sleep. The bed is inside the commander's tent. Pass several skill checks, after which an exit icon appears inside the tent.Leave the area and head north toward Drezen, destroying demon armies along the way. Do not forget to replenish your crusader army.After the first battle, continue forward with your character and reach a clearing with elves. They offer you tea. Refuse and draw your weapon.Banner over the CitadelBanner over the CitadelKill them and continue wiping out demon groups until you discover Leper's Smile. Here, you have to deal with a swarm of vescavors. Exploring the location also begins another quest, The Music of the Abyss.The quest continues once you reach Drezen. When the city gates are opened, make your way inside and fight the remaining demons and cultists.What to Do During the Assault:
Find Drezen's central, eastern, and western gates.
Kill all demons and assault one of the gates, preferably the central one.
You can explore the prison as part of the quest and kill the giants on the walls. That is where this walkthrough will begin.
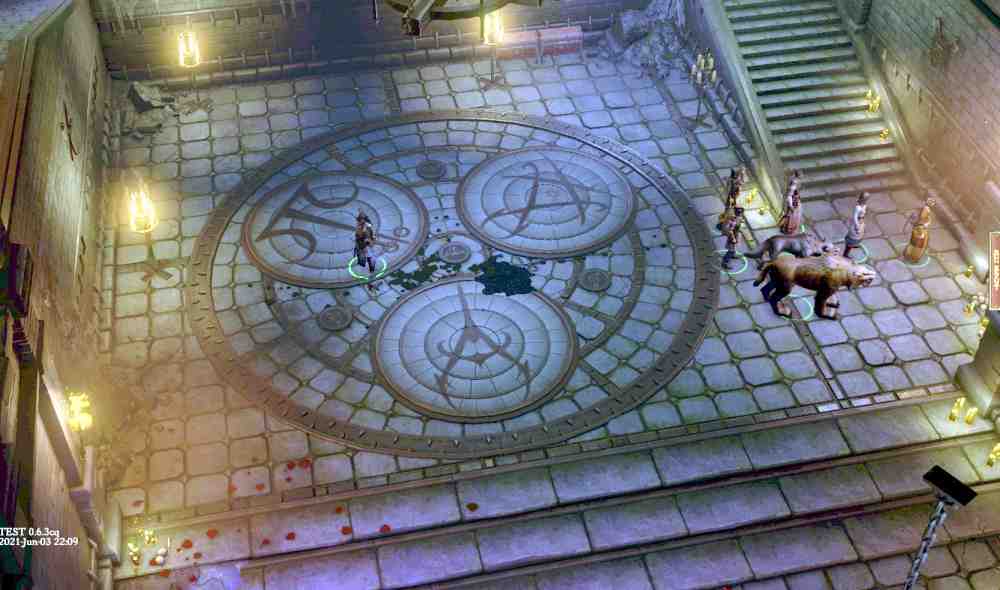
Head to the right side of the area and find the entrance to the ruins.Banner over the CitadelBanner over the CitadelInside the ruins, find the entrance to the prison. One of the cells contains the succubus Arueshalae. You can kill her or release her, depending on what you want. There is also a staircase leading outside.You emerge in the main part of the city. Look at the rooftops because that is where you need to go. Find a ladder on one of the walls and climb up. This is the only way to cross the wall and open the gates.Banner over the CitadelBanner over the CitadelBanner over the CitadelBanner over the CitadelMove along the wall and kill the giants. Once the last giant is dead, the quest updates. Climb down from the walls and find the entrance to the ruins (optional). There, you can find crusader supplies and rest during the battle.Destroy all the demons and return to the main gates. You can now begin the assault. Interact with the gate and the crusaders start breaking it down. While they work, you need to hold off the attacking monsters.Banner over the CitadelBanner over the CitadelSince all three areas have already been cleared, you can begin the assault on the second gate. Once it falls, you encounter a babau. You can use [Intimidate] on the demons to frighten them into running away. Fight the babau.Banner over the CitadelBanner over the CitadelDuring the battle, Greybor appears and drives the babau away. Climb the walls of the central citadel and find the entrance to the dungeon. Before going inside, make sure to visit Wilcer Garms and buy the best armor and weapons you can afford!Find an elf named Yaniel and free her, then reach the statue. You can see several demons below, but there is no way down from here. You need to explore the entire dungeon and find a route to the altar.First, head to the upper part of the area and find Joran Vhane. Try to convince him to come with you, but he refuses. Kill him and find the locked door. Behind it are cultists led by a demon. Regardless of the difficulty you are playing on, this fight will not be easy.Banner over the CitadelBanner over the CitadelFirst, you need to prevent the demon's transformation. Open the door and immediately kill the cultists, or at least two or three of them. This interrupts the transformation, leaving you to fight Chorussina instead. Do not celebrate too early, because she is also a dangerous opponent. The key is to survive as long as possible while your strongest party members bring her down. She uses concealment, which makes her very difficult to hit.Choose one character with strong armor and a large health pool. Use a defensive buff potion on them and keep drinking healing potions while the rest of the party attacks Chorussina and tries to kill her.Banner over the CitadelBanner over the CitadelYou can also find a descent to the altar here. Kill several demons and interact with the banner. Hopefully you still have some healing potions left, because another large group of monsters attacks afterward.Banner over the CitadelBanner over the CitadelIn the same hall, find the door leading to a pool filled with human corpses. Kill the army of ghouls and demons and speak with Yaniel. She opens a secret passage that leads to the Sword of Valor. Go down, where you will encounter a trap and a puzzle.Banner over the CitadelBanner over the CitadelYou need to assemble three images using four pressure plates on the floor. Rotate them in any order and fit the pieces together by trial and error, as shown in the screenshot above. Take the Sword of Valor and leave the dungeon. Raise the banner, then make sure to increase your Mythic Rank because the game will not let you progress otherwise.Head to the citadel command floor and meet Staunton Vhane with Minagho. Attack only Staunton Vhane. Once his health reaches a critical level, the fight ends and all that remains is to finish off the traitor and collect the valuables. Leave the citadel and complete the chapter.Banner over the CitadelBanner over the Citadel
By Hell's Ordinance
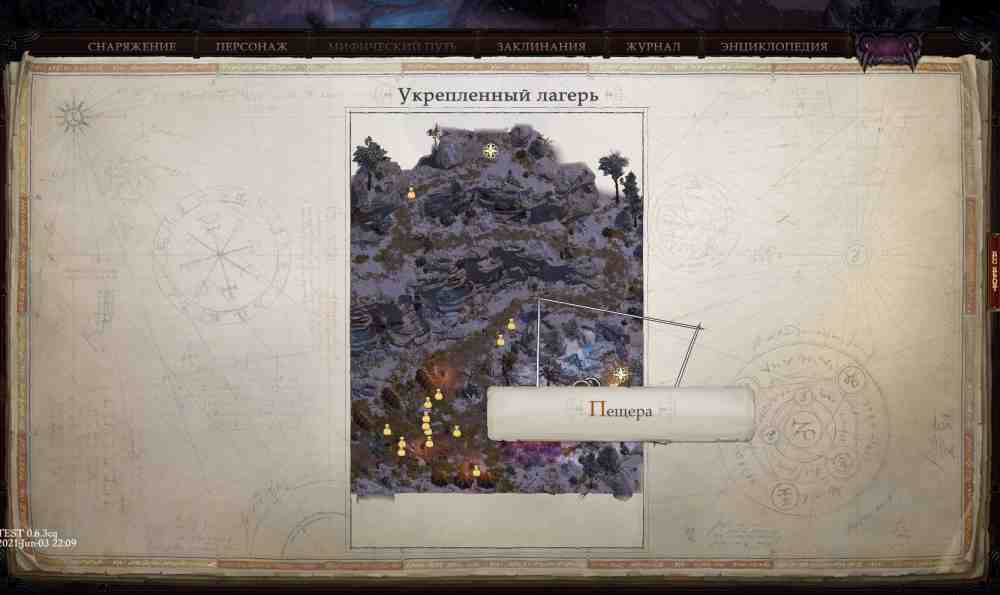
This quest begins when you reach the bastion above Core of the Riddle. There, you find a soldier who reports that a unit at a camp on the bank of the Sellen has been attacked. The Reliable Redoubt location then appears on the map. Travel there.By Hell's OrdinanceBy Hell's OrdinanceOnce you arrive at the camp, watch the cutscene and fight the gargoyles. Head down into the camp, kill the remaining creatures, and find the cave entrance in the lower-right corner of the area.By Hell's OrdinanceBy Hell's OrdinanceInside the cave, help the group defeat the gargoyles and recruit a new companion, Regill. This completes the quest.You can also find a demonic heart in this cave if you pass a Mobility check.
The Music of the Abyss
You receive this quest while wiping out the vescavor swarm. The game gives you a choice: search the caves for valuable loot at the cost of human lives, or kill the Vescavor Queen immediately and give up the reward. Decide what matters more to you.If you are looking for the Vescavor Queen, she is in the upper central part of the location. In the middle of the map, you can find a deep crevice. Approaching it opens a dialogue window. You can rescue and heal the caravaner trapped inside or leave him to his fate.The Music of the AbyssThe Music of the AbyssOnce you reach the Vescavor Queen, kill her and decide what to do next. You can order the corpse burned or take it with you and use it as bait for demons.If you want the caravaners' treasure, descend to the lower level. The transition icon appears near the Vescavor Queen's corpse. There you can find the Wand of Zacharius. Decide whether to break it or claim its power. You can also find several bosses and useful items in the cave.The Music of the AbyssThe Music of the Abyss
A Strike from the Sky
After destroying most of the demon forces and almost reaching Drezen, you receive a message about a nighttime attack. You need to repel it. Leave the tent and kill all the gargoyles while gathering party members along the way. The more companions you regroup with, the faster you can repel the assault.Find Camellia first, then Seelah. After that, reach Irabeth and watch the cutscene. Return to the commander's tent and speak with your companions. You receive a new objective to save your allies at the Lost Chapel.A Strike from the SkyA Strike from the SkyContinue exploring the location until you find all your companions and Queen Galfrey. Climb the cliff and free your allies one by one, then reach the summit and find the temple with Queen Galfrey. Inside the temple, you will see a newly opened passage on the right, but you do not need to go there yet. First, find Irabeth behind the temple walls. Leave through the door on the left and run to the right. Free Irabeth, return to the temple, and investigate the newly opened passage.A Strike from the SkyA Strike from the SkyEnter the dungeon. Search for useful items, fight several golems, and find Zacharius. Kill him or give him the wand you found earlier in the cave, then inspect the wall and uncover a hidden passage. In the library, kill several more golems and ghosts, collect valuables, and head outside.Circle around the chapel again to the area where you found Irabeth. Open the door and find the demon Nulkineth. Kill him, return to Queen Galfrey, speak with Anevia, and complete the quest.
Chapter 4. The Fifth Crusade
The Dragon's Fate
This quest becomes available after meeting the Storyteller while completing The Burning City. Head to Market Square and inspect the tracks. Some of them show that Terendelev's corpse was dragged across the cobblestones.
Crusade
In this section, you can track completed and unfinished errands. These objectives are tied to destroying demons and cultists on the global map during the crusade.
Valas's Gift
Liberate the town near Kenabres to complete the objective.
Vilareth Ford's Outpost
This outpost lies on the road between the camp and Drezen. To complete the objective, simply defeat its defenders. We managed to do it with the starting army.
Traitors of Kenabres
Kill all demons in the marked area to complete the objective.
Deadly Gorge
Complete this objective to add Hellknights to your crusader armies.
Companion Quests
A Friend in Need Is a Friend Indeed
Speak with Irabeth to receive this quest. Find Seelah in the tavern and ask her about her missing friend. Head to Market Square, find the Athletics check, and complete The Divided City.Kill several monsters and find Ramien and the inquisitor. The latter accuses Ramien of treason. If you let Ramien go, you receive the quest Feud of the Faithful. Ember reveals that the inquisitor ordered her burned many years ago. You can kill him and shift your alignment toward Lawful, which is what I did. However, this causes Feud of the Faithful to fail.
More Than Nothing
To receive this quest, explore Market Square during the second chapter and head south of it. Near the Silken Thread Atelier, a woman named Nenio finds you. Answer all of her questions, which are covered in the second chapter walkthrough, and recruit her into your party. The quest becomes available from that point onward.
Stolen Moon
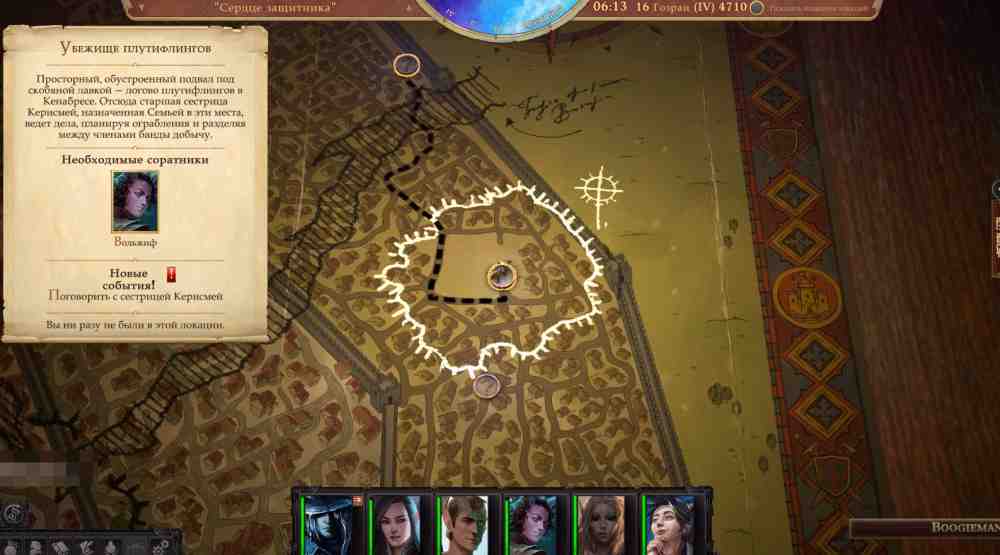
This quest becomes available after completing the errand Out of Parole. Recruit Woljif and head to the Thieflings Hideout, located above Defender's Heart.Stolen MoonStolen MoonReturn to Irabeth at the tavern and ask her about the informant. She is certain the informant is a tiefling with long, straight horns who can be found at Ancientries and Wonders Shop. The location then appears on the map near the Thieflings Hideout.Once there, inspect the talking weapon trapped beneath a bookcase. In the right corner of the shop, you find a stone golem that asks for a password:Ask it the following questions: The golem guards the entrance to the basement. Pass an Athletics check and climb inside. Ask the shop owner about all the tieflings, then leave. Head to the Thieflings Hideout and speak with Sister Kerismei. Carefully inspect the suspects. Several have long, straight horns and green cloaks. The tiefling who matches both descriptions is Melroun. Answer:Ask Sister Kerismei to apologize to your companion and to you. Woljif will ask for an audience with you at Defender's Heart. This completes the quest.
How to Complete All Errands
Out of Parole
In Irabeth's headquarters, you can meet Woljif. He is being held in the dungeon, accessible through the Basement location. To recruit him, ask Irabeth to release him into your custody. The guards free him, giving you a new companion and 180 XP.
The Divided City
You receive this errand from Anevia at the tavern during the second chapter. You need to cross the rift that splits Market Square in two. Speak with every party member in the tavern and head to Market Square. If you do not learn where the missing girl is while at the tavern, the Athletics check in Market Square will not be available. Simply head to the upper part of the location and pass the skill check. This completes the errand.The Divided CityThe Divided City
No Better Time for a Banquet
After completing the previous errand, speak with the inquisitor, kill the monsters, and find the servant. He tells you about his master, Daeran Arendae, who is trapped inside a mansion under attack by demons. Head there and kill all the demons. You can also find Aranka here as part of the quest from the second chapter. Speak with the count, after which you can recruit him into your party.
Notes for the Storyteller
You receive this errand during The Burning City after finding the Storyteller in Blackwing Library, rescuing him, and speaking with him at Defender's Heart. During the assault on the Gray Garrison, search every chest and find the Storyteller's notes. Return them to their rightful owner to complete the errand.
A Farewell
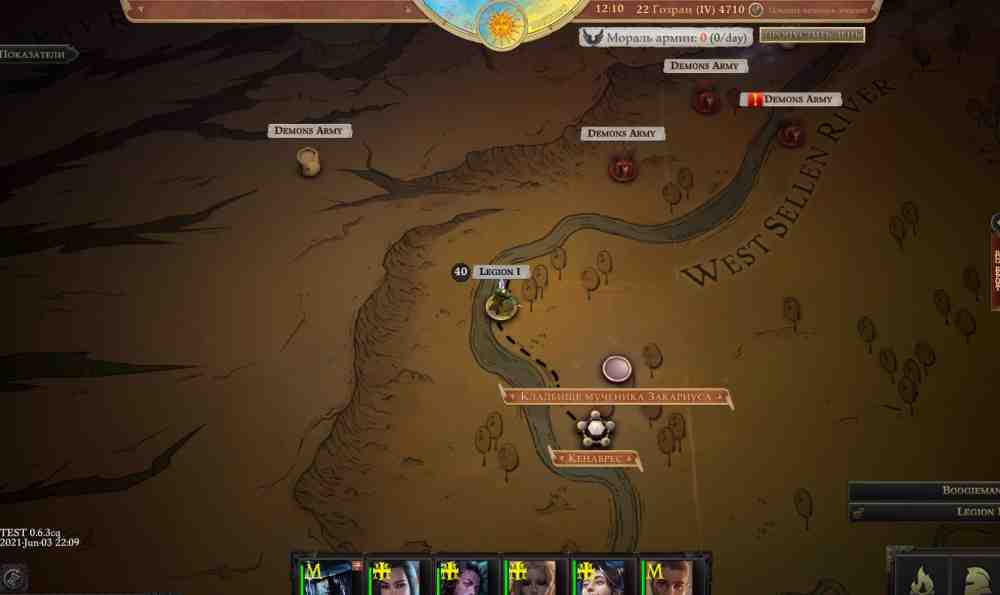
The young cleric Sosiel is waiting to speak with you at the field camp near the commander's tent. Recruit him into your party and travel to Martyr Zacharius's Cemetery.A FarewellA FarewellDuring the funeral ceremony, zombies appear in the cemetery. Kill them, inspect one of the crypts, and speak with the dead woman. You can put her soul to rest and receive a gold chain with diamonds.Open the cemetery gates, pass an Athletics check, and climb onto the church roof. There you find Sosiel and several zombies. Kill them all, then deal with the necromancer. The errand is complete.
From a Dead Woman's Hands
This quest becomes available when you first encounter the Hellknights. During A Strike from the Sky, you can ask Regill about the knight who carried Trever's shield. This completes the quest.
Crescent of the Abyss
This errand becomes available after completing A Strike from the Sky.