While playing Cyberpunk 2077, you can explore the open world and find plenty of optional activities. Completing them rewards you with XP, Street Cred, and in some cases the in-game currency known as eurodollars. Most side jobs become available after meeting certain characters during main story quests. That means you need to keep progressing through the main story to unlock additional side content.
The Gift
How to Complete The GiftHow to Complete The GiftObjectives:
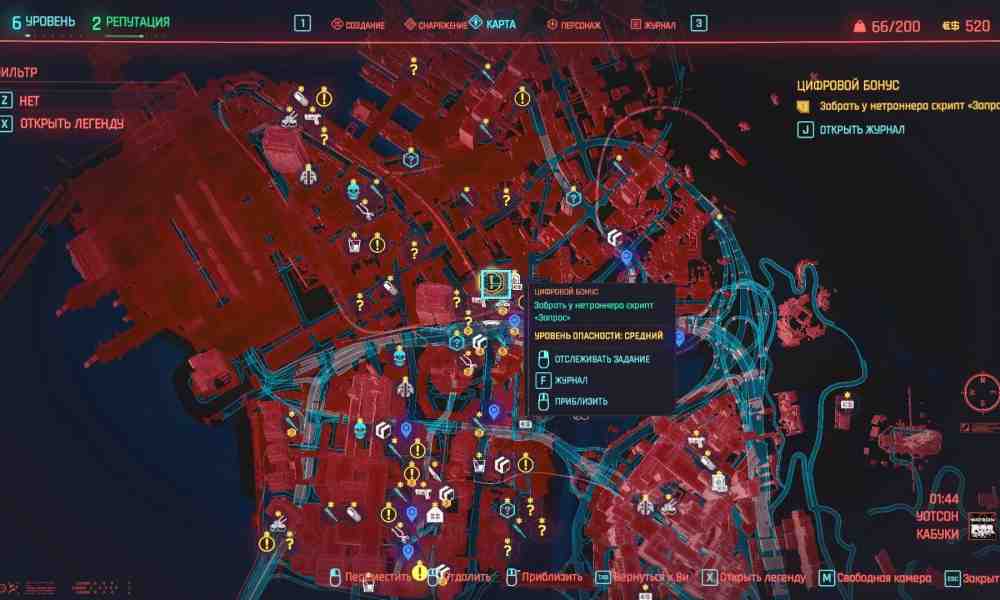
Visit the netrunner vendor and collect the free quickhack.
Install the quickhack in your inventory under the Cyberdeck section.
Use the scanner on the surveillance camera inside the shop and select Ping.
Hack the access point to the left of the netrunner vendor. We explain access point and shard hacking in more detail in a separate guide.
Rewards:
The Gun
Objectives:
Find the weapon vendor in Megabuilding H10 and speak with him.
Choose the Lexington pistol from the available items. You can collect it for free.
Reward:
Beat on the Brat
Objectives:
Win five fistfights.
Reach the final and win the last fight.
Rewards:
Psycho Killer
Objectives:
Deal with all seventeen cyberpsychos by any means. The related jobs are available in the journal under Gigs.
After completing each job, report back to your employer and collect the reward.
Paid in Full
Objective:
Pay Viktor back 21,000 eurodollars.
Rewards:
Shoot to Thrill
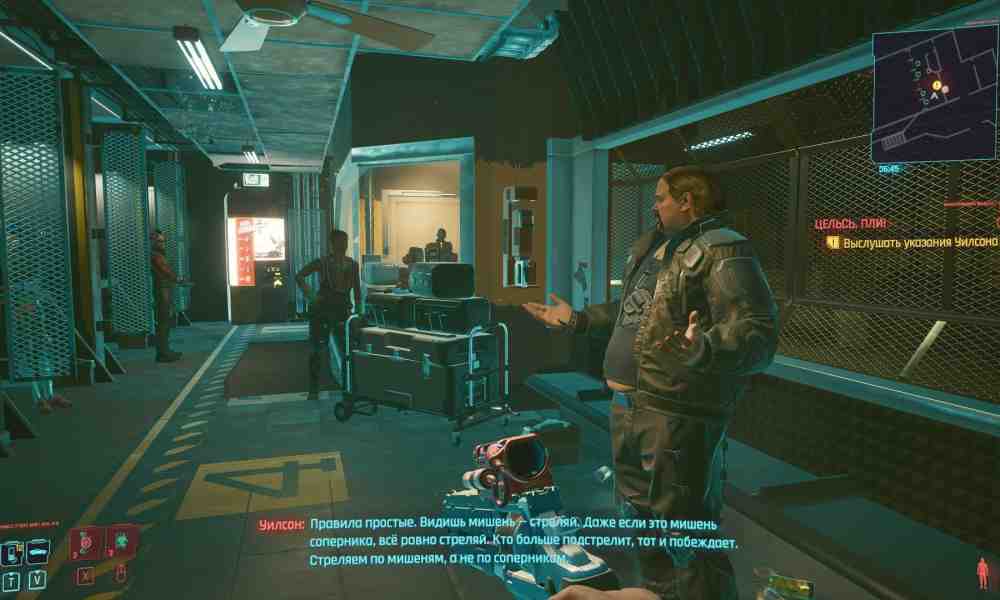
You can find this activity inside Megabuilding H10, in the atrium. Speak with Wilson and start the competition. To win, shoot as many targets as possible with a pistol. Enemy targets also count.How to Complete Shoot to ThrillHow to Complete Shoot to ThrillRewards:
M-10AF Lexington pistol.
Human Nature
Objectives:
Go down to the Megabuilding H10 parking garage and retrieve your car.
Wait until a Delamain cab crashes into you.
Rewards:
Tune Up
Objectives:
Visit Delamain HQ.
During the conversation with the AI, provide the insurance claim number. If you respond rudely, you will not receive the money.
Collect your compensation.
Rewards:
Epistrophy
Objectives:
Find and neutralize all malfunctioning Delamain cabs.
Report back to Delamain after each vehicle is found.
Rewards:
The Gig
How to Complete The GigHow to Complete The GigObjectives:
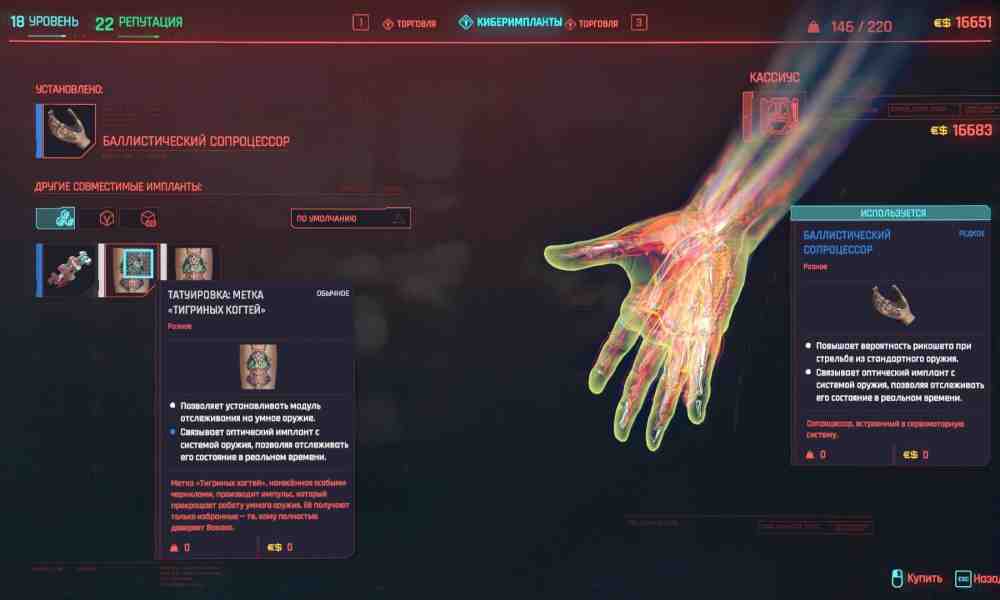
Visit Cassius Ryder's clinic.
Collect the free cyberware.
Note: The free implants become available after reaching Street Cred Level 20. Every 10 additional Street Cred levels unlocks one more free cyberware item.Rewards:
Happy Together
You can start this job near V's apartment in the Megabuilding H10 atrium. Go down one floor from your apartment. You will see two cops, a man and a woman, knocking on apartment 0613. Speak with them, then knock on the same door yourself. No one answers at first. Do not give up. Wait several in-game hours, which you can do through the menu, then knock again.Objectives:
Speak with the resident of apartment 0613 and listen to his story.
Travel to the Columbarium, located in the eastern part of Night City.
Find the niche belonging to the resident's deceased friend. The plaque bears the name Andrew.
Return to the cops in Megabuilding H10 and tell them what you learned.
Rewards:
Heroes
How to Complete HeroesHow to Complete HeroesObjectives:
Call Mama Welles and arrange a meeting.
Visit El Coyote Cojo in southern Heywood and speak with Mama Welles.
Search Jackie's garage for items. You can use the scanner.
Take any suitable item and participate in Jackie's ofrenda.
Rewards:
Small Man, Big Mouth
How to Complete Small Man, Big MouthHow to Complete Small Man, Big MouthObjectives:
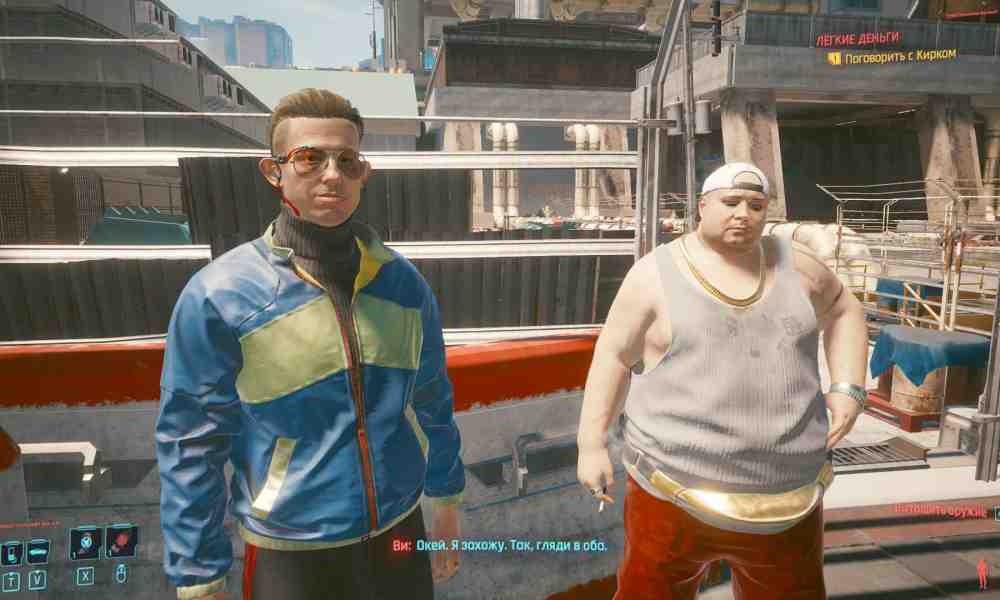
Meet Kirk at the bar and accept the job.
Reach the warehouse, defeat several tough enemies, and inspect the van.
Return to Kirk's body and deal with three more gang members.
Rewards:
Fool on the Hill
Objectives:
Find 20 different tarot graffiti scattered throughout Night City.
Return to Misty and tell her about the images you found.
Rewards:
Violence
Objectives:
Inspect any tarot graffiti from Fool on the Hill, which can be tracked on the map, to unlock the job.
Go to room 210 at the No-Tell Motel and listen to Lizzy Wizzy.
Visit Riot and deal with the guard at the entrance. A high Body attribute can be used to intimidate him.
Enter the VIP area, take the elevator down, and use the surveillance camera terminal.
Listen to the full conversation involving Lizzy Wizzy's boyfriend, then call her.
Rewards:
Sinnerman
How to Complete SinnermanHow to Complete SinnermanObjectives:
Wait for Wakako's call and accept the job.
Go to the location marked on the map, wait for the client, and get into his car.
Follow the police SUV until it stops.
OPTION 1. Kill all the police officers and collect the reward from Wakako [5,000 eurodollars].
OPTION 2. Wait until the police kill your employer and then speak with Joshua.
Rewards:
There Is a Light That Never Goes Out
Objectives:
Follow Joshua.
OPTION 1. Accept Rachel's money. If you have the Corpo lifepath, the amount increases by 5,000 eurodollars.
OPTION 2. Refuse Rachel's money and speak with Joshua in the restaurant.
Rewards:
Full Disclosure
How to Complete Full DisclosureHow to Complete Full DisclosureObjectives:
Wait for Wakako's call and accept the job.
Go to the marked location and retrieve the databank. You can use Body Level 6 to get it.
OPTION 1. Crack the databank and bring it to Sandra at the hotel.
OPTION 2. Do not crack the databank and give it to Sandra.
OPTION 3. Crack the databank and admit that you did it.
OPTION 4. Crack the databank, admit it, and try to blackmail Sandra.
Rewards:
Gun Music
This job begins when you visit one of the factories in Night City's industrial zone. The corresponding icon appears on the map. Enter the factory grounds and speak with the nomads.Outcomes:
Convince the thugs that they are making a mistake if you have Body Level 20.
Fight roughly a dozen enemies and take their goods.
Rewards:
A Day in the Life
This is a minor side activity where you can either help the food vendor or leave him to his fate. You can start the job while exploring Arroyo in Santo Domingo. Your opponents are two thugs who should not pose much of a threat even at low character levels.How to Complete A Day in the LifeHow to Complete A Day in the LifeRewards:
Ezekiel Saw the Wheel
You can complete this job by visiting a roadside diner near Night City's industrial zone. As soon as you sit down at the counter, robbers burst into the diner.
Riders on the Storm
How to Complete Riders on the StormHow to Complete Riders on the StormObjectives:
Meet Panam in the Badlands and travel with her to the abandoned warehouse.
Rescue Saul from the basement of the abandoned warehouse using any weapons and abilities you prefer.
Fight off the vehicles pursuing you and reach the isolated building in the Badlands.
Repair the generator and restore power to the building.
Speak with Panam the next morning to complete the job.
Rewards:
With a Little Help from My Friends
Objectives:
Visit Panam's camp and go with her to the old train station.
Climb to the upper floor of the control tower, find the Punchcard in a box on the floor near the main terminal, and insert it into the reader.
Return to the group.
The next day, get into Panam's vehicle, use the turret, and shoot the coupler on the final train car.
Kill all enemies and return to Panam's camp.
Rewards:
Queen of the Highway
Objectives:
Speak with Panam at her camp and get into the Basilisk.
Complete the Basilisk training sequence.
[Optional: sleep with Panam].
Return to camp and destroy all enemies.
Speak with Panam to complete the job.
Rewards:
Both Sides, Now
This job begins Judy's questline. To start it, you need to complete the first act of the main story.How to Complete Both Sides, NowHow to Complete Both Sides, NowObjectives:
After Judy calls, go to her apartment.
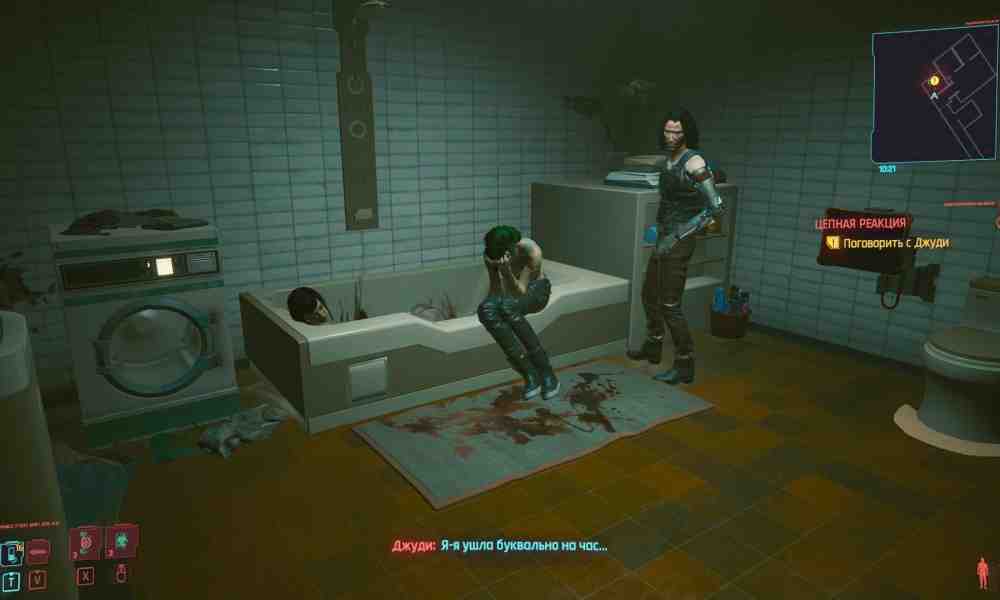
Find Evelyn in the bathroom and carry her body into the bedroom.
Leave the apartment.
Rewards:
Ex-Factor
Objectives:
Meet Judy near Megabuilding H8 and go up to Clouds.
Follow Judy.
Speak with Maiko.
CHOICE: go down to the maintenance level and kill the manager of Clouds, or leave him alive.
Rewards:
Talkin' 'Bout a Revolution
Objectives:
Go to Judy Alvarez's apartment.
Listen to the plan.
Leave the apartment and skip time forward by one day.
Rewards:
Pisces
How to Complete PiscesHow to Complete PiscesObjectives:
Reach Megabuilding H8, where Clouds is located.
Go to the maintenance level with Judy and eliminate all enemies.
Disable the club's security system, then take the elevator to the penthouse on the top floor.
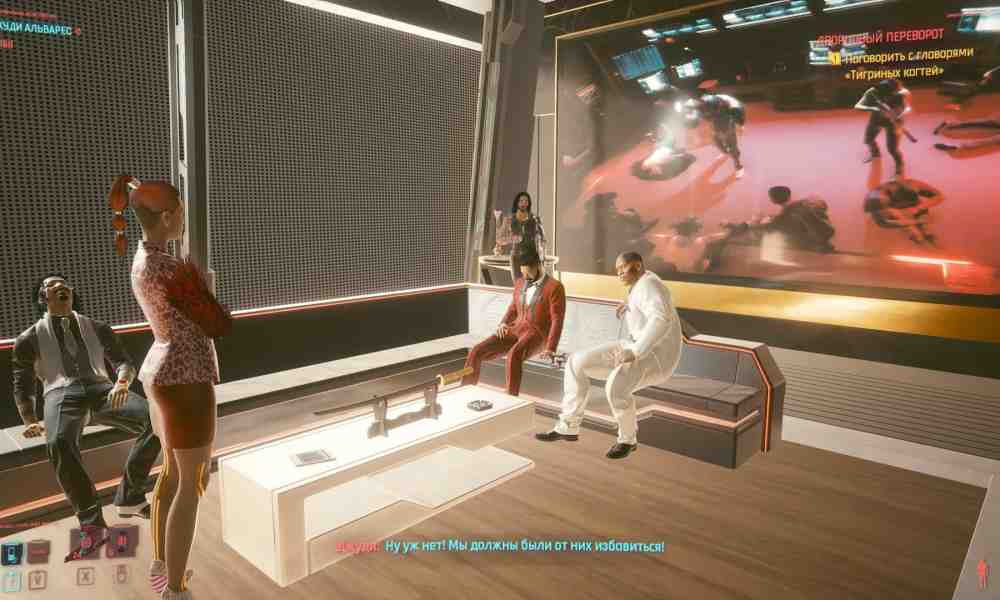
OPTION 1. Hear Maiko out, then kill her and all the club bosses.
OPTION 2. Hear Maiko out and kill only the club bosses. In this case, do not argue with Maiko.
Rewards:
Pyramid Song
This job concludes Judy Alvarez's questline in Cyberpunk 2077. At the end, you can begin a romance with her, provided that you left Maiko alive during the previous job, Pisces. Otherwise, Judy will be very upset by your decision and simply leave Night City.Objectives:
Go to the marker on the map, speak with Judy, and put on the diving suit.
Dive underwater and explore the flooded town.
[To improve your relationship with Judy] find the pendant in front of the main entrance to the flooded church.
Return to the surface and speak with Judy.
Wait for events to unfold.
Rewards:
Send in the Clowns
The job starts without a fixer when the protagonist receives a call from Ozob Bozo.How to Complete Send in the ClownsHow to Complete Send in the ClownsObjectives:
Meet Ozob at the designated location using any vehicle.
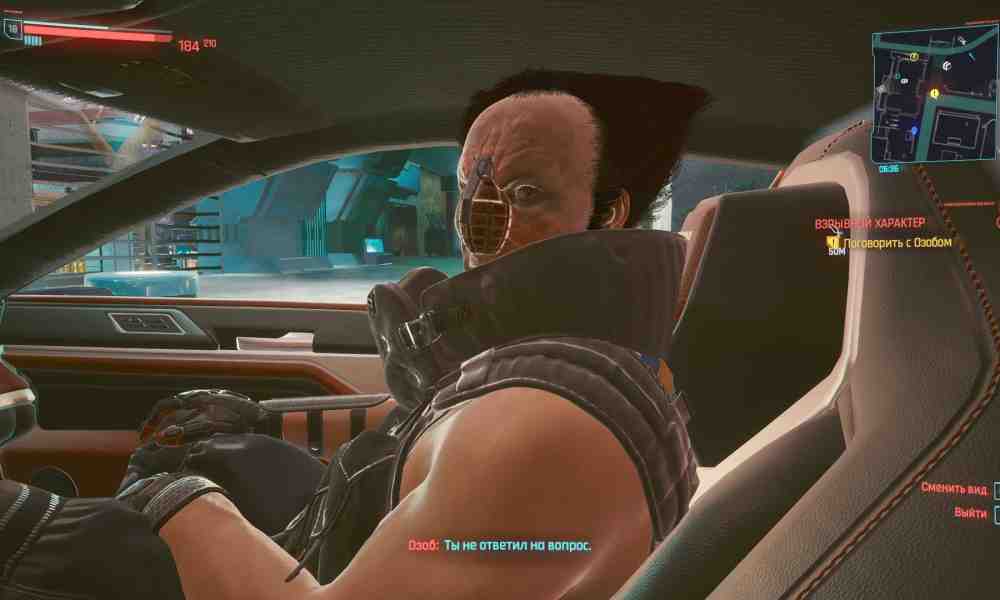
Drive Ozob to the marker on the map and help him kill the cafe workers.
Rewards:
I Fought the Law
This mission becomes available when Elizabeth, the wife of one of Night City's mayoral candidates, calls you. It is a particularly interesting job that unlocks several more side quests.How to Complete I Fought the LawHow to Complete I Fought the LawObjectives:
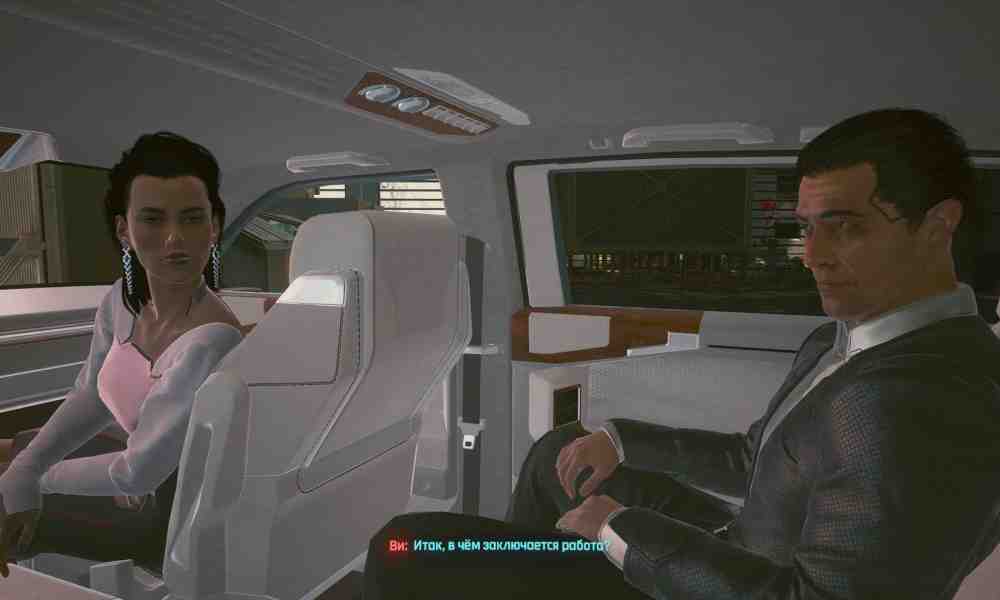
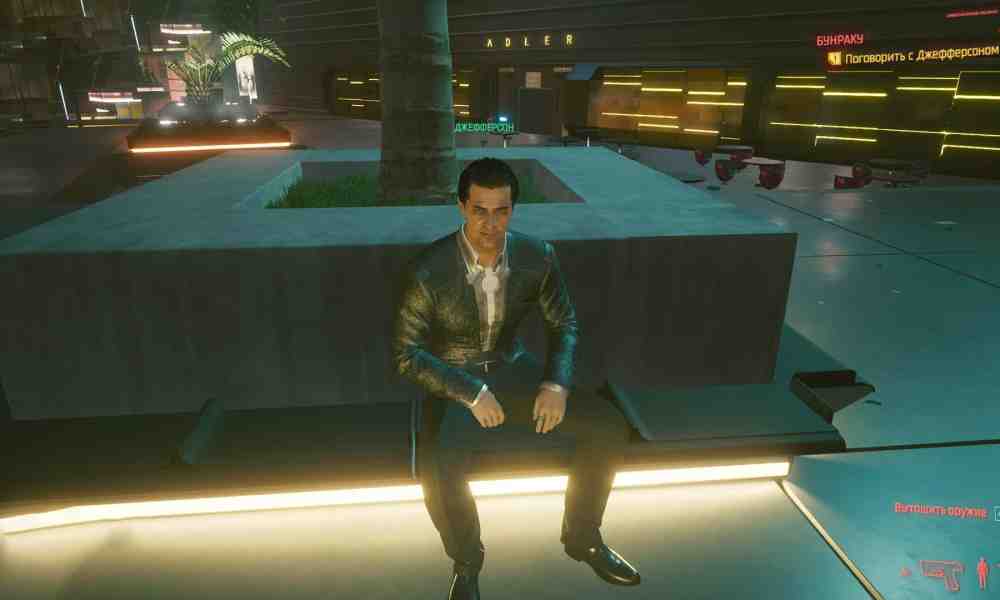
Meet Elizabeth and Jefferson Peralez and hear them out.
Enter the memories of the deceased security officer from the assassination attempt on the sitting mayor.
Find the clues: the mayor, the mayor's phone conversation, the security terminal, and the assassin.
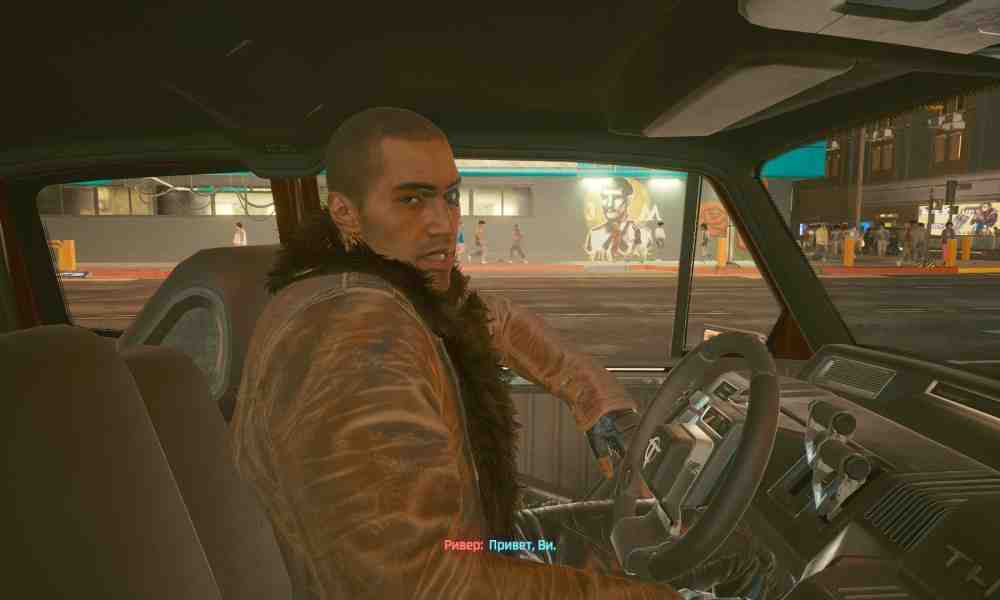
Report your findings to the Peralez couple and receive Detective River Ward's contact information.
Meet River at the designated location.
Visit River's informant. He will try to run away, but River stops him.
Visit the criminal's employer at the market. Her booth is on the left side of the market.
Go to the Red Queen's Race, kill all the guards in the warehouse, and find the blue container.
Take the elevator down into the club, deal with the gang members, and inspect the area. Interrogating the gang leader reveals the client's name.
Search the club's second floor. In the private area, find the corrupted braindance, and in the server room, locate the surveillance footage.
Return with River to the designated location and collect your reward.
Rewards:
Dream On
This job is a direct continuation of I Fought the Law. Regardless of whether you told the Peralezes the truth, they contact you again and offer another job.How to Complete Dream OnHow to Complete Dream OnObjectives:
Search Elizabeth and Jefferson Peralez's penthouse.
Hack the security terminal on the first floor of the penthouse. The password is 6709.
On the second floor, use the scanner to find chemical traces that lead to a secret door.
Inspect the hidden control room, climb onto the roof, and scan the transmitter.
Follow the criminals in the black van, kill them, and retrieve the data from the server inside the vehicle.
Tell Elizabeth what you discovered.
Rewards:
The Hunt
This mission becomes available after completing I Fought the Law. Roughly one in-game day later, former detective River contacts you and asks to meet. Go to the designated location.How to Complete The HuntHow to Complete The HuntObjectives:
Follow River into the police lab and inspect the document shelves in the far-left section of the building.
Go to River's sister and speak with her.
Search the kidnapped boy's trailer: the drugs in the bathroom, band posters on the walls, the record player in front of the trailer entrance, the safe to the left of the bed, the photo on the desk, and the expensive laptop under the bed.
First braindance:
Watch the recording until the boy reaches the cafeteria entrance. Scan the posters to the left of the entrance.
When he enters the hallway, scan the trophies in the cabinet to his left.
Second braindance:
Scan the cow.
Tag the boy's father.
Scan the device to the left of the boy's father.
Scan the injector opposite the father.
Scan the animal supplements.
Scan the cartoon playing on the monitor near the end of the recording.
Third braindance:
Inspect the solar panel.
When the kidnapper leaves the control room, scan the clock above the warehouse entrance.
In the main hall, scan the barrels on the left.
When the killer enters the barn, an audio clue appears on the timeline. Inspect the open section of the roof.
Scan the fire department certificate on the wall to the left.
Inspect all the kidnapped children.
When the man moves forward after the boy, you can scan the computer on the left.
Scan the sign to the left of the barn exit.
When the kidnapper gets as close as possible to the exit, just before he closes the gate, you can see several light towers.
Mission Finale:
Travel with River to the farm south of the Badlands.
Reach the central barn from the left side. The entire area is covered with anti-personnel mines.
If you have the appropriate leg cyberware, use double jump to reach the barn roof.
Rescue the survivors and speak with River.
Rewards:
Following the River
This quest continues River's storyline. Exactly one in-game day after completing The Hunt, your new friend contacts you and invites you to a family dinner. Complete all of his requests and follow him to the water tower.Rewards:
Big in Japan
To start this quest, go to the Afterlife, where you first met Rogue. If you have not met her yet, you will very soon.Objectives:
Go to the docks at the location marked on the map and find a container inside one of the buildings.
Open the container, pick up the man, then set him down.
Deal with all the gang members.
Carry the man to the car and collect your reward.
Rewards:
Spellbound
You can start this job in the same nightclub, the Afterlife. This time, find the netrunner named Nix and activate the quest.Objectives:
Go to the meeting point marked on the map.
Pay the informant 7,300 eurodollars for information about the location of the Book of Spells.
Find the Book of Spells. The route is shown on the minimap. Decrypt it if necessary. You can read more about shard hacking in a separate guide.
Return to Nix and hand over the Book of Spells. With the required attributes, you can negotiate for a better price.
Outcomes:
Chippin' In
Complete Panam Palmer's main job Life During Wartime to unlock this quest. After handing Hellman over to your Arasaka contact, a conversation with Johnny Silverhand begins. Johnny suggests visiting Rogue again and tracking down his old enemy, Adam Smasher.How to Complete Chippin' InHow to Complete Chippin' InObjectives:
Go to the Afterlife and take Misty's pills at the entrance.
Watch Johnny Silverhand's actions.
Once V regains control of their body, speak with Rogue and wait for her call.
Return to the Afterlife, receive the Replica of Johnny's Samurai Jacket from Rogue, and travel to the location marked on the map.
Kill all enemies, find and eliminate the final opponent. You can also obtain Johnny's Malorian Arms 3516 and the keys to the container holding Johnny's Porsche 911 II (930) Turbo from him.
Rewards:
Blistering Love
This job begins after completing Johnny's Chippin' In. Agree to Johnny's request and call Rogue.Objectives:
Meet Rogue at the marked location and travel to the drive-in theater.
Open the door to the theater grounds. The password is 0000.
Take Misty's pills and give Johnny control.
Speak with Rogue. Even if you choose the romantic option, the scene will not actually happen.
Rewards:
Holdin' On
Objectives:
Visit Kerry Eurodyne's mansion.
Find Kerry in the bathroom, let Johnny take control of the body, and speak with Kerry.
Call Nancy. Her number appears in your contacts after the conversation with Kerry.
Rewards:
Second Conflict
At the end of the previous job, you contact Nancy, who sends you the coordinates of the club.Objectives:
Go to the second floor of the club marked on the map and find Nancy.
Choose how V will leave the club: by force or stealth.
If you choose stealth, use the men's restroom to leave the dance floor and enter the building's technical area, reach the elevator, and go down to the ground floor.
Drive Nancy to her apartment, then go to Kerry Eurodyne's mansion and choose the second vocalist.
Rewards:
A Like Supreme
After speaking with Kerry Eurodyne, visit the Red Dirt bar marked on your map.Objectives:
Speak with Kerry and the members of Samurai.
Go into the bathroom and take the pills.
Perform on stage with Samurai.
Speak with Kerry Eurodyne and collect your reward.
Rewards:
Rebel! Rebel!
Some time after completing A Like Supreme, Kerry Eurodyne contacts you and asks to meet. Objectives:
Meet Kerry at the designated location.
Drive Kerry to the ambush site and place the equipment and spike strips on the road.
Follow Kerry's instructions, or use the Cool dialogue option to order the technicians not to move.
Shoot up the musicians' van. Frag grenades also work.
Lose the police patrol vehicle. Simply keep driving in any direction and the cops will eventually stop chasing you.
Go to the diner with Kerry and collect your reward.
Rewards:
I Don't Wanna Hear It
Kerry's fans are not willing to let his previous stunt slide and decide to hold a concert at one of Night City's clubs, where they will perform a cover of Eurodyne's song.Objectives:
Meet Kerry Eurodyne outside the nightclub marked on the map.
Get inside the nightclub.
Speak with the members of the group and complete the job.
How to Enter the Nightclub:
Buy tickets from one of the fans waiting in line. This requires 21,000 eurodollars, or 10,000 eurodollars if you have the Streetkid lifepath.
In the alley to the left of the club entrance, there are dumpsters beneath a fire escape. Shoot the ladder mechanism several times to lower it, climb up, and enter the club.
To the right of the nightclub entrance is a staff entrance. You can use it with Technical Ability Level 12, or unlock the door from inside, for example while completing Lizzy Wizzy's Violence.
If you enter through any route other than the staff entrance, you will also need to convince a guard to let you backstage. You can do this with Body Level 12 or borrow a backstage pass from the music technician relaxing at the bar.
Outcomes:
Off the Leash
If you convinced Kerry not to do anything reckless and helped him reconcile with the group's singers, he calls again and invites you to a private party.Objectives:
Go to the location marked on the map.
Tell the guard that Kerry Eurodyne is expecting you and take the elevator to the penthouse.
Follow Kerry onto the balcony and speak with him.
Outcomes:
Boat Drinks
If you chose [Kiss Kerry] during the previous quest, he calls again and asks to meet.Objectives:
Go to the marina in City Center and speak with Kerry.
Agree to go for a ride on his yacht, then watch several cutscenes.
Help Kerry trash the yacht by destroying the record player, painting, and coffee machine.