In Silver Pines, you can equip not just one but up to five Mementos. To do that, you need to collect 16 Memento Vessel Shards scattered across the town. Most are hidden inside wooden bird figurines with hanging bells that are easy to mistake for ordinary decorations. Some hang directly above a passage, while others are behind vents, walls, and doors you will not be able to reach until much later. This guide lists every shard location in progression order so you can avoid missing any of them and unlock the maximum number of slots for useful passive bonuses.
At the beginning of the game, Red Walker can equip only one Memento. These collectibles provide different bonuses, such as faster reloads, stronger attacks, lower Stamina consumption, or better survivability in dangerous fights. You can carry several Mementos at once, but you need additional slots to have more than one effect active.You need four Memento Vessel Shards for one additional slot. Open your inventory, combine four fragments into a complete Memento Vessel, then use the completed Vessel. Simply keeping it in your inventory is not enough. The new slot appears only after you consume the item.
4 shards - second slot.
8 shards - third slot.
12 shards - fourth slot.
16 shards - fifth and final slot.
Look for wooden bird figurines with small bells hanging underneath. In most cases, you can shoot the figurine down. If it hangs low enough, a melee strike also works. After breaking the bird, make sure to pick up the shard that falls to the ground. Destroying the figurine does not automatically add the item to your inventory.
Where to find all 16 Memento Vessel Shards in Silver Pines
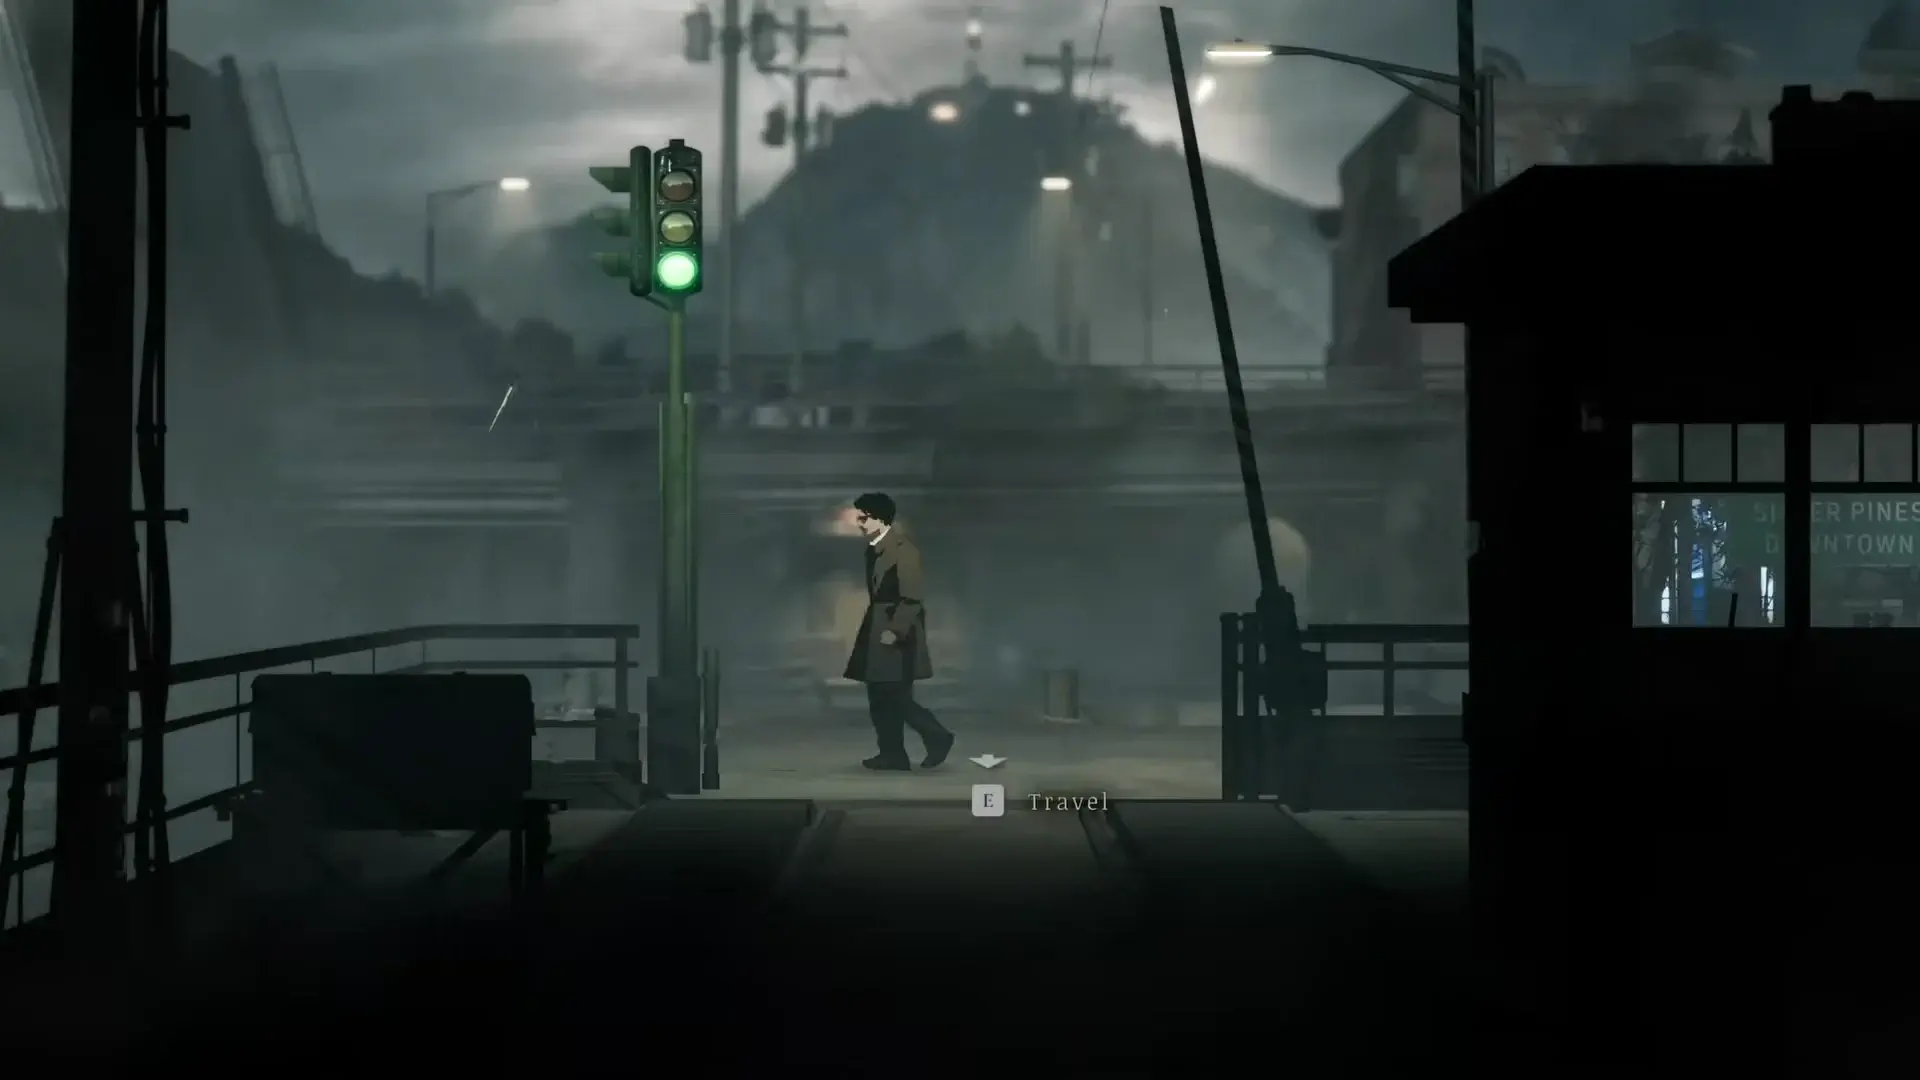
The route begins after your first ferry crossing into Downtown and gradually takes you through the cable car station, Sheriff's Office, Riverside, Union Apartments, and Church Hill. Several shards require returning later, particularly after regaining access to the ferry, obtaining the shovel, or gaining a reliable way to cross deep water. Your exact collection order may vary slightly depending on which side paths you explore first.
Shard 1: Downtown, sluice maintenance structure
After your first ferry crossing, you arrive in Downtown Silver Pines. Do not rush into the city yet. Head right from the dock toward the sluice maintenance structure. Inspect the upper part of the structure, where a wooden bird is hanging.Aim with a firearm and shoot the figurine down. The shard lands below, so remember to pick it up. If the bird is difficult to spot, look at the beams and supports above the water rather than at ground level. The hanging bells are the best visual landmark.
Shard 2: Locked garage in Downtown
The next fragment is inside a garage on the far side of Downtown. The entrance is secured with a padlock. Position yourself so you can see the lock on the door and shoot it. You do not need a separate key.Once inside, look up and find another wooden bird. Destroy it and collect the shard. Do not leave immediately after opening the garage. Breaking the padlock itself does not give you anything. The collectible is inside the hanging figurine.
Shard 3: Cable car station, balcony near the bells
Reach the cable car station leading to Mount Siah Kopa. Inside, go up to the top floor and find the bell rack used later to activate the cable car. There is a passage to a balcony on its right side.Step onto the balcony and look for the hanging bird figurine. You may be able to break it with a melee weapon if you can reach it, or simply shoot it down. The shard is available before you activate the cable car itself, so it is worth collecting during your first visit to the station.
Shard 4: Sheriff's Office, Storage Room A
Inside the Sheriff's Office, go to Storage Room A. Inspect the right wall. High above is a ventilation grille hiding a narrow passage. Shoot the grille to open the vent, then crawl through.Once inside the hidden space, look above you. The bird hangs close enough to destroy with a melee weapon, saving a bullet. Pick up the shard and return through the same passage. If you cannot find the collectible in the main storage room, you have not entered the hidden vent section yet.
Shard 5: Riverside, tunnel with the truck radio
In the northeastern part of Riverside, there is a dark tunnel containing a truck. The story eventually brings you here to use the radio and obtain information needed for progression. Before interacting with the device, check the ceiling.A wooden bird hangs above an enemy inside the tunnel. Deal with the threat first or move into a safe position, then shoot down the figurine and collect the shard. The passage is narrow, so trying to study the ceiling in the middle of combat is a bad idea. Clear the enemy first.
Shard 6: Guard shack left of Union Apartments
When you reach Union Apartments, do not enter the main building immediately. There is a small annex or guard shack to the left of the entrance. Go inside and eliminate the enemy there.The room is dark, so inspect the upper part of the interior carefully. The hanging bird is inside the shack. Destroy it, pick up the shard, and only then begin exploring the apartments. This saves you from having to return all the way to the entrance after a long trip through the residential floors.
Shard 7: Union Apartments, Apartment 2C
Go to the second floor of Union Apartments and find Apartment 2C. Inside, inspect the upper-right part of the room. A ventilation grille is easy to miss against the wall.Shoot the grille and crawl through the opening. Another wooden bird with a shard is hidden on the other side. Check your inventory after picking it up before leaving the apartment. This cache is unrelated to the normal route through the second floor, so simply progressing through the building will not lead you to it.
Shard 8: Union Apartments, stairwell between the second and third floors
Stay inside Union Apartments and return to the stairwell. Between the second and third floors, find a window you can use to get outside. Break the glass and carefully climb onto the exterior platform.Outside, climb the ladder upward. The next bird figurine is there. Destroy it and collect the shard, then return inside by the same route. If you are searching one of the apartments, you are in the wrong place. This collectible specifically requires leaving the building through the stairwell window.
Shard 9: Boat near the docks in southern Downtown
Return to the water in southern Downtown, near the sewer entrances. Several small boats are moored at the docks, and you can jump onto one of them. Use it as a platform to look over the area above the water.From the boat, find the hanging bird and shoot it down. Then collect the fallen shard. The main trick is the viewing angle. The figurine is easy to miss from shore, while the boat gives you a much clearer shot.
Shard 10: Town Hall, fireplace in the save room
Enter Town Hall and find the first save room. This time, do not immediately start looking for a bird on the ceiling. First inspect the fireplace, which looks like ordinary scenery.Crouch and crawl through the fireplace passage. It leads to a hidden room containing a hanging figurine. Break it and collect the tenth shard. The most common mistake here is thoroughly searching the save room without ever trying to crawl through the fireplace.
Shard 11: Church Hill, descent behind the funeral home
In Church Hill, head northeast toward the funeral home. Walk past the building and find the fence to its right. You can climb over it, and there is a descent to the lower part of the area on the other side.Climb over the fence and head down. Search the secluded space beneath the path. Another bird figurine is hidden there. Shoot it down and collect the shard. If you reach a dead end beside the funeral home itself, look for the route outside the building beyond the fence on the right rather than searching its interior.
Shard 12: Riverside shore
The next fragment hangs along the Riverside shoreline. The landmark is the area you return to after an encounter and a Memento that helps reduce Stamina consumption while swimming. Reach the riverbank and inspect the hanging objects above the shore.Find the wooden bird, destroy it, and pick up the shard. This collectible is easier to get once moving through water is no longer a serious problem. Do not confuse the Memento Vessel Shard with the swimming-related Memento itself. They are separate collectibles.
Shard 13: Outskirts, hidden room beyond the motel
After restoring access to the ferry, return to the original island, toward the Outskirts and the Crimson Bear Motel. Continue beyond the motel toward the underpass and explore the branch leading to the room with the man whose hands are burned.A wooden bird is hidden inside. Shoot it down and collect the fragment. This one is particularly easy to lose track of because it is not in Downtown but back on the original island, away from the usual Riverside and Union route. Do not consider the collection complete until you have checked the Outskirts again.
Shard 14: Downtown, fenced yard near the sewers
In southern Downtown, near the passages leading into the sewers, find a wooden bird behind a fence. You cannot reach it directly from the street, but you can shoot through the obstacle. Destroy the figurine from an available line of sight.Do not try to climb through the fence afterward. Reach the opposite side of the river and find a place where you can swim back toward the enclosed area. Once inside, collect the fallen shard. Both steps matter: first shoot the bird from outside, then reach the reward through the water route. Reduced Stamina consumption while swimming is useful for this trip.
Shard 15: St. Adjutor's Church, locked confessional
This fragment requires the Shovel. Pick it up inside the digger's trailer in Downtown after the cable car route to Siah Kopa becomes available. The Shovel is beside the bed, and the trailer may be inaccessible before the required story stage.Return to the church grounds and find a patch of disturbed earth. Dig it up to obtain the Confessional Key. Then enter St. Adjutor's Church and unlock the previously closed confessional booth on the left. A bird figurine hangs inside. Break it and collect the penultimate shard. The door cannot be forced or opened with a combination. You first need the key from the excavation.
Shard 16: Mount Siah Kopa, route to Thelend Broadcasting
The final Vessel Shard is on Mount Siah Kopa along the route to Thelend Broadcasting. During your ascent, you need to open a door that requires two boosters. After passing this section and continuing north, inspect the wall to the left of the passage.Break the damaged wall with the Sledgehammer and enter the opening. Look up immediately after stepping inside. The wooden bird hangs directly above you. Destroy it and collect the sixteenth shard. Do not leave the mountain area without checking this alcove because it completes the maximum Memento-slot upgrade.
How to unlock all five slots and get Memento Mori
After collecting all 16 shards, open your inventory. If you have already combined and used Memento Vessels throughout the game, your fifth Memento slot should now be unlocked. If the fragments are still sitting separately in your inventory, combine them in groups of four and use each completed Vessel.After unlocking the slots, you do not need another workbench or a special merchant. Choose Mementos in the corresponding inventory section and combine bonuses to suit your playstyle. Additional slots expand the number of passive effects you can use, but do not directly increase Health, damage, or Stamina by themselves.
Why the number of Memento slots is not increasing
If you have collected four, eight, or even all sixteen shards but still have fewer slots than expected, check the following:
The bird was destroyed, but the item was not picked up. Return to where the figurine was hanging and inspect the ground beneath it. The shard must be collected manually.
Four fragments were not combined. Open the inventory and assemble them into a complete Memento Vessel. Separate shards do not provide a bonus.
The completed Vessel was not used. Consume it from the inventory or the new slot will not unlock.
A collectible behind a locked route was missed. Recheck Apartment 2C, the Sheriff's Office storage vent, the confessional, and the breakable wall near Thelend Broadcasting.
The water-related shards were missed. Check the boat at the docks, the Riverside shore, and the fenced yard near the sewers. The last one requires a swimming detour.
The original Outskirts were never revisited. After restoring the ferry, return beyond the Crimson Bear Motel and check the side route near the underpass.
Five slots noticeably change the way you play. Instead of constantly choosing between damage, defense, and movement utility, you can keep several strong effects active at once. More importantly, you do not need to defeat an additional boss to unlock them. You only need to explore carefully and stop walking past the hanging wooden birds.