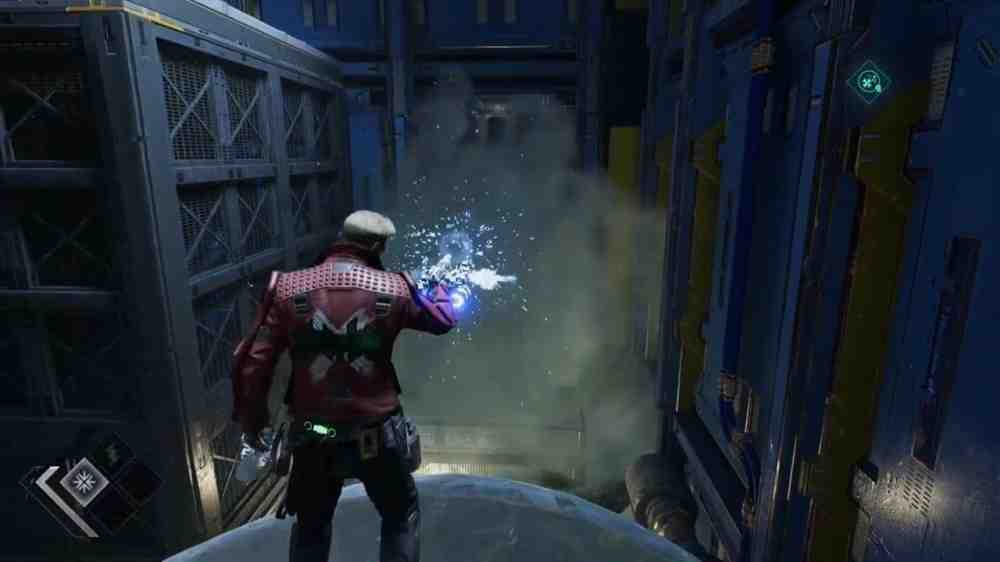
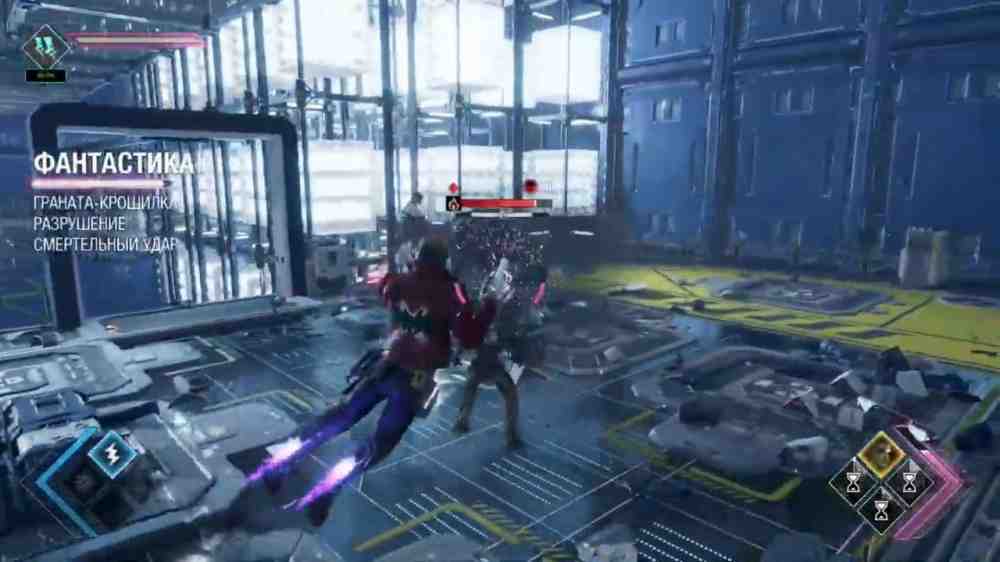
A detailed walkthrough of all chapters in Marvel's Guardians of the Galaxy (2021): where to find important collectibles and outfits, which dialogue choices matter, how to solve the main puzzles, and how to defeat the bosses.
Chapter 1. A Risky Gamble: How to Find the Nests, Collectibles, and Outfits
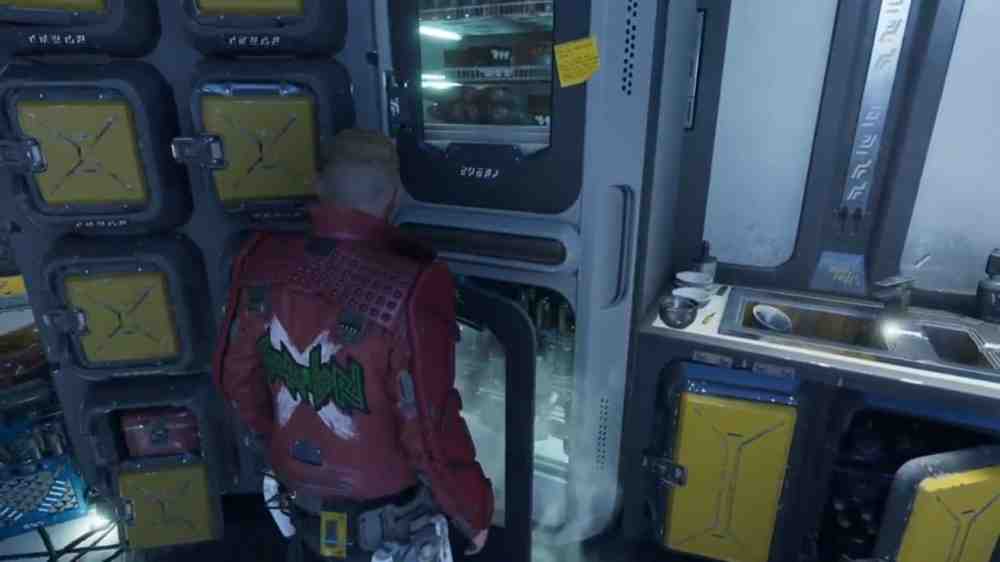
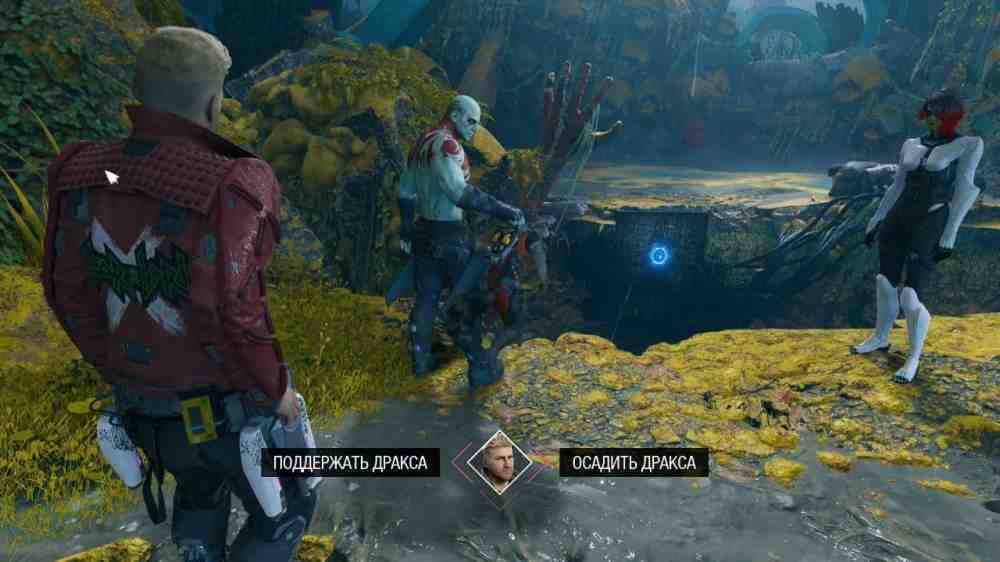
Talk to Peter's mother and look around his room. There are several interactive objects here. When we are ready, leave through the door.Image unavailableWe wake up aboard the Milano. Leave Peter's room and talk to the other Guardians. We can overhear Groot and Rocket talking and either encourage Groot or intimidate him. On the left side of the ship, we can also find the open refrigerator. I recommend closing it whenever the game gives us the chance.Image unavailableTo continue, go to the cockpit and sit in the chair. Enter the code 0451 and watch the cutscene.
The Quarantine Zone
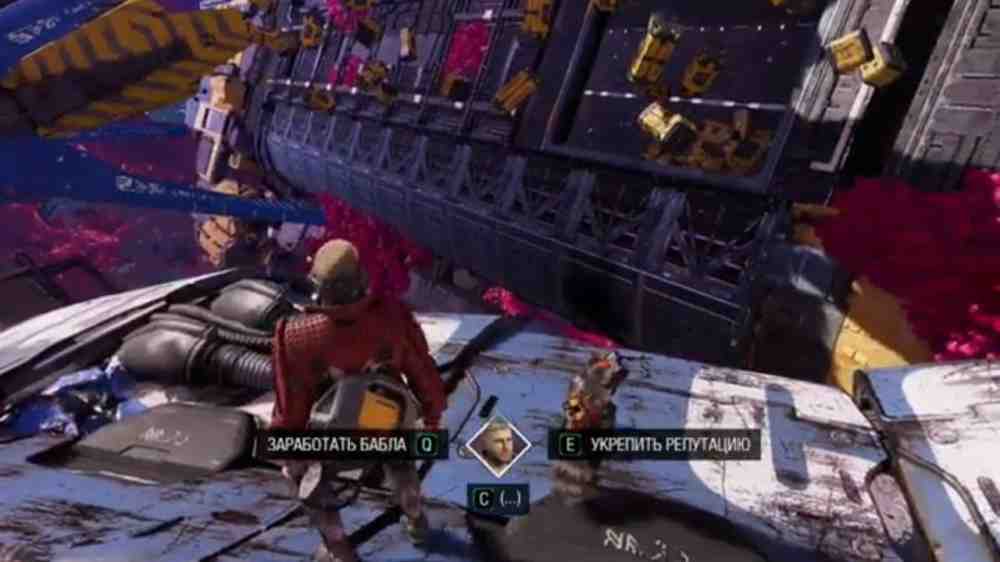
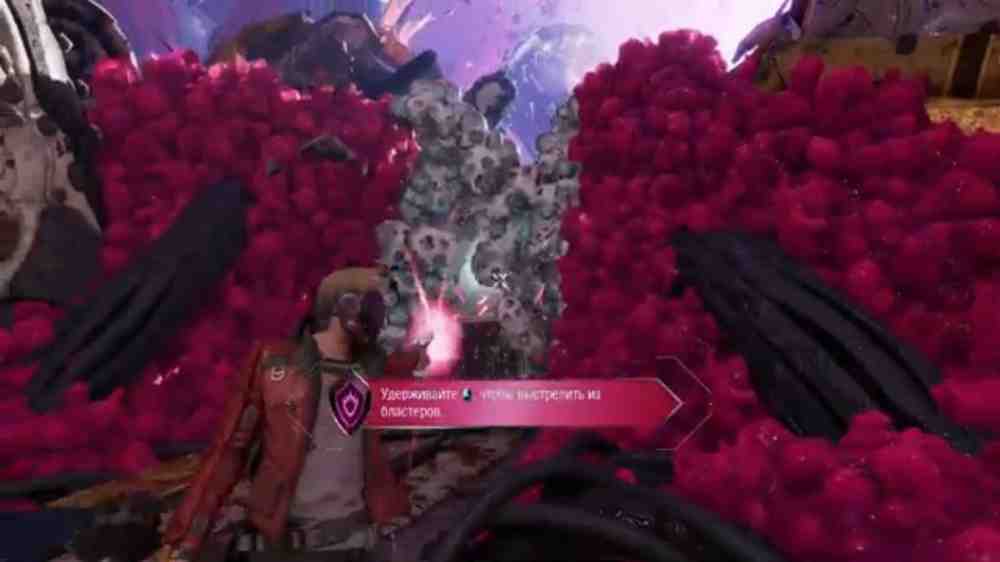
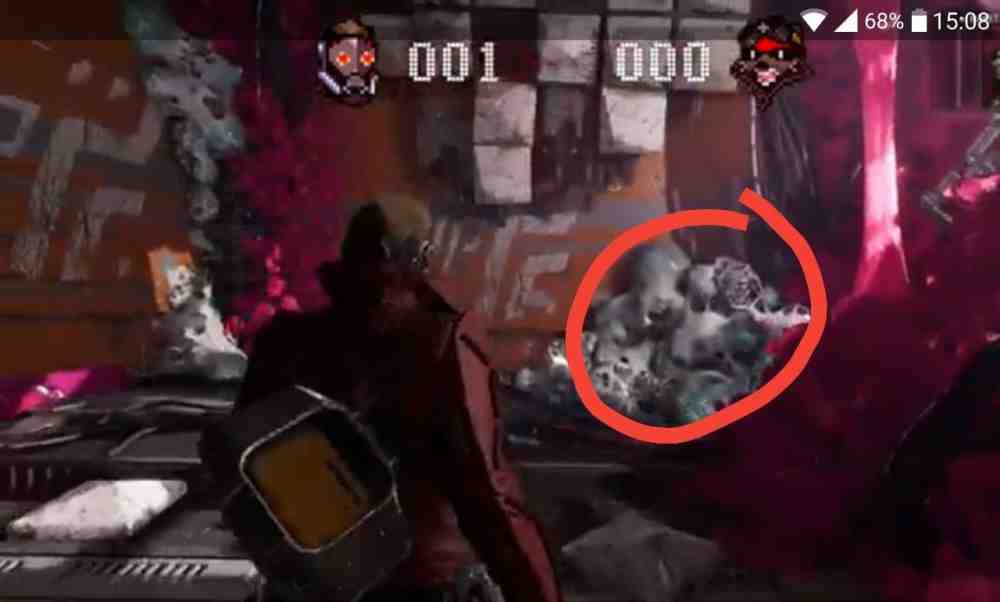
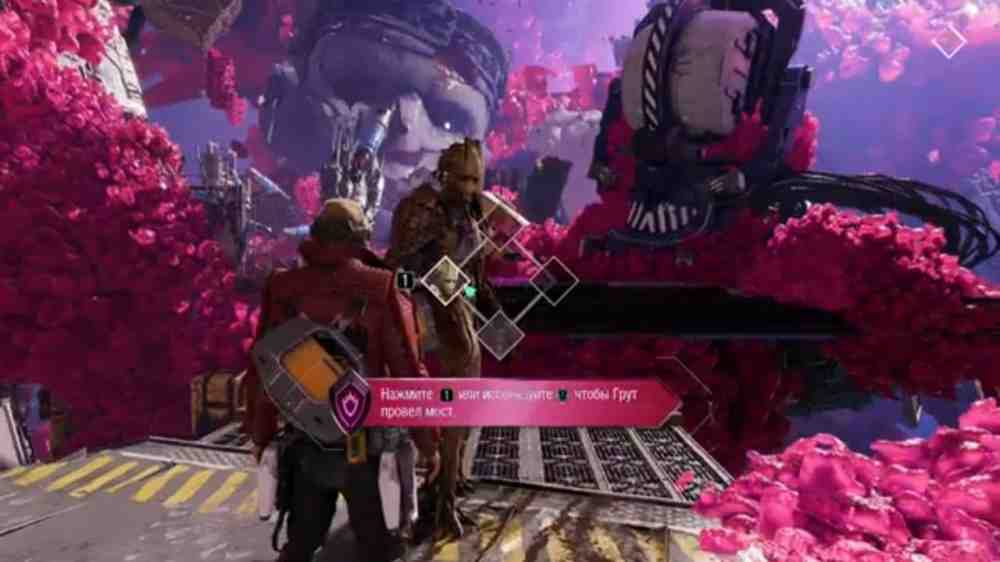
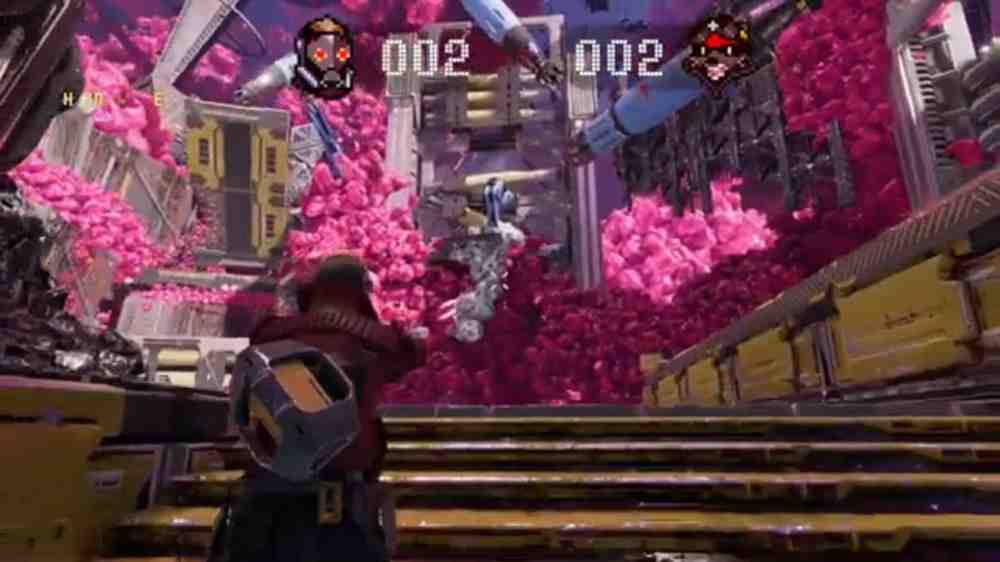
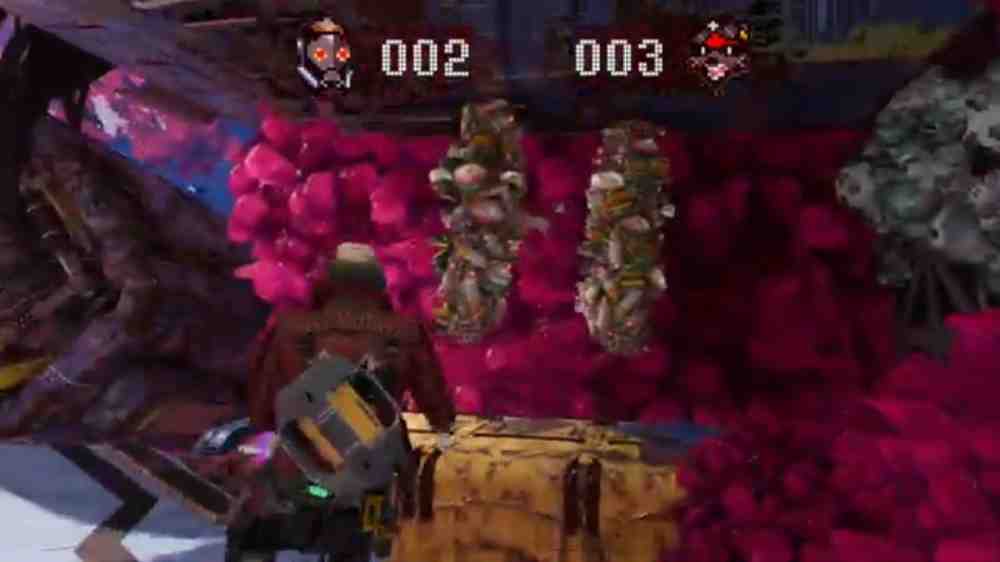
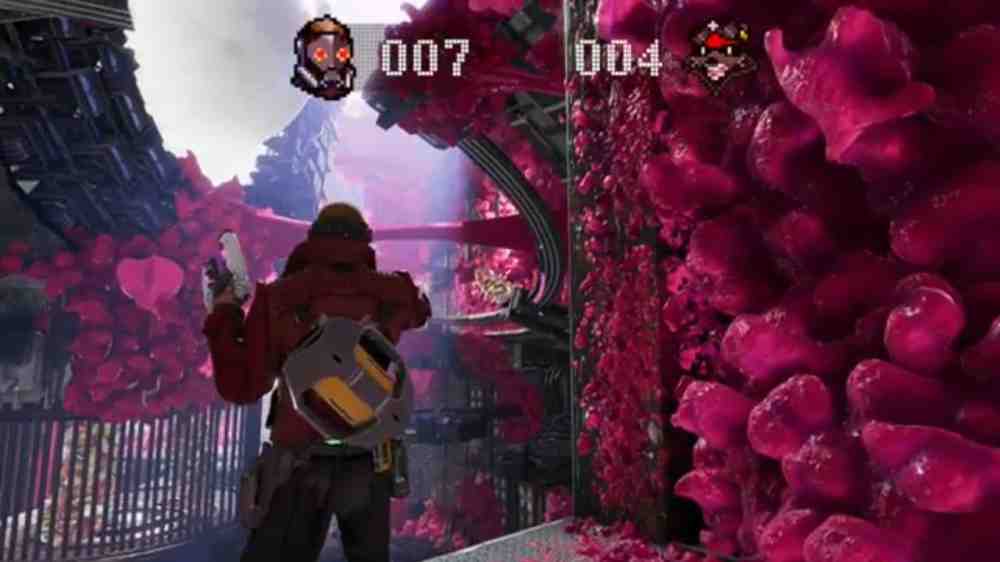
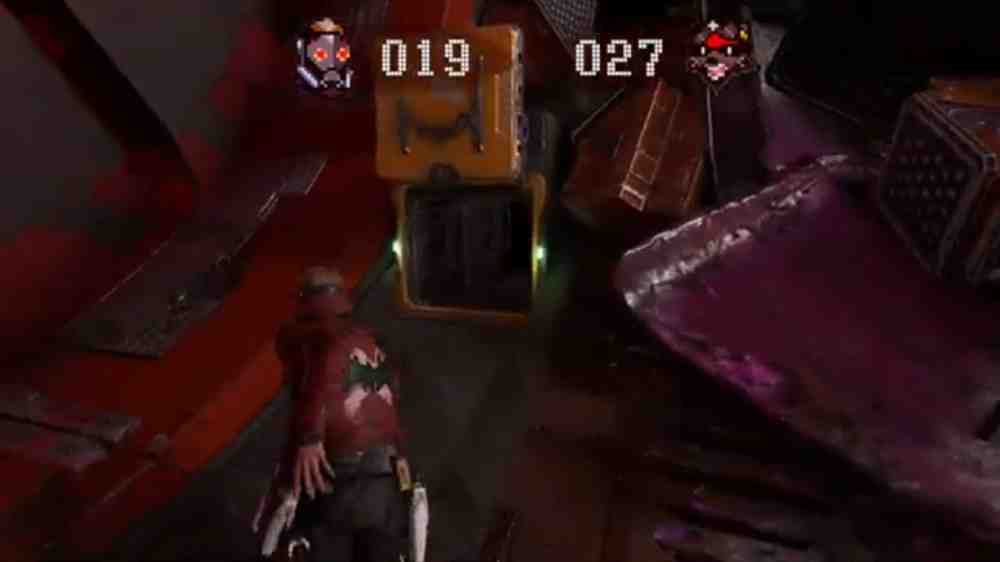
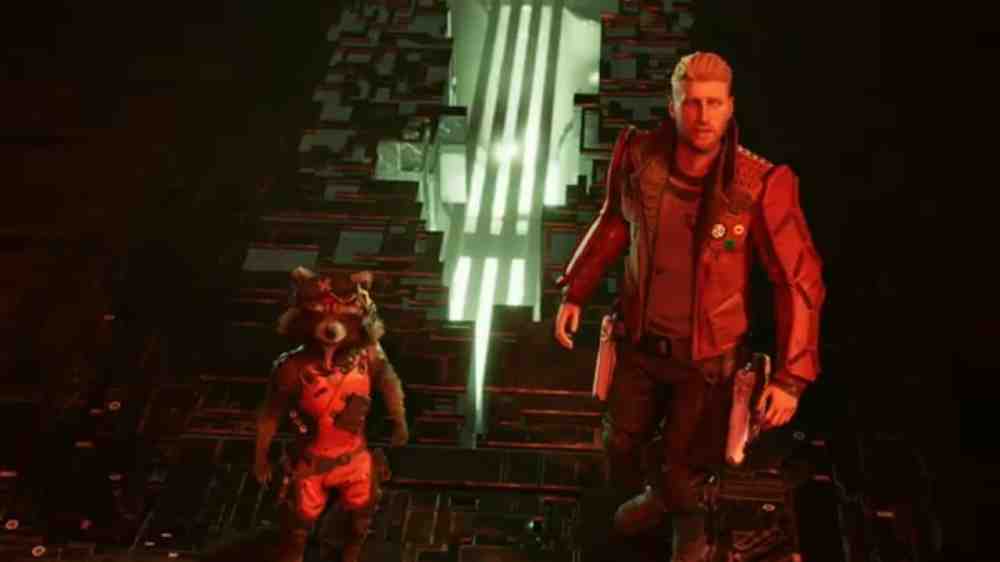
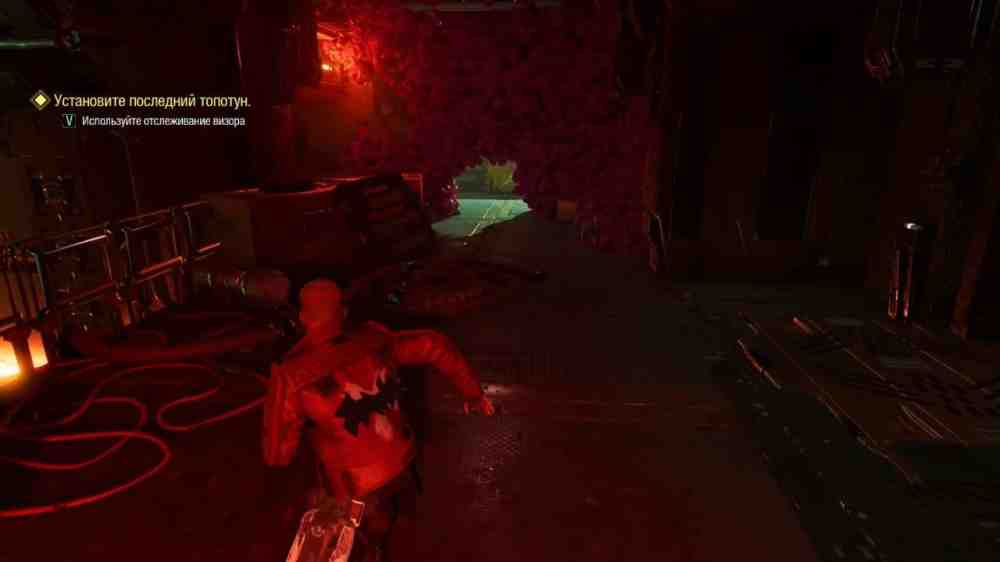
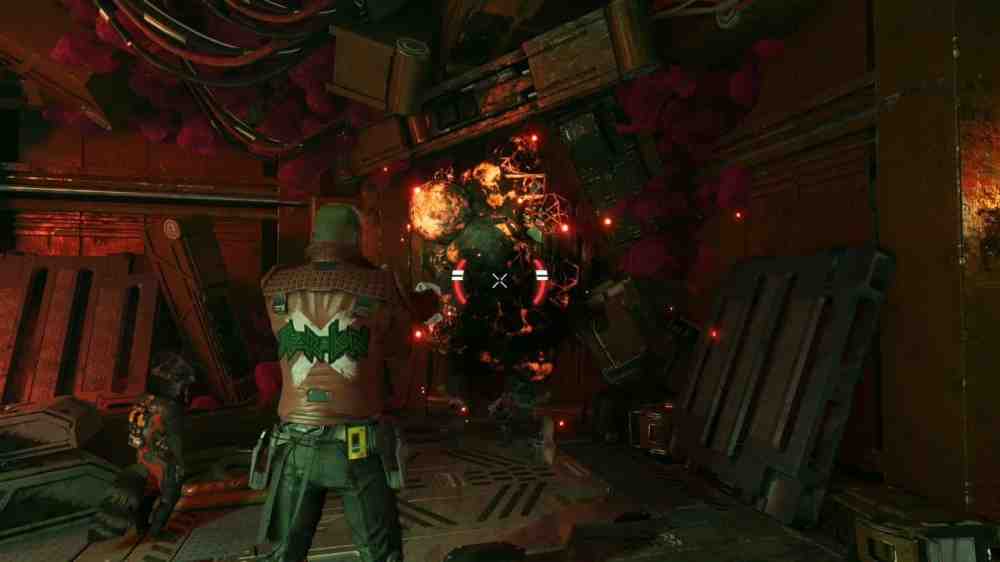
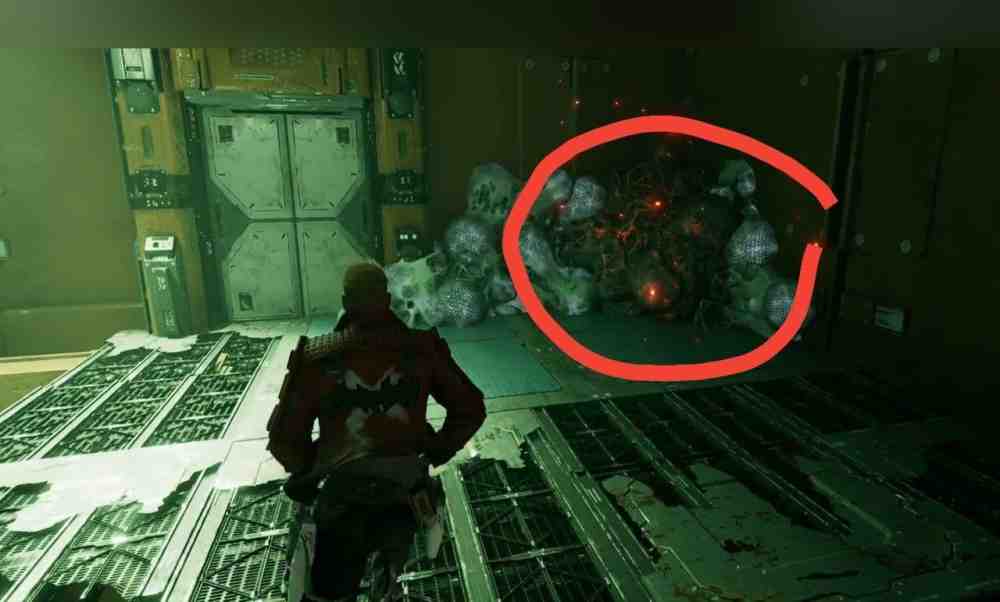
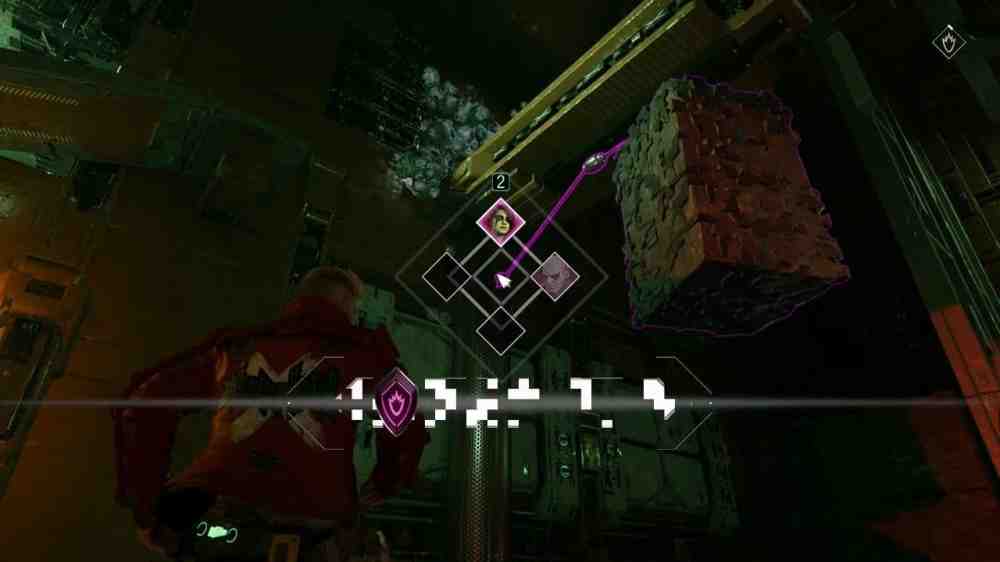
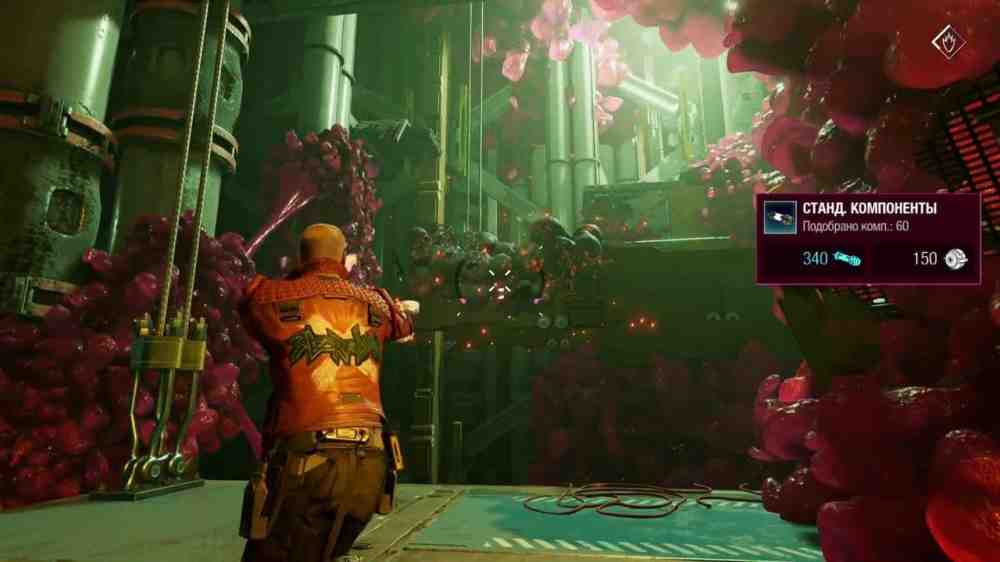
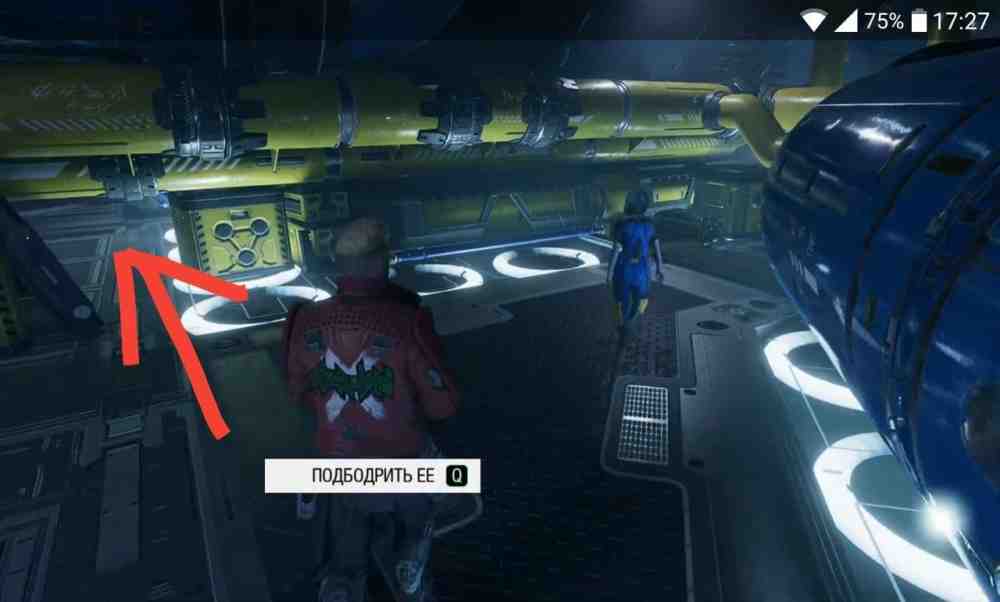
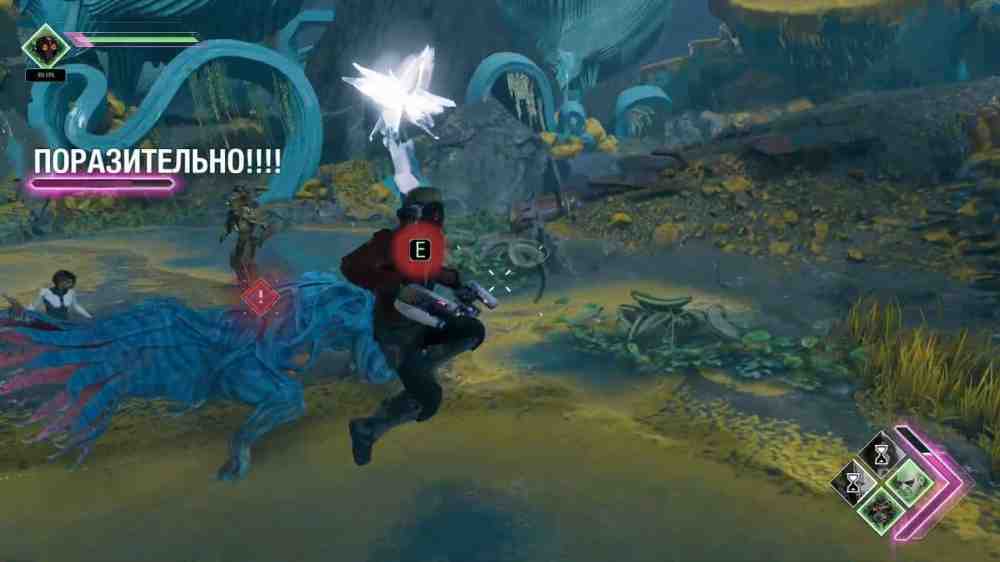
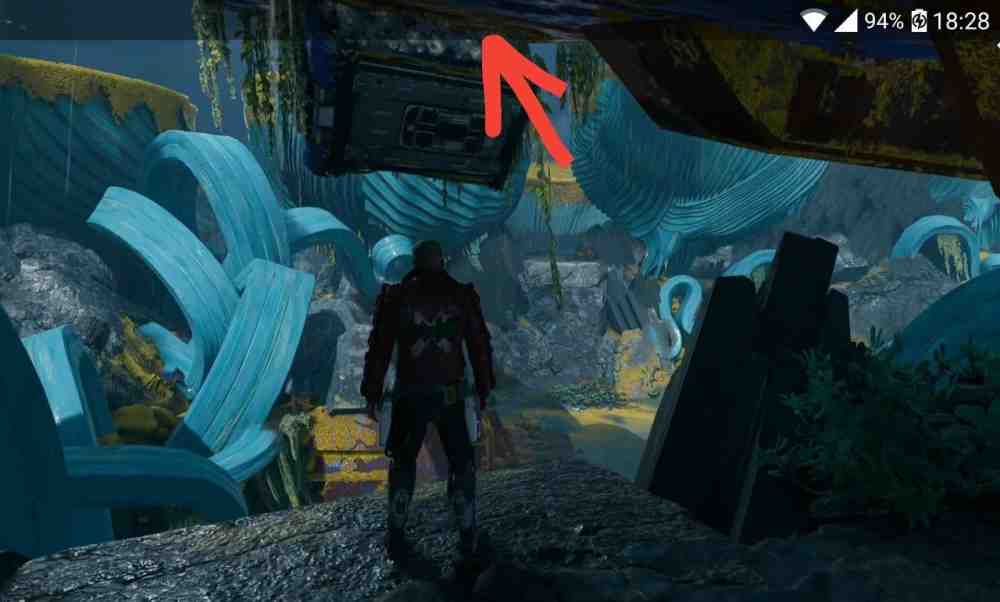
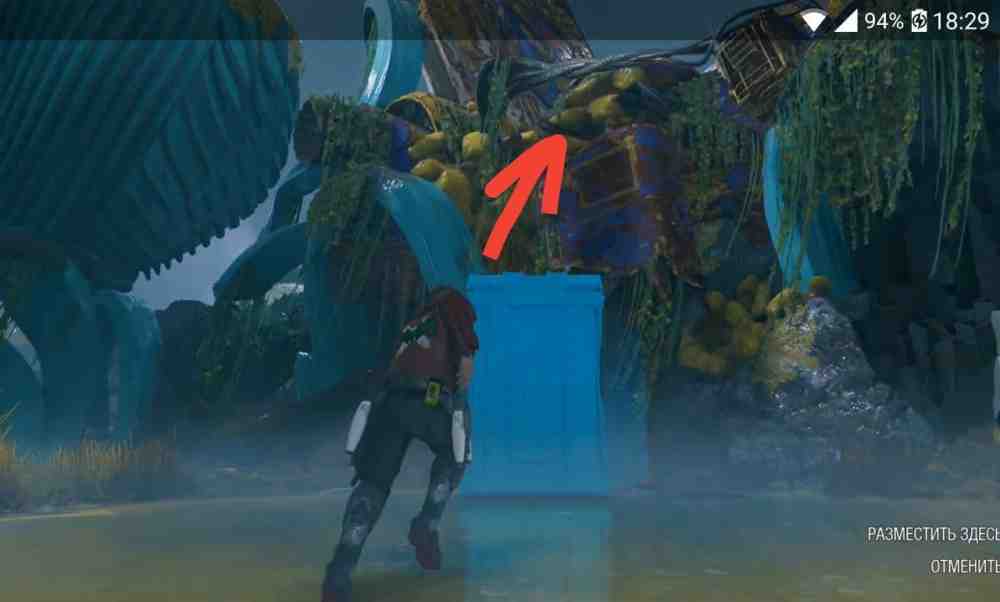
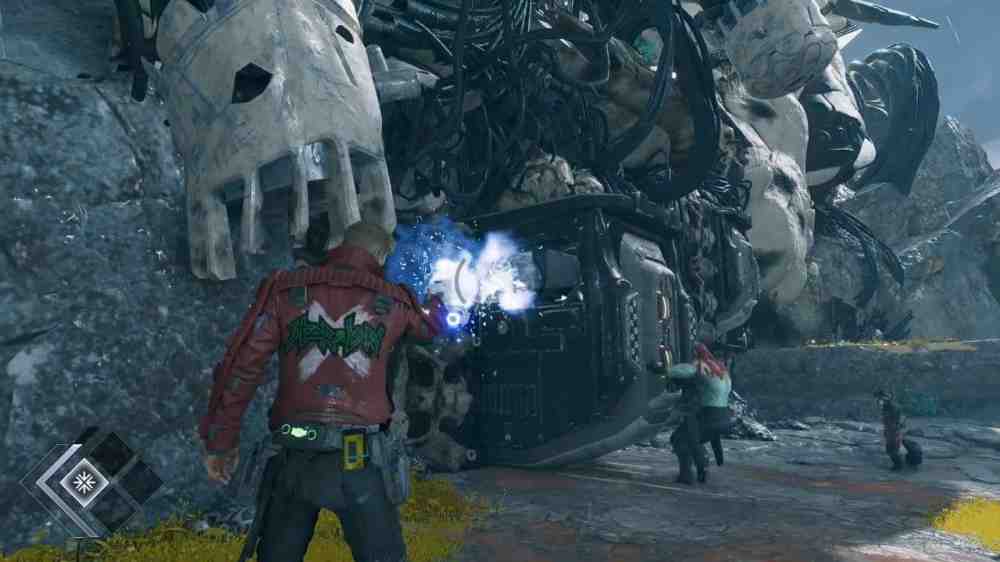
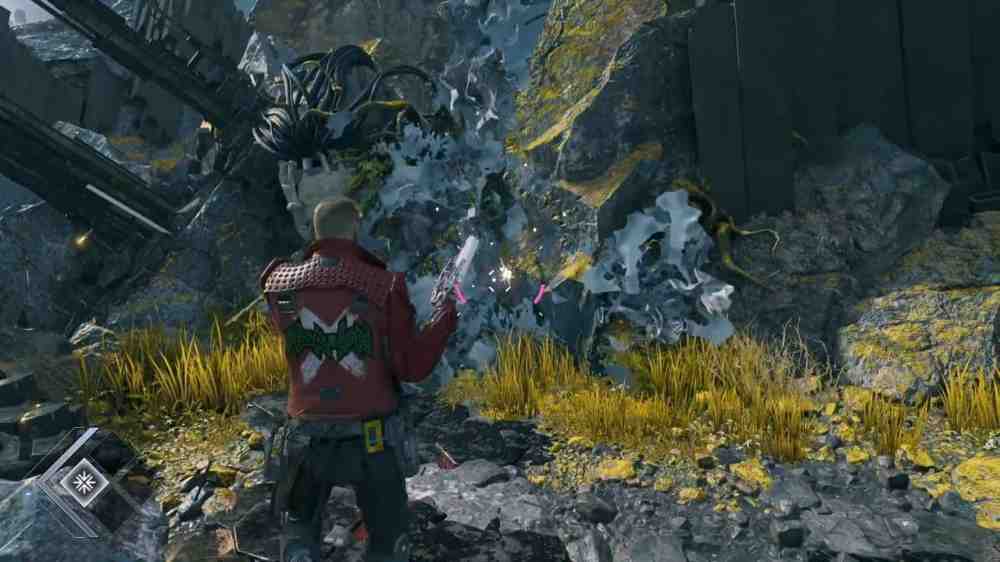
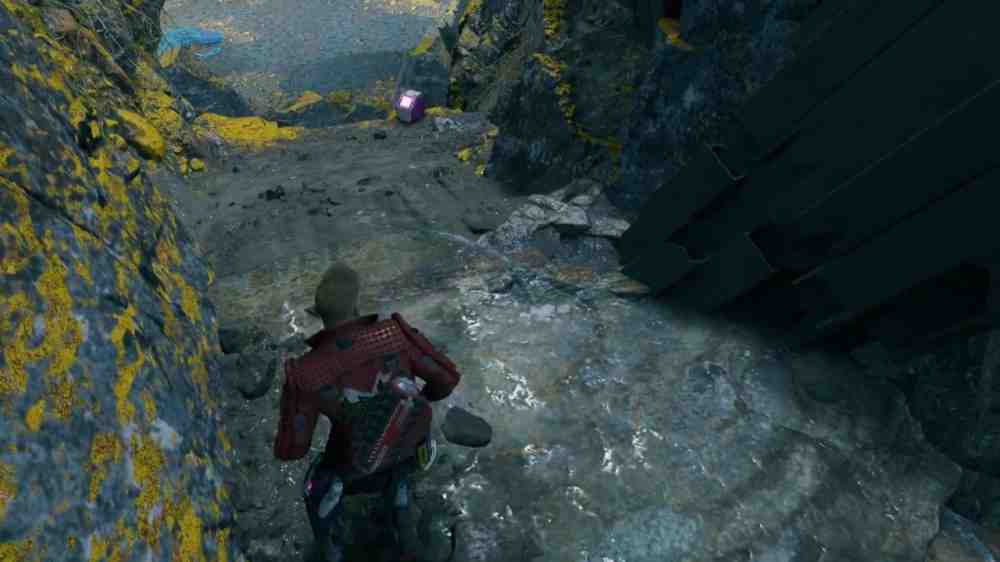
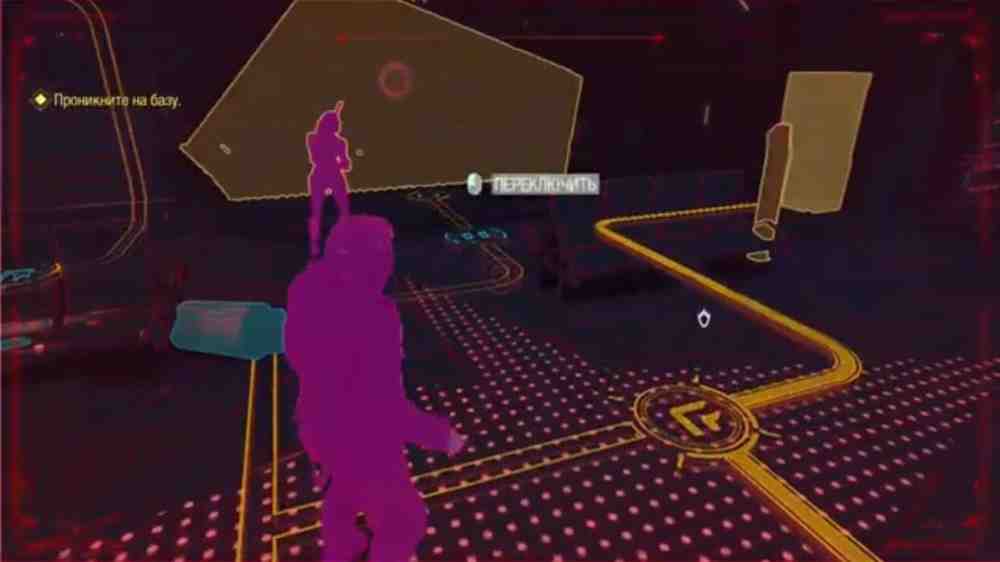
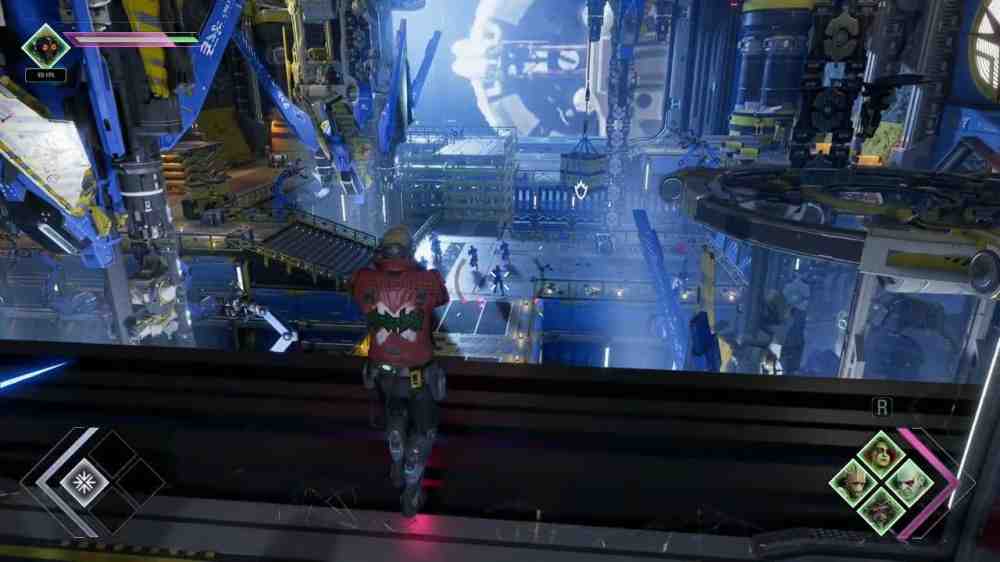
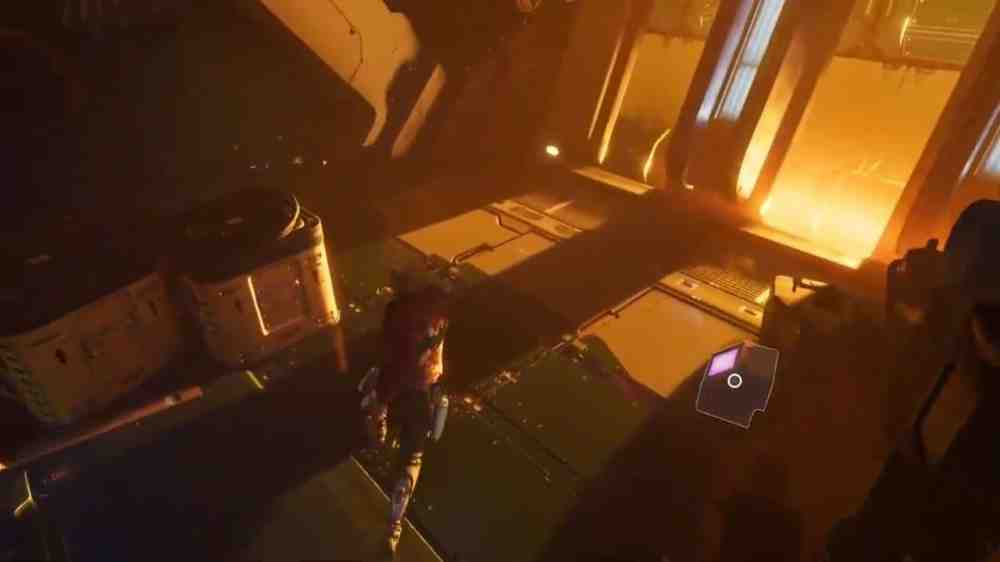
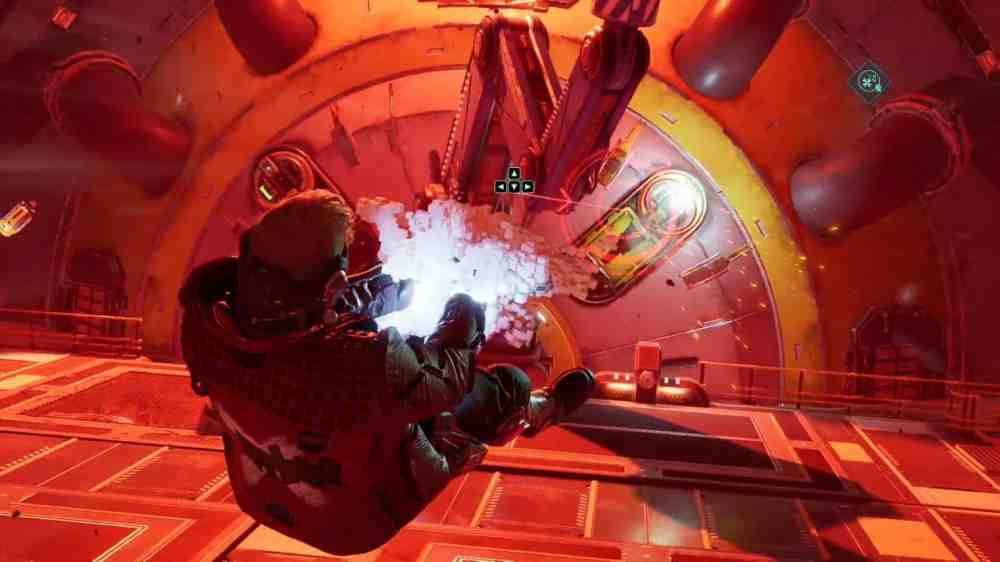
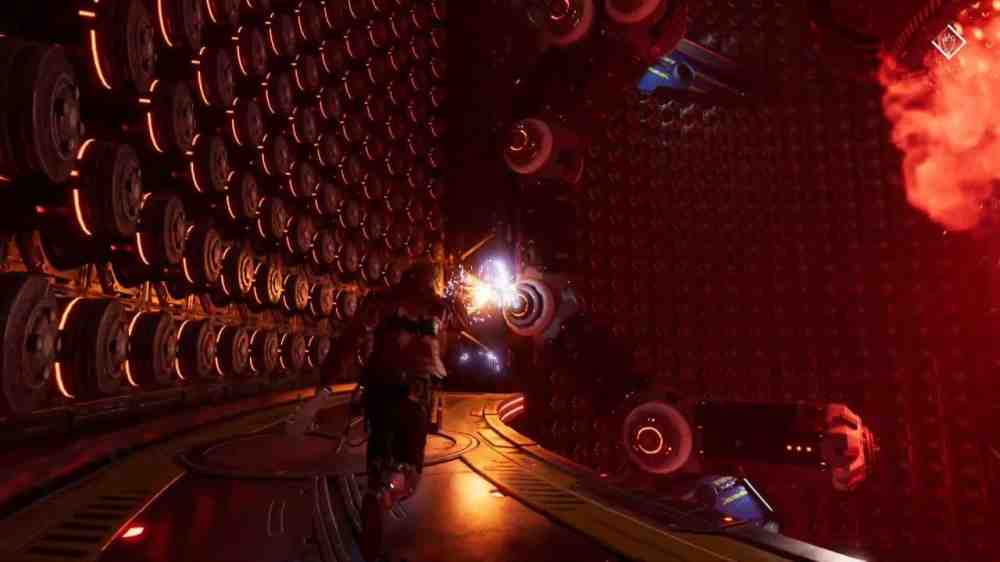
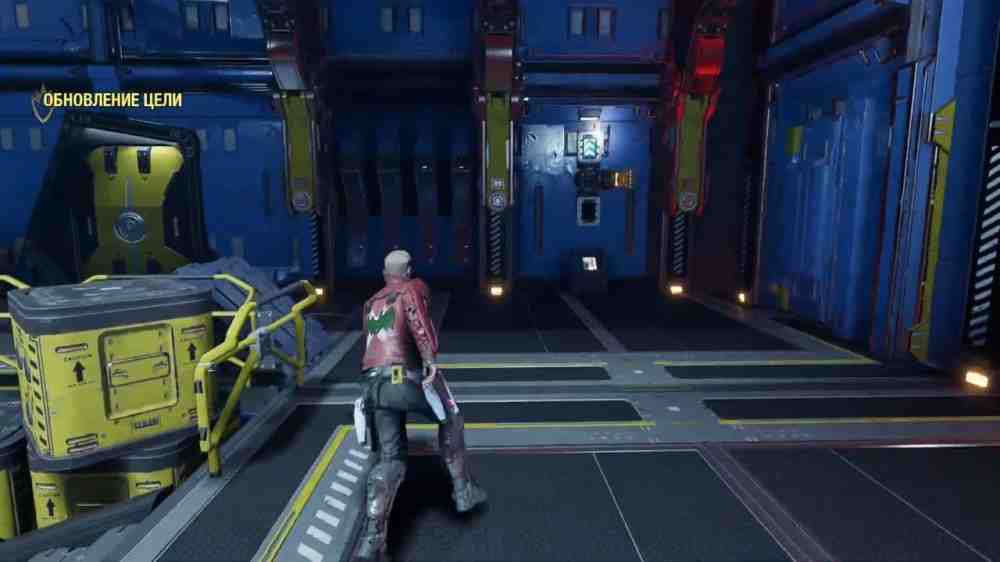
We land in the debris field with Groot and Rocket. Follow the path and use the Visor with V on PC to scan objects and follow the main objective on the compass at the top of the screen. Throughout the chapter, collect Basic Components and Advanced Components. We will spend them on Star-Lord perks at Workbenches.Image unavailableThroughout the game, Peter can jump into conversations between the other Guardians. When his dialogue icon appears, press the corresponding response button before the timer runs out.Image unavailableUse the double jump to cross gaps and reach higher platforms. Some of the yellow or gray Quarantine Zone growths can be destroyed with Peter's blasters. The Visor highlights anything we can interact with.Image unavailableDestroy the growth and find the first parasite nest hanging from the ceiling. Shoot it and the game starts Rocket and Peter's little competition. If we want to beat Rocket, destroy more nests than he does.Move forward and drop to the lower level. After crawling out, check the right side. Destroy the growth and pick up the first Guardian Collectible, Ravager Comm Bracelet.Image unavailableTurn around and shoot the growth on the wall. The wall collapses and lets us continue lower. We meet the first enemies here. Follow the combat tutorial and defeat them to earn Ability Points.Climb the crates, destroy the growth, and get back outside. Cross the beam to the others. At the broken bridge, open the Guardian command menu and tell Groot to create a bridge.Image unavailableAs soon as we cross, get ready to shoot more nests around the corner. Rocket will probably destroy one first, so quickly take out the other two.At the next gap, ask Groot to create another bridge. On the next platform, Rocket asks us to find a battery. There is growth on the wall behind the central machine. Destroy it and pick up the battery.Image unavailableScan the battery and bring it to Rocket. Once the device is ready, more monsters attack. Use the Guardian command menu and Groot's ability to control the fight, then continue.Go up the route the monsters used and head outside. The main path is to the right, but go left first to find more parasite nests.Image unavailableReturn to Rocket and Groot. Shoot the growth covering the giant robot's eye and ask Groot to form a bridge. The next section has a lot of nests, so keep moving and shoot them quickly if we want to win Rocket's contest.Image unavailableCross to the platform and plant the Thumper. More enemies attack, and Rocket's Cluster Flark Bomb ability becomes available. Use Guardian Mode whenever enemies group together.After the debris crash, we can defend Rocket in front of Gamora or blame him. Continue until we reach the locked engine blades. Ask Rocket to crawl through the yellow drone tunnel and use the Visor to follow his progress.Image unavailableWhen the blades open, enter the engine and shoot the growth on the second fan. Climb up and watch the scene with Drax and Gamora.Run across the ship's hull and follow Rocket. Dodge debris and do not fall. Wait for Rocket to find the route forward. Near the end of this section, destroy the final nest and watch what happens to the strange glowing object.Image unavailableAfter reuniting with Groot, choose whether to tell him the truth or lie. After the cutscene, turn the camera to the right and crawl through the opening. Inside is the Groot: Guardians of the Galaxy (2014) Outfit.Image unavailableFollow Groot and Rocket to the Workbench. Spend Components on perks. Rapid Reload is a useful early upgrade. When Peter's blasters overheat, time the reload input inside the green area to instantly cool them down.Image unavailableEventually we fall from the pipes and have to defeat another group of enemies. Keep collecting Components. If Peter gets stuck between the pipes, reload the latest checkpoint.Climb the old metal beams and destroy the thick growth to the right of the door. Pick up the Guardian Collectible, Spinal Control Unit. Continue into the hangar and fight until Drax and Gamora arrive. Their abilities now become available in Guardian Mode.To leave the hangar:
Approach Gamora and inspect the suspended cargo.
Ask Gamora to cut the cable.
Ask Drax to move the cargo against the wall.
Image unavailableClimb up, collect the Components, and continue. In the next room, destroy the growth and check the upper level for more materials.Image unavailableDuring the next battle, Peter introduces the Huddle. Listen to the words used by the team. The correct response depends on whether the Guardians sound confident or desperate. In this first Huddle, choose the response about laughing in the face of danger.
Laugh in the face of danger.
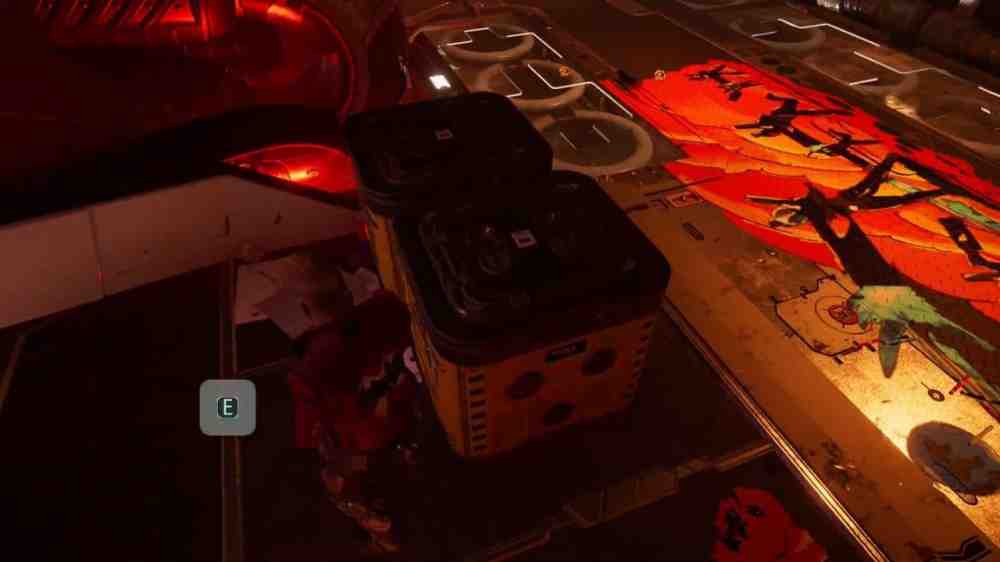
Image unavailableAfter the fight, ask Rocket to interact with the network interface near the door and open it.In the dark room, we have to catch the creature hiding among the crates. Destroy the boxes and obstacles, then tell Groot to restrain it. The terrifying monster turns out to be a strange llama. After another cutscene, we take control of the Milano. Avoid the debris, shoot the obstacles, and survive until the end of the chapter.
Chapter 2. Busted: What to Hide and How to Earn Nikki's Trust
At the start of the chapter, Drax finds Rocket's illegal weapons tech. We have to decide what to hide before Nova Corps searches the Milano.
Hide the llama: Nova Corps finds Rocket's tech and the fine is 7,000 Units. The llama also creates a useful shortcut later in Chapter 10.
Hide Rocket's tech: Nova Corps finds the llama and the fine is 8,000 Units. Rocket keeps the tech and later upgrades the Milano for the Chapter 9 space battle.
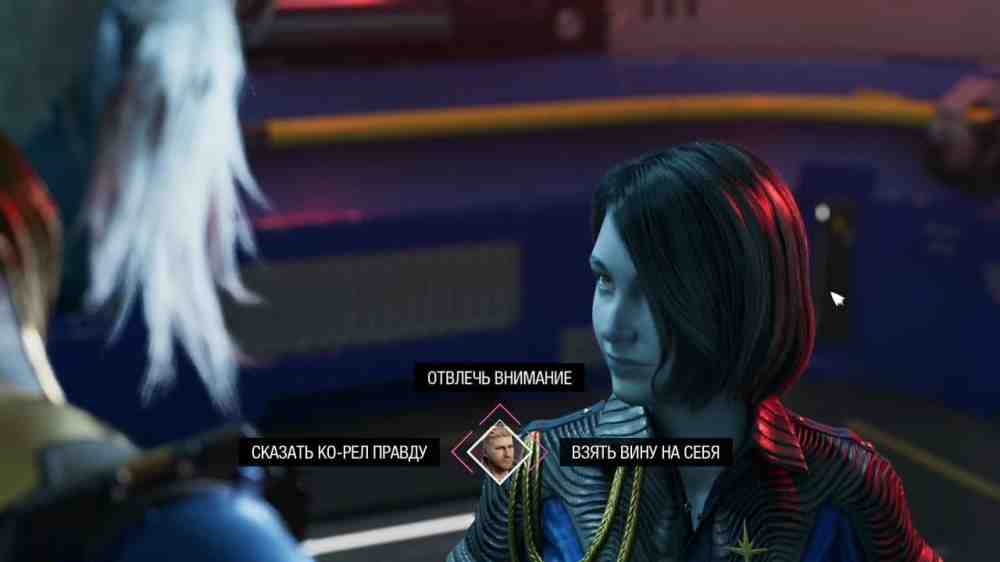
Both paths are completely viable. Hiding the llama is slightly better if we want the smaller fine and the Chapter 10 shortcut.We are taken aboard the Hala's Hope. Follow the corridor until the ship is hit. Complete the QTE and save Nikki. Follow her through the ship. If Peter can ask her to remove the cuffs or try his jet boots, neither option changes the route.Collect Components as we go. In the room with yellow pipes, crawl through the opening beneath them to find the Star-Lord: Nova-Lord Outfit.Image unavailableThroughout the escape, support Nikki and avoid treating her like a child. In her hideout, pick up the Guardian Collectible, Broken Translation Device.Image unavailableWhen we finally meet Ko-Rel, the important part is the elevator conversation. To earn Nikki's trust and receive Nikki's Personal Device, choose the options that side with her:
Reactivate Elevator.
Try to Help Nikki.
Take the Blame.
Nikki secretly gives Peter her access device. This matters later in Chapter 7 because it opens a locked room containing collectibles.Image unavailableKo-Rel then gives the Guardians their fine. It is 7,000 Units if we hid the llama or 8,000 Units if we hid Rocket's tech.
Chapter 3. The Cost of Freedom: Groot or Rocket and How to Escape the Swamp
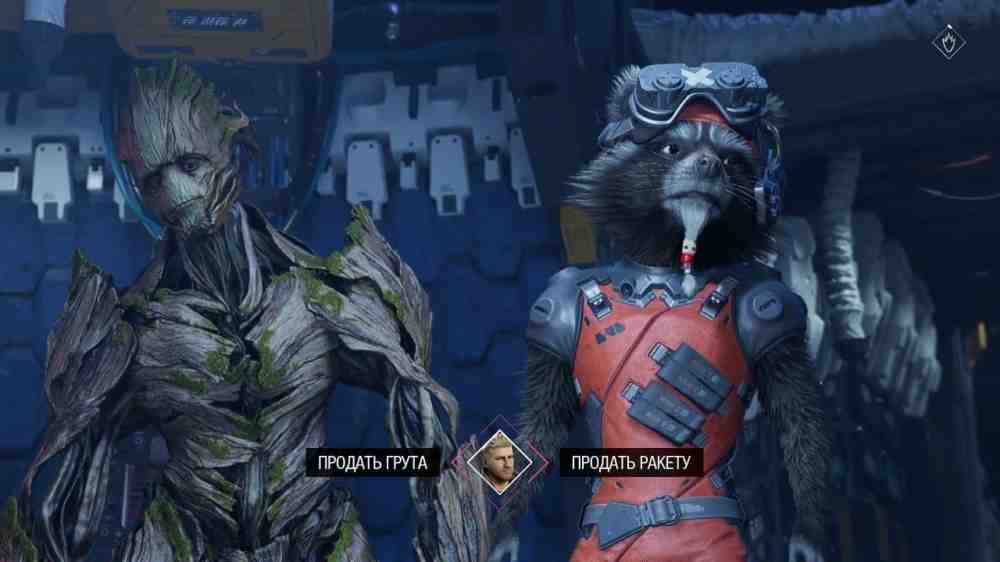
Before the next mission, talk to the Guardians, inspect the collectibles we have brought back to the Milano, and use the Workbench. If we collected the Guardian items in Chapters 1 and 2, new conversations become available with several team members.When we are ready, go to Peter's room and take the money from the table.During the next scene, we have to decide which Guardian the team will try to sell to Lady Hellbender: Groot or Rocket.I recommend choosing Groot. Lady Hellbender is genuinely interested in him, and the deal in Chapter 4 can succeed. If we choose Rocket, the negotiations always collapse and the Chapter 4 route changes into a fight and robbery.Image unavailable
Sector Nine: The Greater Magellanic Cloud
Leave the Milano with the team. Continue until we see a storm above one of the islands. Whenever lightning strikes, hide behind the vegetation or cover and wait for the wind blast to pass. Our destination is the island beneath the storm.After the cutscene, fight the monsters. Ask Drax to pull out the heavy reactor and use Rocket to open the path. If we climb higher first, we can find the Archive, Collateral Damage and extra Components.Image unavailableDrax eventually grabs Rocket and offers to throw him across the gap.
Encourage Drax: Rocket is furious that we let Drax throw him.
Stop Drax: Rocket appreciates Peter taking his side.
If we let Drax throw Rocket, cross immediately and fight the flying enemies. If we refuse, go down to the bridge and destroy the growth, then find the stone pillar and ask Drax to push it down.After the fight, climb with the team and ask Gamora to cut through the vines.Image unavailableAfter the group crosses the ledge, run forward and prepare for a QTE. On the other side, fight the large Slakebeast. Dodge its charges, fill the stagger bar, and use the Call to Action when the prompt appears near the tail.Image unavailableDestroy the thick growth and use the Workbench in the hidden room. Ask Gamora to boost Peter toward the generator, shoot the growth holding it, then have Drax move the generator and Gamora cut the cables.Image unavailableImage unavailableContinue across the islands and drop into the red resin. Complete the QTE and Peter unlocks the Ice Shot.Fight the monsters and continue. Pull the lower device out with Drax, then freeze the mechanism so it cannot retract. Climb onto it and ask Rocket to extend the next platform.Image unavailableClimb higher and ask Gamora to clear the path. Shoot the tentacle and explore the area. If we defended Rocket at the earlier bridge, Drax tries to throw him again. Back Rocket up a second time if we want another positive reaction from him.Explore the left side first. Destroy the growth, freeze the water, and climb up for Components. Return to the team. On the right side of the bridge, destroy the growth covering the wall and find the hidden route. Ask Drax to smash the wall with the rock.Image unavailableIn the next area, defeat the two monsters and climb. At the waterfall, go left into the hidden passage, destroy the growth, and collect Components. Freeze the water in the cave and climb higher to find the Groot: Five Horsemen of the Apocalypse Outfit.Image unavailableReturn to the group, freeze the water, and ask Gamora to clear the route. After several more frozen waterfalls, we reach Lady Hellbender's fortress.At the end of the chapter, the team confirms which Guardian will be offered. Again, Groot is the better choice if we want the successful negotiation route.
Chapter 4. The Monster Queen: Selling Groot or Rocket and How to Defeat the Dweller-in-Darkness
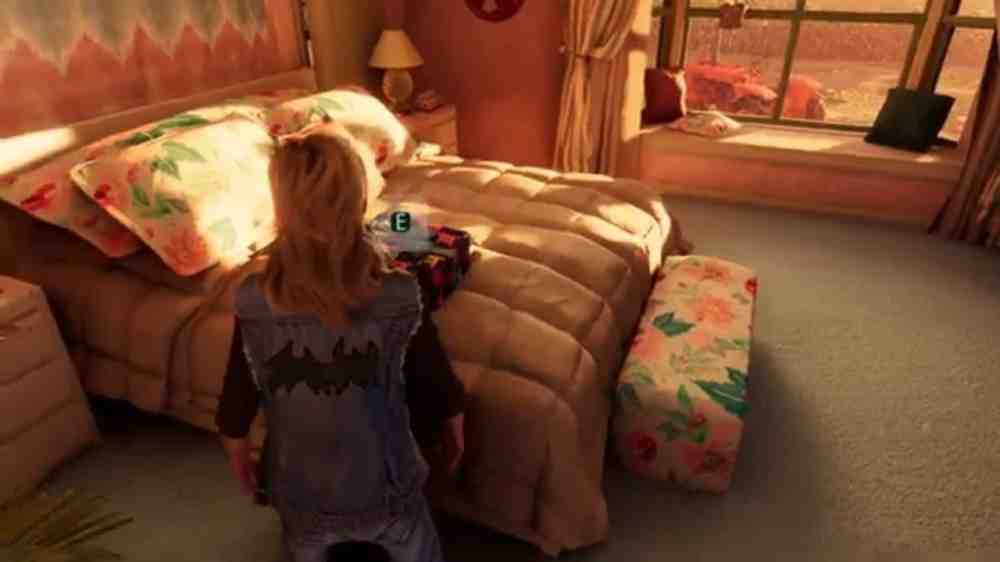
We briefly return to teenage Peter. Leave the room, look around the house, close the refrigerator if we want to continue the running joke, and speak with Meredith. She asks Peter to bring her present from the sofa in her bedroom upstairs. Interact with it to return to the present.Image unavailableThe opening of this chapter changes depending on who we chose to sell.
If We Chose Groot
The negotiation with Lady Hellbender succeeds. Encourage Drax and then support him during the conversation. If we handle the scene well, Lady Hellbender agrees to pay 12,000 Units for Groot.After the banquet, the Guardians sneak through the fortress to rescue Groot and escape. This route has fewer open battles at the beginning.
If We Chose Rocket
Lady Hellbender is not interested in buying Rocket. No dialogue combination can make this deal succeed. Rocket eventually loses his temper, the meeting turns violent, and the team has to fight its way through the fortress and steal money from the vault instead.Whichever path we are on, Chapter 4 still leads to the same boss and the same story ending.Use Ice Shot on the security drones whenever they block the path. Look for hanging cargo and environmental objects that can create new routes. On the Rocket route, the escape becomes much more combat-heavy.
How to Defeat the Dweller-in-Darkness
At the end of the chapter, we fight the Dweller-in-Darkness. The basic strategy is simple:
Attack the boss and use Guardian abilities to fill its stagger meter.
When a tentacle becomes vulnerable and lands near the explosive red growth, freeze the growth with Ice Shot.
Use the Call to Action when it appears so Gamora can cut off the frozen tentacle.
Repeat the process until all four tentacles are gone.
Once all four tentacles are removed, complete the final team sequence and watch the cutscene.
Chapter 5. Due or Die: How to Search Hala's Hope and Escape Nova Corps
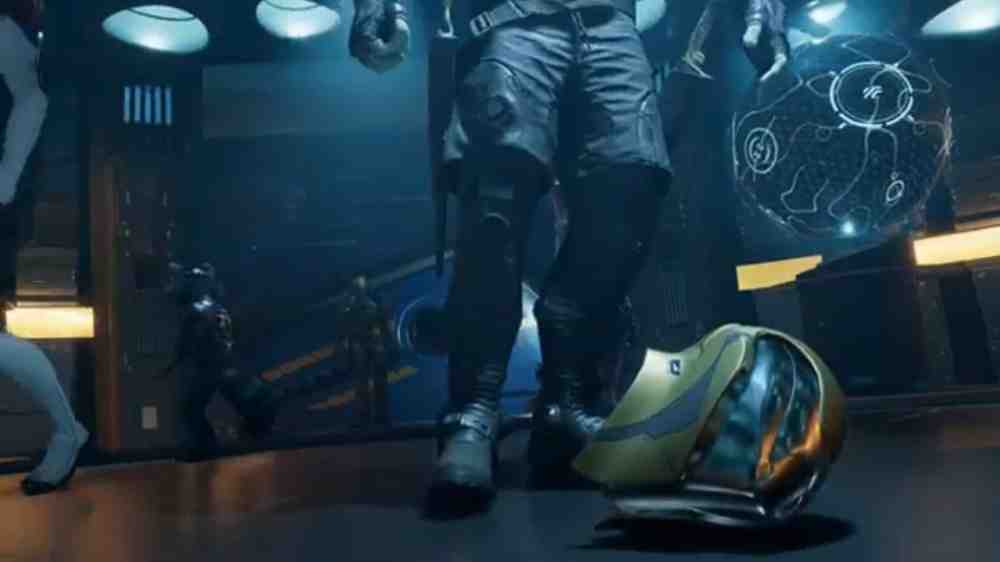
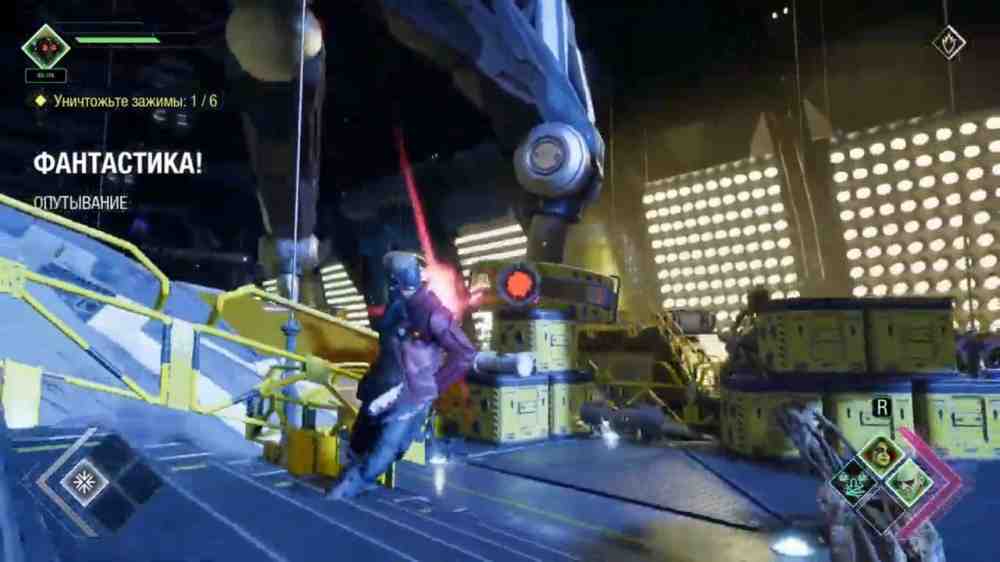
We arrive at Hala's Hope and quickly realize something is wrong. Follow the team until Rocket opens the door on the left. In the next room, shoot the vent and send Rocket inside. Use the Visor to reroute the power. We need to activate both sides of the circuit before the door will open.Image unavailableSearch the control room for an Archive and Components. In the bathroom area, find the Drax: Nova Corps Outfit. Continue collecting Components along the route.We eventually hear a prisoner shouting from a nearby room. We can speak to him and choose whether to eject him into space. This does not change the main story.Pass through the room with the Centurion armor. Freeze the mechanism controlling the door and continue. The workshop contains a Workbench and the Archive, Suit Protocol.Ask Rocket to open the next door. He initially refuses, so ask him again.Image unavailableWe find a Nova Corps helmet on the floor. We can speak into it or put it back. Speaking into the helmet leads to an additional fight later, while leaving it alone avoids that encounter.Take the elevator and continue through the station, fighting the corrupted Nova Corps troops.Image unavailableIf an encounter appears to be stuck after every visible enemy is dead, reload the latest checkpoint. Continue through another large battle. In the yellow-lit room with the forklift, look behind it for the Groot: Nova Corps Outfit.Image unavailableContinue through the corridors until we find more Church-controlled Nova soldiers. At the next locked door, protect Rocket while he hacks it.Eventually we reach the Milano, but the ship is locked in place by six docking clamps.Image unavailableDo not waste time trying to clear every enemy. Destroy the six clamps by shooting their red lights. The weak point faces a different direction on each clamp. We can still help the team by stripping energy and ice shields from nearby enemies, but the clamps are the real objective.Once all six are destroyed, watch the cutscene and return to the Milano.
Chapter 6. Between a Rock and a Hard Place: Lipless, Knowhere, and the Blood Brothers
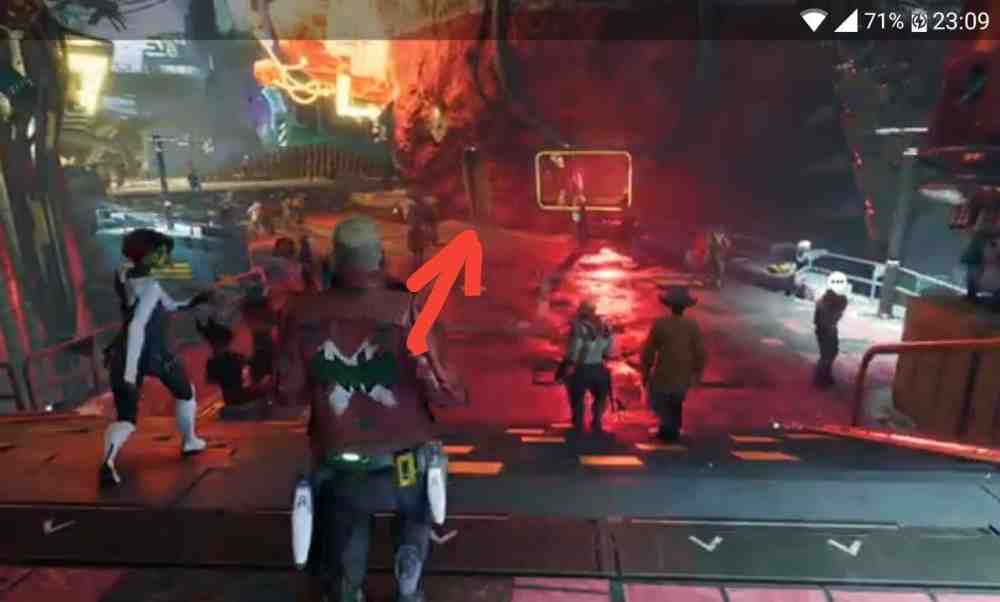
Talk to the crew and set a course for Knowhere. Leave the Milano with Gamora and Drax. Follow the streets, collect Components, and eventually speak with Mantis.When we reach Mantlo's Bar, go inside. Rocket and Groot are there.Image unavailablePeter runs into Lipless, an old acquaintance. To keep him friendly and receive the Collector's Emporium ticket, agree to sing and choose:
Tell the Truth.
Like a Hurricane.
Through the Rain.
If we sing the right lyrics, Lipless gives Peter the Collector's Emporium Ticket.There is a lot of optional content around Knowhere. We can spend Units on souvenirs and collectibles, but remember the Nova Corps fine from Chapter 2. Keep at least 7,000 or 8,000 Units if we want to pay it in Chapter 9 and unlock the related achievement or trophy.A useful collectible is the Collector's Emporium Doll, which can be bought for 2,000 Units inside the Emporium. We can also find the Star-Lord: Guardians of the Galaxy (2014) Outfit beneath the stairs in the market area.Once we are finished exploring, follow the objective through the streets. After the scene with Drax and Gamora, continue into the alleys and eventually meet the Blood Brothers.
How to Defeat the Blood Brothers
At first, attacking them normally barely works. The brothers become nearly invulnerable when they stand close together. Keep moving and try to separate them.Survive until the rest of the Guardians arrive. Once we can use team abilities again, force the brothers apart and focus damage on whichever one is isolated. When they move close together, stop wasting powerful attacks and reposition.Image unavailableFinish the fight and watch the cutscene.
Chapter 7. Canine Confusion: Nova Corps Outfits, Power Puzzles, and Reaching the Matriarch
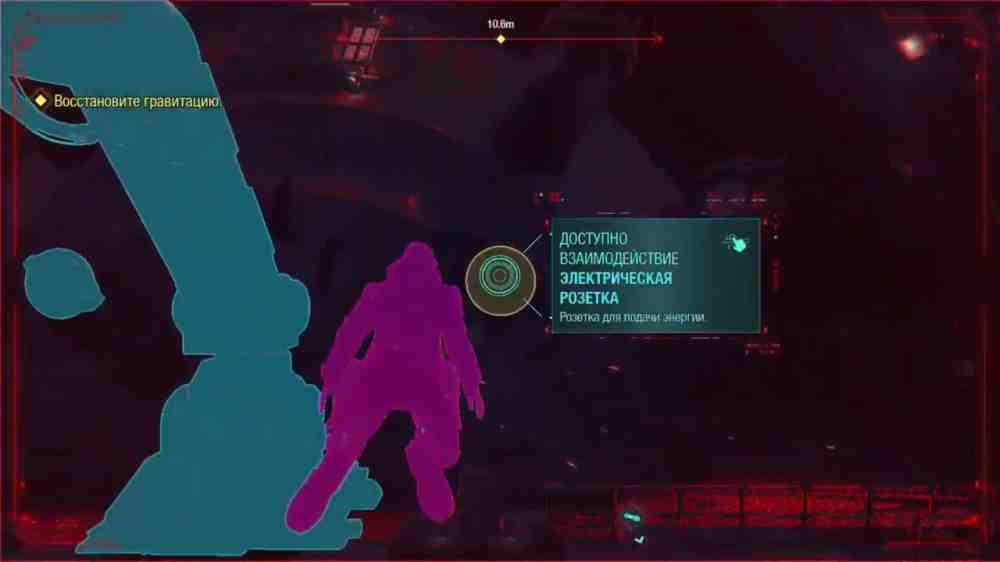
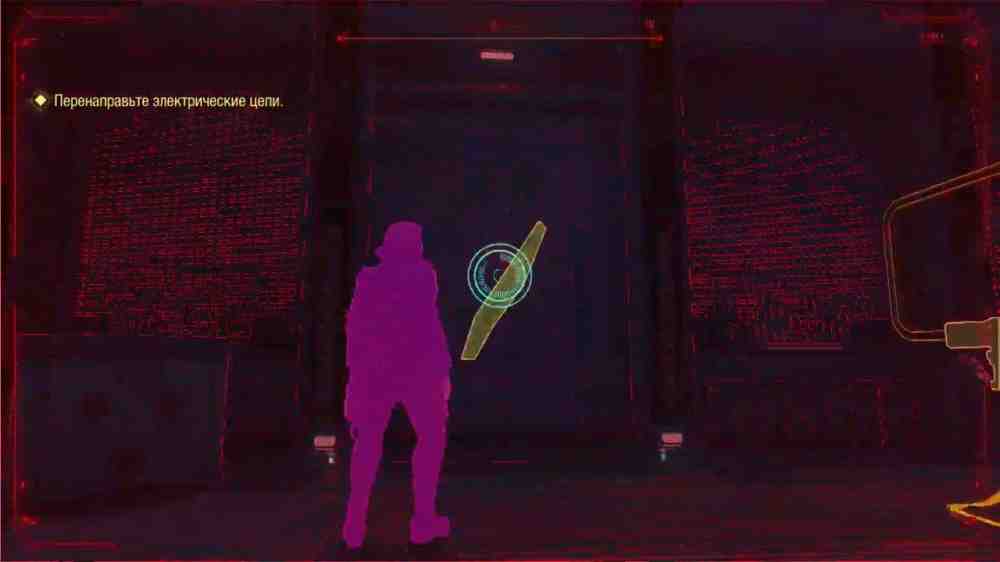
At the start of the chapter, speak with Drax and Gamora. Interact with the security camera. When Rocket and Groot appear, we can tease Rocket before the scene with Cosmo.Follow Cosmo aboard Hala's Hope.Image unavailableIn the hangar, find the electrical socket and then locate the battery on the floor at the opposite end. Insert it and interact with the circuit. Peter makes a mistake, the airlock begins to vent, and we unlock the Lightning Shot.Image unavailableFrom now on, use Lightning Shot on electrical nodes and devices highlighted by the Visor.Continue through the station and collect the Archive and Components along the way. At the elevator, help Rocket restore power. Gamora can anchor herself on the marked walls so Peter can reach the electrical devices above.Image unavailableAfter the next battle, Rocket asks us to restore several separate circuits. Use the Visor to trace the power lines.Ask Groot to lift Peter on the platform and activate the first switch. Drop back down, ask Drax to break the door, and activate the second switch.Image unavailableIn the second room, activate the wall switch and ride the platform up. Crawl through the vent. Inside the small control room, route the power toward the locked side room first.This lets us collect the Rocket: Nova Corps Outfit. Then redirect the first switch left, the second up, enter the newly opened side room, and set the last switch right. Return to Rocket.Image unavailableOn the upper level, ask Drax to smash the wall. Enter the large room and fight several waves of Nova Corps soldiers.The next small puzzle works like this:
Ask Drax to move the mechanism on the rails.
Use Lightning Shot on the power device.
Send Rocket through the vent to stop the conveyor.
In the next area, there is an optional platform with Components. Follow the same route we used with Nikki in Chapter 2.At the staircase, go down, activate the switch, and ask Gamora to cut through the obstruction. This gives us access to the Gamora: Nova Corps Outfit.Image unavailableContinue until we reach the toxic green gas. Use Ice Shot to freeze the leaks.When we reach the malfunctioning door, do not try to force it immediately. Take the path to the right, continue to the end, and ask Gamora to cut the pipes. This opens a side room filled with water. Freeze the water to create platforms and climb for Advanced Components.Image unavailableIf we earned Nikki's trust in Chapter 2, her Personal Device opens the door to her hideout. Search the room and read the Archive, So Many Thoughts. There is also a Workbench here.Continue through the corridors, collect the next Archive, and fight the Nova Corps troops. Take the elevator to Ko-Rel's quarters.Before entering, turn left and ask Drax to break the vent. Crawl inside for more Components.Search Ko-Rel and Nikki's rooms, then follow Rocket. After the next fight, activate the bridge with Lightning Shot and climb the white blocks into the command center.Access the Nova Corps files and watch the first recording from Ko-Rel. The Guardians finally understand what happened aboard the ship and continue toward the Matriarch.
Chapter 8. The Matriarch: How to Distract Raker, Escape the Sacrosanct, and Find the Collectibles
We begin aboard the Sacrosanct with Grand Unifier Raker. Follow him until Rocket quietly starts hacking one of the Church drones. To give Rocket enough time, keep Raker talking:
Feign Interest.
Something About Him?
Fake Heart Attack.
If we succeed, the hacked drone helps point out the route later. Failing does not block progression.The next major story sequence pulls Peter into the Promise. Keep following the scene until the illusion begins to break. There is also an optional early ending tied to fully accepting the Promise, but for the normal story route we continue resisting it.After escaping the audience chamber, fight through the Church forces and follow the team across the Sacrosanct.
Chapter 8 Collectibles
There are five important collectibles in this chapter:
Star-Lord: Bad-Lord Outfit. After Drax jumps into the red warp-drive fluid, follow him through the tunnel. Immediately turn right, ask Drax to move the pillar back toward the tunnel exit, then climb it to reach the chest.
Archive: RE: She Has Come! After the scene where Rocket hacks a console and the team discusses the Promise, turn around. The Archive is on the edge of a computer desk.
Guardian Collectible: Deep Mine Device. In the next room, climb the large gears to the right of the Workbench.
Archive: Notice Malfunction. In the same general area, look near the dead Inquisitor whose battery is required for story progression.
Drax: Cage Match Outfit. After the third flying-platform sequence in the giant golden hall, search behind the crates in the circular landing area.
Later we spot Raker again. Let Gamora chase him. Do not run after her. If we stay with the team, Gamora wounds Raker off-screen and he will be weaker when we fight him in Chapter 15.Continue fighting through the Church forces, restore power where necessary, and follow Rocket until we finally reach the Milano.
Chapter 9. Desperate Times: Captain Glory, the Worldmind, and Paying the Fine
Before leaving the Milano, inspect any Guardian Collectibles we have brought back. If we found the relevant items earlier, we can add several entries to the Galactic Compendium:
Deep Mine Device in Rocket's room.
Galactic War Commendation in Peter's room.
Cold Case File near Groot's area.
Collector's Emporium Doll in Gamora's room.
Drax's Rap Sheet in Drax's room.
There are no new outfits or field collectibles in Chapter 9.Go to the cockpit and call Cosmo. Soon afterward, Captain Glory and the Lethal Legion attack the Milano.
How to Defeat Captain Glory
Destroy the smaller fighters first, then focus on Captain Glory's ship. Keep moving, avoid his charged attacks, and shoot the exposed vents. If we hid Rocket's weapons tech in Chapter 2, Rocket upgrades the Milano and gives us additional firepower. The battle is still perfectly manageable without it.After the fight, the Guardians reach the Nova Corps Worldmind.To convince the Worldmind that abandoning the galaxy is the wrong strategy, choose:
Share Intel.
Question Strategy.
Put in Perspective.
If we do this correctly, the Worldmind will remember Peter's argument and help us during a large battle in Chapter 14.After the conversation, we can finally pay the Nova Corps fine:
7,000 Units if we hid the llama in Chapter 2.
8,000 Units if we hid Rocket's tech.
Paying the fine is optional for the story, but it unlocks the Galactic Frugality achievement or trophy.Back aboard the Milano, go to Peter's room and rest. During the next strange sequence, run from the enormous vortex until the other Guardians are pulled away. The chase does not end by itself. Stop running, turn around, and shoot the entity. This advances the story into Chapter 10.
Chapter 10. Test of Faith: How to Escape the Fog and Help Drax
Drax has fallen under the influence of the Promise. Follow Mantis into the caves and keep moving deeper underground.
Chapter 10 Collectibles
This chapter contains seven important collectibles:
Gamora: Five Horsemen of the Apocalypse Outfit. Soon after entering the caves, cross the stream and walk through the waterfall on the right.
Archive: A Foggy Theory. After the Slakebeast encounter, squeeze through the side gap, crawl beneath the crystals, and climb the first ledge.
Guardian Collectible: Mourning Candle. Continue upward from A Foggy Theory and check beside the blue plants.
Rocket: Hero of Halfworld Outfit. After fighting the first group of Ogrode enemies, find Rocket's small tunnel on the opposite side of the area. Send him through, freeze the toxic gas leaks, and use Groot's platform to reach the chest.
Guardian Collectible: Meditation Stone. After the next Ogrode fight, use Wind Shot on the face-shaped statue, destroy the growth behind it, and cross the toxic-gas area.
Archive: Pip's Quips. Continue from the Meditation Stone. It lies on the main route just before the next narrow passage.
Groot: Annihilation - Conquest Suit. In the dark cave illuminated by Groot, hug the right wall and squeeze through the purple-lit crack.
How to Get Through the Fog Loop
Eventually Rocket and Gamora start arguing about which enemies they can hear inside the fog. The fog creates whatever enemy we choose.If we pick one of their answers, the creature appears and the loop simply repeats. To escape, do not choose either enemy. Select the neutral response and make everyone stay quiet. The fog disappears and a new path opens.
How to Destroy the Source of the Fog
Later we fight shadow copies of the Guardians. These enemies keep returning, so do not waste time trying to clear the arena forever.Use the Visor and find the first opening in the giant stone face. Send Rocket inside and he destroys part of the statue.Find the second opening behind the waterfall. Rocket initially refuses because he hates getting wet. Keep surviving until the fog grabs Groot and Gamora. Ask Rocket again. He finally goes through the water and destroys the second part.The explosions expose a green Wind Shot point on the statue's forehead. Pull it down with Wind Shot to destroy the fog generator completely.
Chapter 11. Mind Over Matter: How to Save Drax from the Promise
There are no collectibles in Chapter 11, so we can focus entirely on the story.Walk toward the enormous image of Thanos. A fight against Thanos clones begins. Rocket unlocks his fourth Guardian ability here.Do not expect a normal boss ending. Fight for a while, dodge the clones' charges, and eventually allow Peter to be overwhelmed. The story continues after he is knocked out.Chase Drax through the maze. In the next combat section, the Shadowspawn keep returning until we destroy their nests.
In the first arena, destroy three Shadowspawn nests. Look for the vertical beams of light marking them.
In the next arena, destroy five nests. Use area attacks and Lightning Shot to keep the smaller enemies away while we move between the objectives.
Afterward, continue through Drax's memories until we reach the final dark area. Call out to Drax and walk toward the light. The chapter ends with Drax finally freed from the Promise.Follow Adam Warlock afterward. The dialogue choices during this section change only the conversation and have no long-term consequences.
Chapter 12. Knowhere to Run: How to Save Cosmo, Pull Out the Four Cables, and Find the Collectibles
Back aboard the Milano, we can add the Mourning Candle and Meditation Stone to the Galactic Compendium if we found them in Chapter 10.Travel to Knowhere and fight through the ruined city.
How to Free Cosmo from the Promise
When we finally reach Cosmo, he is trapped inside his own Promise. Choose:
Offer Hand.
Focus on Present.
Remind About Puppies.
If we choose all three correctly, Cosmo breaks free. He will later help us in Chapter 14 by wiping out a large group of enemies. Failing this conversation does not block the story, but we lose that help and have to play an extra illusion sequence.
Chapter 12 Collectibles
This is one of the richest chapters in the game. In addition to the two Compendium conversations aboard the Milano, look for:
Drax: Thanos Imperative Outfit. After the first battle, ask Drax to move the central pillar and climb it.
Archive: Knowhere Safe. Follow the team from the Drax outfit and check the left side before the large circular elevator.
Archive: A Prophetic Convergence. After riding the elevator down into the burning market, search the stall on the right.
Rocket: The Smuggler Outfit. In the burning market, before squeezing through the story gap, use Wind Shot on the wall to the right.
Archive: Egghead Reviews: That's More Like It. Continue past the Smuggler outfit, use Gamora to reach the upper path, then check the crates near the newly opened gate.
Archive: Reply: Missing Persons Report. Continue until the vending machines and check the floor.
Guardian Collectible: Glarnot Mask. Slide down beside the vending machines, climb the yellow ledges, freeze the toxic gas, and search the cleared platform.
Groot: Impaler Outfit. Return to the vending machines, have Gamora cut the wires, use Wind Shot to open the hidden route, ask Groot for a bridge, then use Lightning Shot and Rocket to disable the electrified water.
Gamora: Casual Kill Outfit. Much later, after Drax tears open the ground and we slide down, turn around and crawl through the rubble.
Star-Lord: Apocalypse-Lord Outfit. In the sandy circular area, use Drax's pillar and Gamora's wall boost to cross the side gap.
Archive: Investigating the Hand. Shortly afterward, use the Visor to spot Groot's platform and ride it upward.
Archive: Work-Related Death Report. Continue past the Workbench and check the left corner before squeezing through the next gap.
How to Pull Out the Four Cables and Free Nikki
Near the end of the chapter, the Matriarch is suspended above the arena and four cables power the mechanism around her.The enemies keep receiving reinforcements, so do not try to clear the arena permanently.
Move to the left side of the Matriarch and use Wind Shot on the first cable.
Use the enemy skiffs as platforms to climb to the second cable and pull it out with Wind Shot.
Repeat the same process for the third cable.
Drop down and move to the right side. Climb the next set of skiffs to the fourth cable.
Wind Shot does not remove the last cable normally. Complete the QTE and keep pressing the prompted button while the rest of the Guardians join Peter. Together they rip the final cable out.If we successfully freed Cosmo earlier, the game skips part of the escape afterward.
Chapter 13. Against All Odds: How to Find Fin Fang Foom and Defeat Him
The Milano crash-lands on Maklu IV. Leave the ship and follow Drax through the snow. The chapter is very linear, but there are several easy-to-miss outfits and Guardian Collectibles along the way.
Chapter 13 Collectibles
If we picked up the Glarnot Mask in Chapter 12, interact with it in Rocket's room before leaving the Milano to add it to the Galactic Compendium.Then look for:
Gamora: Black Vortex Outfit. After the first major enemy encounter, look for the wall Gamora can climb on the right. Ask her for a boost before she cuts through the icicles.
Groot: Five O'Clock Sprouts Outfit. After shimmying along the ledge and entering the dark cave, turn right immediately.
Guardian Collectible: Xatar's Blade. After the gas-filled ice tunnel and tentacle fight, cross Groot's bridge and use Gamora to reach the ledge on the right.
Star-Lord: War-Lord Outfit. After unlocking Plasma Shot, melt the ice inside the cave. Near the exit, shoot the ice above the dinosaur skeleton, then use Groot's platform to reach the hidden alcove.
Guardian Collectible: Deeproot Plant. In the area filled with venomous spores, search the far-right edge.
Archive: The End of My Hunt. In the same spore area, check the rock near the left side of the entrance.
Rocket: The Stinger Outfit. Still in the spore area, continue straight to the far end.
Archive: Wendigone! After defeating the Alpha Wendigo, use Groot's platform. The Archive is directly ahead.
Archive: Unsent: Major Setback. After meeting the survivor at the burning camp, go uphill to the left.
Drax: Katathian Monk Outfit. After the long ice slide, climb the left side near the poison spores.
As we continue, Peter unlocks the Plasma Shot. Use it to melt ice and remove red enemy shields.Eventually the Guardians find Fin Fang Foom.
How to Defeat Fin Fang Foom
At the beginning, normal damage is largely wasted because Fin Fang Foom is covered in ice armor. Use Plasma Shot on four protected areas:
The head.
The chest.
The left claw.
The right claw.
Keep moving while doing this. His fireballs, claw slams, and sweeping attacks cover a large part of the arena.Once the armor is gone, wait for the attack where Fin Fang Foom sends ice and fire raining down. Avoid the red impact zones until a huge ice chunk lands.Drax and Groot move toward the largest piece. Activate the team prompt and Drax throws it at Fin Fang Foom, knocking the dragon down.Use every strong ability we have while he is stunned. When he gets back up, survive until the next ice storm and repeat the process.Once the boss is defeated, the Guardians earn Fin Fang Foom's cooperation and continue toward the final confrontation.
Chapter 14. Into the Fire: How to Reach the Sacrosanct and Find Adam Warlock
This is the last chance to freely explore the Milano before the final sequence of chapters. Talk to everyone and inspect any remaining Guardian Collectibles now.If we found the items on Maklu IV, interact with:
Xatar's Blade in Drax's room.
Deeproot Plant near Groot's area.
Set a course for the Sacrosanct. During the space battle, avoid the mines and destroy the Church fighters while moving toward the large opening in the flagship.If we hid Rocket's weapons tech in Chapter 2, the Milano has the additional upgrade for this sequence. It helps, but is not required.Once inside, the Guardians receive their Golden Guardians outfits and Groot unlocks his final Guardian ability, which can revive the team.Fight through the ship, use Lightning Shot on electrical systems, Plasma Shot against red shields, and Wind Shot wherever the environment needs to be moved.
Chapter 14 Collectibles
There are no new Guardian Collectibles, but there are three outfits and one Archive in the level:
Star-Lord: Team-Lord Outfit. In the giant fan room, use the floor panels as Wind Shot shields. Near the end, climb the ledges opposite the main route and jump to the separate platform with the chest.
Drax: Five Horsemen of the Apocalypse Outfit. After Lady Hellbender and Fin Fang Foom arrive and the area is bombarded, cross Groot's bridge, turn right, jump the gap, and melt the ice wall with Plasma Shot.
Gamora: Chosen Daughter Outfit. In the mines, shortly before the Workbench, freeze the three extra geysers and use them to reach the hidden room.
Archive: To Whom It May Concern. It is on the corpse inside the same hidden room as Gamora's outfit.
Depending on our earlier choices, two allies can save us a lot of fighting.If we convinced Cosmo in Chapter 12, Knowhere arrives and destroys one large enemy group.If we convinced the Worldmind in Chapter 9, it appears later and heavily damages another group of Inquisitors.If either conversation failed, we simply fight those encounters ourselves.Continue through the mines until we reach the huge room filled with Inquisitors. If the Worldmind does not help, either fight through them or rush the Wind Shot mechanisms near the shielded exit.Free Adam Warlock and follow him. The remaining dialogue choices do not have long-term consequences. Reach Raker and watch the cutscene that ends the chapter.
Chapter 15. Broken Promises: How to Free Nikki and Defeat Grand Unifier Raker
There are no collectibles in Chapter 15.The chapter begins inside Nikki's Promise.
How to Free Nikki from the Promise
Talk to Nikki and wait for Ko-Rel to knock at the door. Nikki refuses to listen to Peter at first, so we have to break the birthday illusion.Destroy:
Ko-Rel's birthday cake.
The hologram projector.
The birthday present.
Nikki finally gets angry enough to listen.The safest dialogue sequence is:
Acknowledge Limits.
Ease Her Guilt.
Trust Nikki.
Another version of the second response, Try to Relate, Again, can also lead to the correct outcome. What matters is helping Nikki understand that Ko-Rel's death was not her fault and ultimately choosing Trust Nikki.If we choose badly, the scene resets and gives us another attempt.Once Nikki rejects the Promise, the Guardians return to reality.
How to Defeat Grand Unifier Raker
The final major combat boss is Raker.If we let Gamora chase him in Chapter 8, he begins this encounter already wounded and the battle is easier.First defeat the Unifiers and other Church enemies. When the direct fight starts, Raker repeatedly restores his energy barrier.The general strategy is:
Use normal attacks and team abilities to break Raker's shield.
As soon as the shield collapses, use Groot to hold him in place if possible.
Unload the strongest Guardian abilities before the barrier returns.
When darkness covers the arena, stop chasing damage and focus on dodging. Watch the warning indicators for charges and bombs.
Revive teammates whenever Raker gives us a safe opening.
Raker has several health sections, so the fight takes a while. During the final phase, watch for the Call to Action prompt and complete it to finish him.After the victory, walk forward during the celebration sequence. Do not quit when the credits begin. The story is not over yet.
Chapter 16. The Magus: How to Provoke Him and Finish the Game
There are no field collectibles in the final chapter. The remaining Golden Guardians and Star-Lord outfits unlock automatically through story completion.The Magus is not a traditional boss with a health bar. We have to annoy him enough to make him approach the Guardians.The correct dialogue sequence is:
Slow Clap.
Badger Him.
Provoke the Magus.
Part One: Slow Clap
Choose Slow Clap. The Magus throws a small planet toward the Guardians. Run under Nikki's energy shield and wait for the impact.Fight the first wave. Keep moving and avoid the red danger zones created by the Magus' bombardment.
Part Two: Badger Him
Choose Badger Him. Survive another planetary attack beneath Nikki's shield, then defeat the next wave.
Part Three: Provoke the Magus
Choose Provoke the Magus. This finally makes him lose patience and come close enough for the plan to work.Complete the QTE. On a standard PlayStation or Xbox controller, the sequence uses:
X / A.
Triangle / Y.
Circle / B.
Triangle / Y.
At the end, repeatedly press Triangle / Y when prompted.The Guardians trap the Magus inside the Soul Stone and the main story ends.That completes all 16 chapters of Marvel's Guardians of the Galaxy. The first half of this walkthrough follows the original detailed format, while Chapters 8-16 have been added in a more compact form so the guide now reaches the ending and still covers the major choices, bosses, puzzles, outfits, Guardian Collectibles, and missable story decisions.