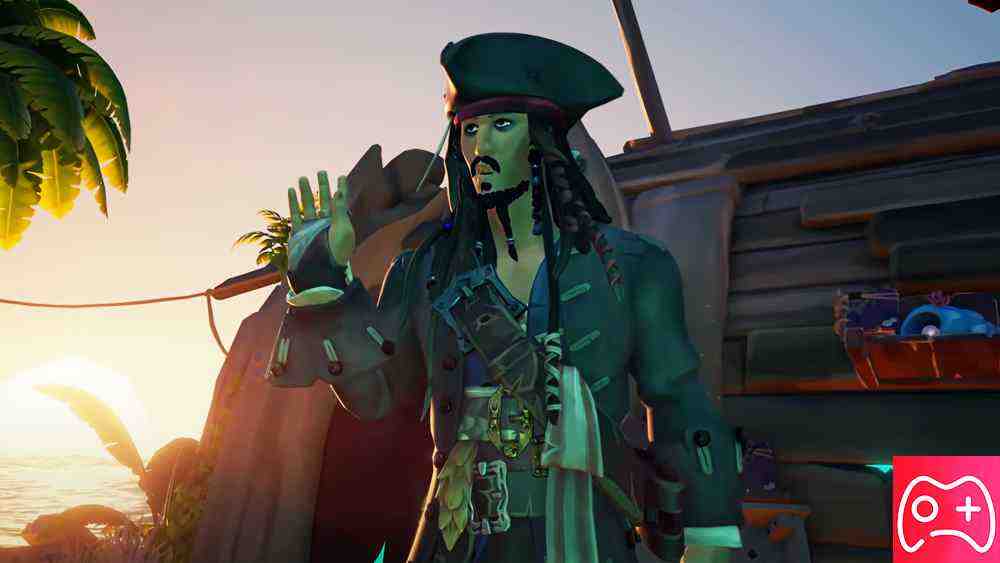
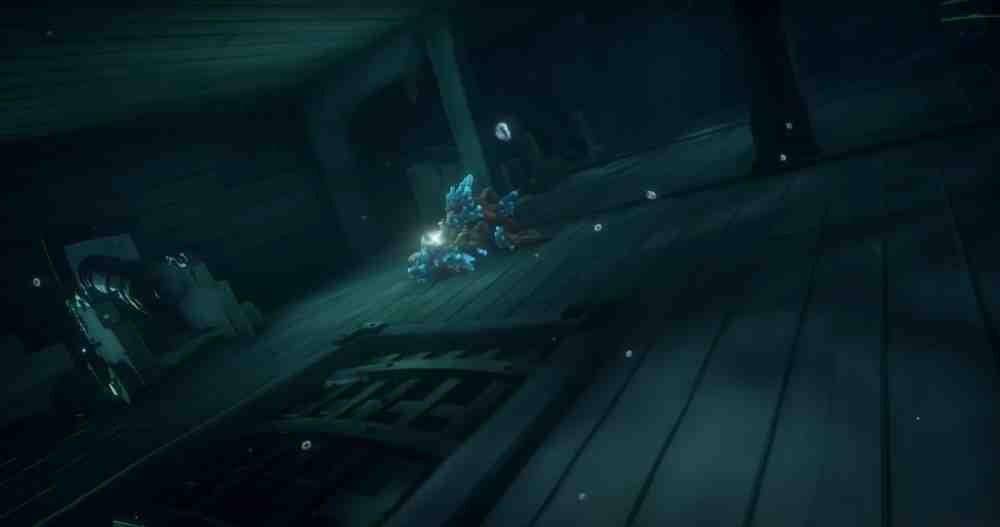
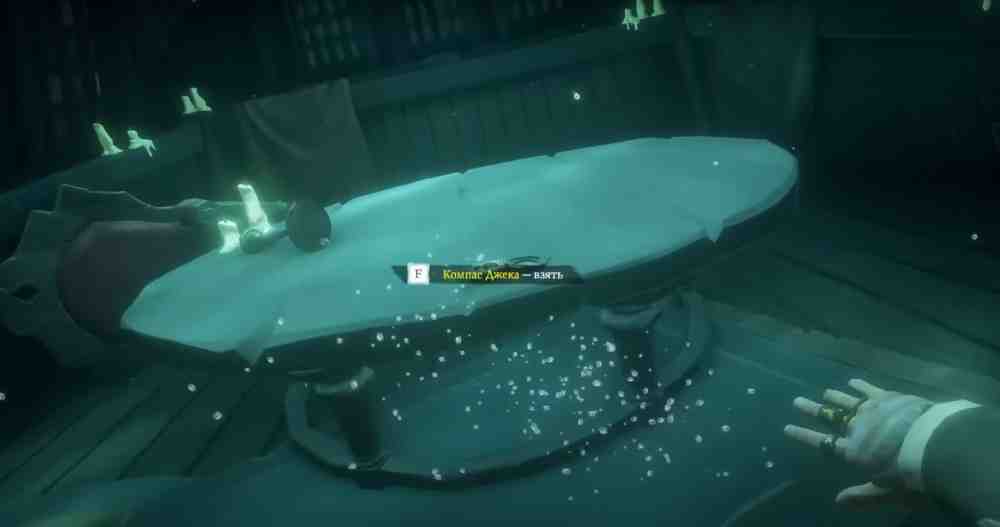
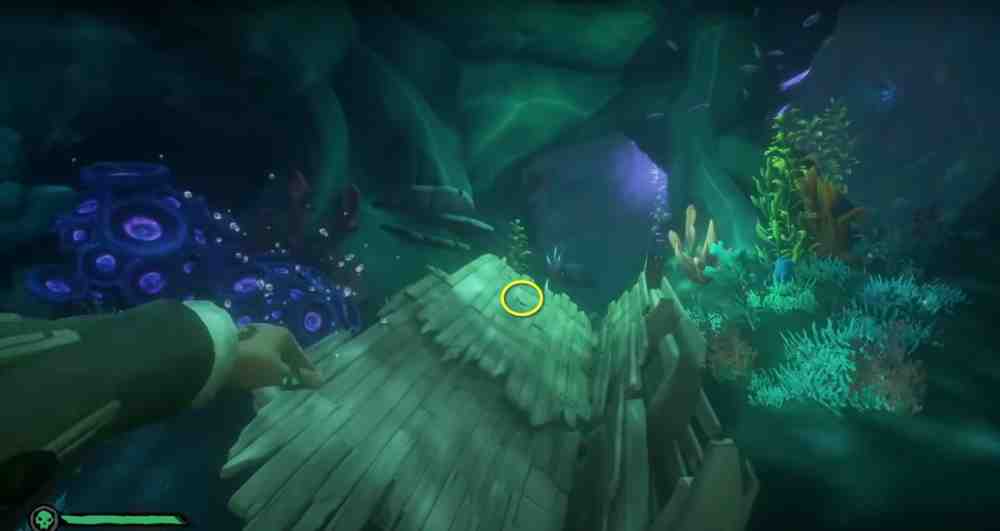
The Sunken Pearl is the second of five Tall Tales in Sea of Thieves: A Pirate's Life. It follows the search for the sunken Black Pearl and a battle against the Sirens. In this guide, I'll explain how to complete the story, find every journal, and unlock the available commendations.Once we finish the previous quest, speak with Jack Sparrow and dive underwater. Follow the trail of wreckage until you eventually reach the sunken ship. There is only one open way inside: the hold. Swim in and move the crates, barrels, and other debris blocking the way. At the far end of the ship, next to the cannons, you will find a dead Ocean Crawler holding the Black Pearl Key.Sea of Thieves: A Pirate's Life Walkthrough — The Sunken Pearl: How to Find All Journals and Unlock the CommendationsSea of Thieves: A Pirate's Life Walkthrough — The Sunken Pearl: How to Find All Journals and Unlock the CommendationsTake the key and head to the captain's cabin. Where is it? Turn around and swim back until you reach the locked double doors. Use the key to open the cabin. Inside, you will find a table with Jack's Compass on it.Sea of Thieves: A Pirate's Life Walkthrough — The Sunken Pearl: How to Find All Journals and Unlock the CommendationsSea of Thieves: A Pirate's Life Walkthrough — The Sunken Pearl: How to Find All Journals and Unlock the Commendations
Strange Awakenings: All Journals and Secrets in Sea of Thieves: A Pirate's Life — The Sunken Pearl
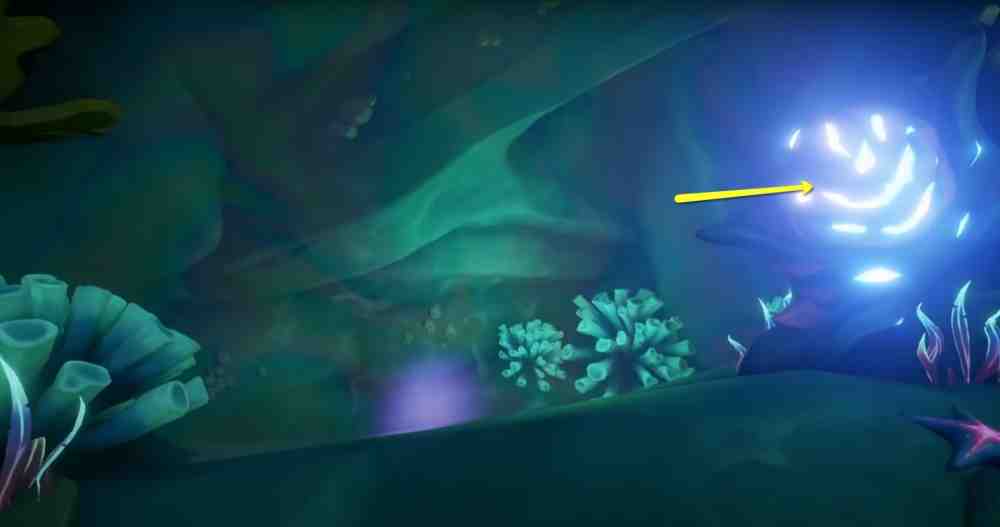
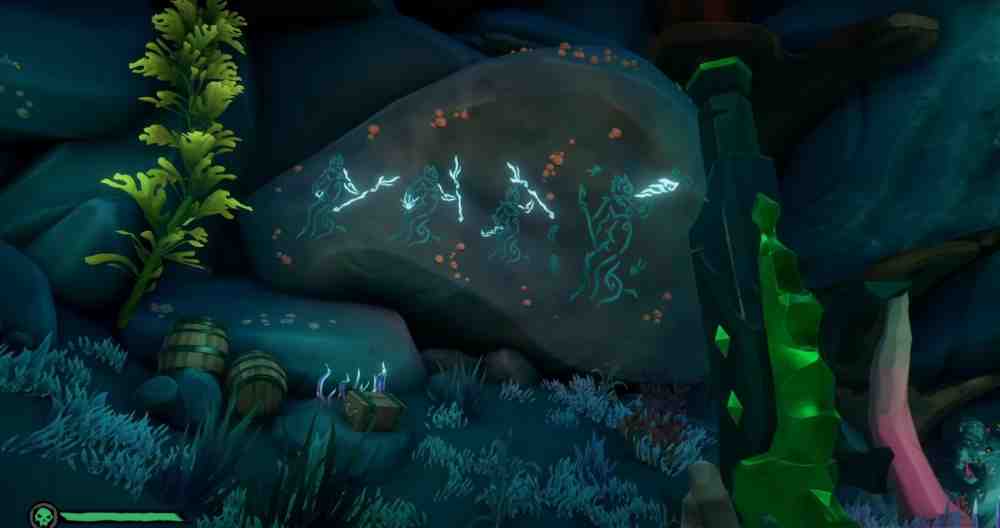
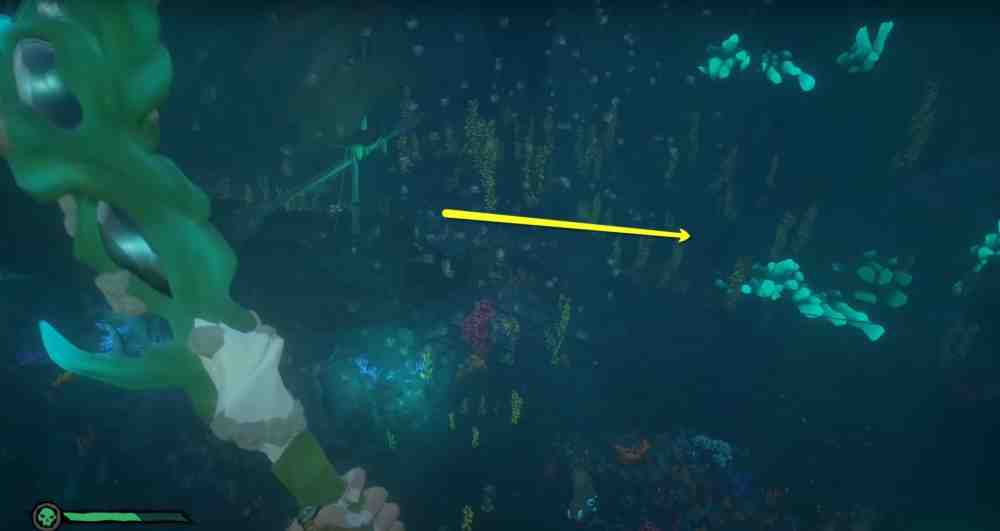
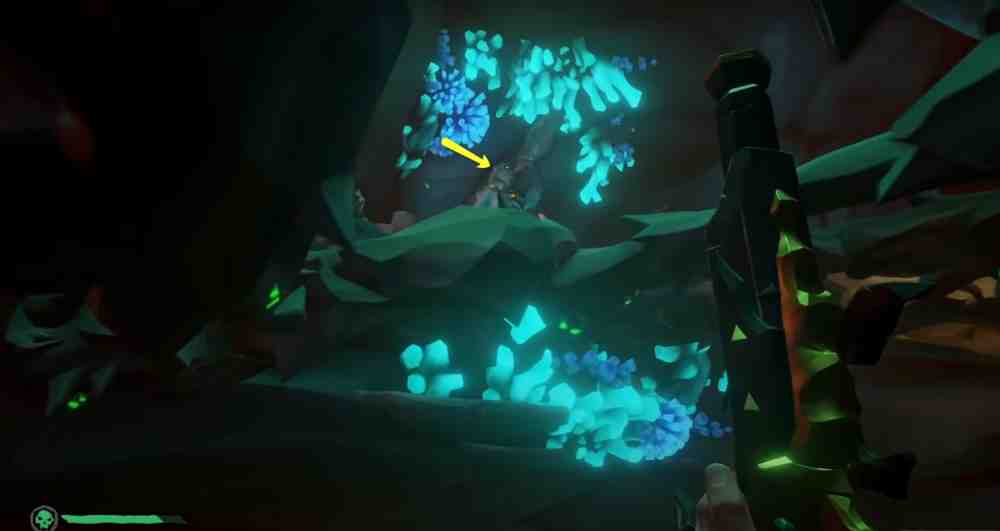
Once you have the compass, simply swim in the direction indicated by the needle. It will lead you to a cave with a sealed entrance. One shot at the glowing plant to the right of the entrance is enough to open the way.Strange Awakenings: All Journals and Secrets in Sea of Thieves: A Pirate's Life — The Sunken PearlStrange Awakenings: All Journals and Secrets in Sea of Thieves: A Pirate's Life — The Sunken PearlEnter the cave, swim upward, and surface. In the large open chamber, defeat several enemies and pick up the quest item Siren Heart. It only drops from the last enemy you kill!In the same cave, you will notice several Siren Statues. One of them is missing the Siren Heart you just found. To the left of that statue is a mural showing how the Siren Statues need to be positioned. Return to the statues and set them to match the mural.Strange Awakenings: All Journals and Secrets in Sea of Thieves: A Pirate's Life — The Sunken PearlStrange Awakenings: All Journals and Secrets in Sea of Thieves: A Pirate's Life — The Sunken Pearl To change the position of a statue's arm, shoot it one or more times:
The Siren Statue holding a trident should have its arm lowered.
The Siren Statue holding coral should keep its trident straight in front of it, in the middle position.
The Siren Statue holding a chain should hold its trident above its head.
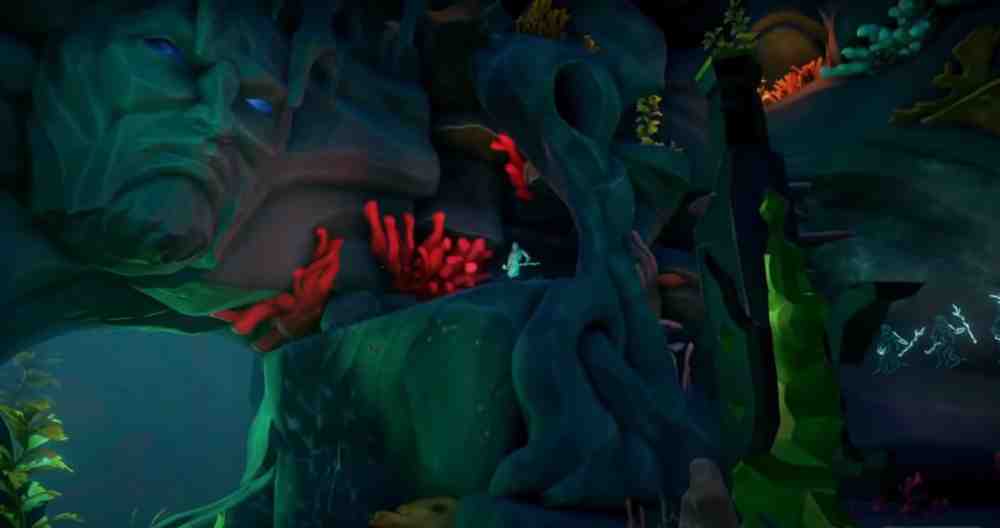
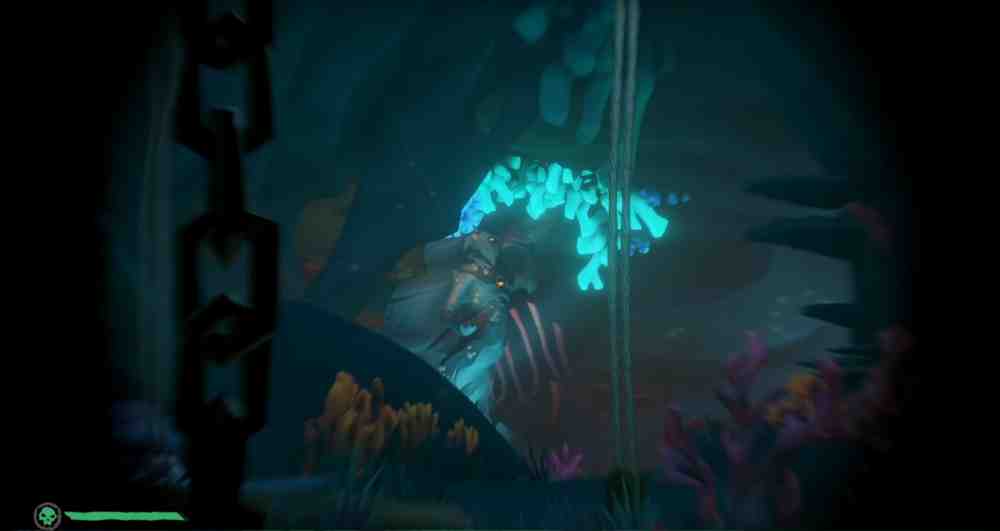
Once all three statues are in the correct positions, find the large Siren Statue holding a conch shell in the center of the cave and shoot it once. The chamber will begin filling with water, allowing you to reach the level above.In the upper cave, find another similar mural. Now that you know how the puzzle works, set all the Siren Statues to match the second image. This causes a geyser to appear in the upper chamber, allowing you to climb even higher.Fight another group of enemies, collect the Siren Heart, and solve another mural puzzle with the Siren Statues. The final statue is above the room you are currently in. Turn around and look up and to the right.Strange Awakenings: All Journals and Secrets in Sea of Thieves: A Pirate's Life — The Sunken PearlStrange Awakenings: All Journals and Secrets in Sea of Thieves: A Pirate's Life — The Sunken Pearl Use the sea creature's spine to climb higher. Shoot the glowing plant again to open the way and pick up the Trident of Dark Tides, which also unlocks a commendation. You will need this weapon to deal with the Sirens in the ocean.
For the Crew: How to Unlock the Commendations in Sea of Thieves: A Pirate's Life — The Sunken Pearl
Where do you go next? The answer is not particularly obvious. Look at the sunken Black Pearl. The bow of the ship points directly toward the cave you need to enter.For the Crew: How to Unlock the Commendations in Sea of Thieves: A Pirate's Life — The Sunken PearlFor the Crew: How to Unlock the Commendations in Sea of Thieves: A Pirate's Life — The Sunken PearlReach the cave, find an air pocket and ammunition for your firearm. Defeat all the Sirens in the flooded chamber, collect the Siren Heart, and place it into the Siren Statue.Look at the locked gate with the Siren image. Beneath it, you can see the correct positions for the statues. Match them, shoot the third Siren Statue, and open the gate. This begins the next objective.
The Siren Citadel: Sea of Thieves: A Pirate's Life — The Sunken Pearl Walkthrough
There is a locked passage behind the wreckage. Find the opening along the wall to the left and make your way through the narrow cave. You will enter a large room with another mural. Set all the statues to match it, swim to the surface, and find the main statue holding a conch shell. Shoot it and wait for the water level in the cave to drop.The Siren Citadel: Sea of Thieves: A Pirate's Life — The Sunken Pearl WalkthroughThe Siren Citadel: Sea of Thieves: A Pirate's Life — The Sunken Pearl WalkthroughThe Siren Citadel: Sea of Thieves: A Pirate's Life — The Sunken Pearl WalkthroughThe Siren Citadel: Sea of Thieves: A Pirate's Life — The Sunken Pearl WalkthroughReturn to the main cave and use the pulley to open the wooden door. In the next room, activate another mechanism to lower a section of the ship. As soon as you do this, run onto the wreckage and ride it upward.To the right of the wreckage, find another cave with a mural. Study it and set all the statues to match the image. Return to the shipwreck where you found the final journal and use your spyglass to spot the Siren Statue holding a conch shell. Activate it from there.The Siren Citadel: Sea of Thieves: A Pirate's Life — The Sunken Pearl WalkthroughThe Siren Citadel: Sea of Thieves: A Pirate's Life — The Sunken Pearl WalkthroughThe room will gradually fill with water. Jump in, find the ladder, and use another pulley. This raises a bridge that lets you reach the opposite side. Turn left and find a cave containing the Silver Blade Key.Use another pulley to activate the lifting mechanism. This lets you reach the hall with the Siren Statues, follow the cave, and activate the crystal to open the way to the next area.
Revenge of the Silver Blade: How to Complete All Objectives and Challenges in Sea of Thieves: A Pirate's Life — The Sunken Pearl
A huge ship stands in front of you. Climb onto the deck, find the locked captain's cabin, and open it with the key. Enemies will attack at this point. Kill them and use the capstan on the deck to raise the ship higher. Use the cannons to destroy the monsters.Once the enemies are gone, take the chest from the cabin, climb the mast, and jump from the mast to the nearest ledge. This takes you into another cave. Place the chest next to the wooden door to open it.In the small room, examine the five etchings. Return to the main hall and fight the Siren Queen. After defeating her, leave through the passage that opens in the center of the room.You will arrive in a chamber with the chest and three Cursed Mermaid Statues that need to be destroyed. Gibbs will ask you to return Jack's Compass. Once you hand it over, the Tall Tale is complete.