A new season called A Pirate's Life has launched in Sea of Thieves. It features five exciting Tall Tales that you can complete either solo or in co-op. In this guide, I'll explain how to complete the first Tall Tale, A Pirate's Life, where to find every journal and treasure, and how to unlock all available commendations.
How to Find All Treasure and Journals and Unlock Every Commendation in Sea of Thieves: A Pirate's Life
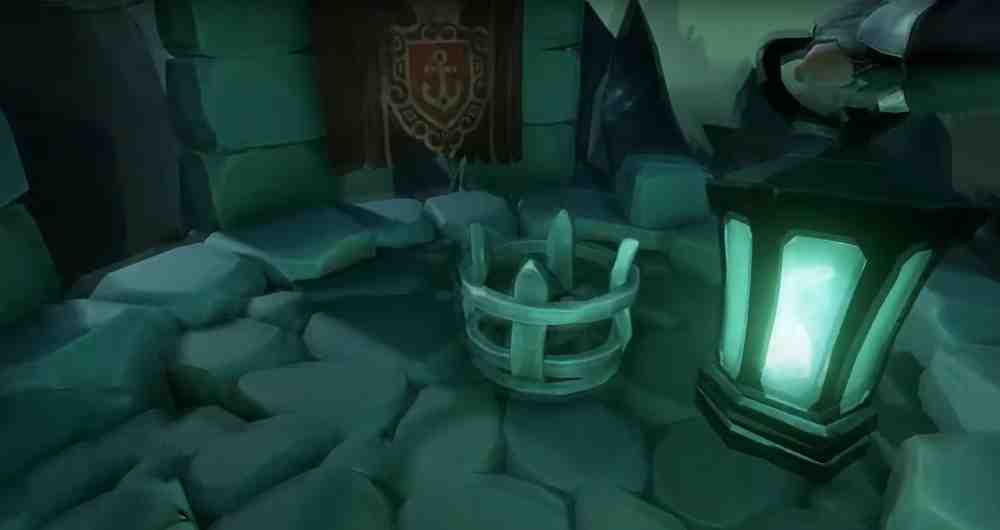
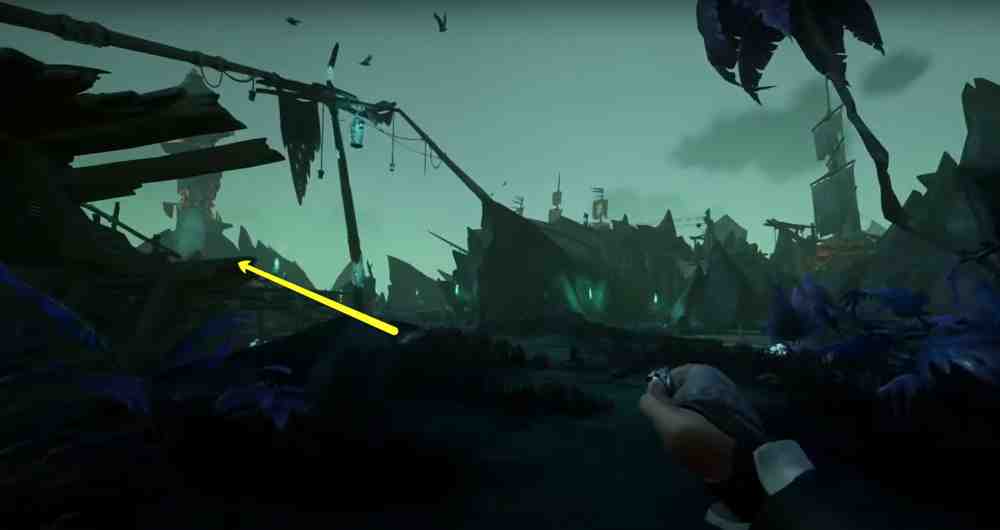
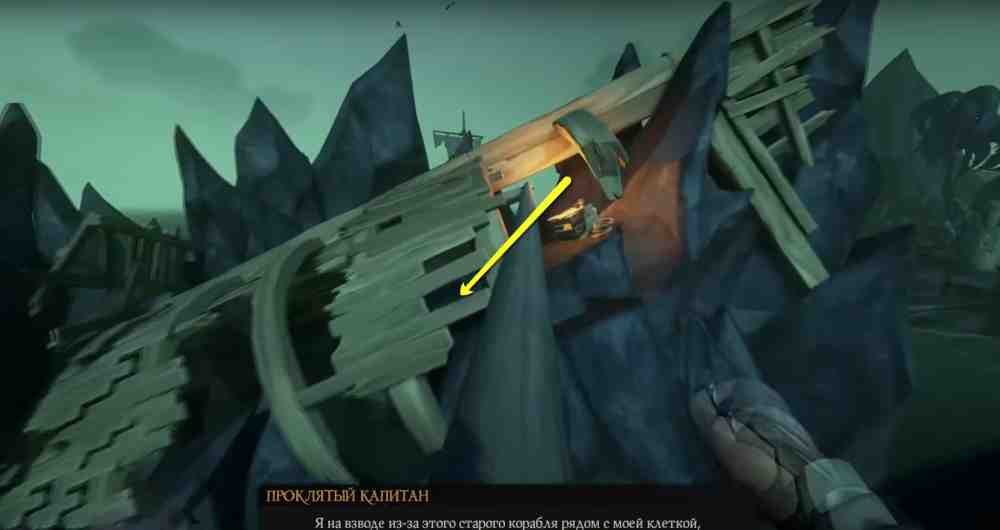
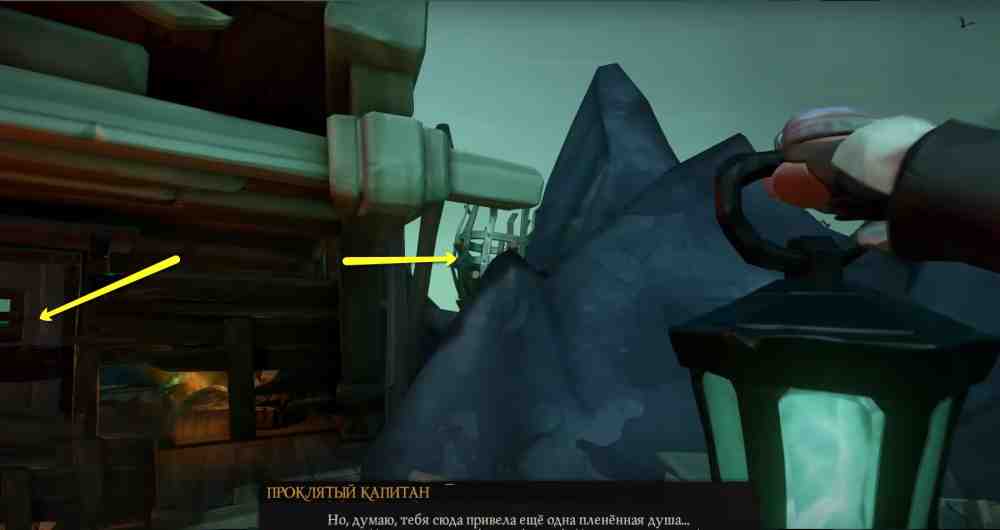
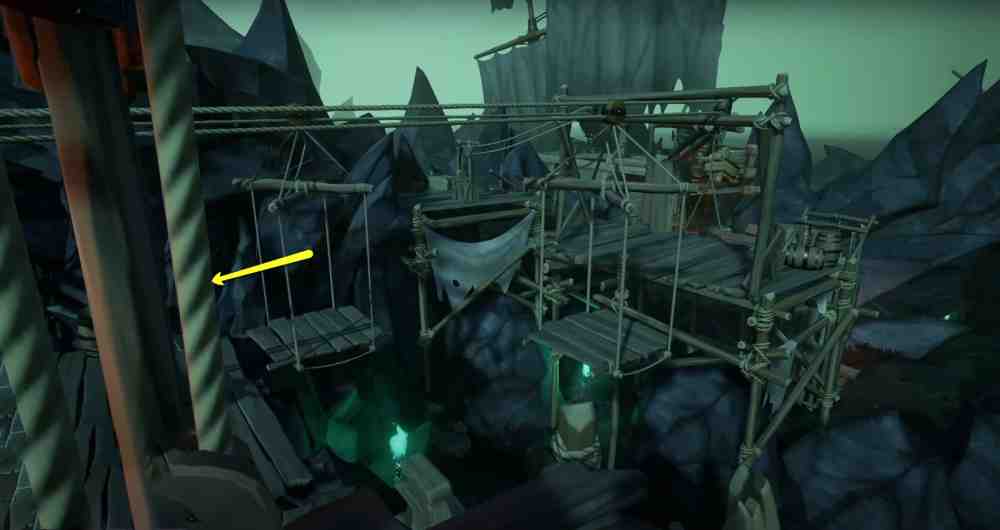
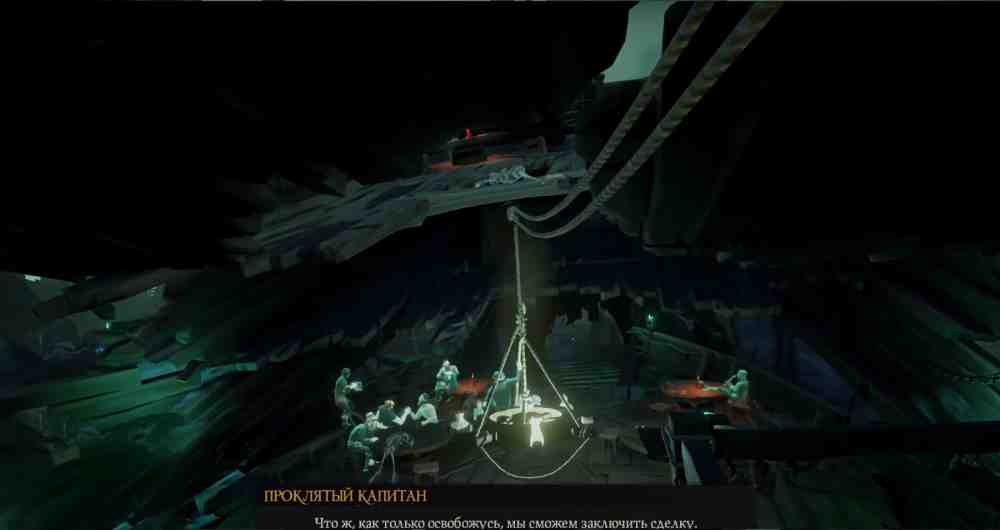
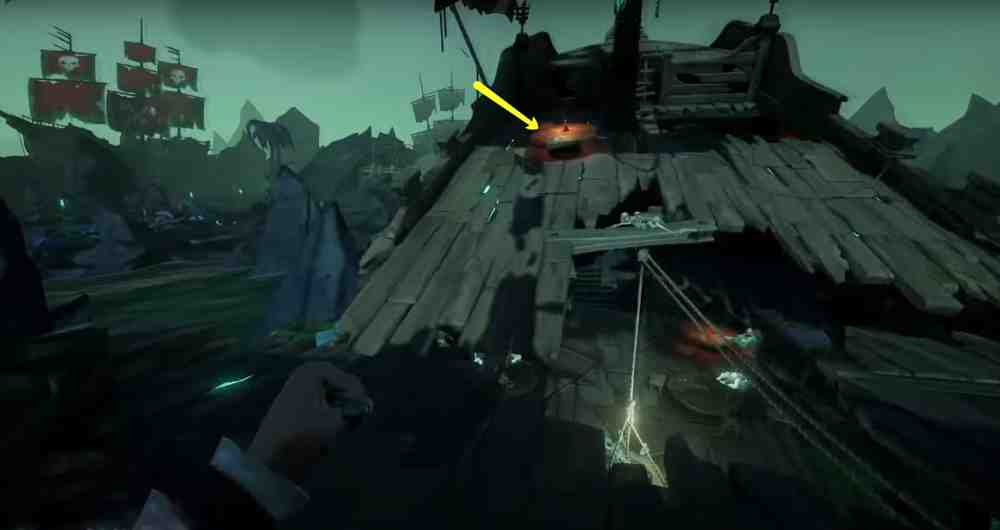
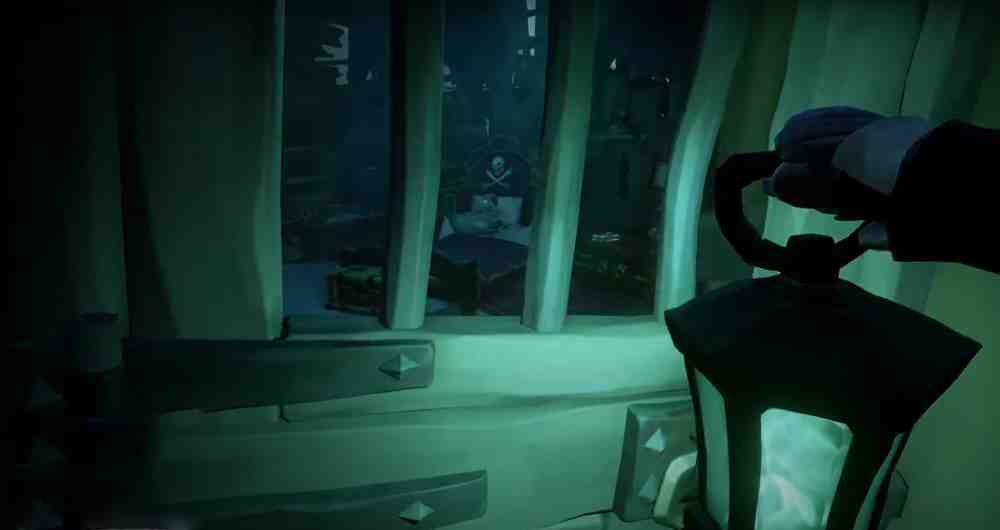
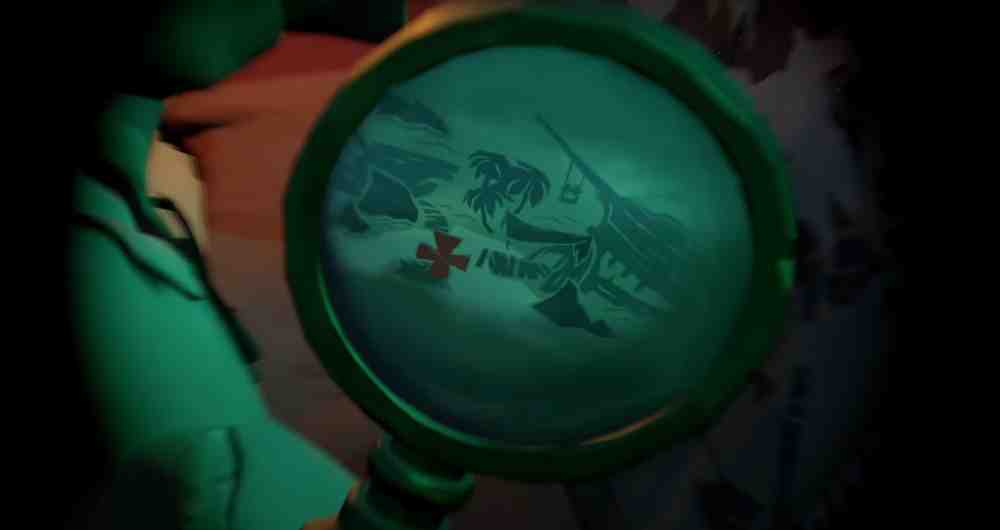
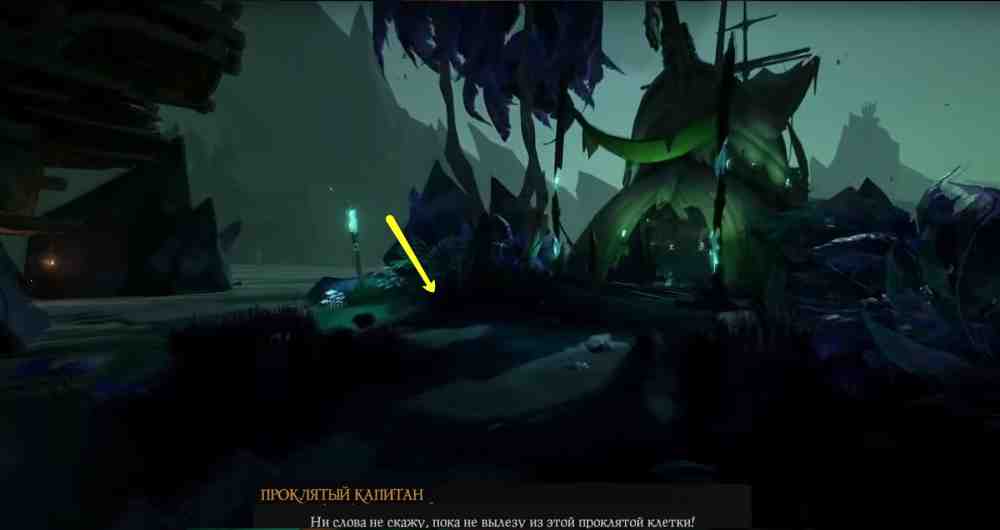
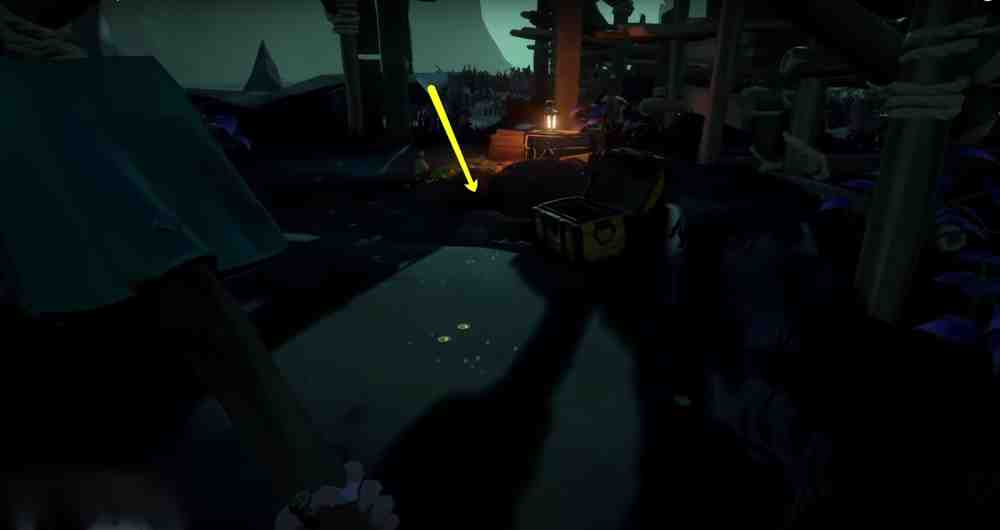
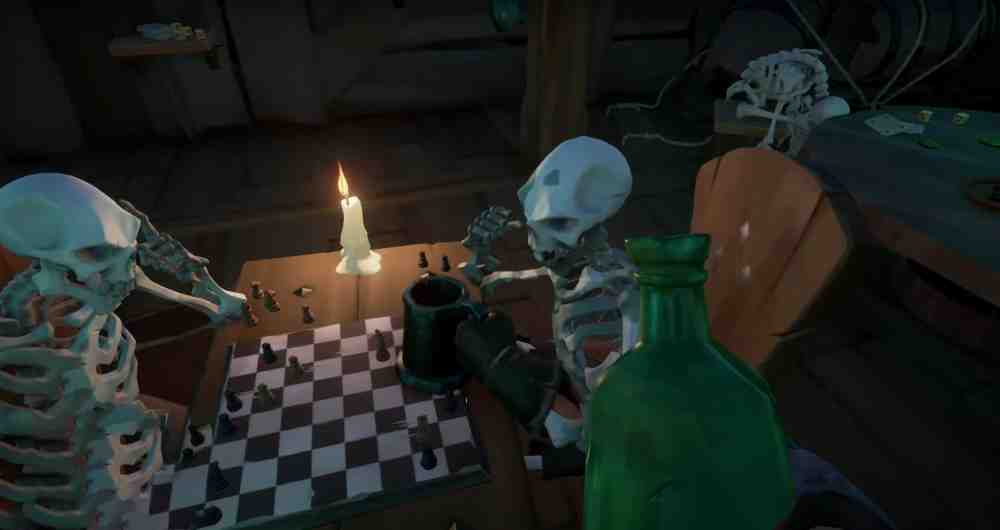
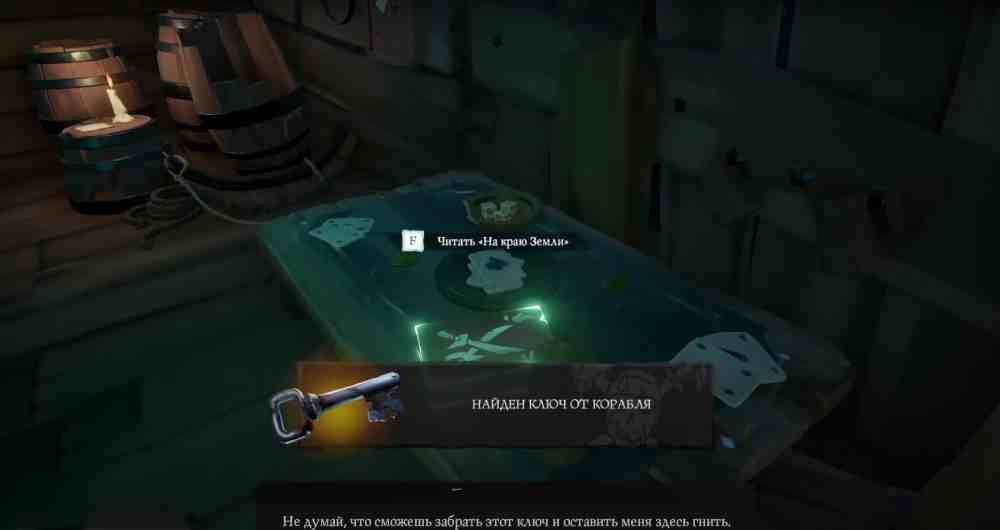
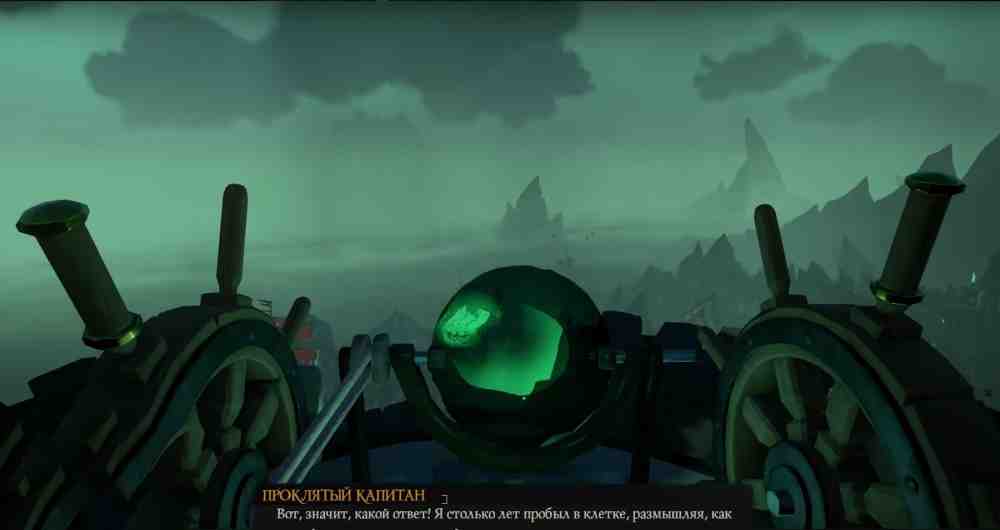
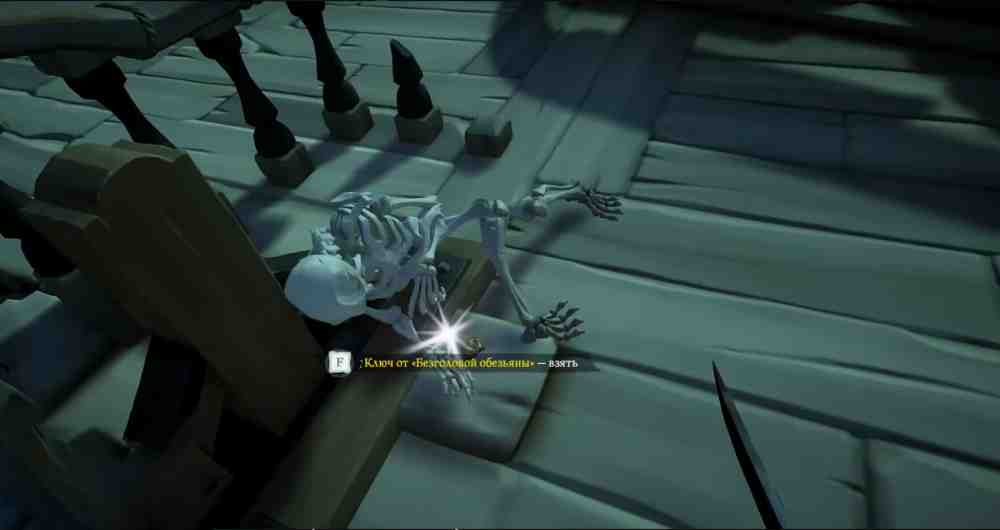
Head to the gates of Sailor's Grave, climb the stairs, and light the only brazier here. The gates will open, allowing you to continue.How to Enter Sailor's Grave in Sea of Thieves: A Pirate's LifeHow to Enter Sailor's Grave in Sea of Thieves: A Pirate's LifeOnce you enter Sailor's Grave, you will hear the voice of the Cursed Captain, who needs to be rescued. The captain is trapped on a ship, but reaching him takes a little work. Start by moving forward and climbing the stairs on the left.How to Reach the Cursed Captain in Sea of Thieves: A Pirate's LifeHow to Reach the Cursed Captain in Sea of Thieves: A Pirate's LifeClimb onto the deck of the wrecked ship, cross the mast onto the rocks, and jump into the water.How to Reach the Cursed Captain in Sea of Thieves: A Pirate's LifeHow to Reach the Cursed Captain in Sea of Thieves: A Pirate's LifeSwim underwater and use the lift. You will find a locked cabin that requires a key. We do not have it yet, but we will return here later. There is also a brazier behind the rocks to the right of the cabin. Remember where it is.How to Use the Lift in Sea of Thieves: A Pirate's LifeHow to Use the Lift in Sea of Thieves: A Pirate's LifeCall another lift to raise a platform. Jump onto it and run to the next mechanism. Cross to the other side and turn the camera to the right. You will see a barred cell with a bottle inside.You do not need a key to enter this cell. There is another way in. On the deck, find the mechanism that controls the platforms and move the one closest to the cell to the left. Look carefully and you will notice a gap in the rock leading directly into the cell.How to Enter the Cell and Pick Up the Bottle in Sea of Thieves: A Pirate's LifeHow to Enter the Cell and Pick Up the Bottle in Sea of Thieves: A Pirate's LifeThis gives you Captain Bones' Special Recipe.After taking the bottle, climb onto the ship's deck and find the cage holding the Cursed Captain. Cut the rope, causing the cage to fall, then climb down to him. You can leave the bottle next to the Cursed Captain's head for now because you will not need it immediately.The tavern is to your right. Go inside and look up at the chandelier. The Cage Key is hanging there. Lower the chandelier using the mechanism at the far end of the tavern.Where to Find the Cursed Captain's Cage Key in Sea of Thieves: A Pirate's LifeWhere to Find the Cursed Captain's Cage Key in Sea of Thieves: A Pirate's LifeNear the mechanism, find the stairs leading to the upper floor. Approach the table and light the candle with your lantern. Ghostly pirates will appear in front of you, studying a mark on a map. Turn around, climb higher, and collect the journal The Haul of a Lifetime.Where to Find All Journals in Sea of Thieves: A Pirate's LifeWhere to Find All Journals in Sea of Thieves: A Pirate's LifeIf you open the cage and pick up the captain's skull now, you will not be able to unlock every commendation and collect all the journals yet. Leave the key next to the bottle by the Cursed Captain's cage and run toward the two lit torches nearby. To the right of them, you will see a path of wooden planks in the water. Follow it to a cabin containing a skeleton.How to Find Poor Dougie's Treasure in Sea of Thieves: A Pirate's LifeHow to Find Poor Dougie's Treasure in Sea of Thieves: A Pirate's LifeThe skeleton is holding a map with no visible marker. To fix that, go upstairs and find three lanterns on the balcony. Light them with your lantern, then return to the cabin. Use the mechanism to open the curtains. All the candles will light up, allowing you to collect the journal Dissent in the Ranks. Turn the skeleton's arm so you can see the mark on the map.Where to Find All Journals in Sea of Thieves: A Pirate's LifeWhere to Find All Journals in Sea of Thieves: A Pirate's LifeThe marked spot is near the tavern. Stand at the crossroads and dig. If you do not hit it on the first try, keep digging nearby until you uncover Poor Dougie's Chest.How to Find the Treasure Marked on the Pirate Map in Sea of Thieves: A Pirate's LifeHow to Find the Treasure Marked on the Pirate Map in Sea of Thieves: A Pirate's LifePlace the chest next to the Cursed Captain's cage, turn around, and run toward the ship with red sails. Before reaching it, turn right. You will come to a previously dug-up treasure spot with gold coins scattered around the hole. Follow the trail of coins and find an open chest. Dig to the left of it to uncover a skeleton, unlock the Raising the Dead commendation, and light the lantern beside the skeleton.How to Unlock Every Commendation in Sea of Thieves: A Pirate's LifeHow to Unlock Every Commendation in Sea of Thieves: A Pirate's LifeThe skeleton belongs to Poor Dougie, the same pirate whose chest you just found. Go back for the chest and bring it to him. He will open it for you, unlocking the Treasure for the Dead commendation. Take Poor Dougie's Key, open the chest, and collect Poor Dougie's Medallion.Return to the Cursed Captain's cage, where you left the items you have found so far. Pick up the bottle, head toward the tavern, and turn left at the crossroads. You will find two skeletons playing chess. Light the candle with your lantern and fill the second skeleton's mug with Captain Bones' Special Recipe.Where to Use Captain Bones' Special Recipe in Sea of Thieves: A Pirate's LifeWhere to Use Captain Bones' Special Recipe in Sea of Thieves: A Pirate's LifeMost of the work is done now. Return to the captain's cage, unlock it with the key from the tavern, pick up the Cursed Captain's skull, and place it on the skeleton's body in the gambling den. Do not forget Poor Dougie's Medallion. Place it on the table to pay the buy-in.Watch the scene with the captain and the other skeleton, take the Ship's Key from the table, and finally pick up the next Cursed Captain journal, Off the Edge of the Map.Where to Find the Key to the Locked Ship in Sea of Thieves: A Pirate's LifeWhere to Find the Key to the Locked Ship in Sea of Thieves: A Pirate's LifeStill wondering what the key opens? Of course, it is the locked cabin we found near the beginning of the walkthrough. Opening it unlocks the Ship of Thieves commendation and gives you some gold.Pass through the cabin to the other side of the ship and find the mechanism that controls the mast. Rotate it and raise the sails. Return to the Cursed Captain, pick up his head, and make your way to the lighthouse. Wait for the bridge to rise, then climb to the top.You will find a headless skeleton there. Place the Cursed Captain's head on the body and use the wooden ladder to climb even higher. Light the lighthouse with the Flame of Souls and aim its beam at the brazier you were supposed to remember near the locked room at the beginning of the walkthrough. This is why you rotated the ship's sails earlier.How to Use the Lighthouse and Light the Braziers in Sea of Thieves: A Pirate's LifeHow to Use the Lighthouse and Light the Braziers in Sea of Thieves: A Pirate's LifeA stone bridge will rise on the opposite side of Sailor's Grave. There is no reason to cross it just yet, because first you need to summon the Ferry of the Damned. Use your spyglass to find three braziers on the nearby cliffs and light them. Head back down to the captain, collect the journal Strange, Yet Familiar, and remove the Cursed Captain's head from the skeleton.Reach the Cursed Captain's ship and place his skull on the skeleton there. He will open the way into his cabin. Climb inside, place his head on the skeleton again, and collect the final Cursed Captain journal, Lights Out.Take the Cabin Key, but do not leave the area for the Ferry of the Damned yet. Return toward the entrance to Sailor's Grave, turn left at the signpost, and climb onto the ship. Here you will find the first Headless Monkey journal, Somewhere in the Caribbean, along with the Headless Monkey Key.Optional Commendation in Sea of Thieves: A Pirate's LifeOptional Commendation in Sea of Thieves: A Pirate's LifeNear the fallen mast, inspect the lantern and collect the second journal, A Headless Monkey. Behind the skeleton, find the third journal, Raising the Mad Monkey. There is a locked door on the outside of the ship. Open it with the key you just found. Take the journal A Fateful Pursuit from the table and Fresh Waters from the shelf on the left.Return to the Cursed Captain's cabin, use the rowboat, and make your way to the Ferry of the Damned to rescue Jack Sparrow.Continue reading: The Sunken Pearl.