© 2020–2026 NowGame

Gothic 1 Remake Walkthrough: All 6 Chapters & Main Quests
Walkthroughs

Gothic 1 Remake Walkthrough: All 6 Chapters & Main Quests

Antonio Bennett Published 15.11.2026 18:53 Updated 15.11.2026 19:08 0
0

The Path Chosen

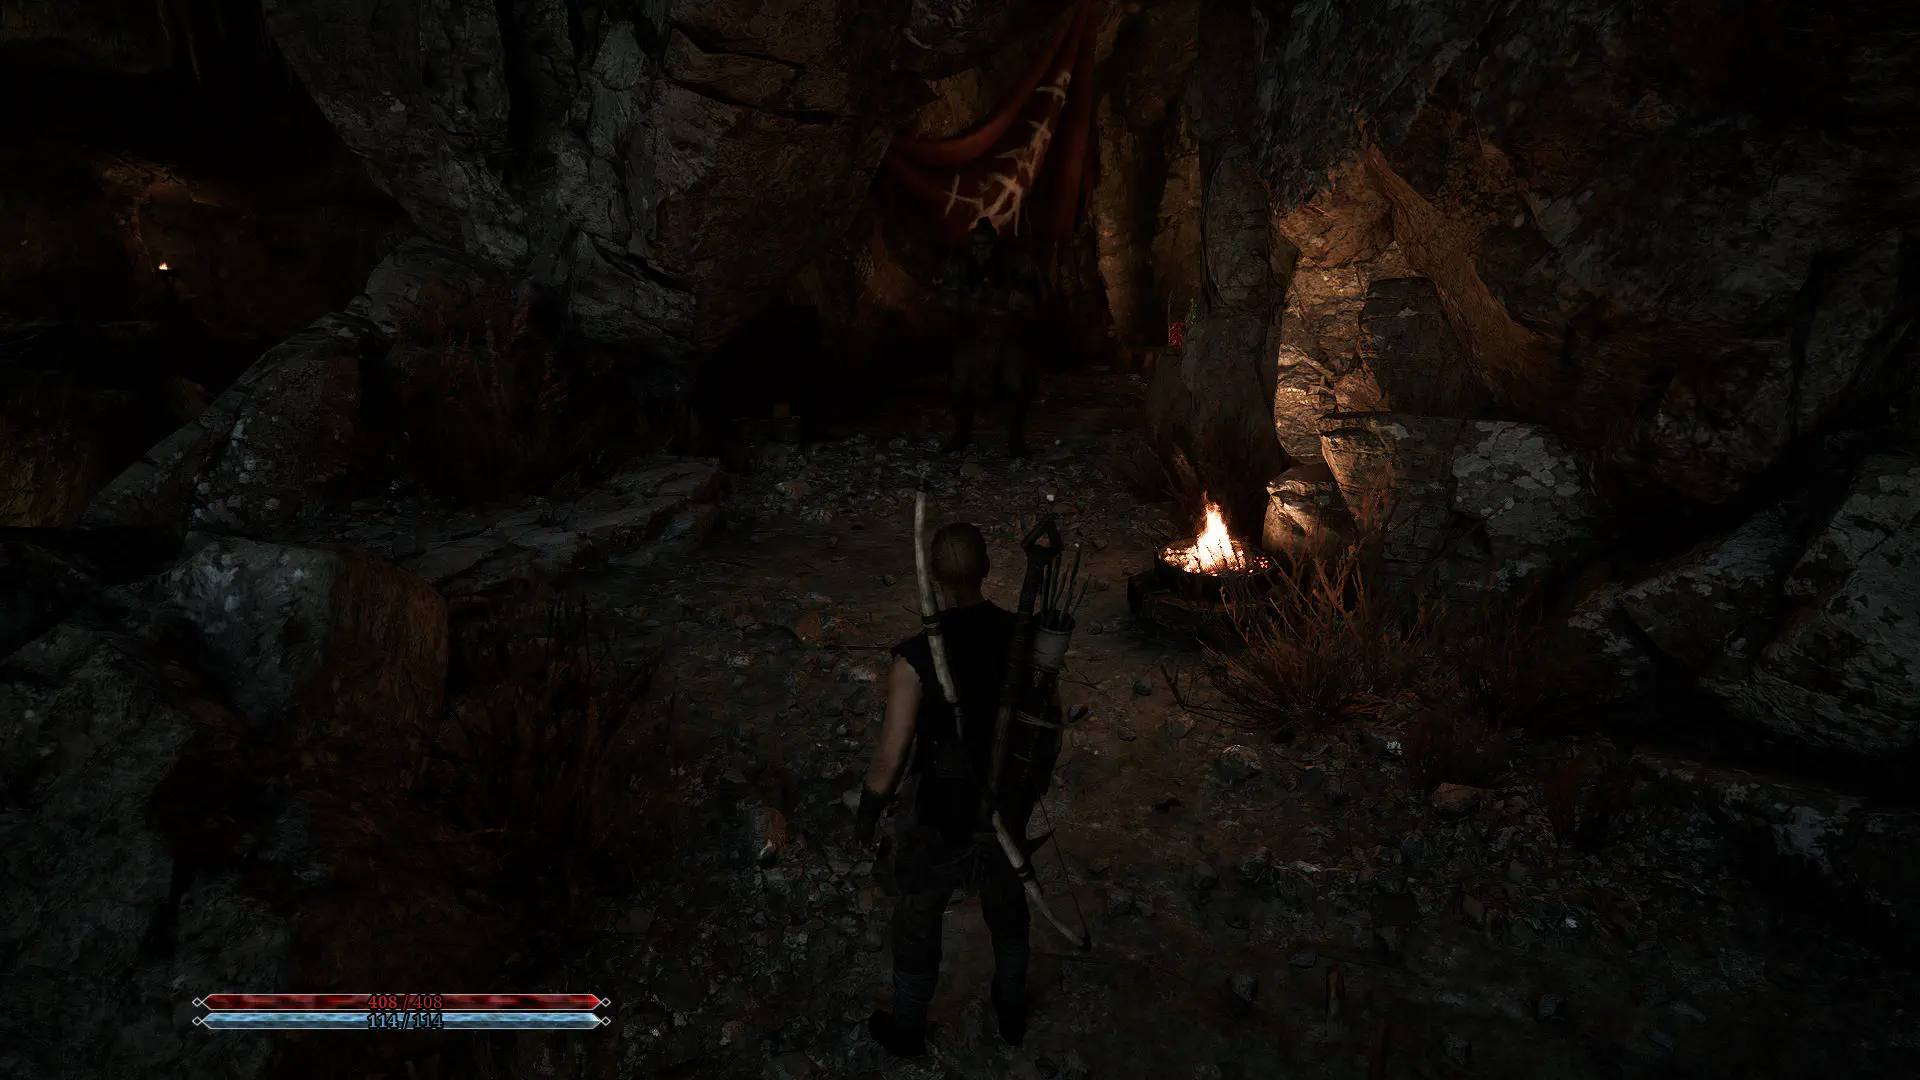
Enter the Orc Enclave, where you will have to fight Grazkrak. After defeating him, approach Ur-Shak, who is standing nearby.Enter the temple on the right. At the fork, turn left and continue to a room with a red pool. Turn right and take the exit toward the arena, where you will meet Chokta. He offers to teach you how to use Orc weapons if you win a fight. Accept the challenge and kill a Biter. Talk to Chokta again to learn the first level of the skill. Agree to continue, defeat a Fire Lizard, and learn the second level of Orc Weapon Mastery.Leave the temple and go through the gates to the right, where Ur-Shak was standing. Umakhal approaches you. Remember Mud? Umakhal is similarly persistent: he does not trust you and will follow you everywhere.

Option 1: A Peaceful Solution

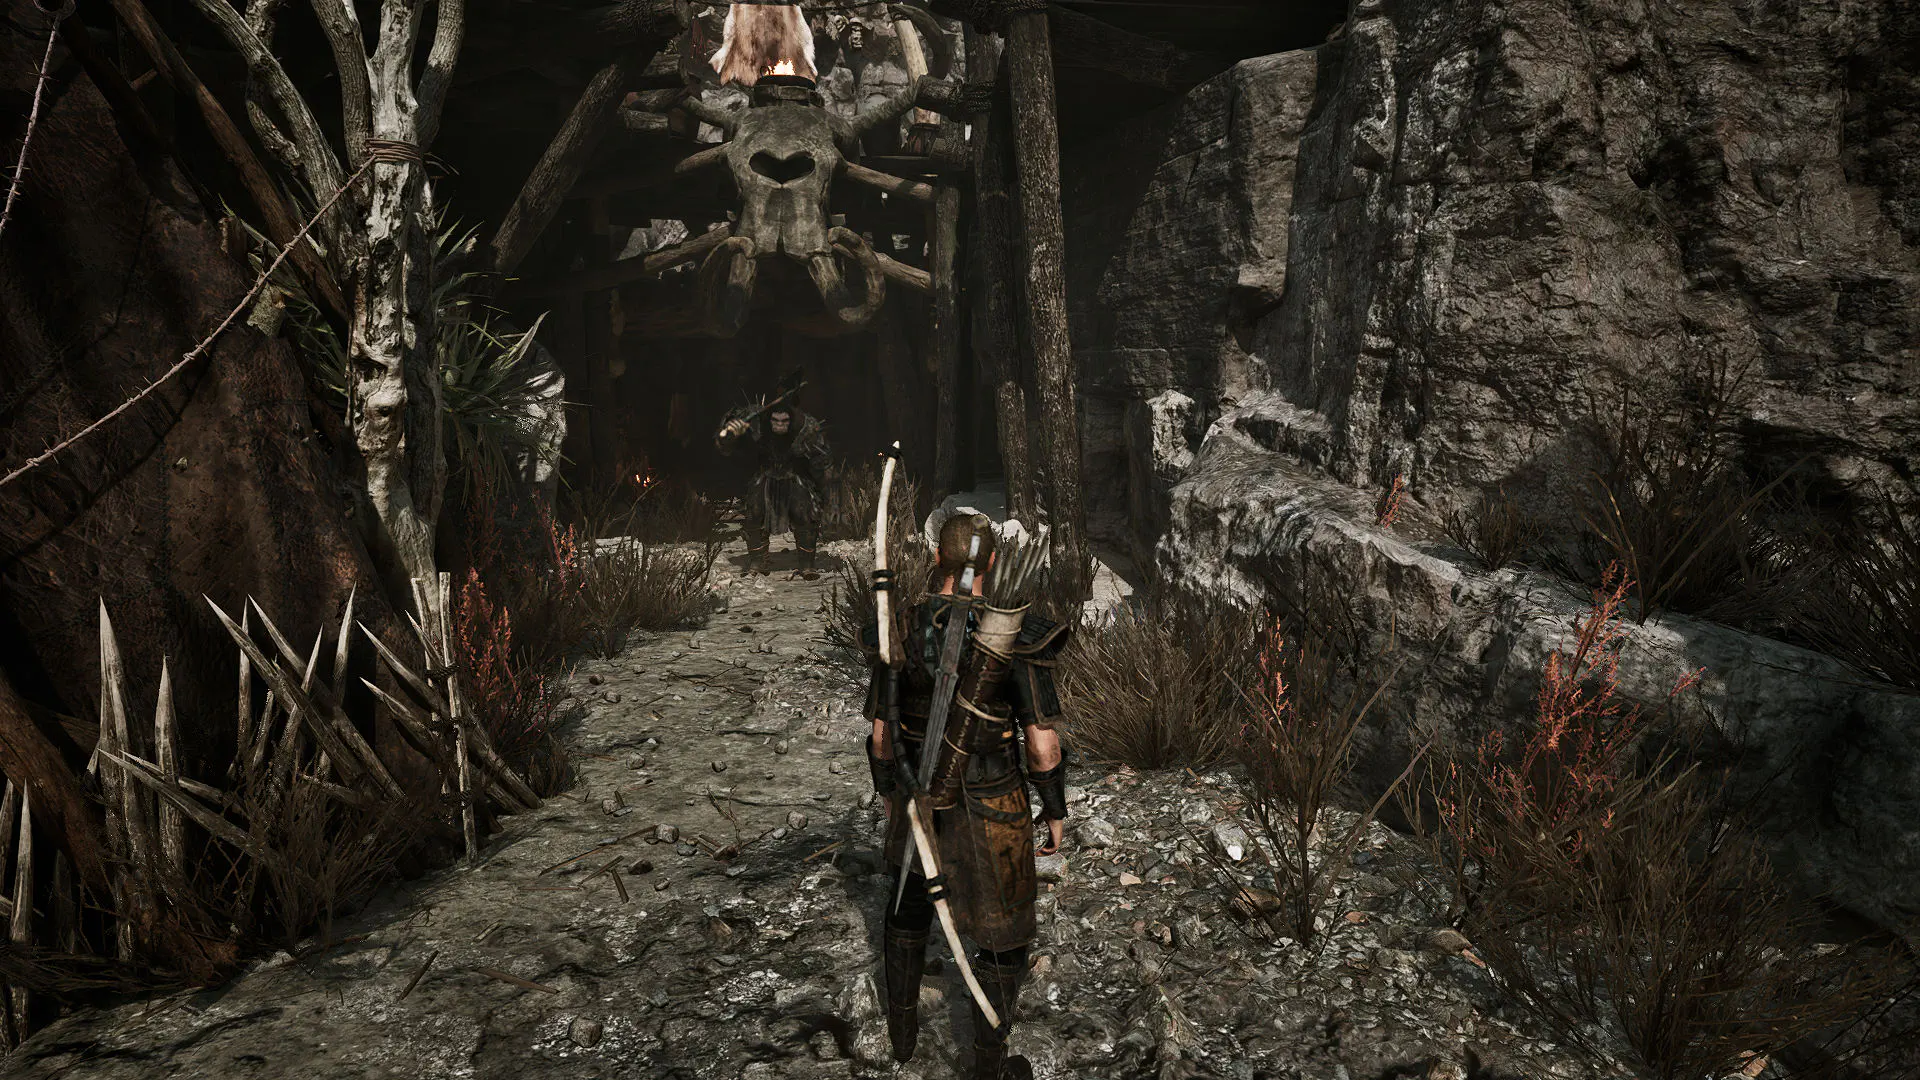
Go deeper into the settlement. The temple entrance is on the right, but you will not be allowed in. Krashok is standing on the left and refuses to let you see Ur-Nazkrog. Keep talking to him until you can persuade him to grant you access. Choose the line asking whether he thinks Ur-Nazkrog will refuse to receive you. Speak to the female shaman. She asks you to bring the dead back to life, starting the A Warrior's Honor side quest.
Gothic 1 Remake Walkthrough
Talk to Ur-Shak and return to the place where you fought Grazkrak. Descend into the temple on the left. At the fork in the tunnel, take the left passage first. It leads to the arena where Chokta teaches Orc Weapon Mastery. Pick up Orc Spores from one of the corpses in the arena. Return to the fork and go straight ahead to Umosh.Umosh initially refuses to let you through, but once you have found Orc Spores, a new dialogue option appears. Choose it to explain the ritual in more detail. Then approach Grazkrak's corpse and look for an interaction point.
Gothic 1 Remake Walkthrough
Return to Ur-Nazkrog and report that you have fulfilled her request. You receive 700 XP, complete the quest, and Ur-Nazkrog accompanies you to the temple.

Option 2: The More Difficult Route

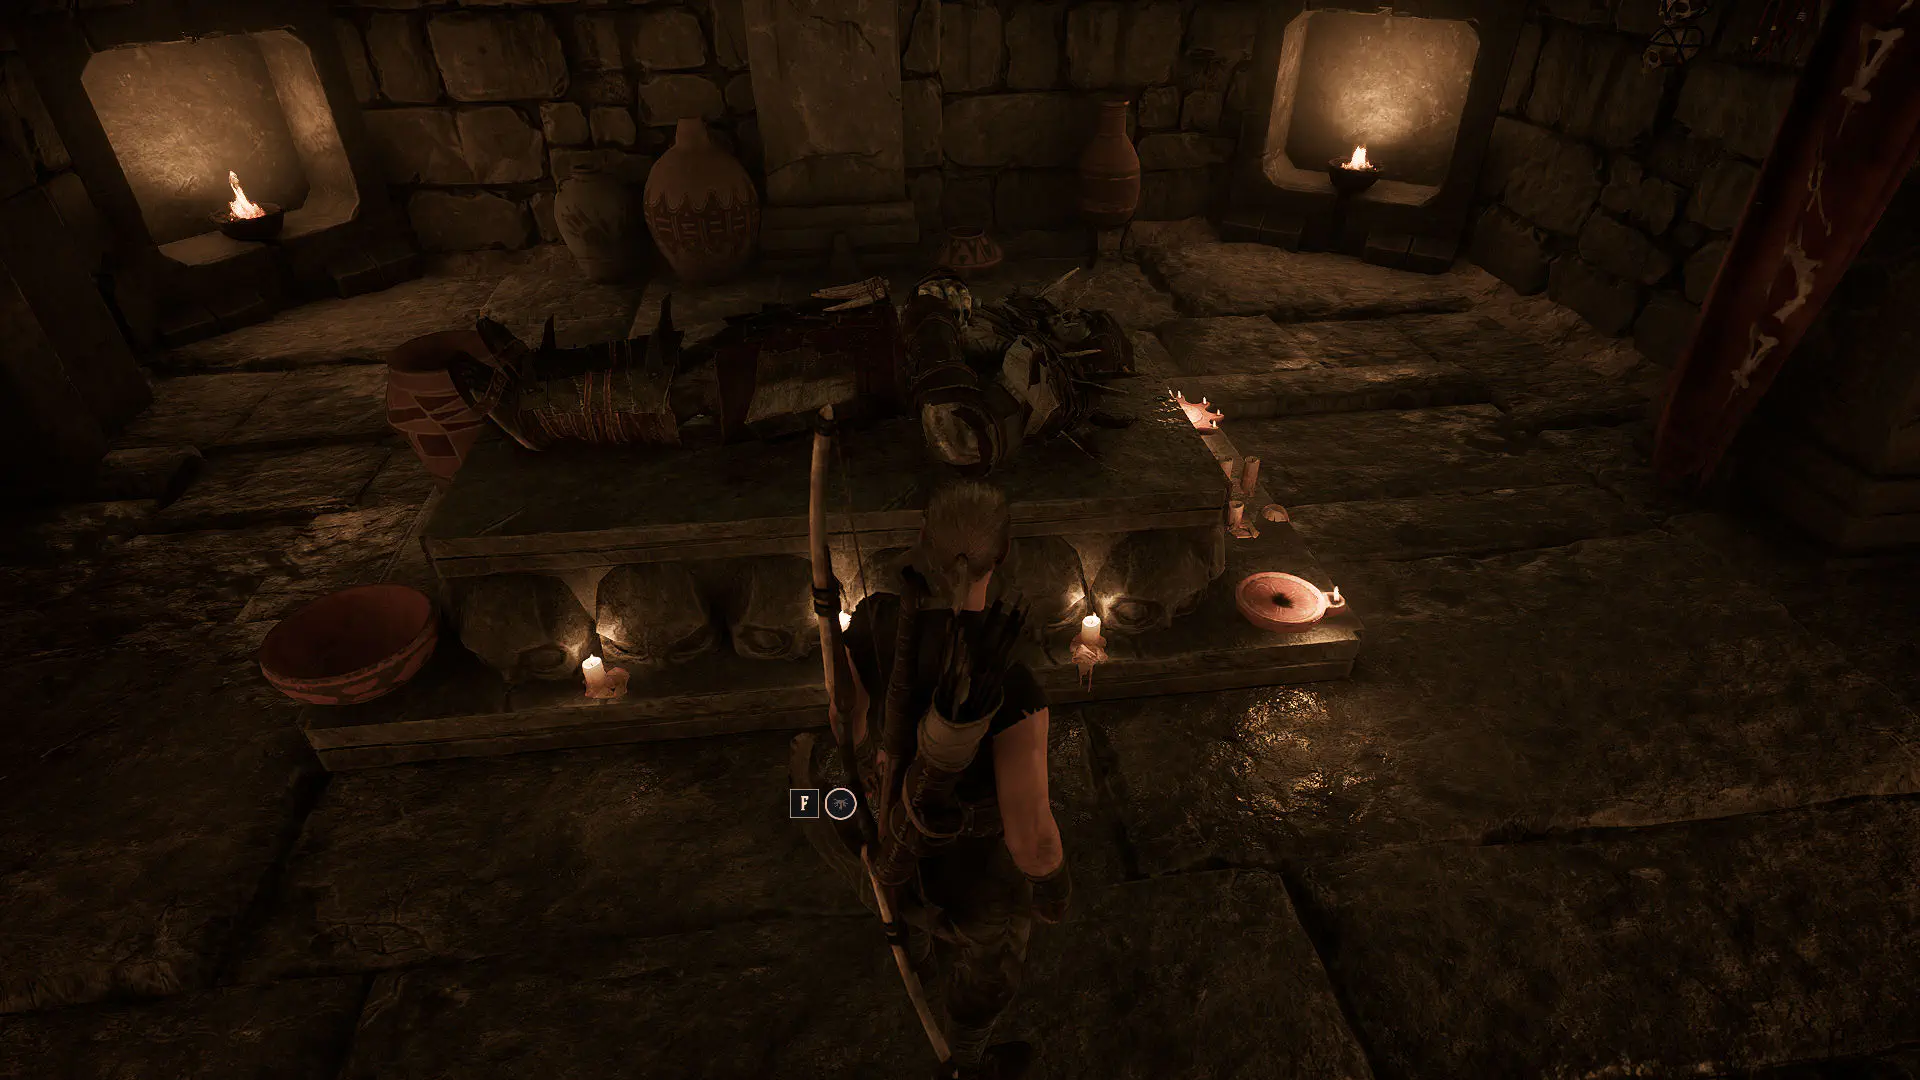
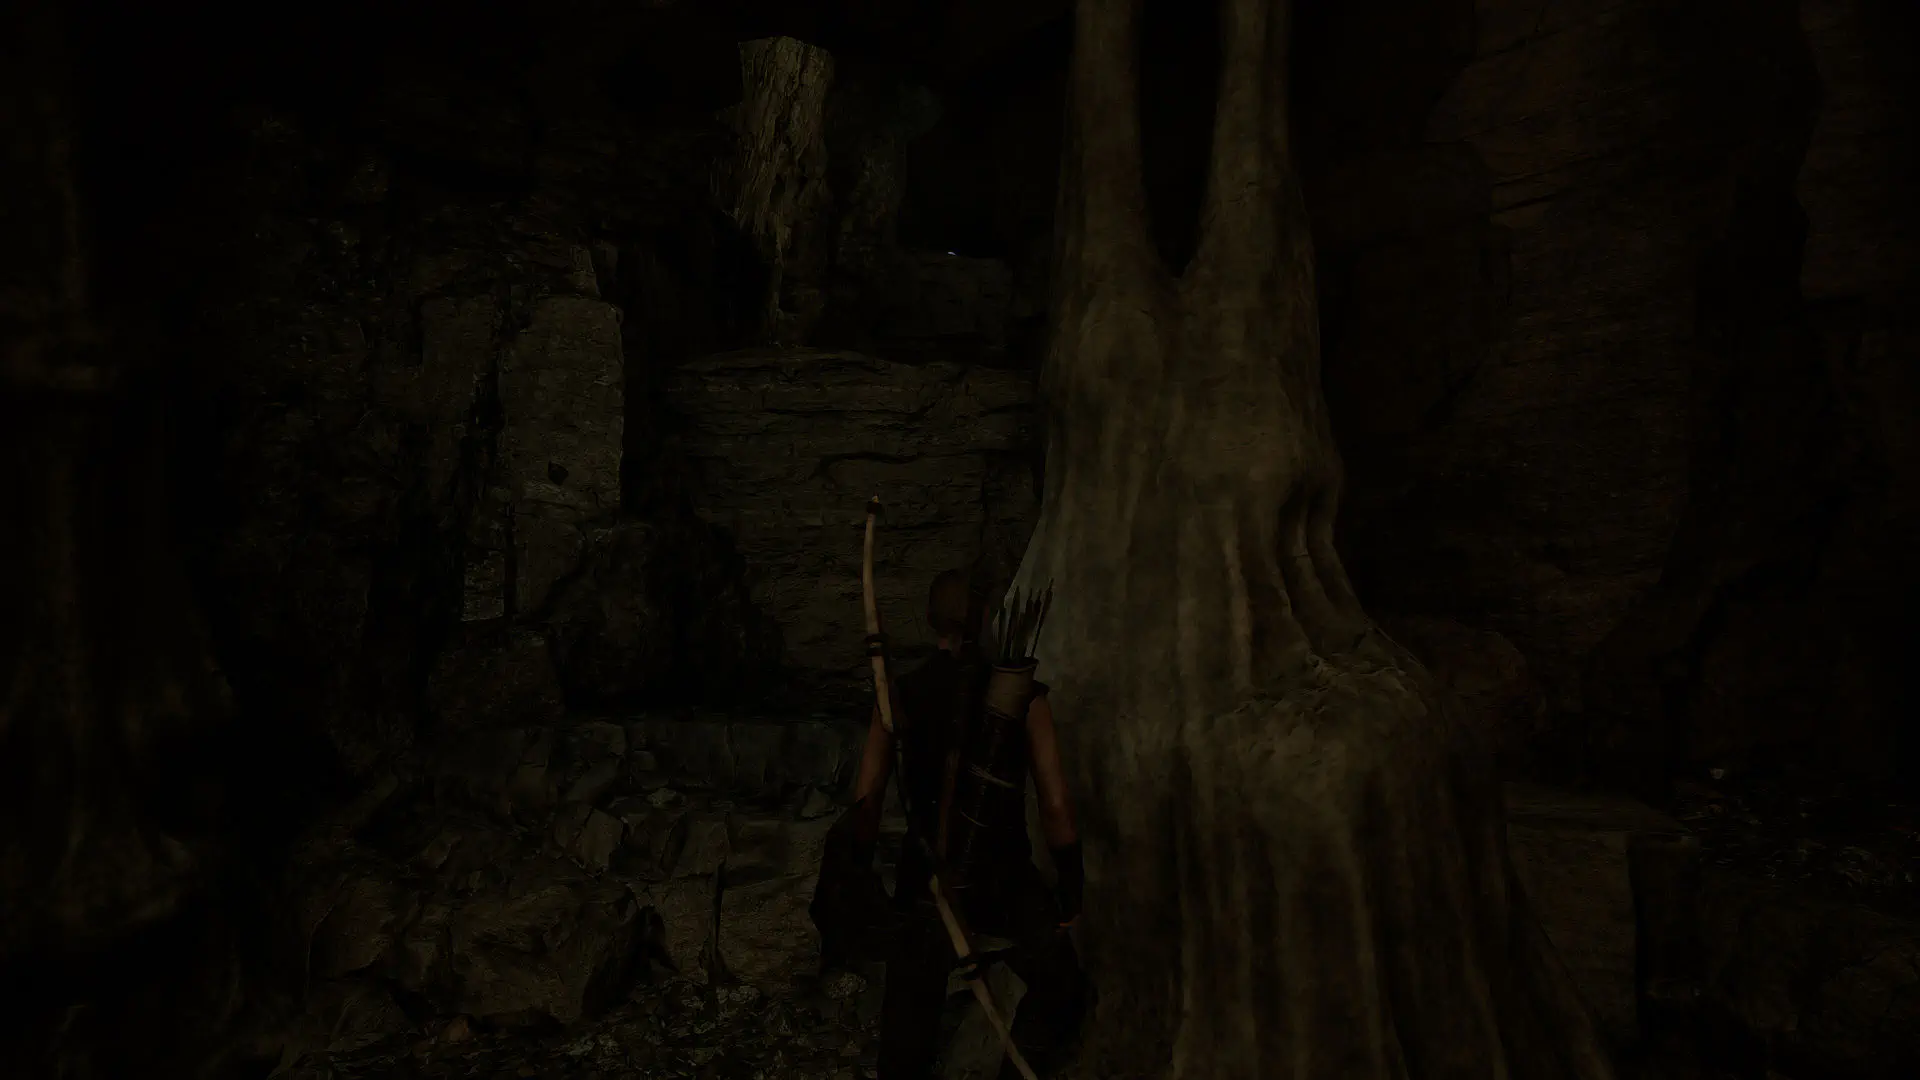
Continue forward and turn right into the throne room. You can talk to To-Churnag here, but the important feature is a series of ledges on the right just beyond the entrance. Climb them and escape by the alternative route. This lets you leave Umakhal behind at the throne room entrance.
Gothic 1 Remake Walkthrough
Pass above and behind him, then find Muk's hut in the upper part of the camp. The Orc is willing to help you, but will only speak privately. Now that you have shaken off Umakhal, listen to Muk's request. Suggest a few dishes until he reacts to Meatbug Stew, starting the A Matter of Taste side quest.
Gothic 1 Remake Walkthrough
You can return to the Old Camp and get three servings of Meatbug Stew from Snaf. Talk to Muk. If he is not at the entrance, he is probably sleeping inside his cave. You receive 300 XP and finish the quest. Muk moves a stone in his cave, revealing a secret route into the temple.This is one way to enter the temple. Once inside, follow the passage deeper until you reach a barrier. To-Churnag and two other Orcs appear, and you will have to kill them. Interact with the barrier to pass through it and complete the quest for 1,000 XP.
Gothic 1 Remake Walkthrough

The Dreamer's Nightmare

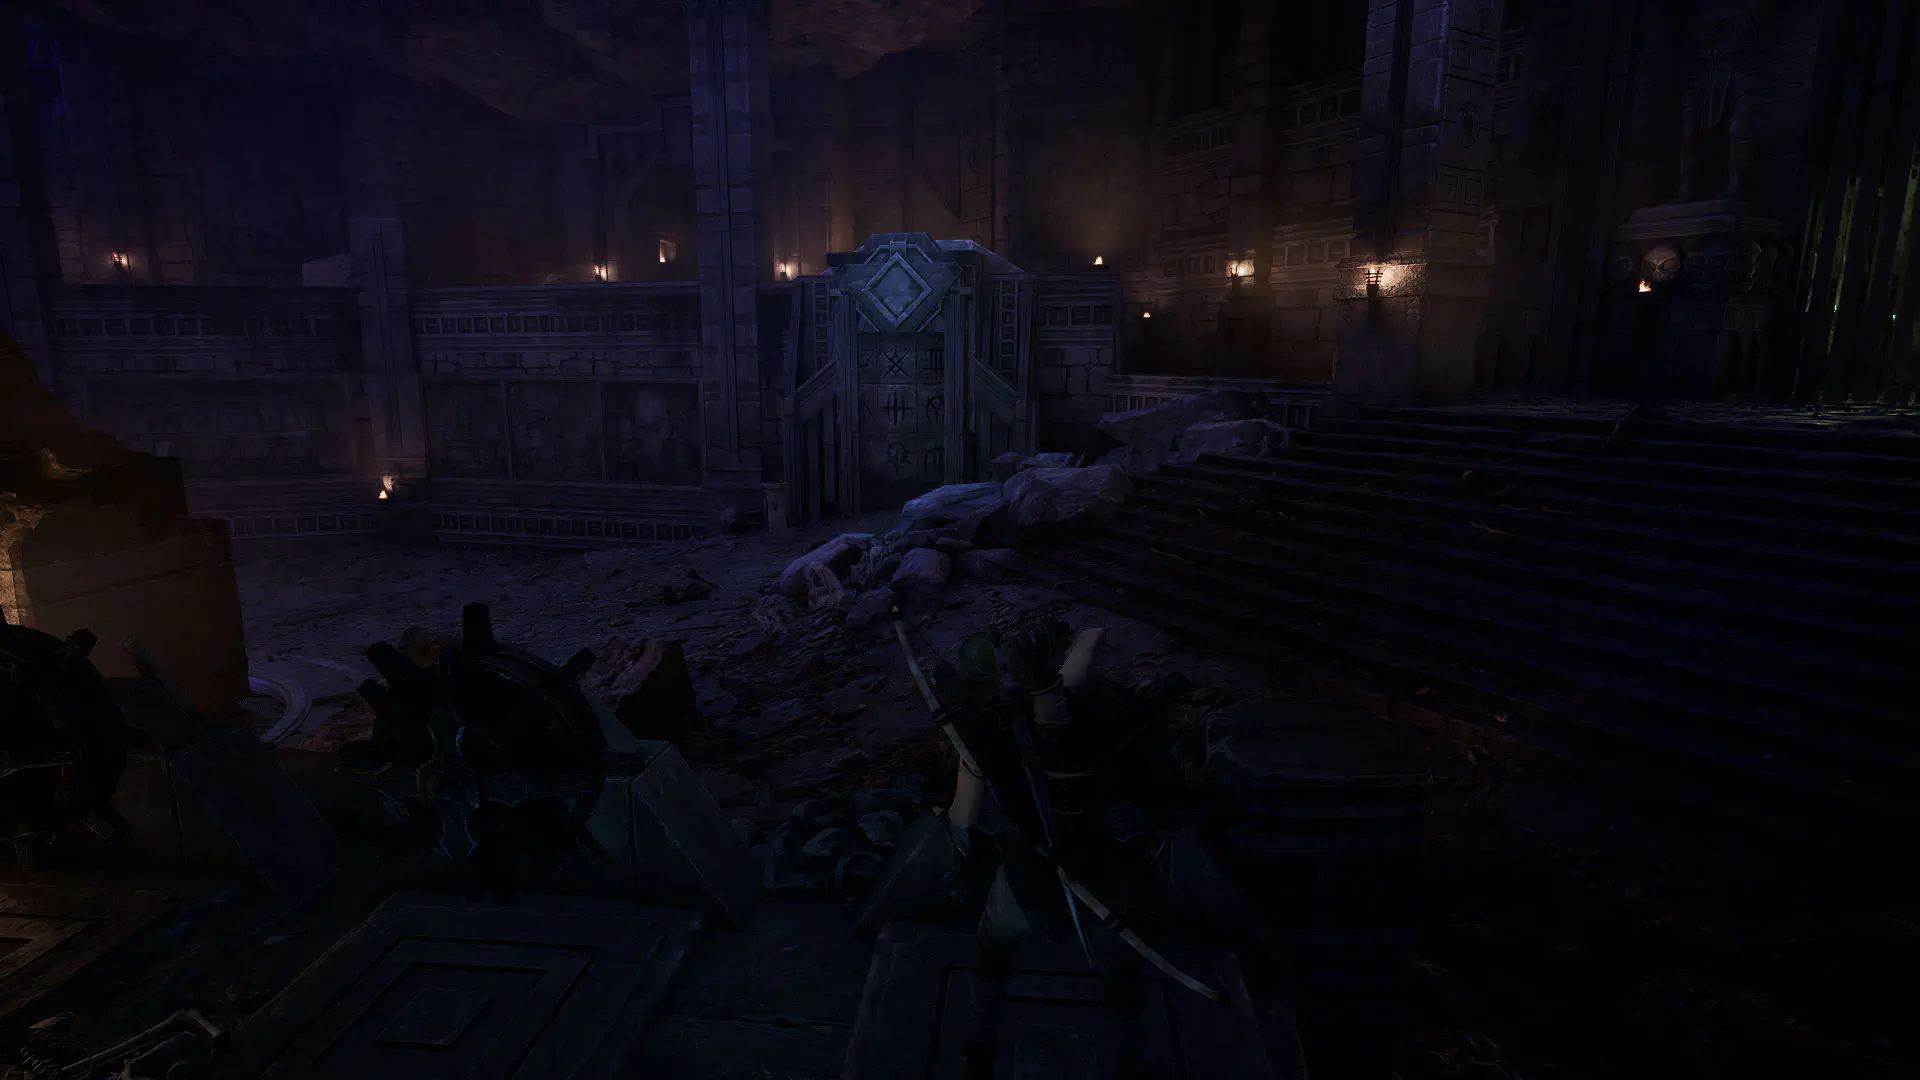
Your main objective is to solve the temple's puzzles, defeat five Orc Shamans known as the Varrag, and collect five gemstones with different names. In a distant cave, there are also three Demon Lords. Killing them unlocks the way to a Strange Sword and one of the shamans.Go forward and clear the hall of Skeletons and a Skeleton Mage. There are three rotating wheels on the right, but it is not immediately obvious how they work. Enter the corridor on the left. A Sketch of the Temple lies beneath a statue. Pick it up and examine it to obtain the map of this area.

How to Solve the Four Statues Puzzle

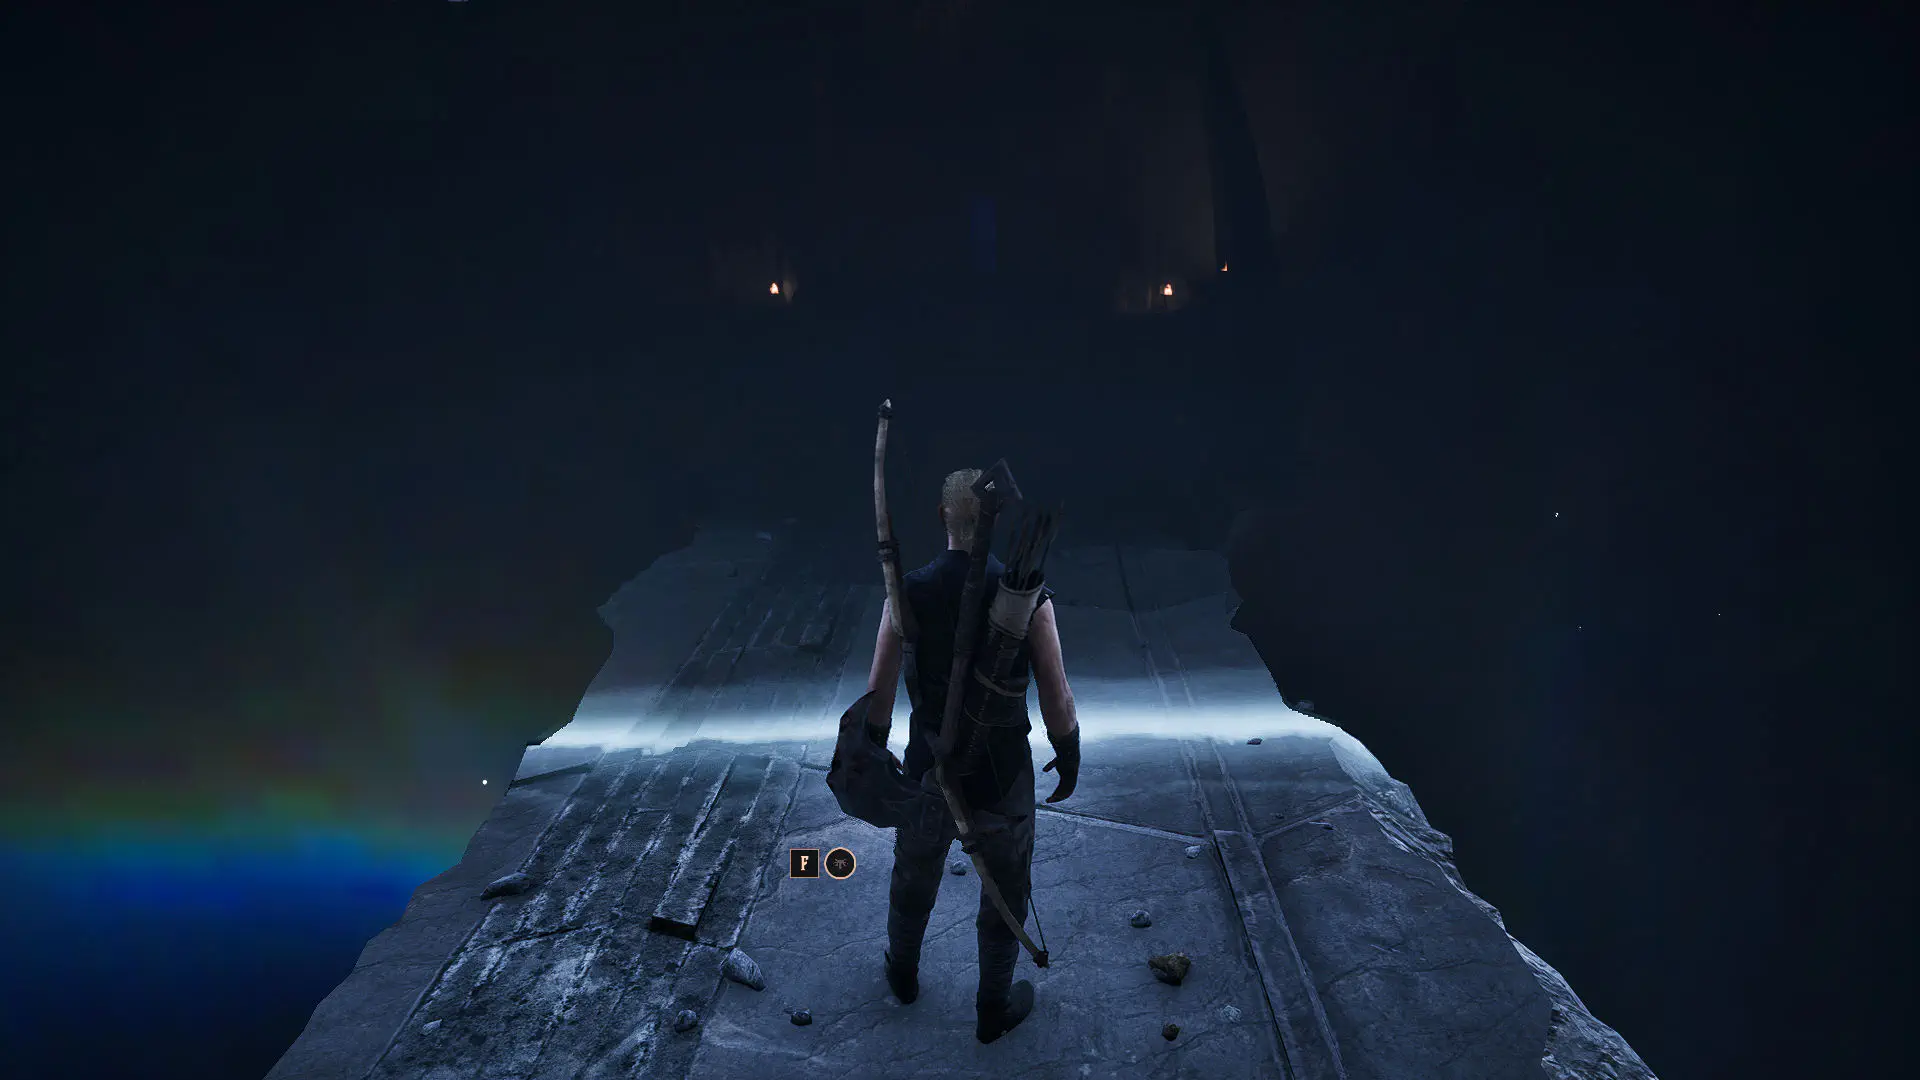
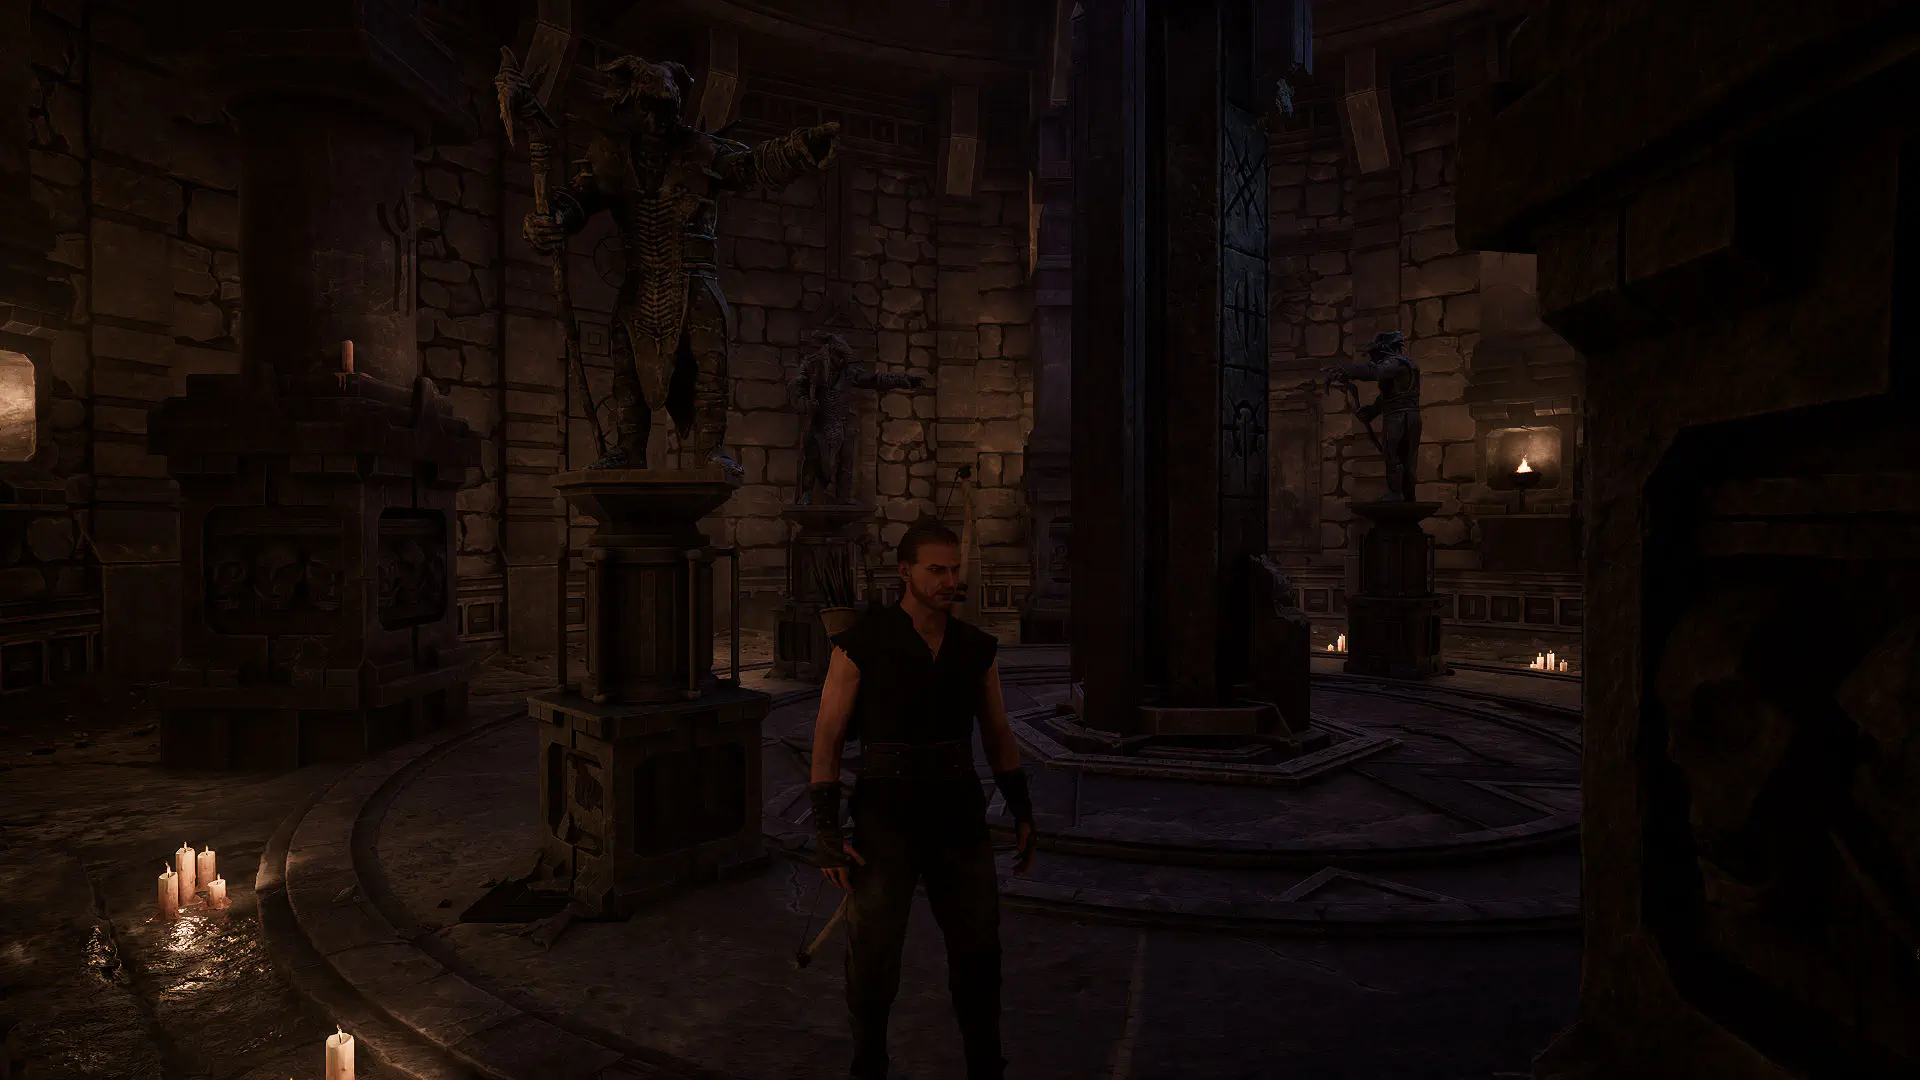
Walk around the stationary statue on the left and descend into a room with two Skeletons and three more statues raising their hands. You can rotate these three statues.Turn the left statue toward the pillar to its right. Point the right statue at the pillar opposite it, slightly to the right. The middle statue should face the entrance through which you arrived. When they are positioned correctly, a pillar rises to reveal the combination needed in the previous room.
Gothic 1 Remake Walkthrough
Return to the three wheels and rotate them to reproduce the symbols. If you have not touched anything yet, turn the left wheel (upper symbol) seven times clockwise, the middle wheel six times clockwise, and the right wheel five times clockwise. The gate on the right will open.
Gothic 1 Remake WalkthroughGothic 1 Remake Walkthrough
Gothic 1 Remake Walkthrough
Gothic 1 Remake WalkthroughGothic 1 Remake Walkthrough
Gothic 1 Remake Walkthrough
Continue through and kill the Skeletons and another Skeleton Mage. As usual, focus on the mage first. There are three pedestals on the right, but only one has a lever. You need to find the other two.

Where to Find the Orc Lever

Take the passage on the opposite side and drop through the hole in the floor. Pulling the left lever opens a cell containing an Elite Temple Guard; this is optional. The right lever opens the passage. The left-hand route lets you return upstairs.

Gemstone 1: Lightbringer

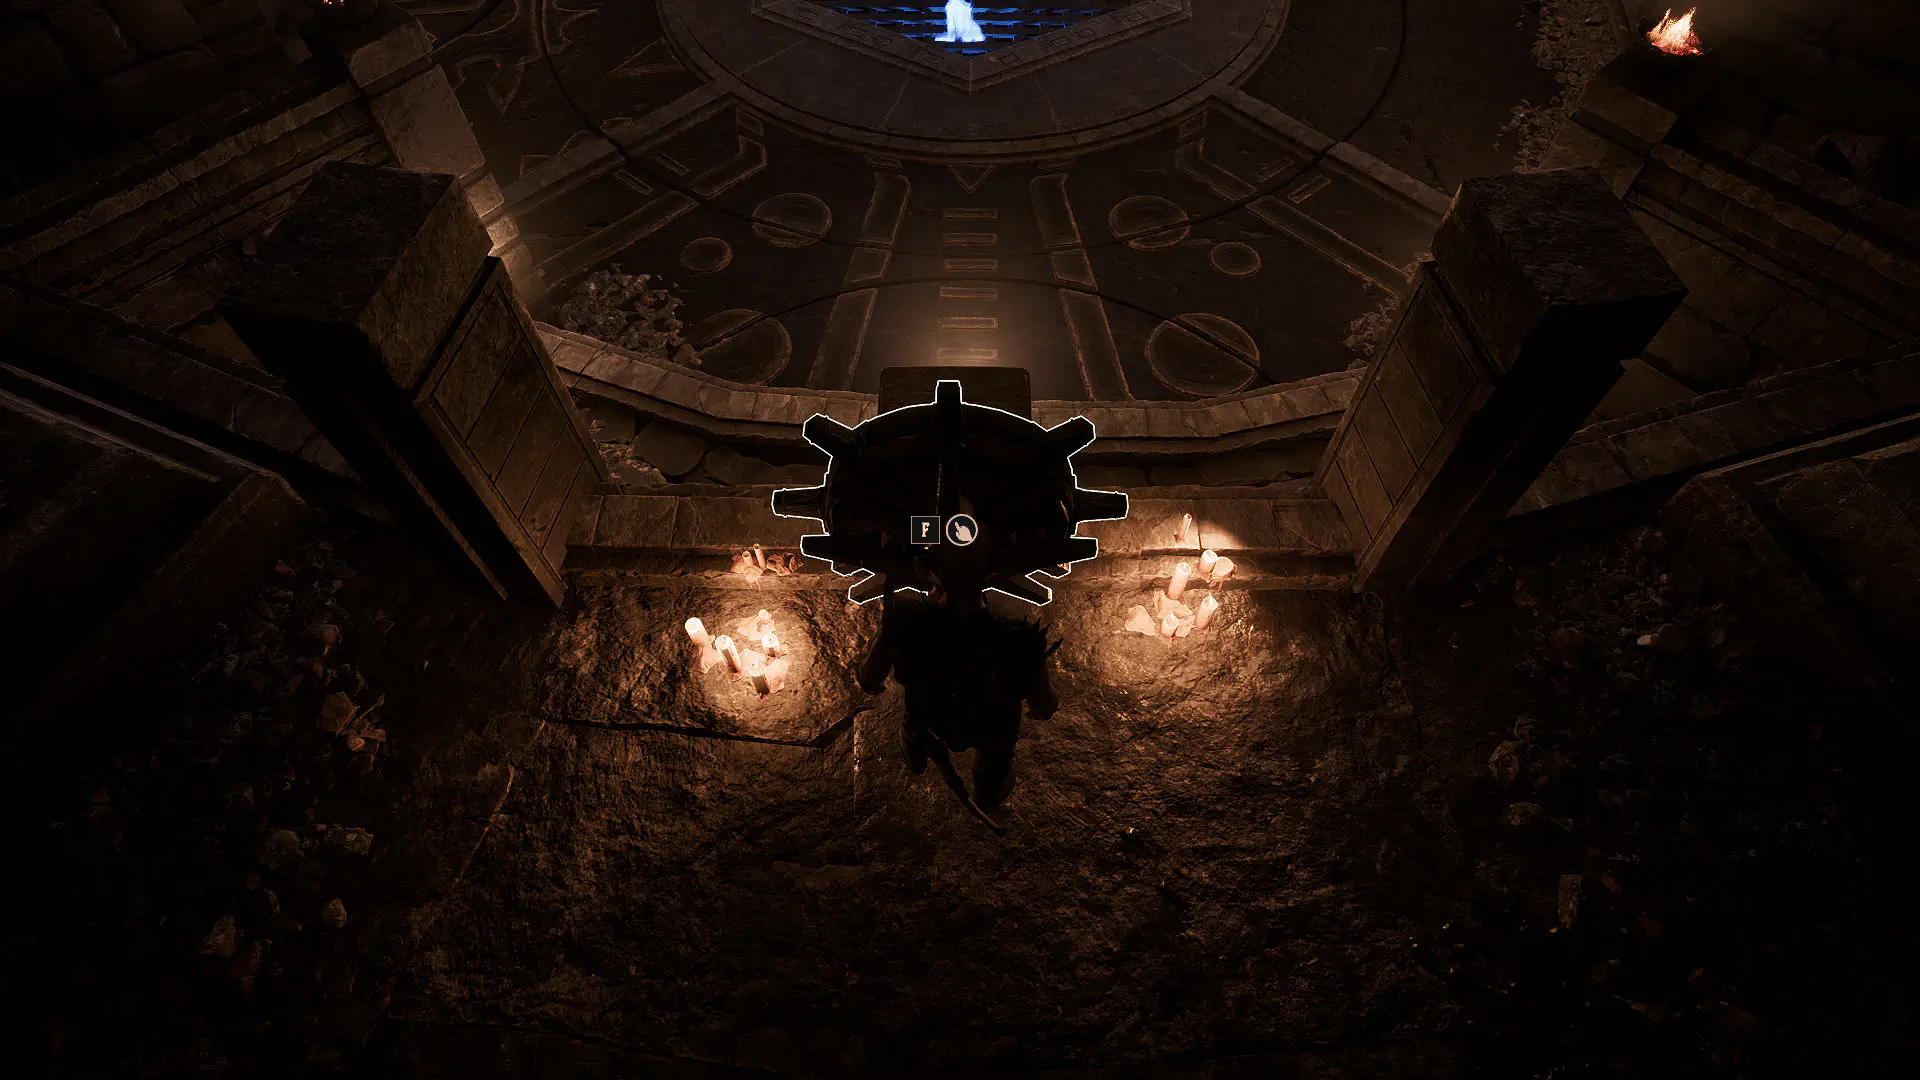
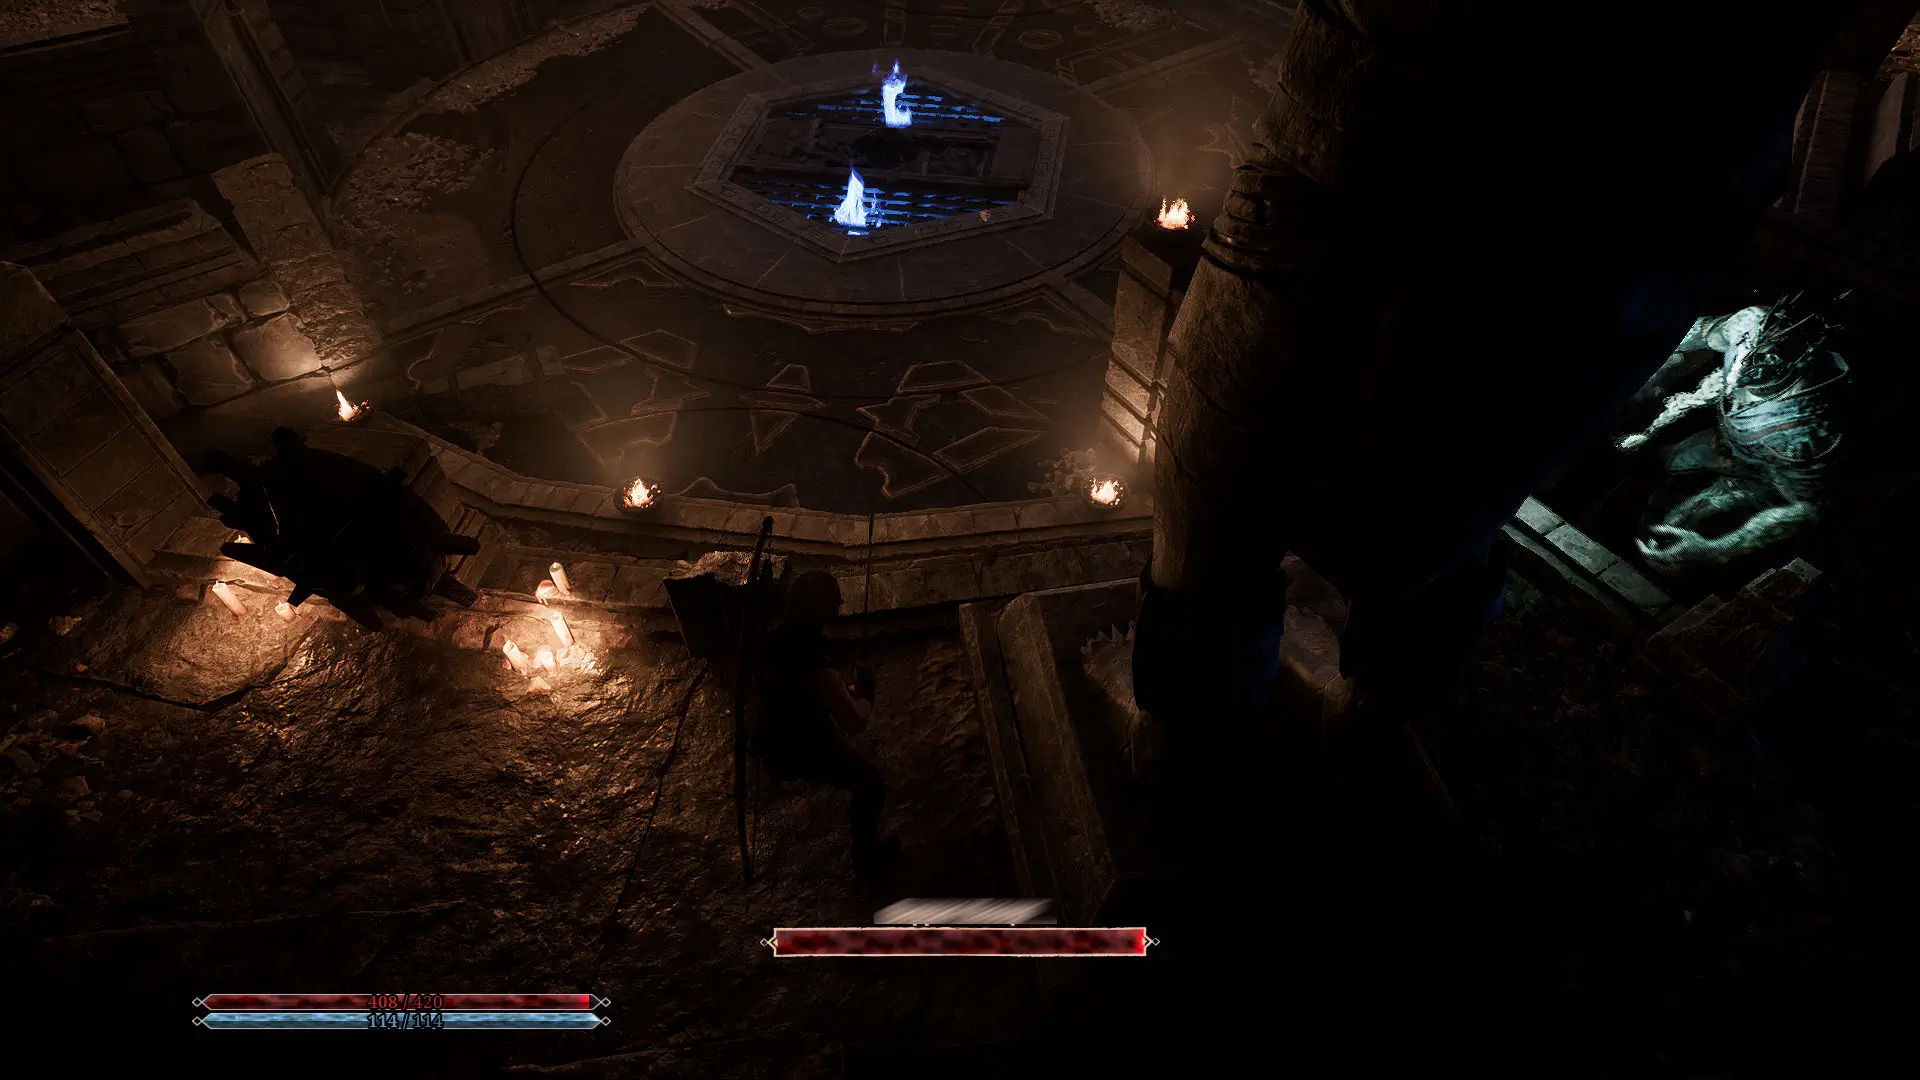
Go back and insert the lever into one of the empty slots. To the right of the levers is a descent into a cave populated by Temple Minecrawlers. Head down, kill the monsters, and find the corridor. Climb the steps, turn left, and enter the puzzle chamber. It contains four wheels. Find the one controlling the large ring, which is positioned higher than the others. Turn it until the large ring aligns with the center. If you have not changed anything yet, rotate it clockwise twice.Next, use the three remaining wheels to rotate the smaller plates and complete the patterns. Two of the wheels need one clockwise turn each, while the remaining wheel requires two clockwise turns to reveal four short lines.
Gothic 1 Remake WalkthroughGothic 1 Remake Walkthrough
Gothic 1 Remake Walkthrough
Gothic 1 Remake WalkthroughGothic 1 Remake Walkthrough
Gothic 1 Remake Walkthrough
Once the puzzle is correct, the Orc Shaman Varrag Kasorg appears and attacks. Defeat him to obtain the Lightbringer quest item and a Ball Lightning rune.

Gemstone 2: Worldcleaver

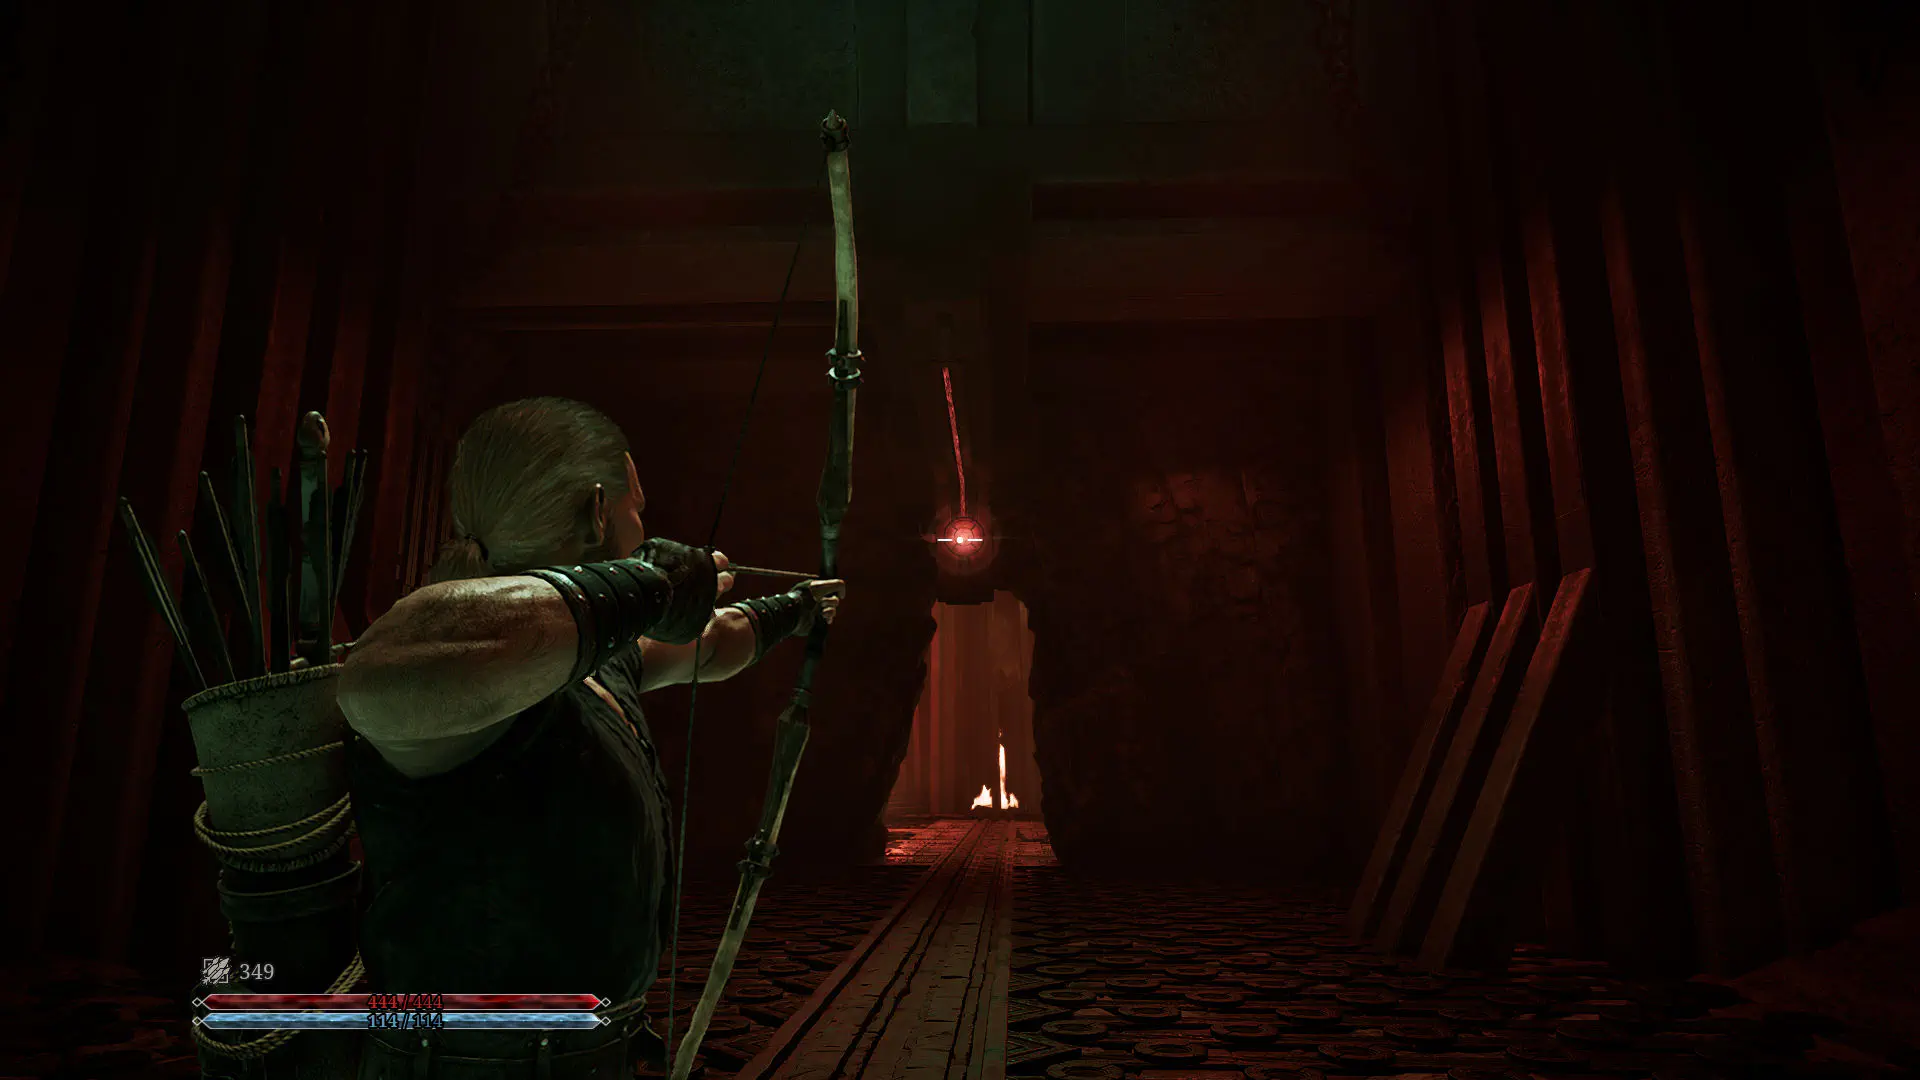
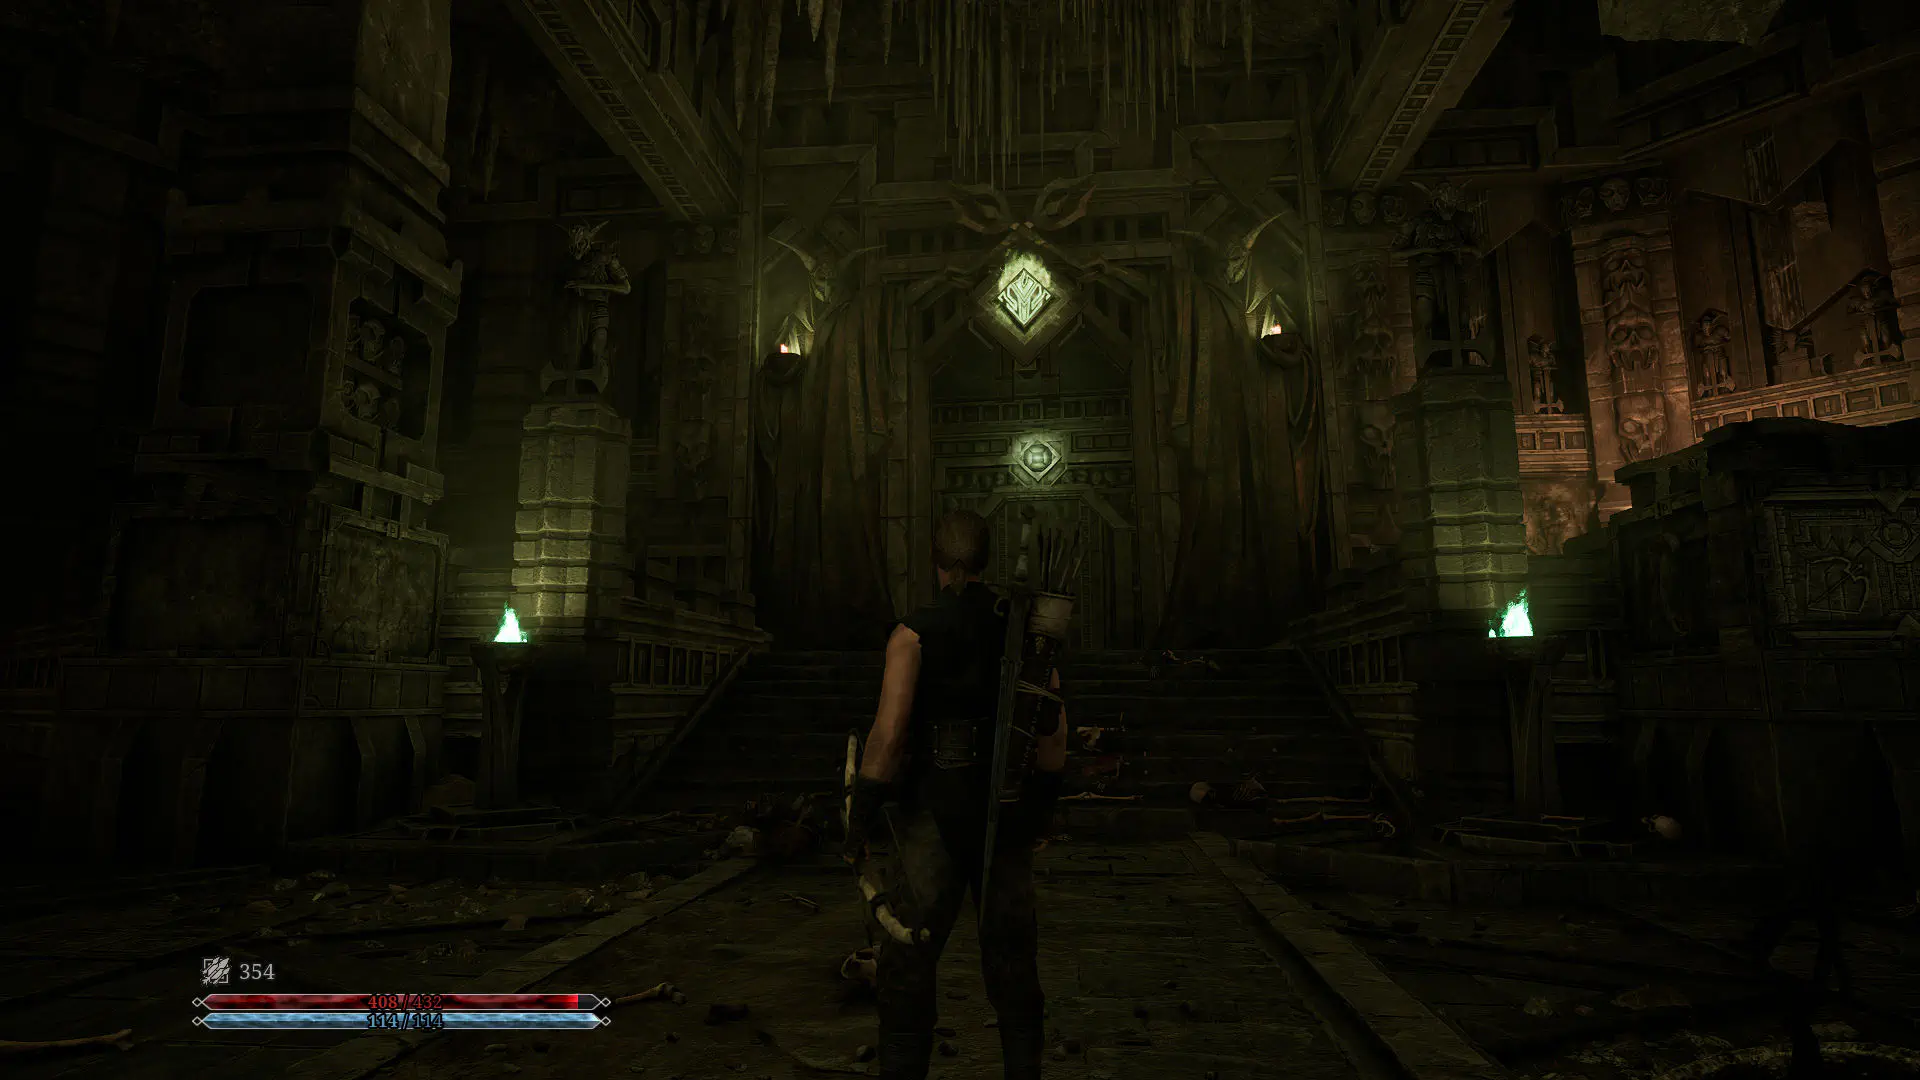
Return to the main hall and look for a locked door. Shoot the seal directly above the door with a bow. Make sure to hit the seal over the doorway itself, not the one farther up the wall.
Gothic 1 Remake Walkthrough
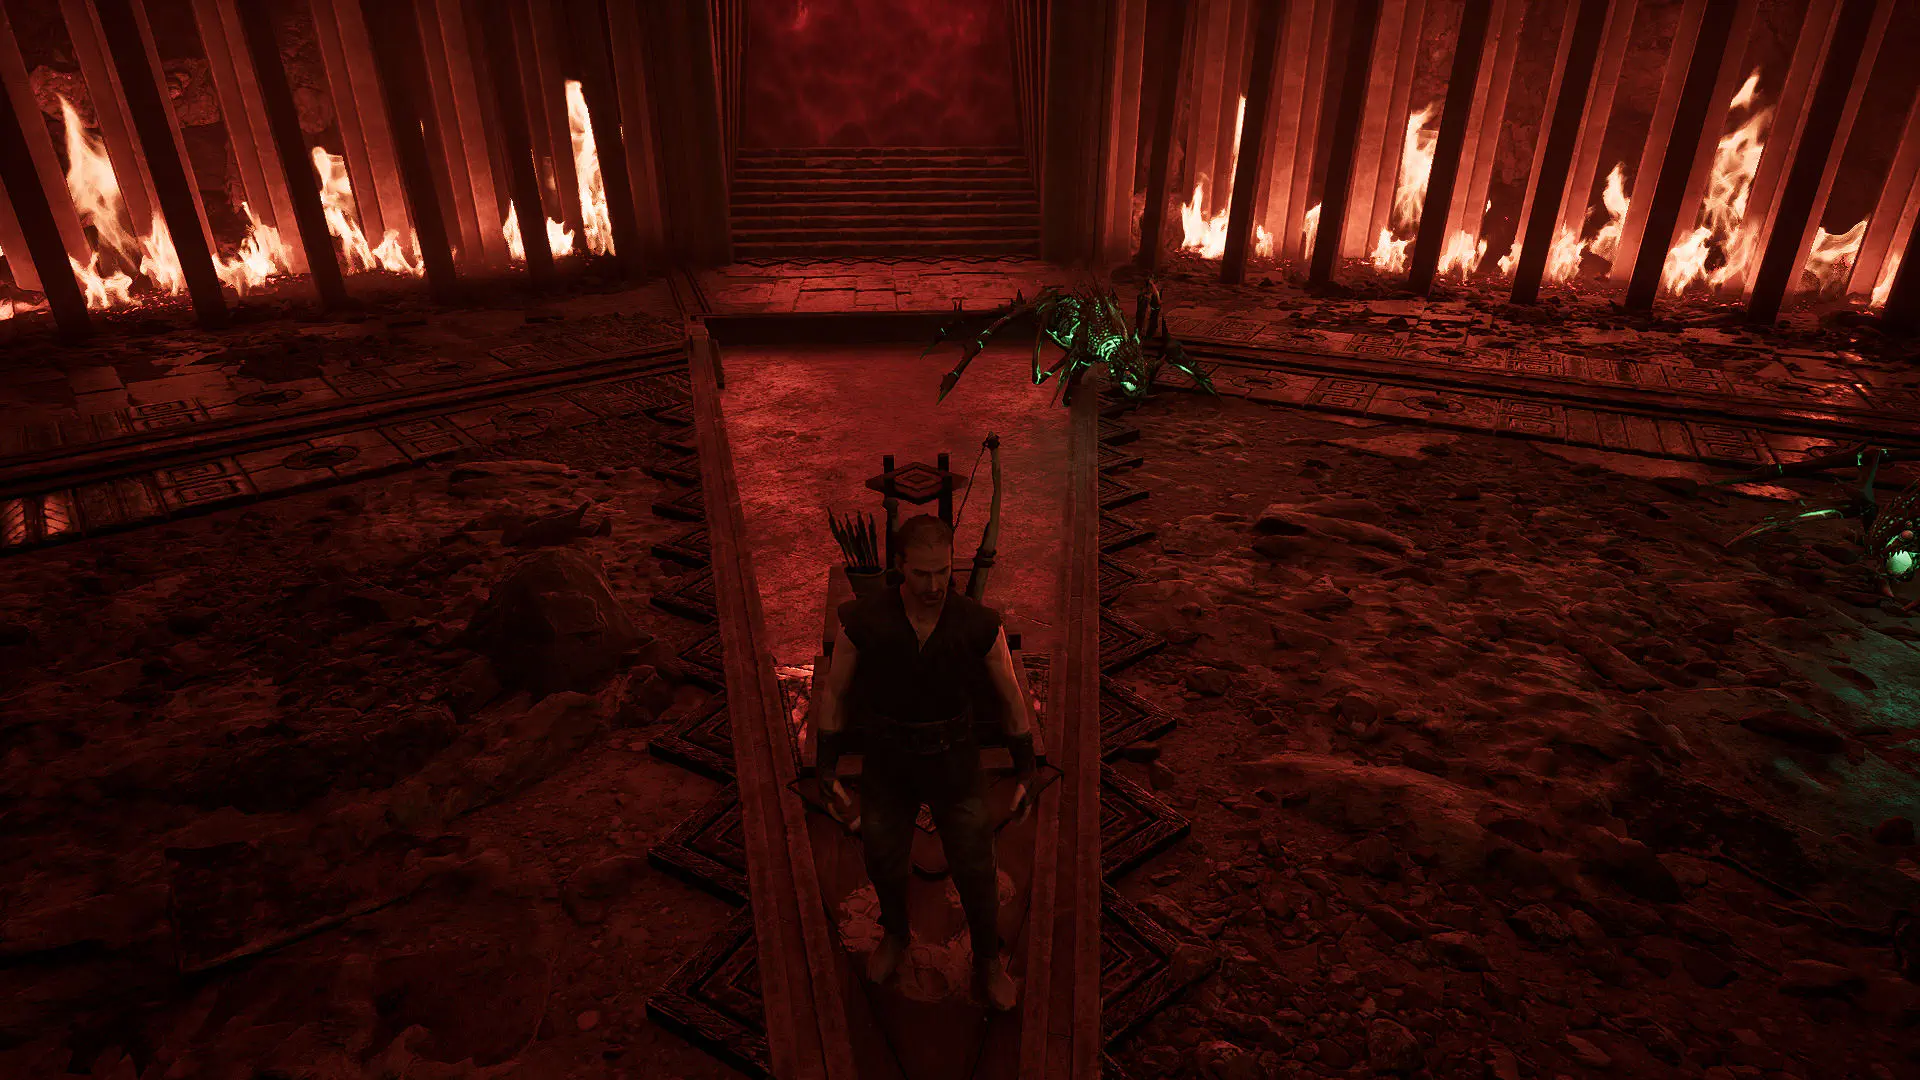
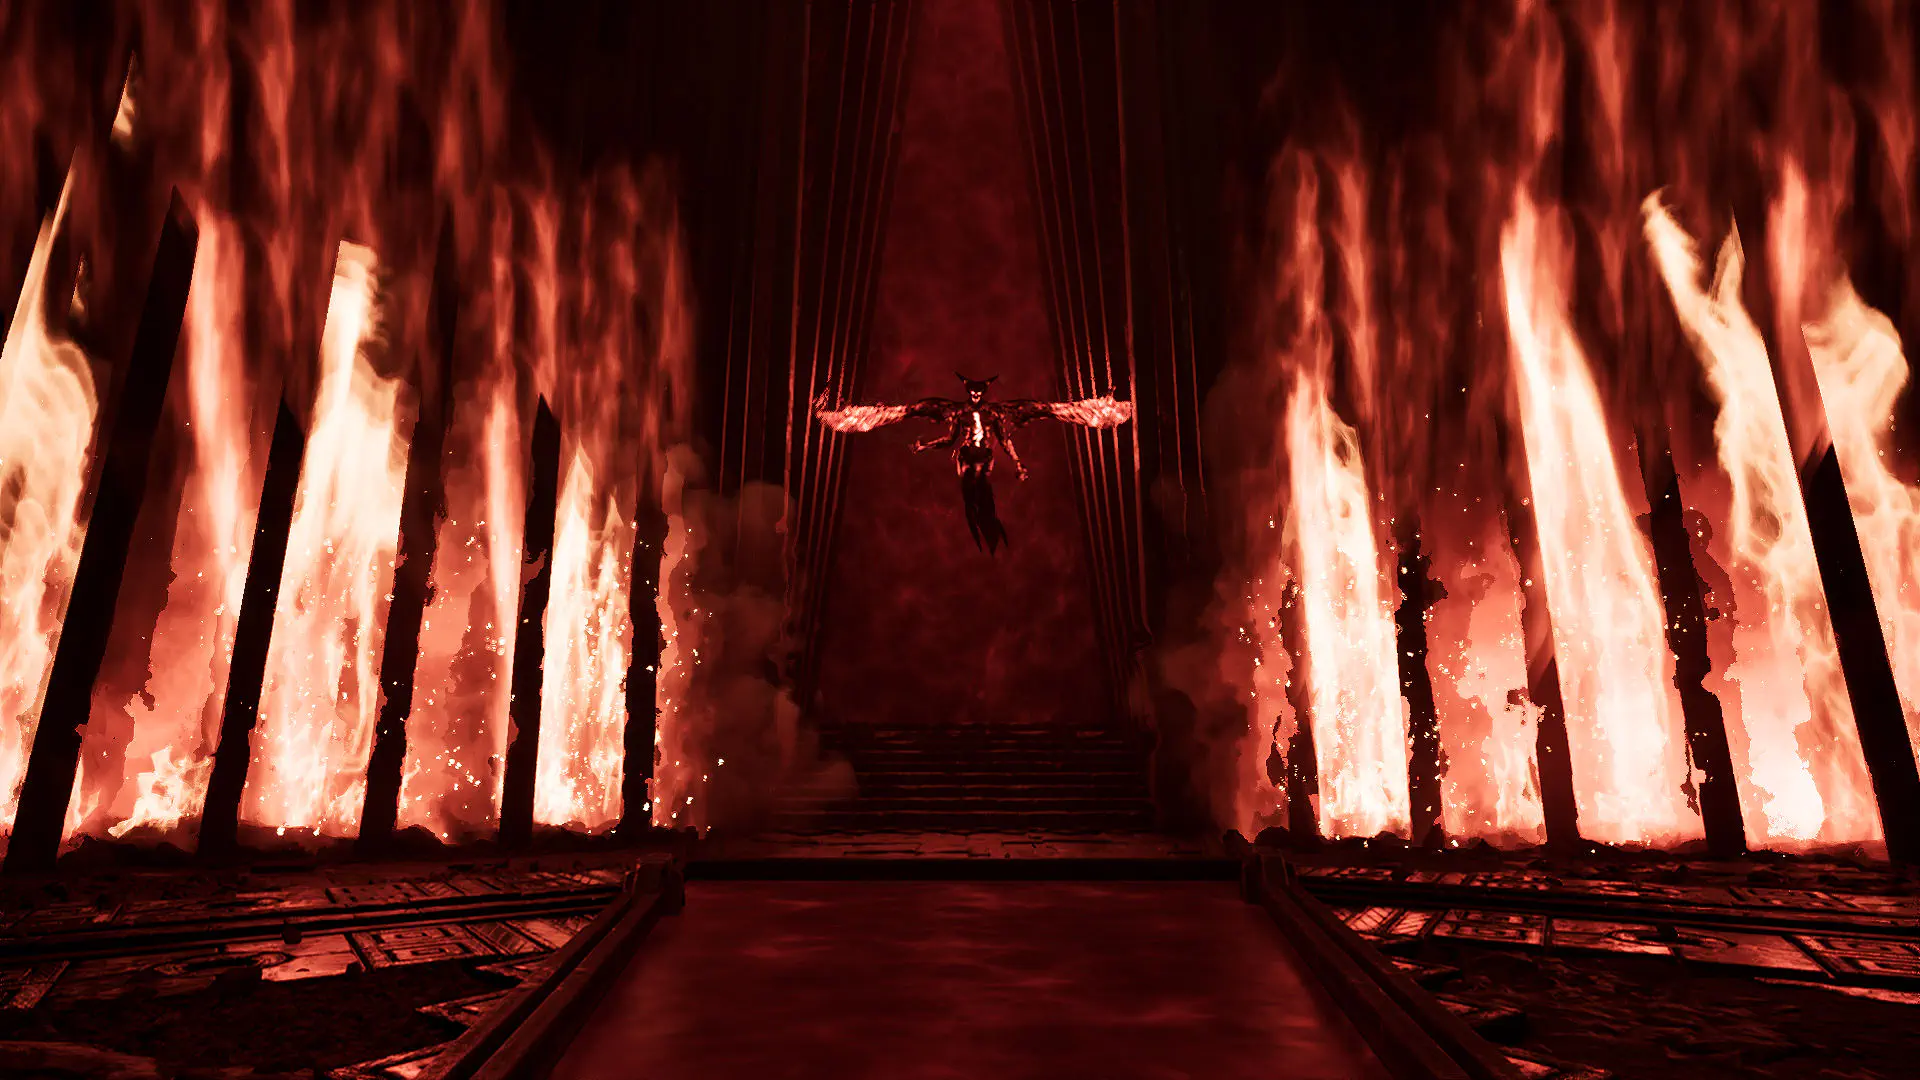
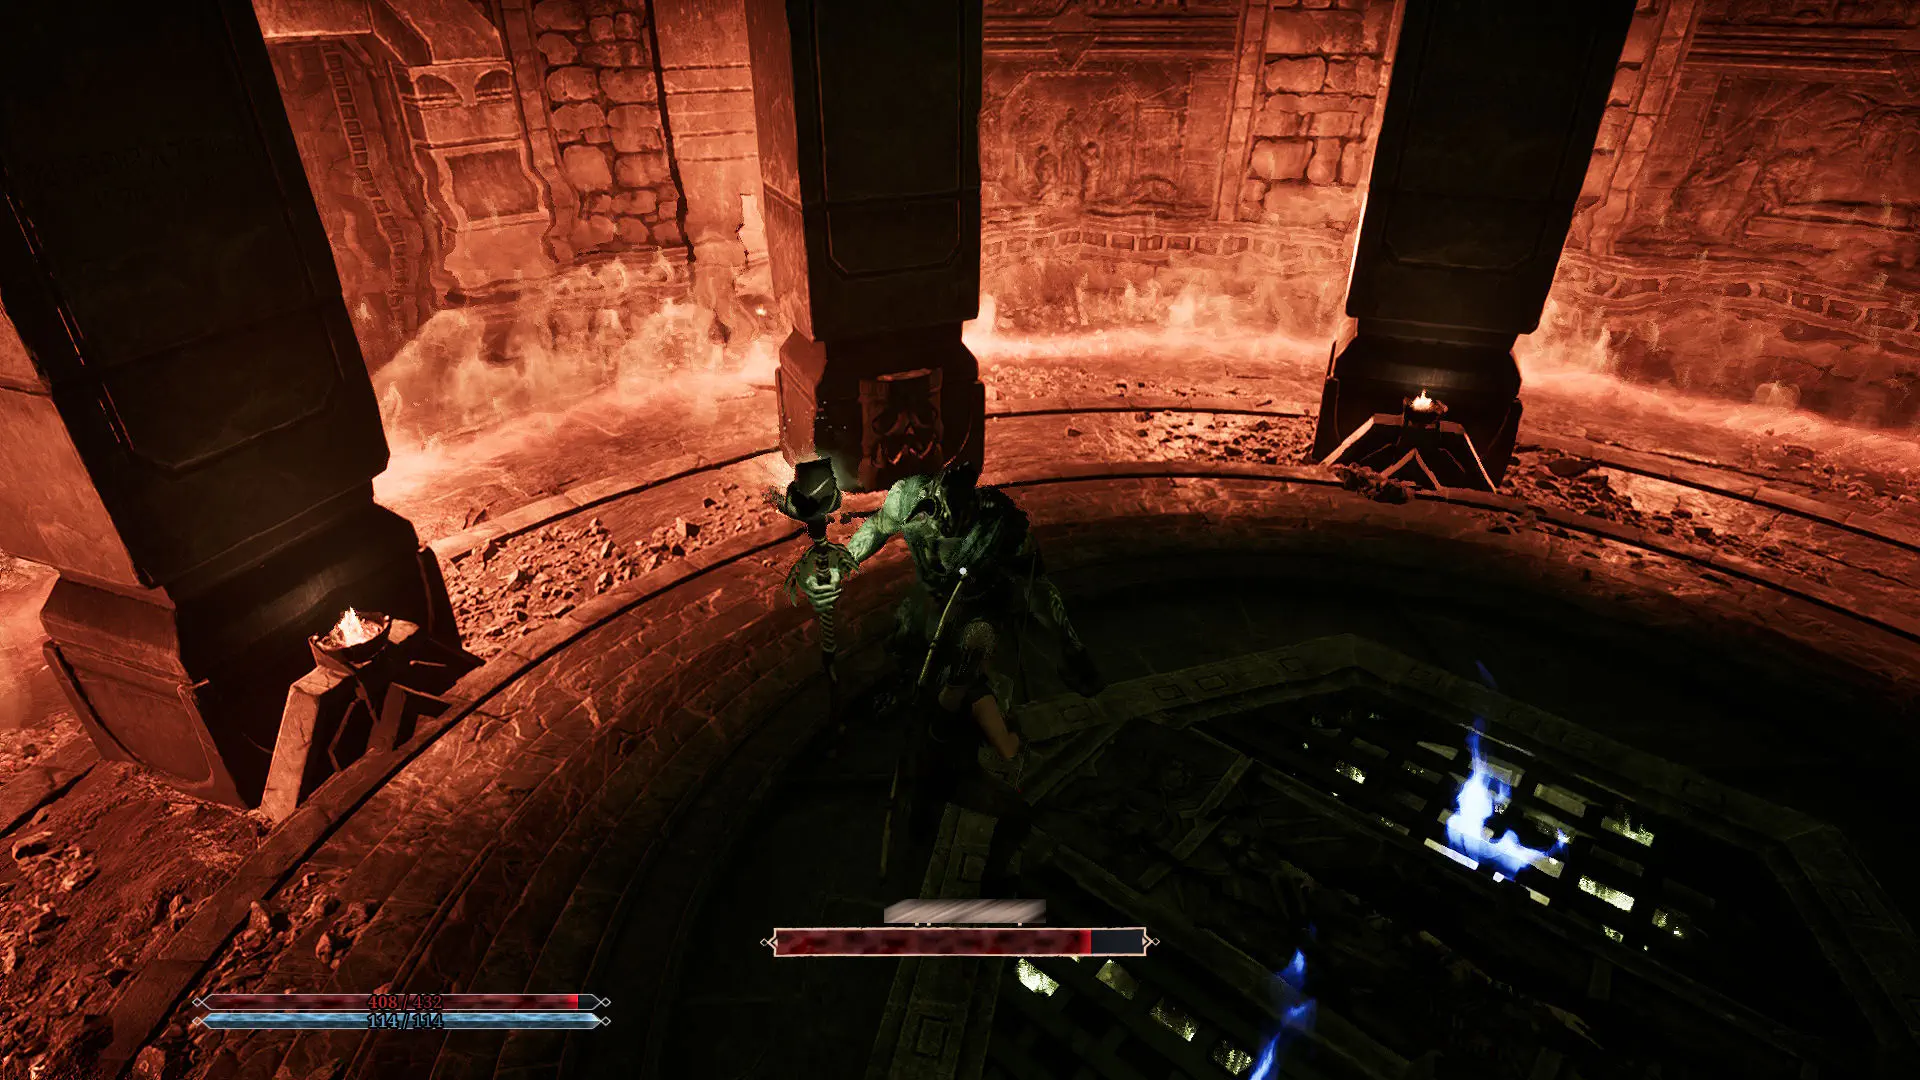
Follow the corridor and fight Varrag Hashor. The outer edges of the arena are engulfed in flames, so stay near the center. Defeating him yields a Pyrokinesis rune, the Worldcleaver quest item, and 8,000 XP.
Gothic 1 Remake Walkthrough

Gemstone 3: Timesplinter

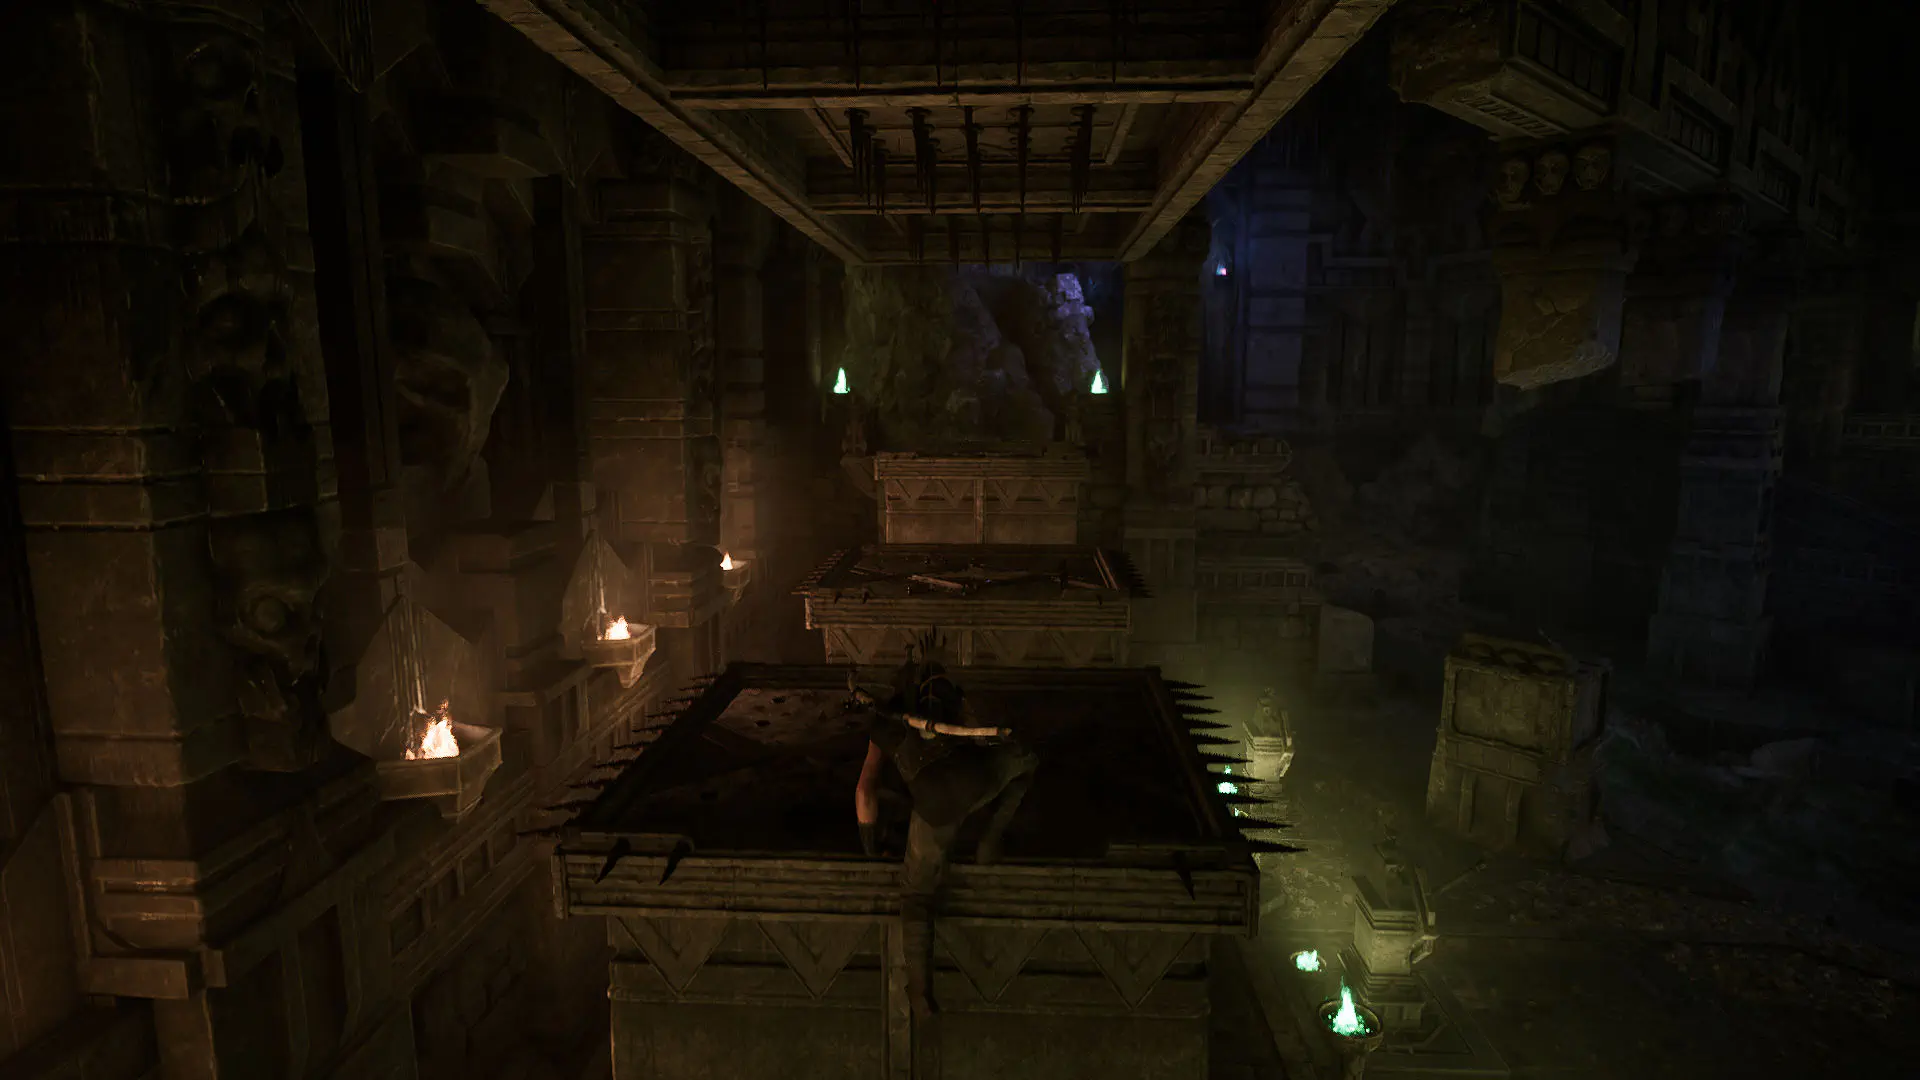
Return to the platforms controlled by the levers. Pull the left lever first, followed by the middle one. While the platforms are descending, quickly jump across them and one stationary platform to reach the other side. Do not jump from the last platform. Just run forward, or you will hit the spikes on the ceiling.
Gothic 1 Remake Walkthrough
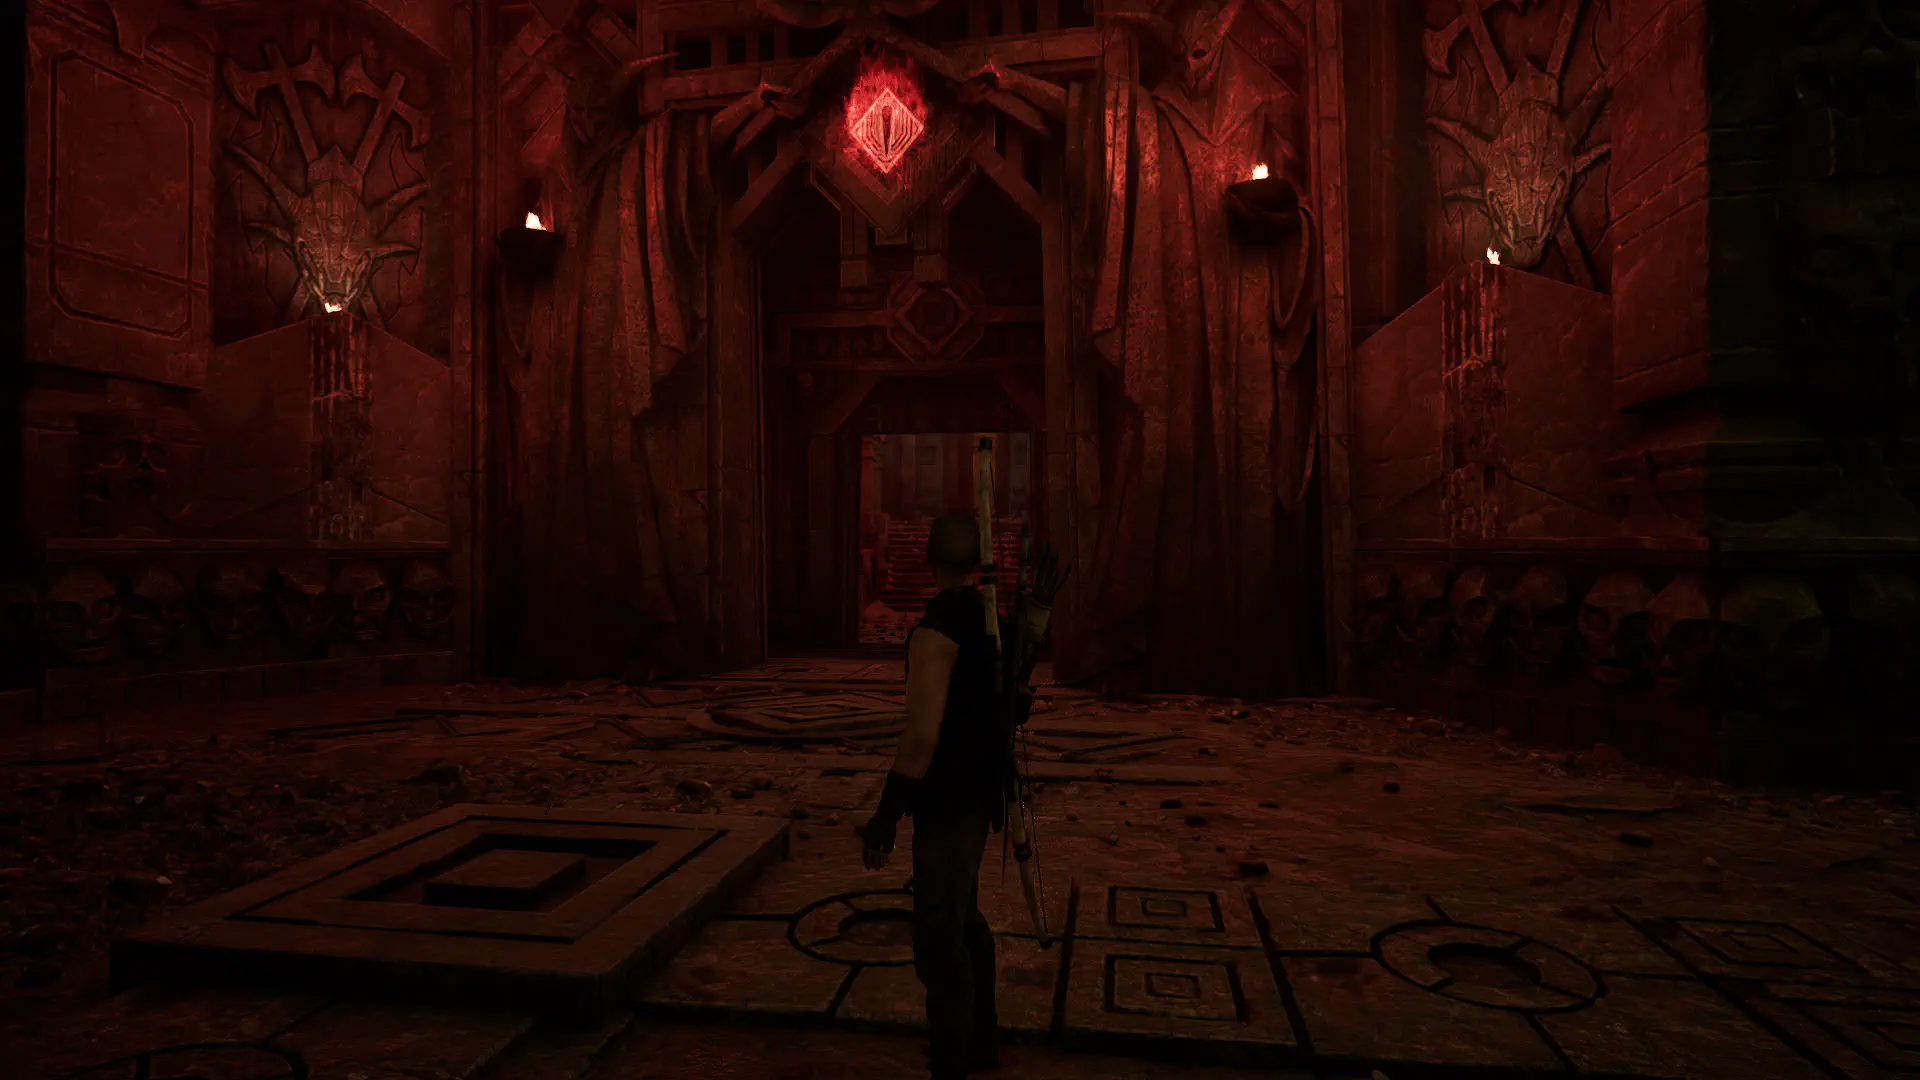
Follow the corridor, kill two guards, and shoot the red rune on the door to your right.
Gothic 1 Remake Walkthrough
Defeat Varrag Unhilqt for 8,000 XP. Loot the corpse for the Chain Lightning rune and the Timesplinter gemstone. Do not forget to enter the next room and collect a Summon Golem scroll.Return to the corridor and go down the stairs ahead. After killing the enemies, look for a cave on the left. You can cut through the webbing to create a shortcut to the main hall. Turn right and follow the passage until you reach a red barrier.

The Two Rooms and the Blood Puzzle at the Red Barrier

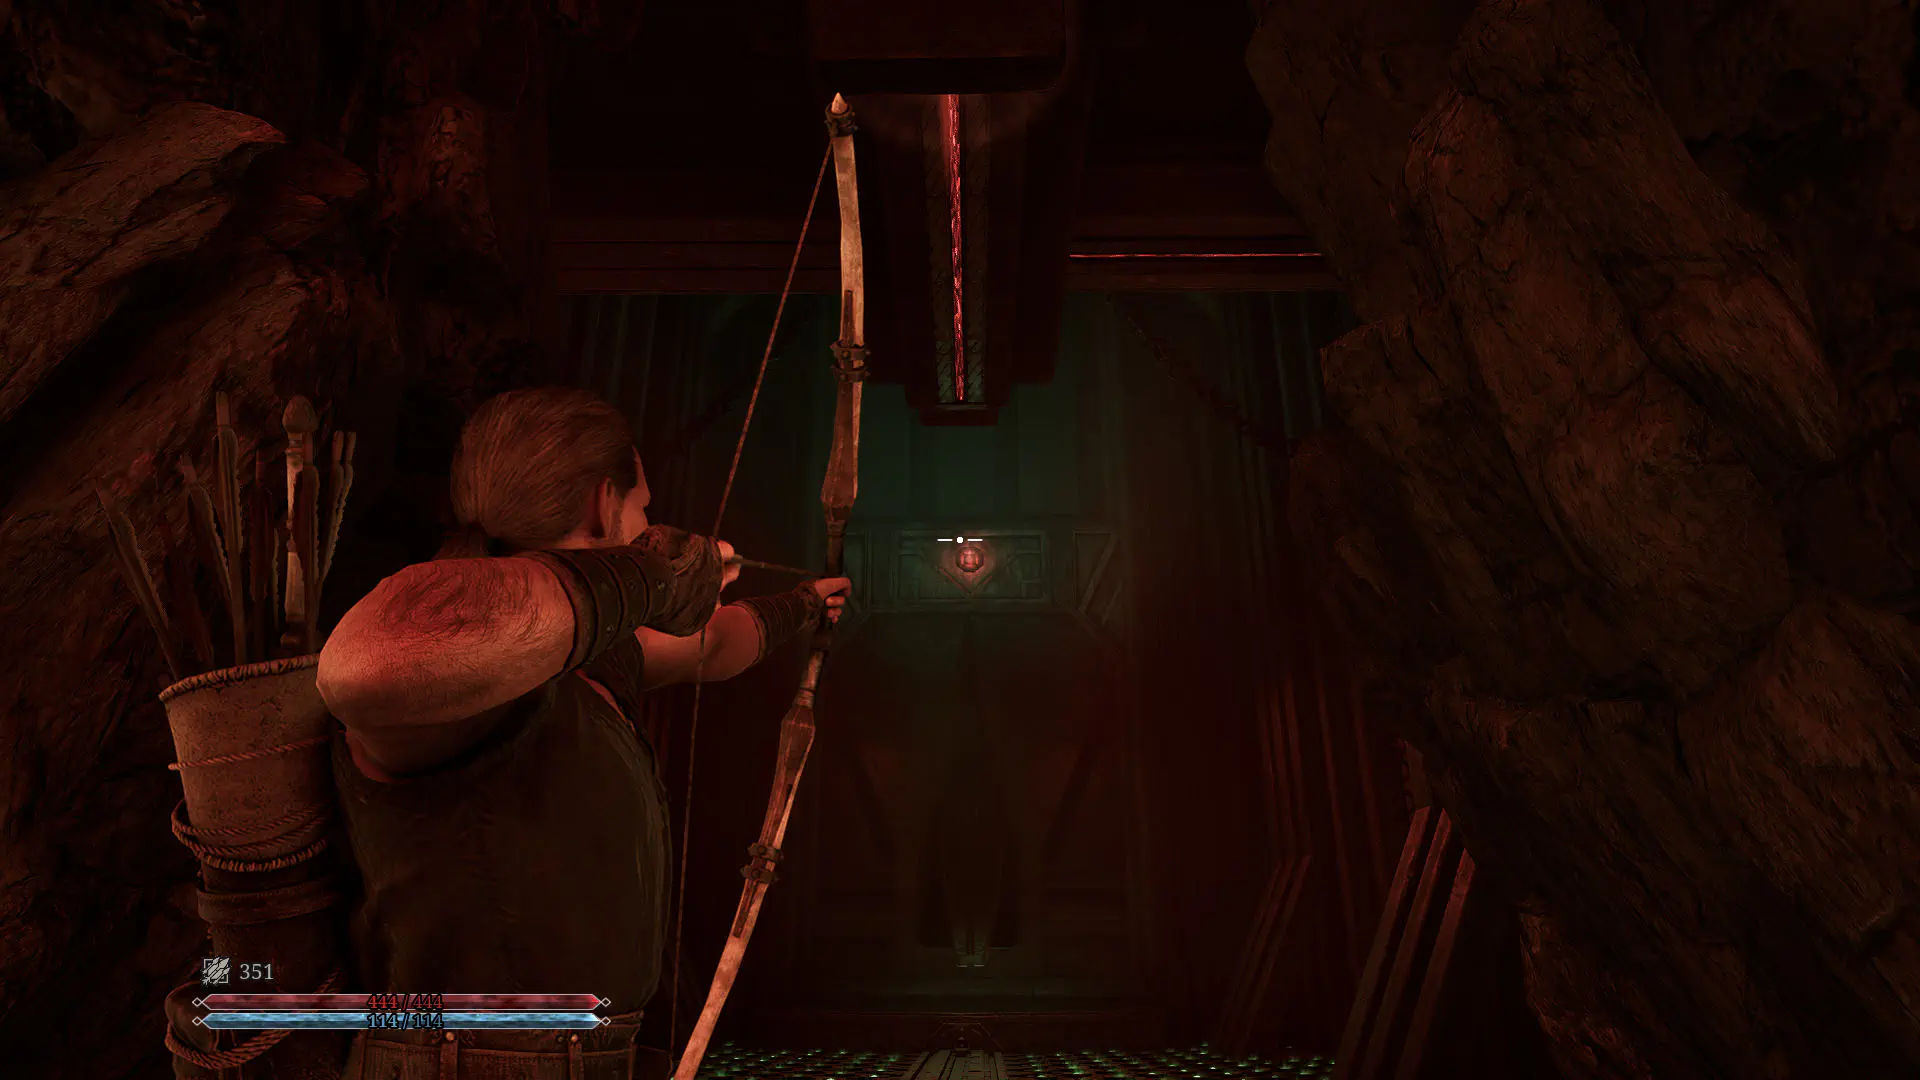
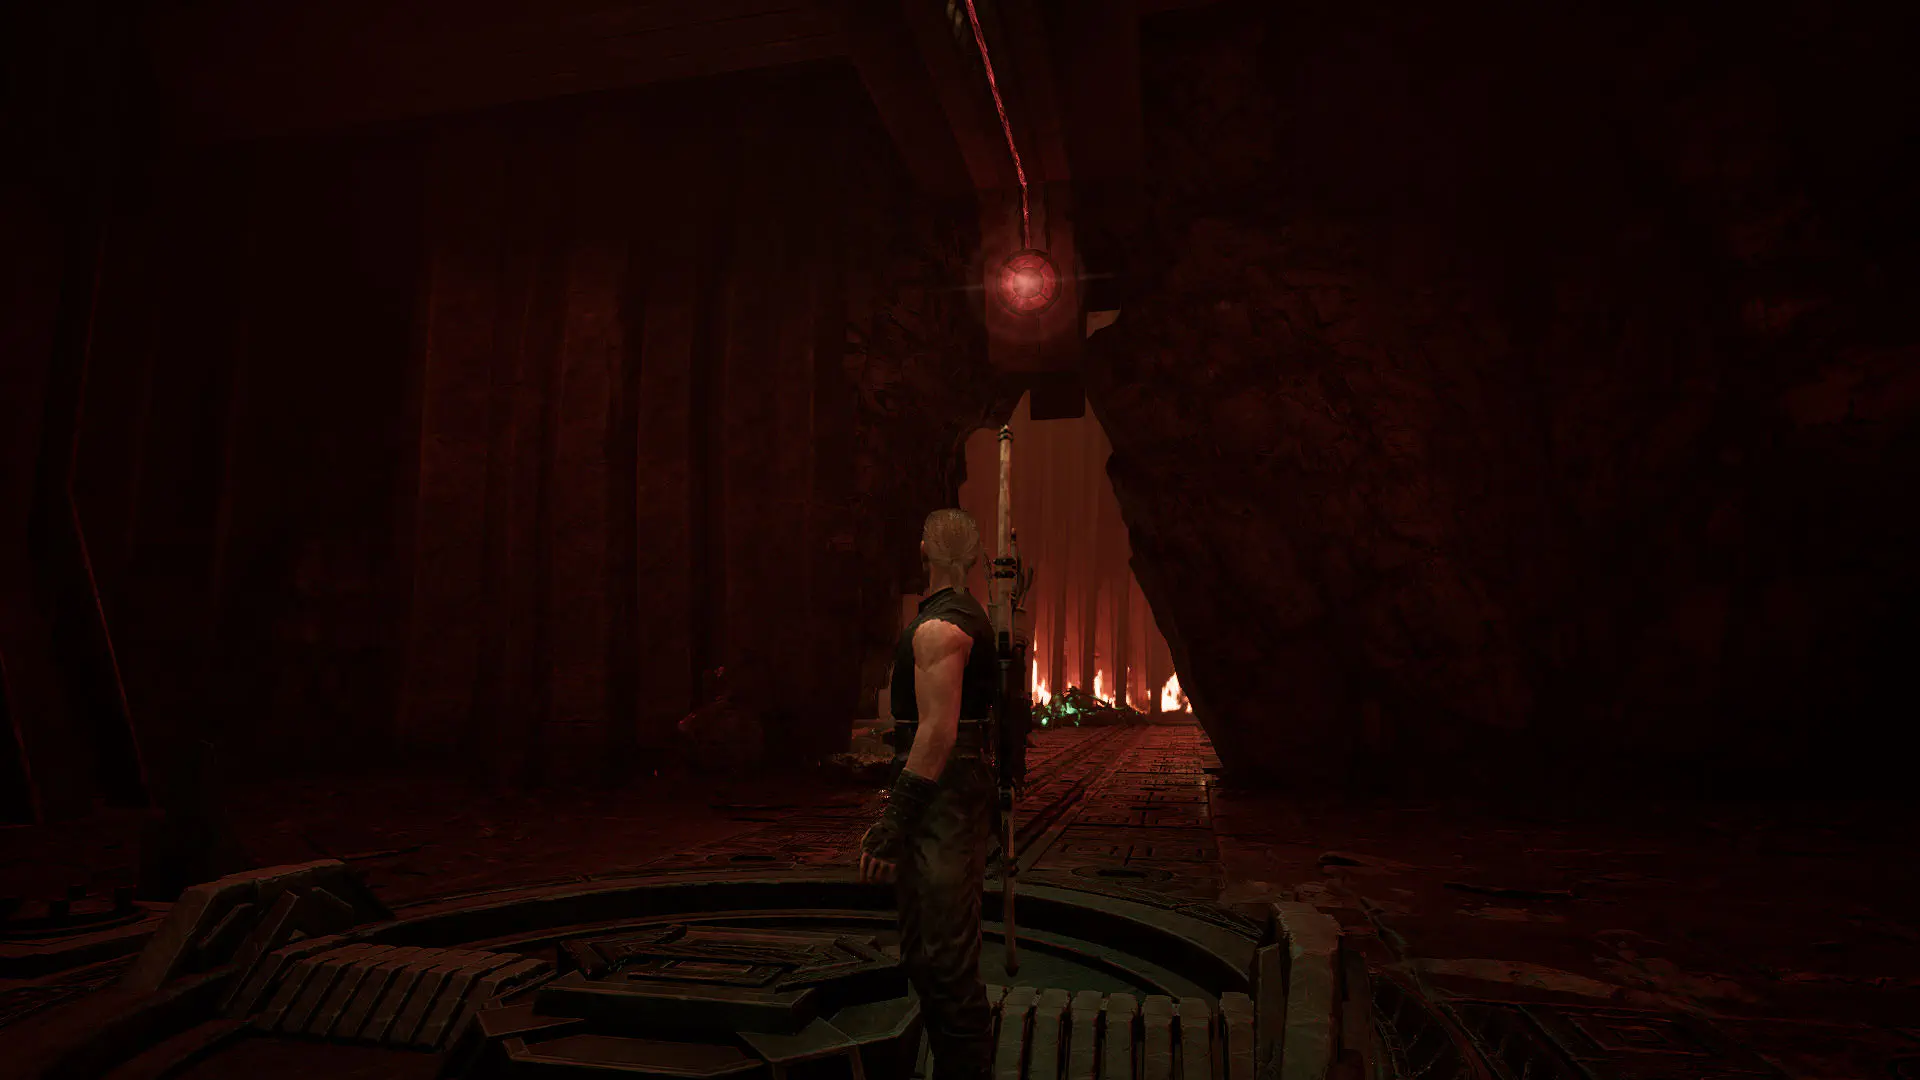
There is no point going left, as the spikes will kill you. Turn right instead. Once you enter the room, turn around and look up above the doorway. Shoot the red button with your bow.
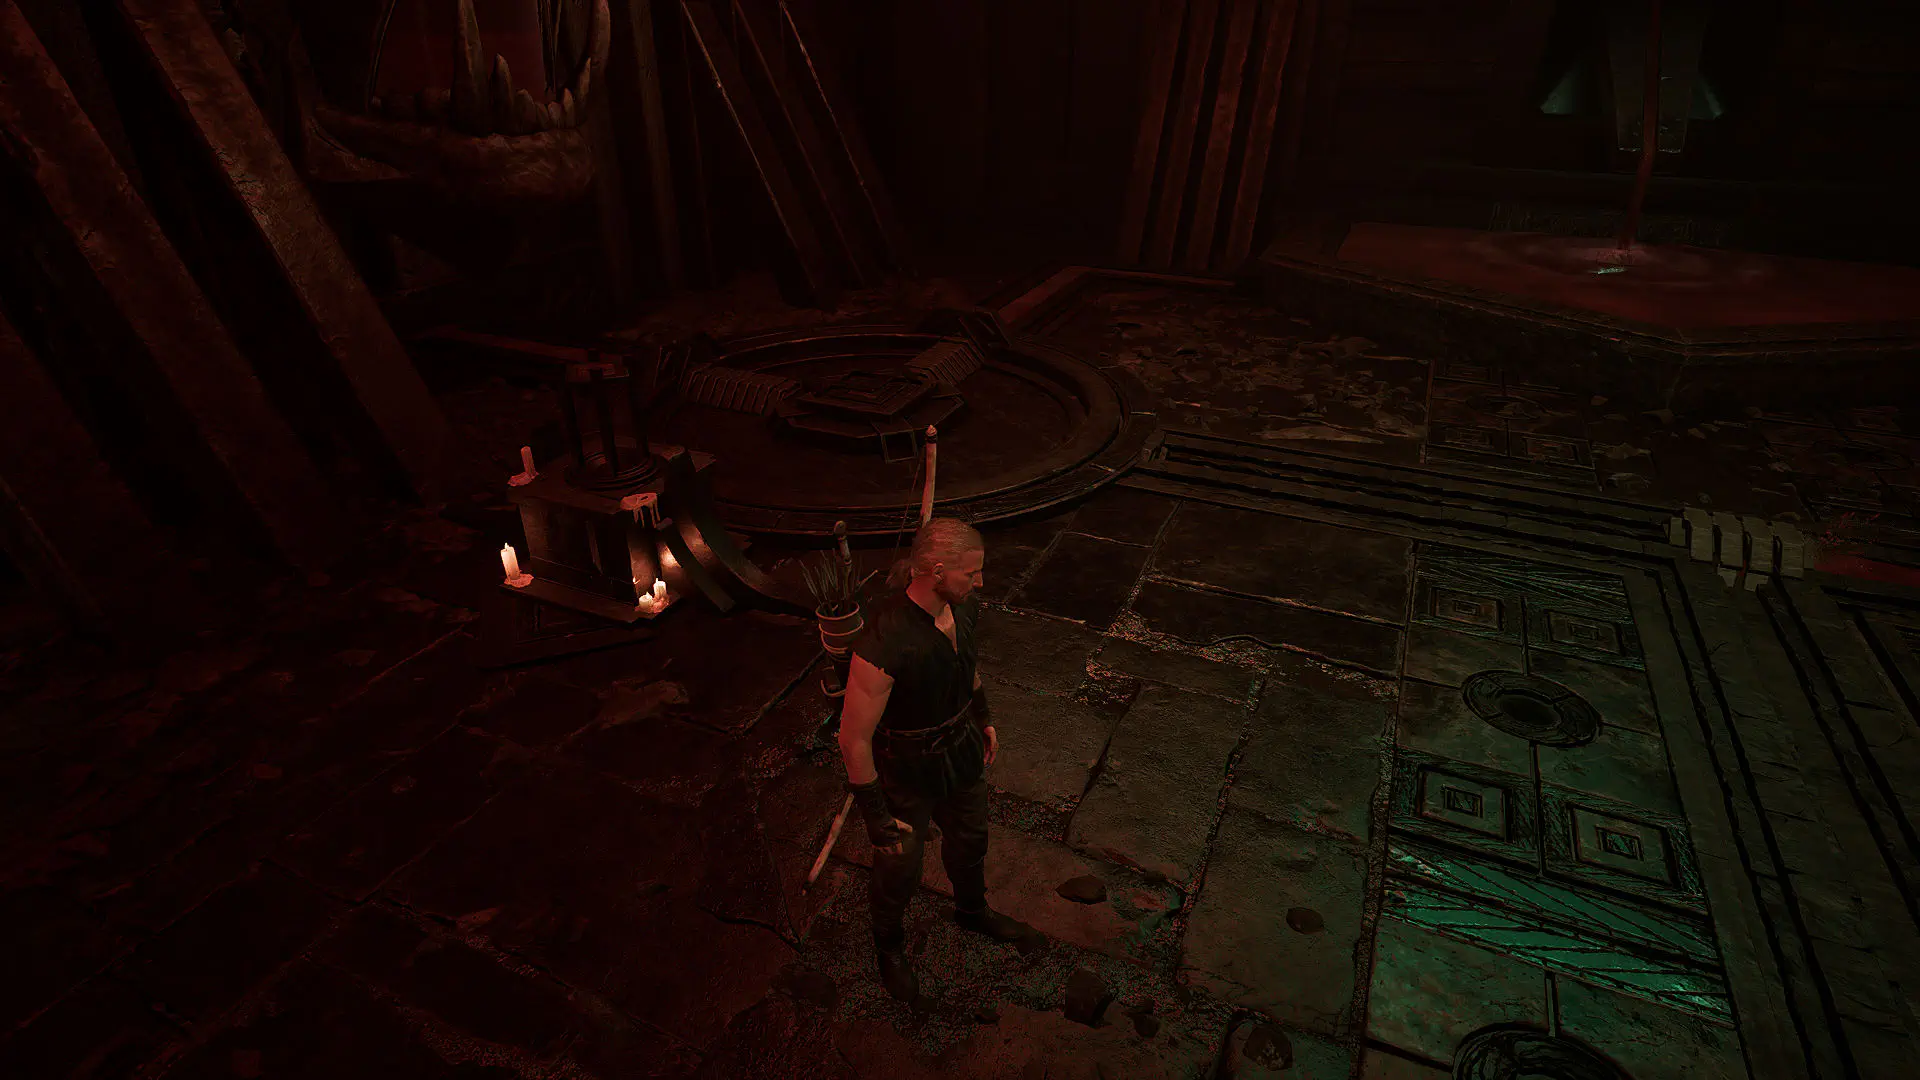
Gothic 1 Remake Walkthrough
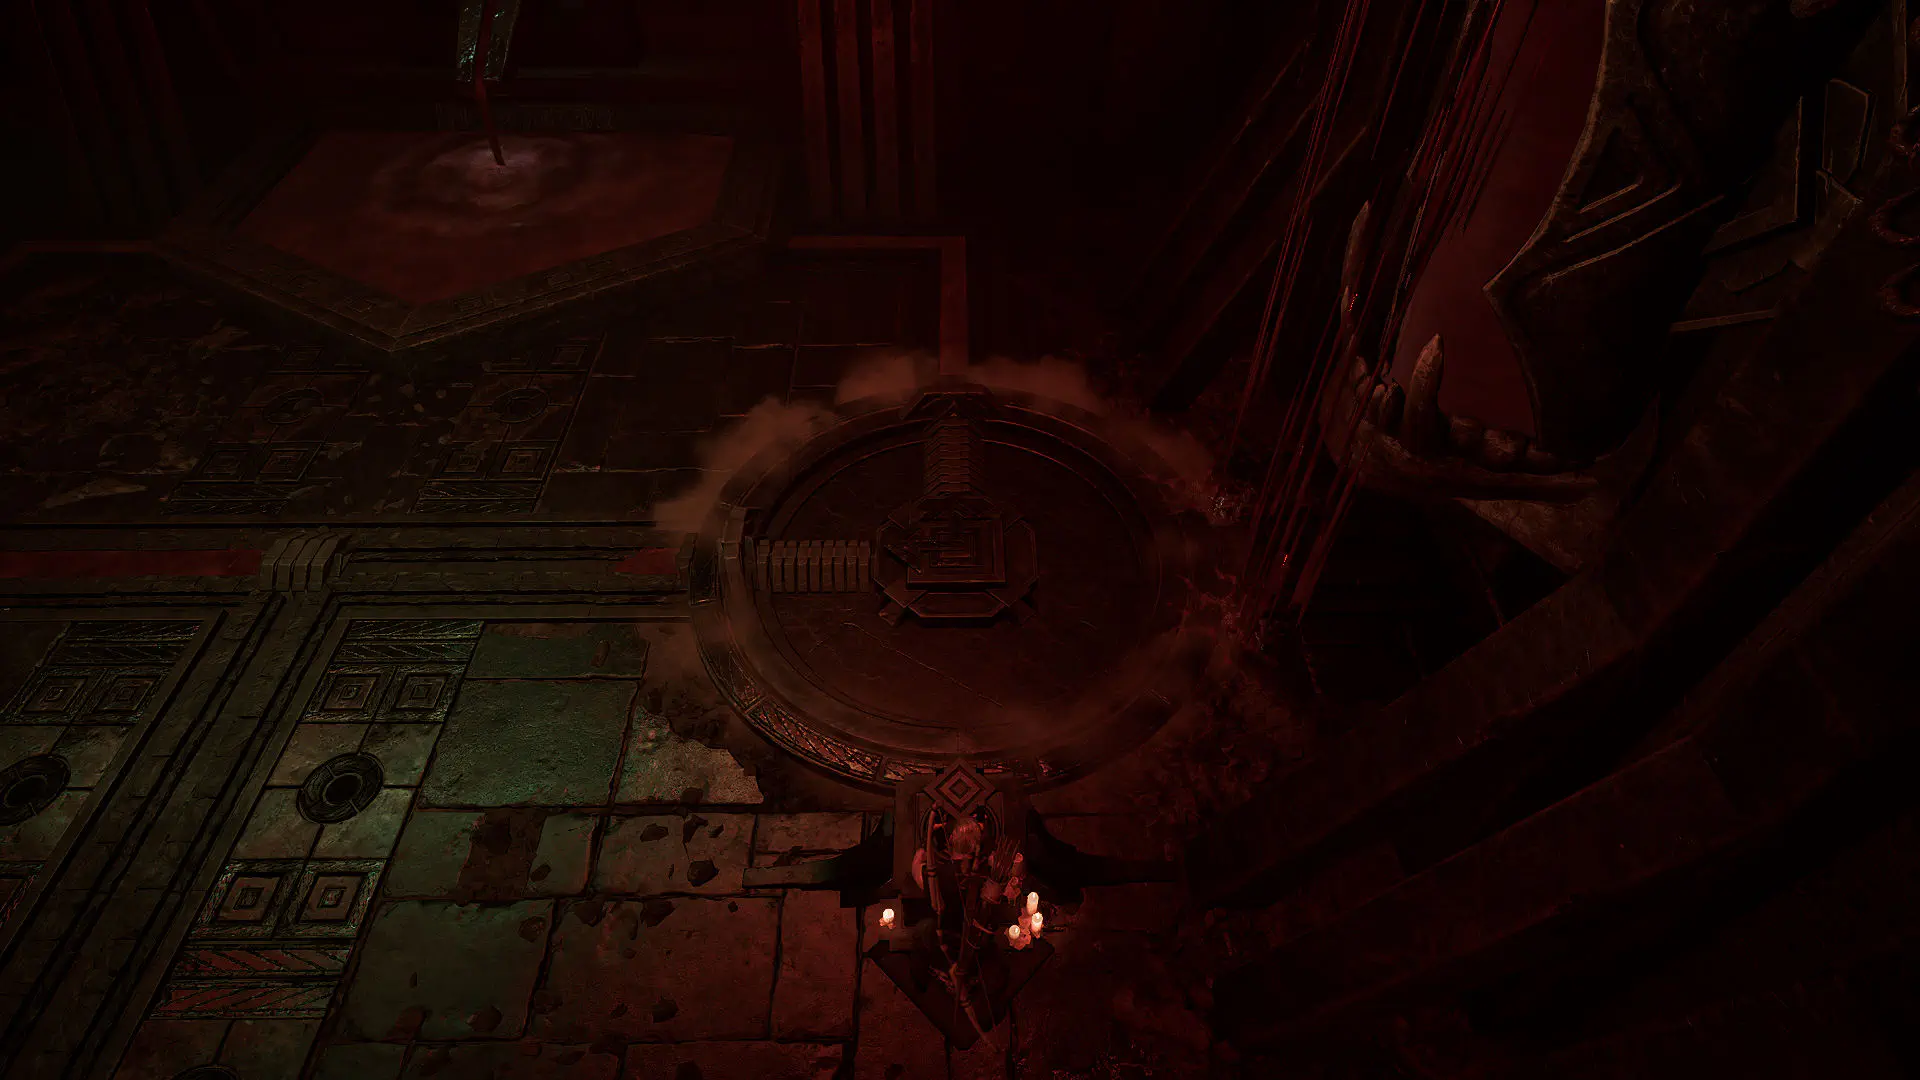
Blood starts flowing from the main fountain. Rotate the two plates so that their L-shaped channels direct the blood to the skulls on the left and right.
Gothic 1 Remake Walkthrough
Once the vessels are filled, a control panel appears beside the third circle. Rotate the previous two circles again to direct the blood toward the third panel. Then turn the third circle so that the blood flows into the room with the red barrier.
Gothic 1 Remake Walkthrough
Enter the trap room. Look forward and up, then shoot the red button.
Gothic 1 Remake Walkthrough
The spikes will be disabled. Continue forward, turn around, and shoot the red button above the doorway.
Gothic 1 Remake Walkthrough
A recess opens on the left. Pull the lever inside to send the blood from the fountain into the central chamber with the red barrier.
Gothic 1 Remake Walkthrough
Once blood flows in from both rooms, return to the barrier and interact with the pedestal. After the cutscene, kill the Fire Demon and the barrier disappears. You receive 500 XP.
Gothic 1 Remake WalkthroughGothic 1 Remake Walkthrough
Gothic 1 Remake Walkthrough
Gothic 1 Remake WalkthroughGothic 1 Remake Walkthrough
Gothic 1 Remake Walkthrough

Gemstone 4: Fiendeye and the Strange Sword

Pass through the vanished barrier. First, kill the guards and turn right. Once inside the cave, climb the slope, defeating the three Demon Lords in the rooms on the right as you go.
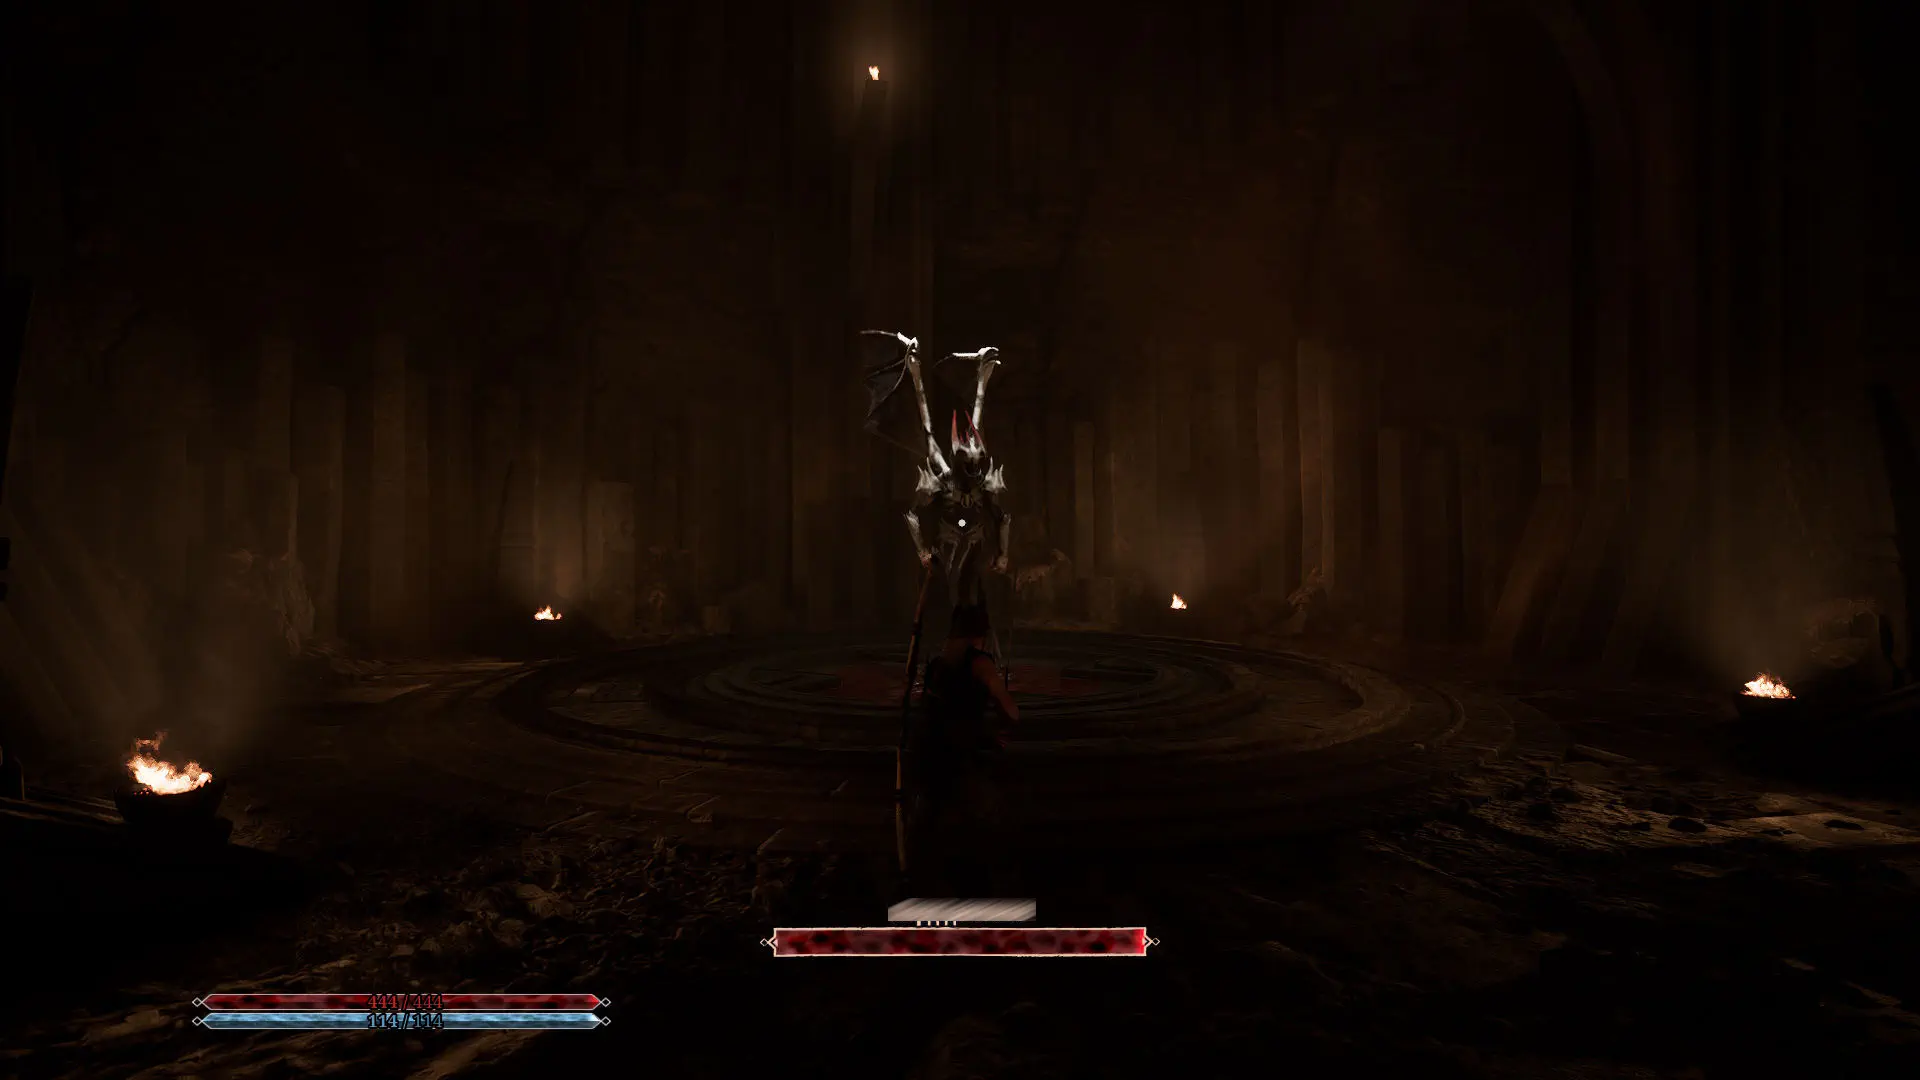
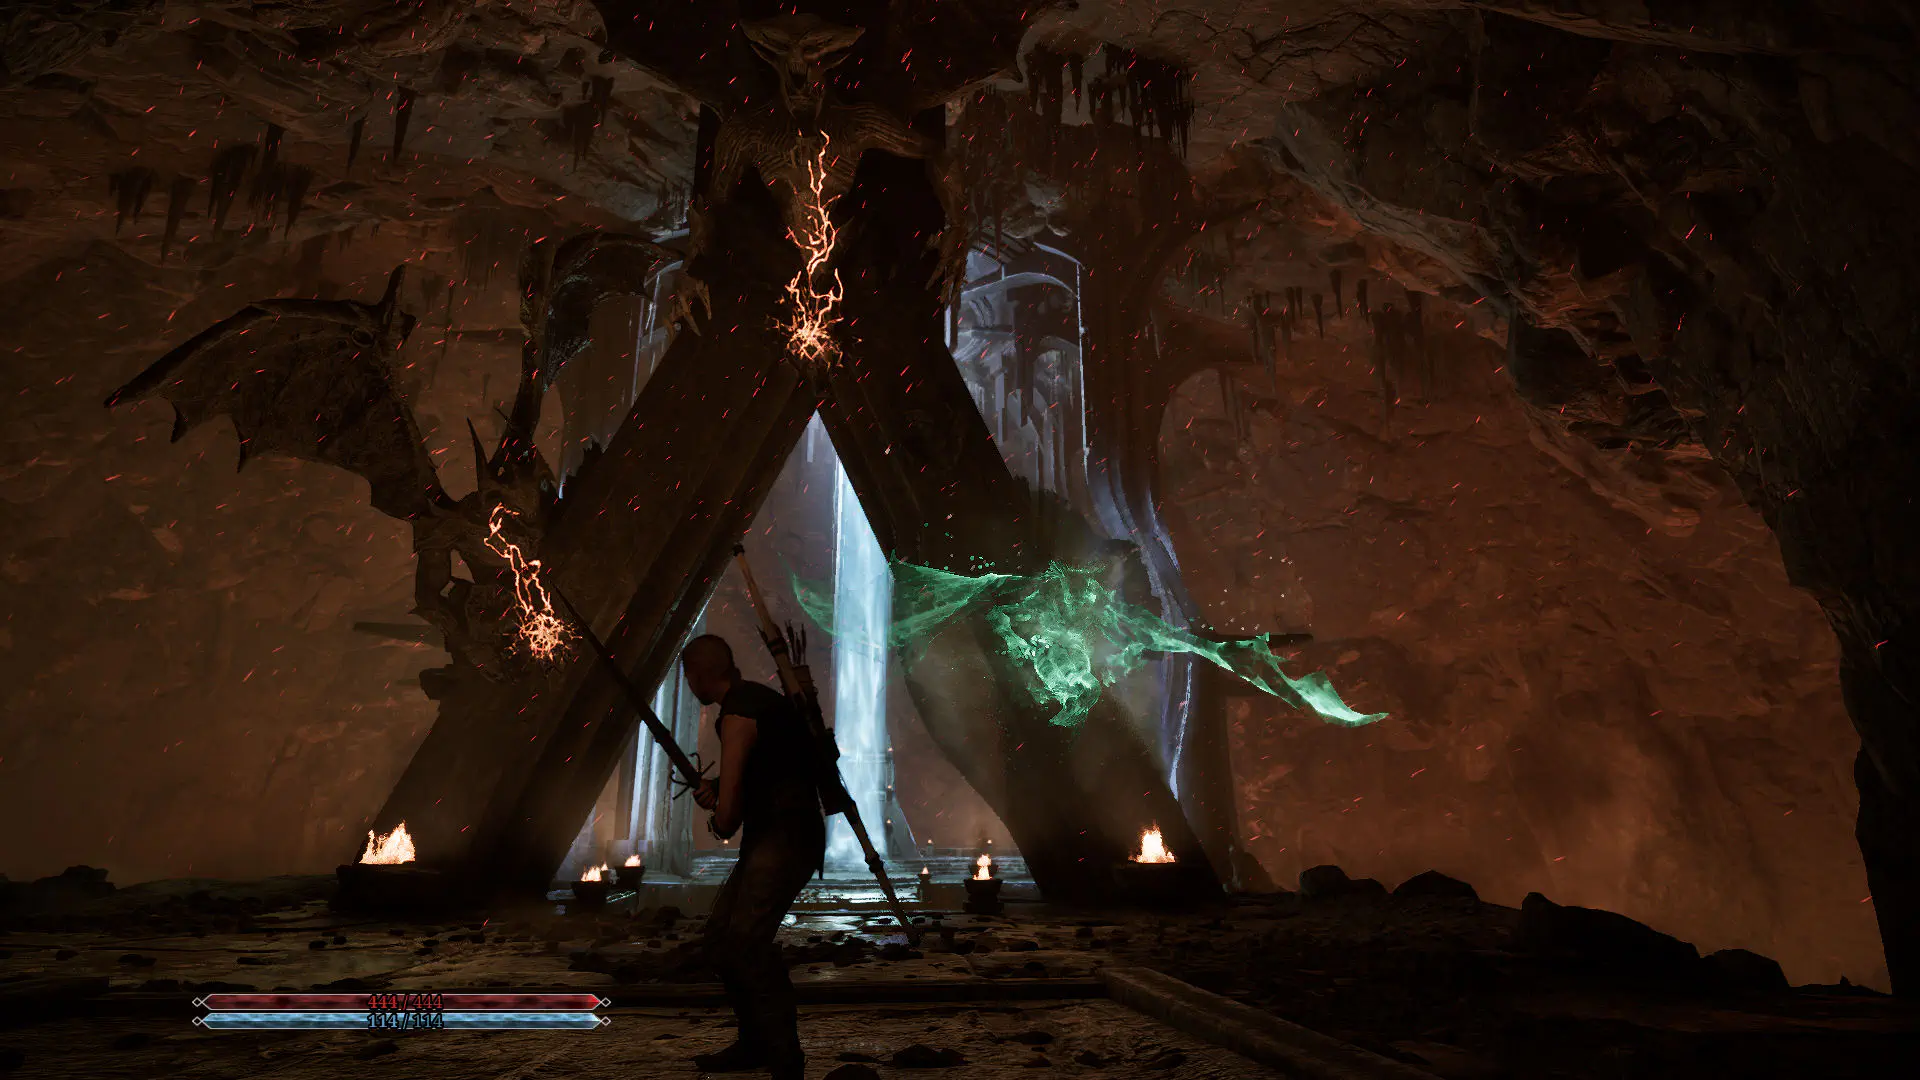
Gothic 1 Remake Walkthrough
The three souls power the gate above, letting you cross the bridge to the central platform. Kill Varrag Ruuushk to obtain the Fiendeye gemstone and a Storm of Fire rune.
Gothic 1 Remake Walkthrough
You can also pick up the Strange Sword in the center of the arena. You will need to show it to Xardas. Only one gemstone remains.

Gemstone 5: Banstone

Return to the intersection beyond the red barrier. Stand with your back to the opening where you originally passed through that barrier. Go left, drop down, then follow the tunnel with the channel to your right. You reach a room with a furnace-like mechanism. Rotate it counterclockwise to release the lava. Walk around the mechanism on its right side, using the path along the wall rather than circling the furnace itself. This reveals a corridor where the lava used to be. Follow it. A door on the left opens using a pressure plate, and you can loot that room if you wish.Ahead are several ledges. Jump up them and turn the wheel to lift the grate and create a shortcut. From the room containing the wheel, head upstairs. Search the rooms to the left and right, then turn the wheel to the right of the large gate to raise it.
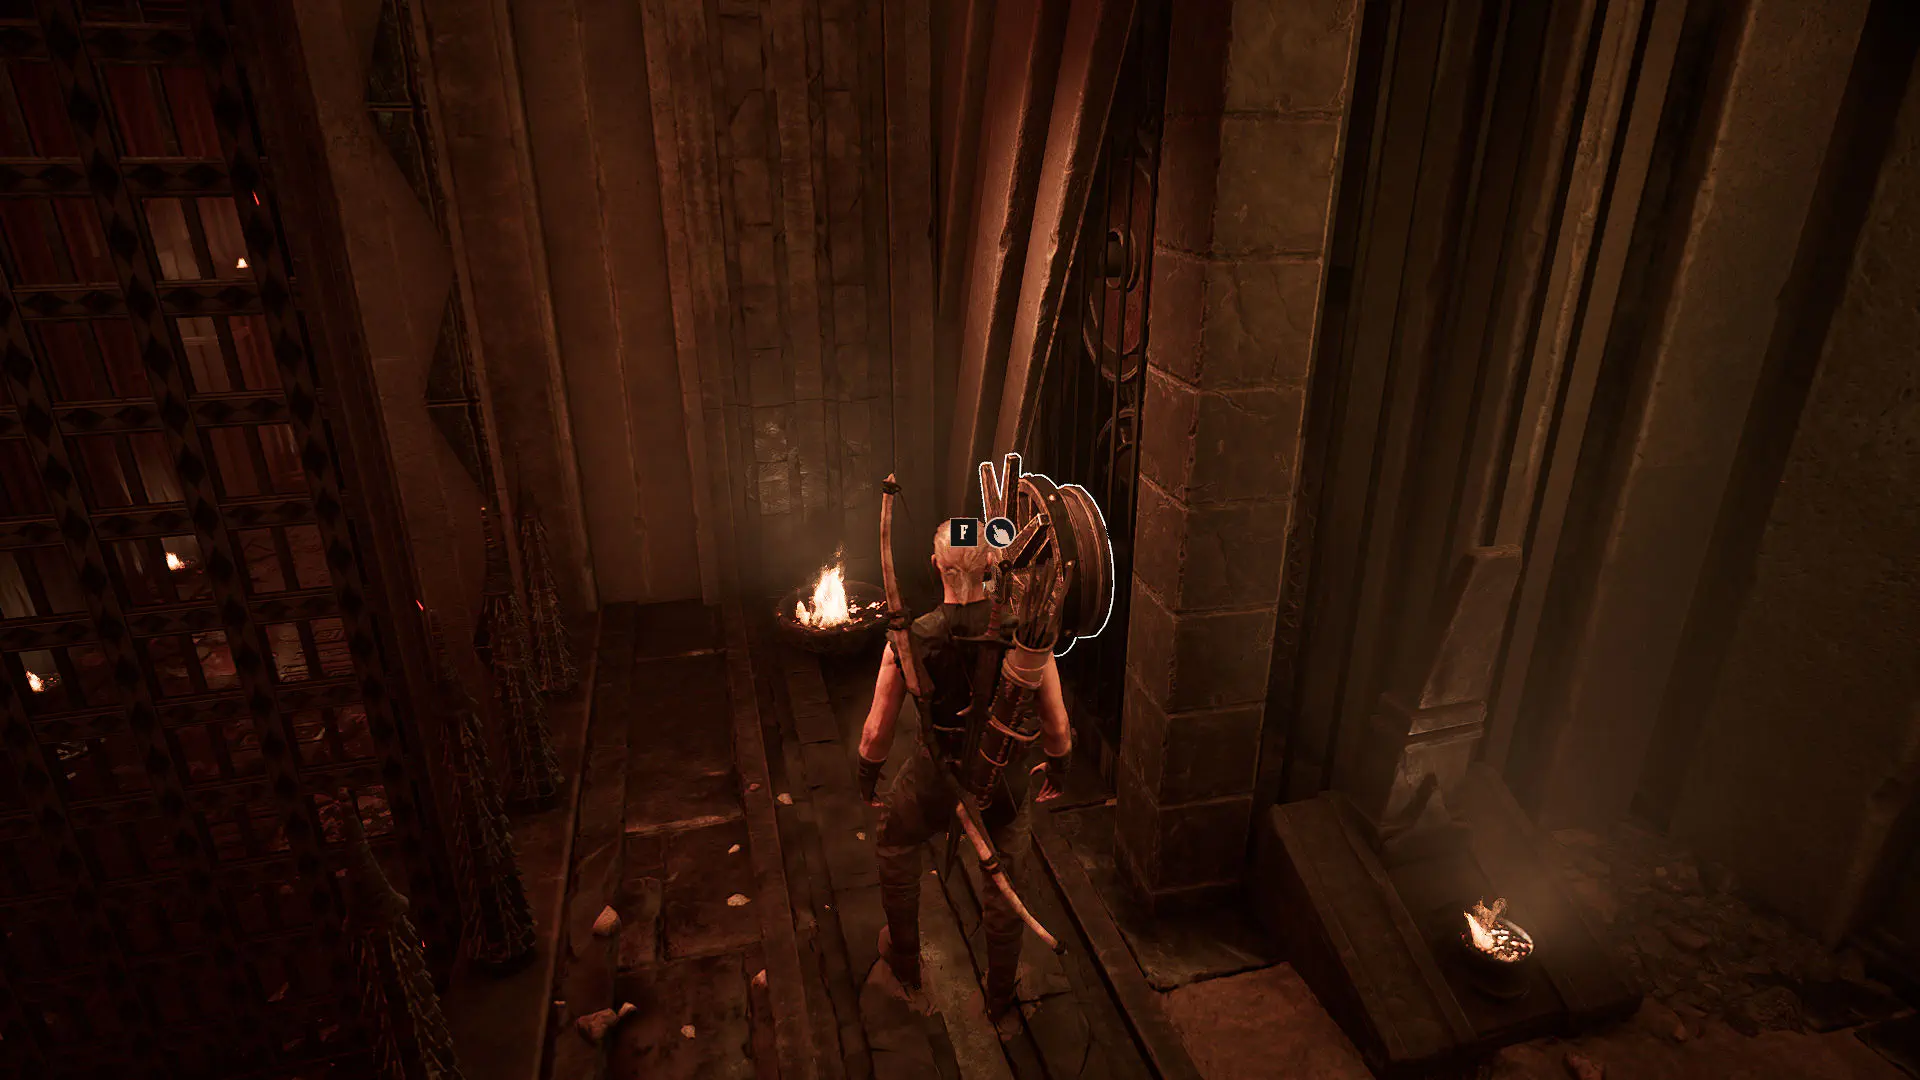
Gothic 1 Remake Walkthrough
Pass through the gate, collect any remaining loot, and approach the enormous red barrier where the Sleeper waits. Here you will fight the fifth Orc Shaman, Varrag Arushat. Defeating him grants 10,000 XP. Loot his body for the Banstone gemstone and the Breath of Death rune.Once you have all five gemstones and the Strange Sword, teleport to the necromancer Xardas. He reveals that the sword is Uriziel. Continue the conversation. If you collected all five stones, the quest ends and you receive another 2,000 XP. You can also ask about better armor. Xardas recommends taking Gomez's armor and suggests using a teleportation rune to reach the castle without fighting your way in. That rune is still in his former tower.

Uriziel

Travel to the New Camp, enter the Water Mages' quarters, and speak to Milten. He agrees to help, but first you must secure Gorn's support. Find Gorn near his hut inside the New Camp cave. He agrees on the condition that no one is killed.Talk to Milten again and follow him. You will have to deal with one guard, but do not kill him. Once you reach the Ore, you encounter Saturas. If you were honest with him earlier about finding Xardas, choose the third dialogue option, explaining that your enemy is the Sleeper, and he will calm down. Otherwise, you may need to fight Saturas. Watch the cutscene, then listen to Milten to finish the chapter.

Sign in to leave a comment or rate this post.

Comments

Be the first to comment!