
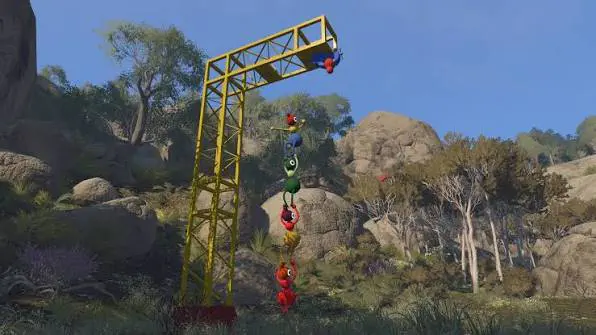

Green Tower: All Puzzles and Solutions
Go past the Red Tower and return to the spot where you solved the cannon-and-timer puzzle. The challenge with the coordinates 4166, 1899 is nearby, making it a useful place to start working toward the Green Tower.Orange Barn Puzzle
Press the buttons beside the two doorways to unlock the collectible. Unfortunately, this also traps the players inside the building.The player near the collectible must find a second set of switches built into one of the columns. Activate the switch to reveal a sample pattern made of different tiles. The catch is that you can't speak directly to your teammate during this puzzle.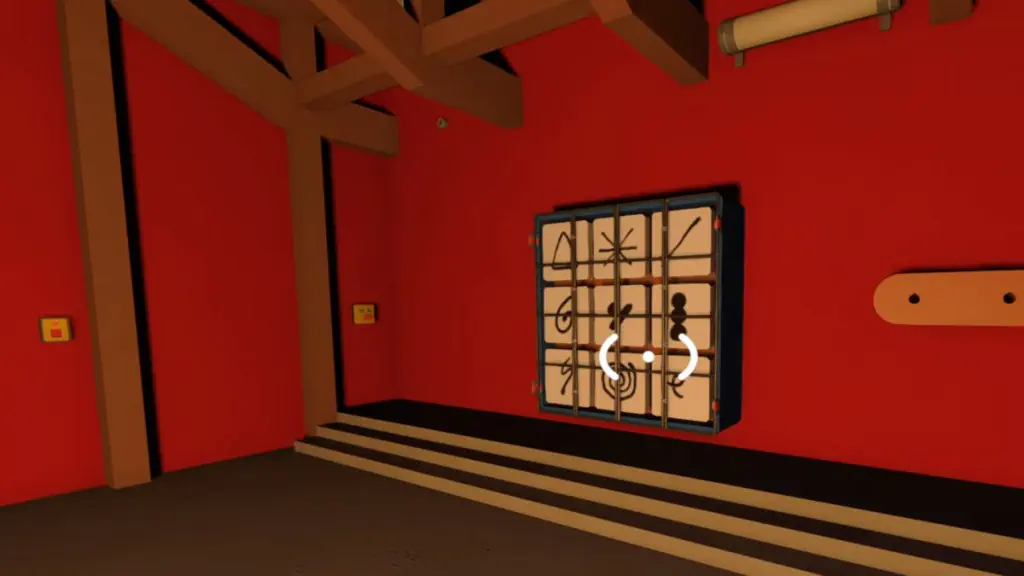
4166, 1899 Coordinates Puzzle
In this area, you'll find another collectible locked inside a container. Leave one player beside it, ready to take the reward as soon as the container opens. The second player needs to use the map to travel to the coordinates 4166, 1899, in the southern part of the island.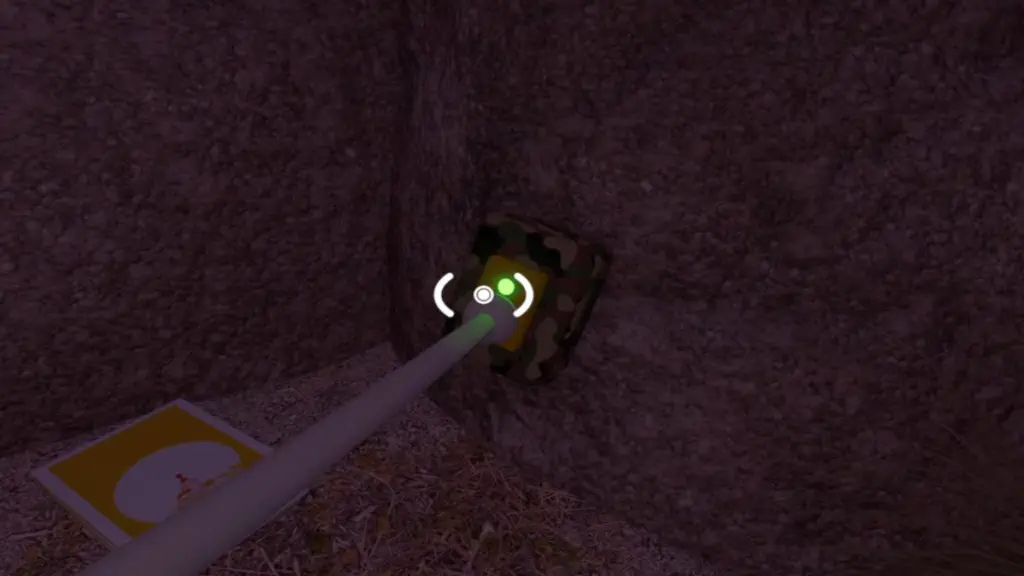
What Do the Numbers 4166, 1899 Mean?
The numbers are coordinates on the island's map. They won't help much until you have a map with the coordinate grid. That's why it's best to complete the Red Tower first. Its key unlocks the Map Room near the starting area, where you can pick up the folding map.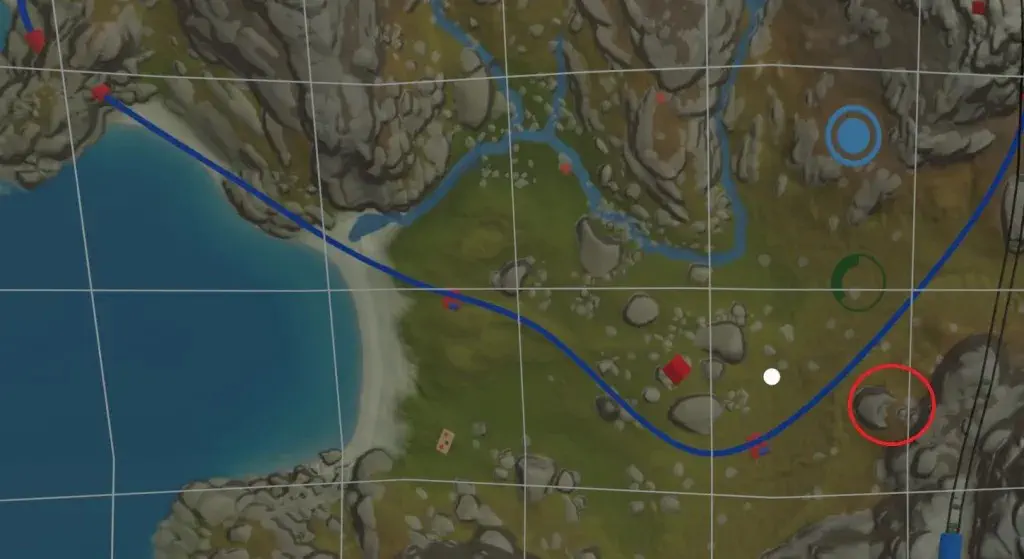
Where to Find the Hidden Button
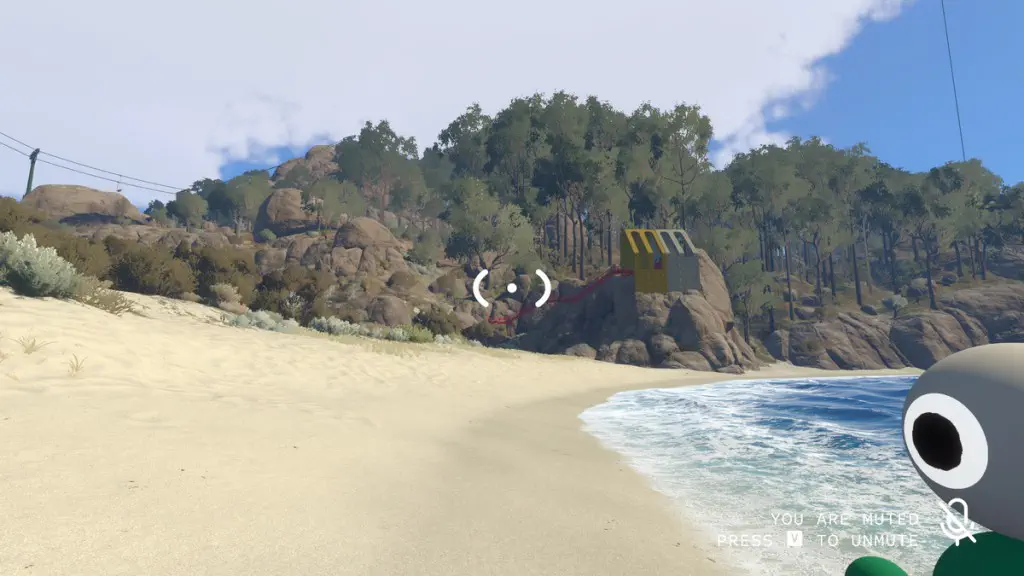
Once you reach the target area, inspect the rocks carefully. The location is in the southern part of the island, between a curve in the railway and the point where the chairlift enters a tunnel. A small button is concealed directly against the rock face. It blends into the surroundings, so inspect the stones from several angles.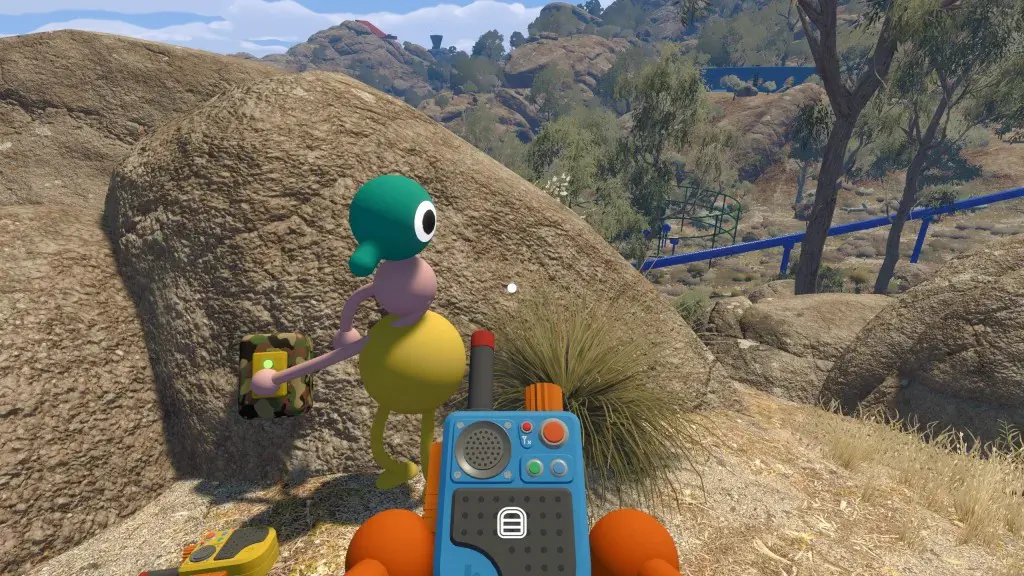
How to Open the Container
You'll need at least two players:- Leave one player beside the locked container holding the blorb.
- Send the other player to coordinates 4166, 1899 to find and hold the hidden button.
- While the button is held, the container opens. The waiting player can collect the blorb and complete the puzzle.
Tips for the 4166, 1899 Puzzle
- Unlock the Map Room by completing the Red Tower first. Without the map, locating the coordinates is much harder.
- Head directly to the target instead of getting distracted by other puzzles on the way.
- If you can't find the button, inspect every nearby rock. It's deliberately camouflaged.
Blue Signal Panels Puzzle
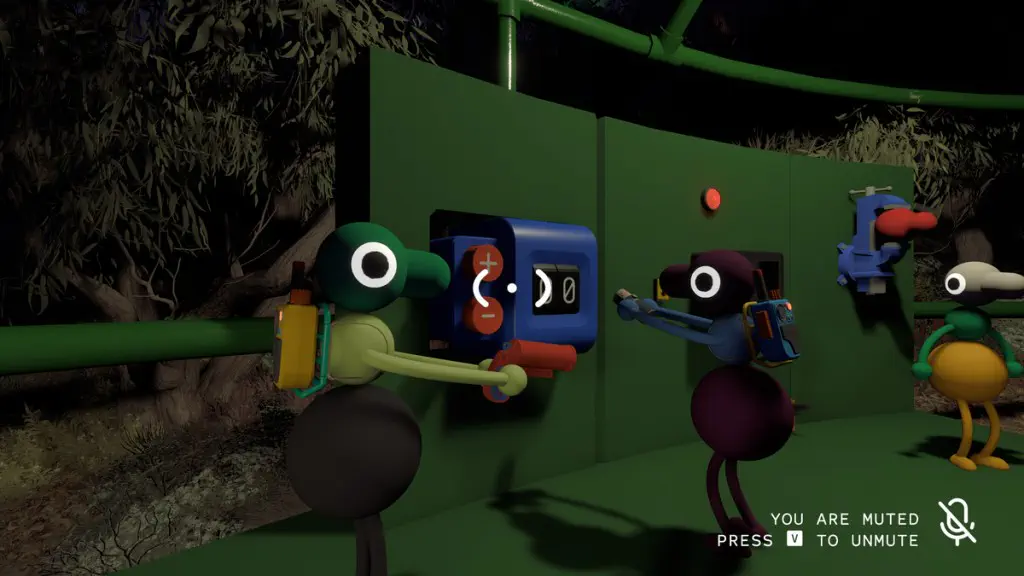
Near the previous switch is a green structure with several blue signal panels, close to a wrecked train.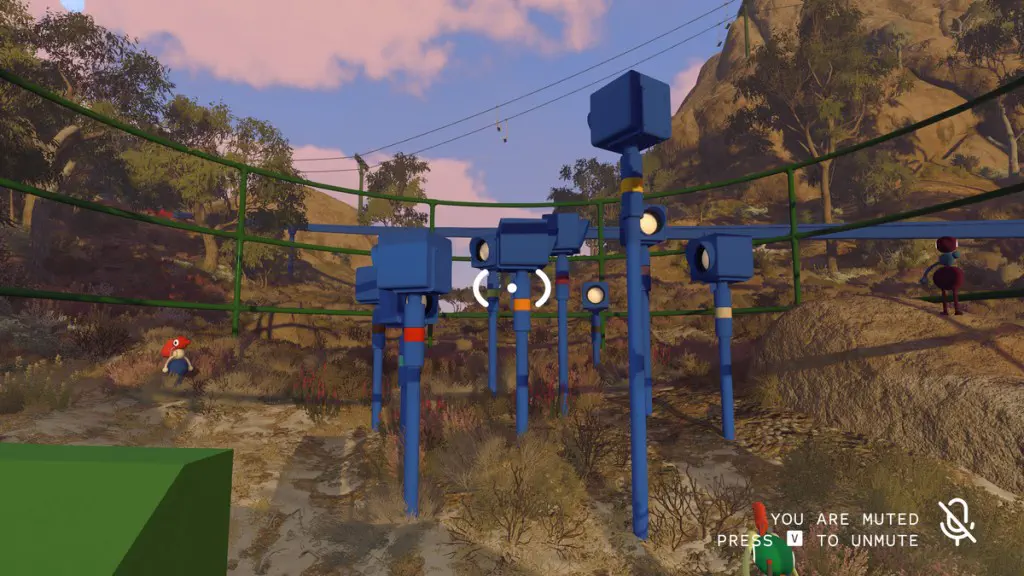
Yellow Stands Puzzle
Near the Green Tower itself, you'll find a round room containing several yellow stands. Approach the collectible and find the switch associated with the challenge.You must activate only the yellow stands that have a green element inside. Each correct choice increases a progress meter. Your goal is to fill it to 100%.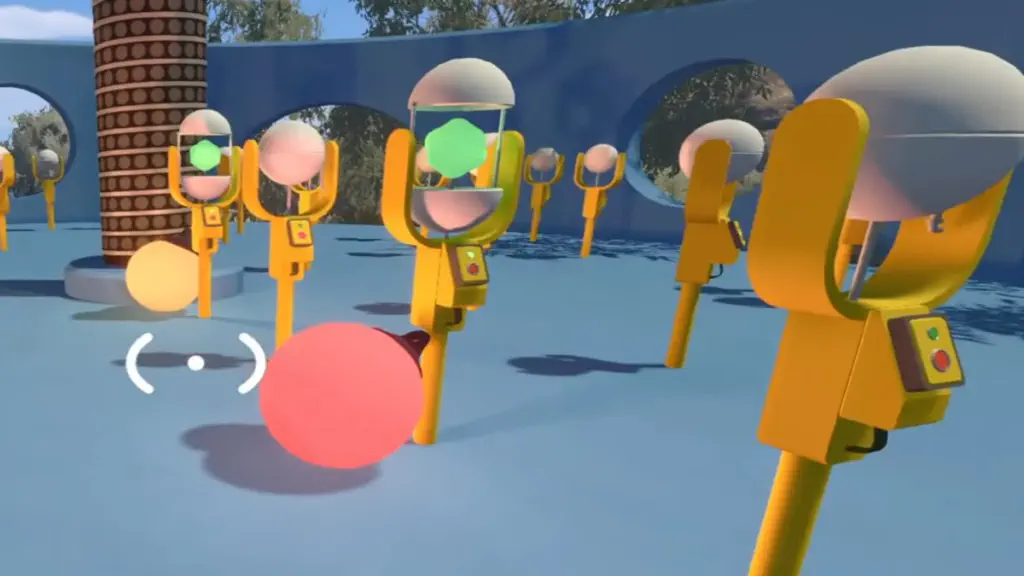
Beach House Puzzle
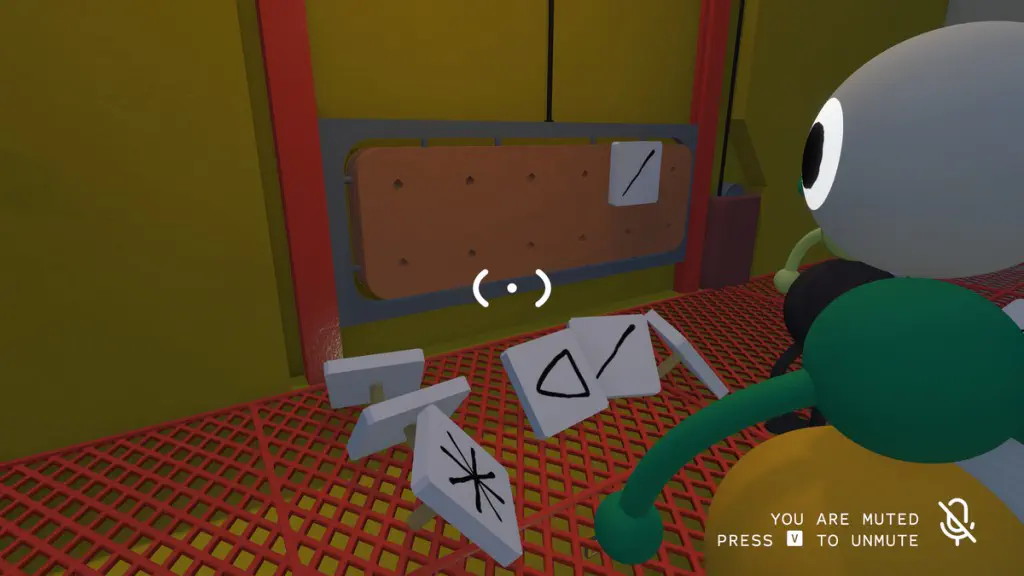
Near the Green Tower is a red platform that displays a set of coordinates. From there, head north toward the beach. You'll find two buildings on opposite sides of the area.One player should enter the farther beach house. Activate the switch on the ground floor to reveal a number of images. This works similarly to the blue signal panels puzzle. The switch itself is right beside the collectible.Remember the number of images, then head upstairs. Here you'll find tiles that let you communicate the number to your teammate. There are three types:- A triangle represents 10.
- A single line represents 1.
- A star represents 5.
Sign in to leave a comment or rate this post.
Comments
Be the first to comment!