Guides
Modern Warfare 4 All Collectible Locations: Intel, Notes, and Supply Crates

ChecklistCollectibles
0 of 13
Collectibles
- Mission 3: All Contraband and Four Notes
- First House: MP3 Player, Book, Rations, and Medicine
- Third House: Neighbor's Note and the Hideout Beneath the Kitchen
- Mission 10: Where to Find All 58 Notes
- Notes #1-8: Camp, Radio Tower, and Sewers
- Notes #9-17: Island Bunker and Southern Village
- Notes #18-23: Large Bunker and Red Railcars
- Notes #24-33: Jamming Station and the Northeast
- Notes #34-44: Ruined House, Road Sign, and Hidden Caches
- Notes #45-53: Logistics Station 100 and Missile Position
- Notes #54-58: Equipment at Base Camp
- Where to Find All 26 Yellow Supply Caches
- Caches #1-10: Southern Part of the Map
- Caches #11-20: Jamming Station and Central Hideouts
- Caches #21-26: Island, Lift, and Northern Road
- Mission 13: Two Notes and Gaz's Dog Tags
Recommended Content
More on This Topic
Which Missions Have Collectibles?
You won't have to search every corner of all 16 missions in the Modern Warfare 4 campaign. The notes are spread across just three missions:- Mission 3, Following Orders: Four notes and four contraband items.
- Mission 10, Stranded: 58 notes and all 26 Yellow Supply Caches.
- Mission 13, Escape: Two notes and a safe containing Gaz's dog tags.
Mission 3: All Contraband and Four Notes
This mission has you searching people's homes. Don't rush after your squadmate once the conversation ends. The items you need are hidden in cupboards that are easy to mistake for ordinary scenery.First House: MP3 Player, Book, Rations, and Medicine
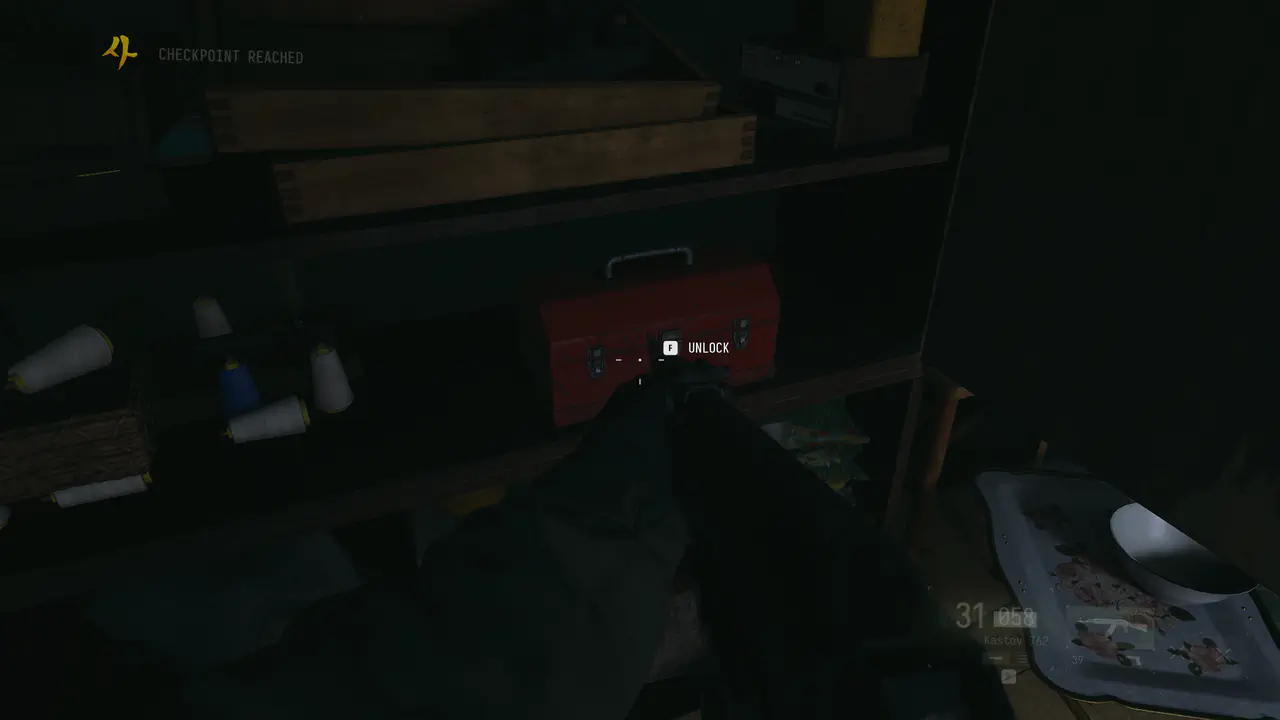
Third House: Neighbor's Note and the Hideout Beneath the Kitchen
Mission 10: Where to Find All 58 Notes
Once you arrive at the camp, choose to explore on your own and gather equipment. We recommend visiting the nearest locations first, then collecting the rest alongside the three main objectives. Liberated outposts unlock fast travel, which will come in handy when your last missing note is on the far side of the map.Pick up repair supplies along the way. Ordinary bags and boxes don't count toward the 26 Yellow Supply Caches, but you'll need their resources to finish working on the camp's workbenches.Notes #1-8: Camp, Radio Tower, and Sewers
- #1. At the blue radio tower near the camp, read the note attached to the locked container. The code is 0024.
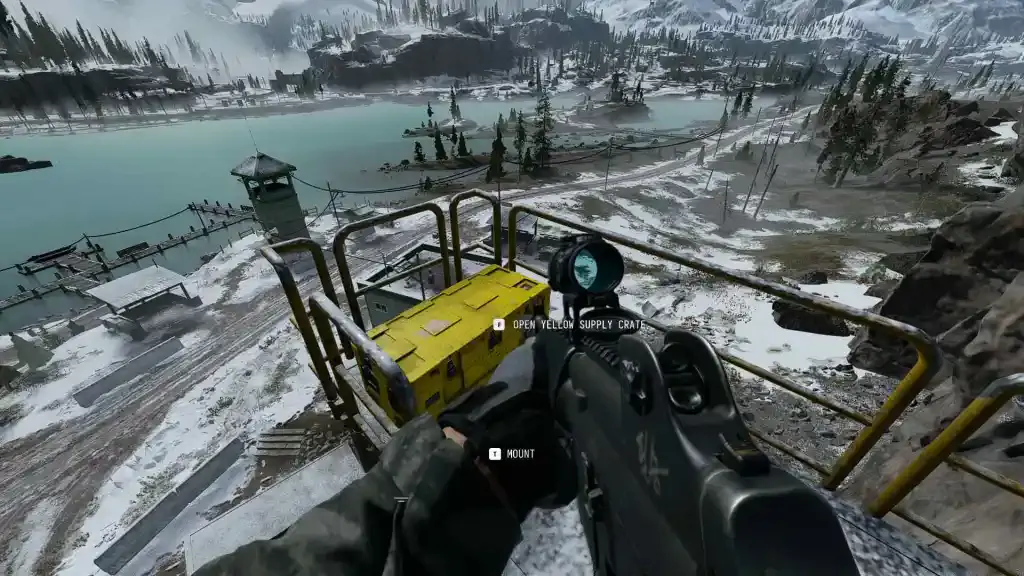
- #2. Climb to the tower's intermediate platform and inspect the supplies.
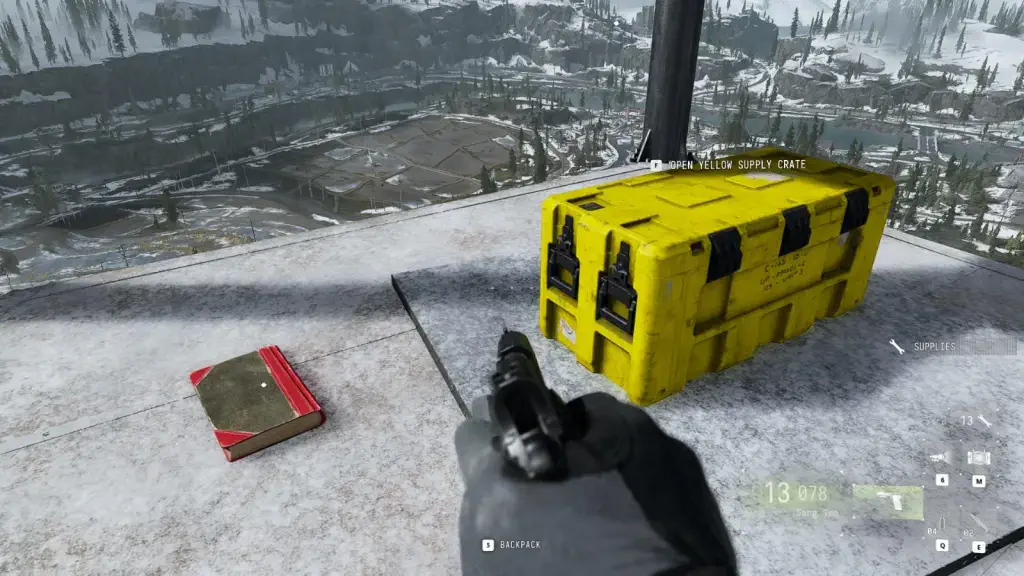
- #3. Keep climbing to the top. The note is next to a Yellow Supply Cache.
- #4. Drop down to the blue-and-white smuggler's house southeast of the tower. Check the shelves inside.
- #5. Search the small neighboring building with the orange door.
- #6. At the water treatment plant, enter the blue-and-white building and inspect the supplies on the left.
- #7. In the same building, take the stairs down into the sewers. Turn around at the bottom.
- #8. Follow the tunnels to the smuggler's hideout. The note is by the remains, next to a supply cache.
Notes #9-17: Island Bunker and Southern Village
- #9. The weapon inventory note is awarded when you open your third Yellow Supply Cache. It has no fixed location on the map.
- #10. Read the paper at the entrance to the hidden island bunker west of the water treatment plant.
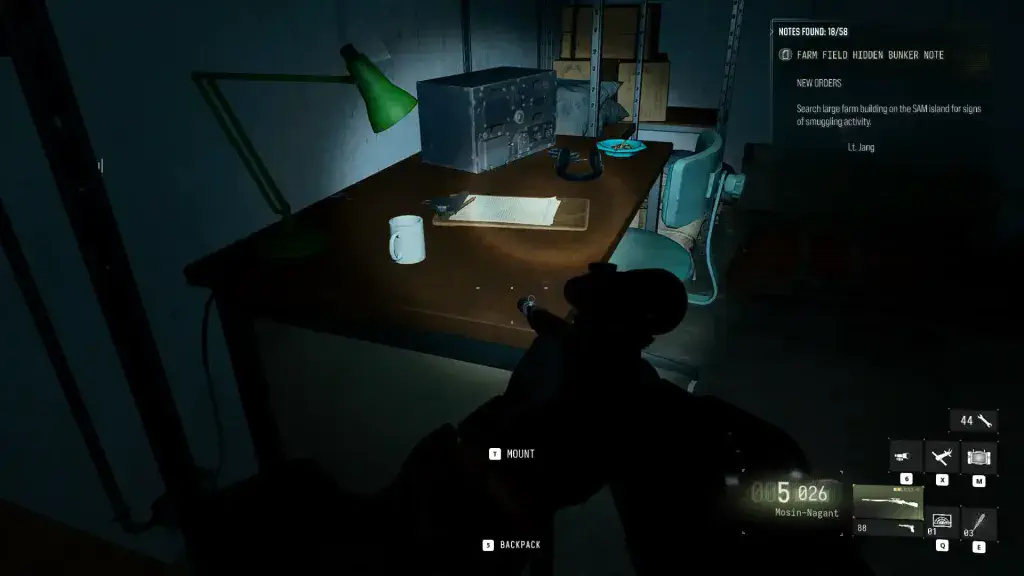
- #11. Open that bunker with code 0008 and check the table inside.
- #12. The equipment inventory note is added when you open your fifth Yellow Supply Cache.
- #13. Climb the southern monument using the red ledges. The note is at the top.
- #14. Head northeast from the monument to the bridge. Inspect the supplies beneath it.
- #15. In the southeastern village, find the white house with a blue door and check the desk.
- #16. Near the playground, enter the blue-and-white building. Look on the table in the first room on the left.
- #17. A clue is attached to the locked container in the southeastern village. The code is 0078.
Notes #18-23: Large Bunker and Red Railcars
- #18. Once Cal pries the door open with a crowbar, inspect the table at the back of the supply room.
- #19. Push the yellow cart toward the rear-right corner of the room. Climb onto the platform and check the lower shelf.
- #20. After following Cal up the stairs, enter the room on the left side of the corridor. The note is on the corner of the desk.
- #21. After the flooded tunnel, climb up to the explosives storeroom and search it.
- #22-23. Outside, northeast of the bunker, there are two red freight cars. Find one note in each.
Notes #24-33: Jamming Station and the Northeast
- #24. On the snowy trail toward the jamming station, search the dead soldier near the end of the path.
- #25. In the first large blue residential building, go to the far-left corner, head downstairs, and search the back of the room.
- #26. At the helipad south of the main building, climb onto the crates. The note is on a barrel.
- #27. In the station's main blue building, turn right from the entrance and check the area beside the supplies.
- #28. Go through the next doors and turn left toward the table in the adjoining room.
- #29. Upstairs, follow the narrow corridor to the changing room. The paper is on the floor to your left.
- #30. At Logistics Station 20 west of the jamming station, check the corner of the desk in the guardroom.
- #31. Southeast of the jamming station, read the clue on the container. The code is 8609.
- #32. Check the second container beside the neighboring tower.
- #33. At the northeastern monument, find the body near the pedestal.
Notes #34-44: Ruined House, Road Sign, and Hidden Caches
- #34. Southwest of the monument, there's a house with police officers outside. Clear the area, go in, and search the room on the left.
- #35. Across the road, find the orange house with aircraft wreckage on its roof. Enter through the opening above and inspect the floor.
- #36. On a cliff north of the camp, read the paper attached to the container. The combination is 0600.
- #37. In a small ruined shed northwest of the camp, check the left side of the room.
- #38. Cross the road and river to the next small cabin. The note is on the table.
- #39-40. At the large road sign, inspect the container. One note is beside the keypad and the other is on the right-hand side. The code is 1234.
- #41. Climb onto the road sign itself using the poles and platforms to its right.
- #42-43. At the hidden bunker in the fields, read the clue at the entrance. Enter 0330 and collect the second note from the table inside.
- #44. On the small river island, read the paper attached to the container. You'll need 6789 to unlock it.
Notes #45-53: Logistics Station 100 and Missile Position
- #45. At Logistics Station 100, inspect the controls of the broken lift.
- #46. At the same station, check the guardroom and the corner by the desk.
- #47-48. In the abandoned blue-and-white house in the northwestern part of the map, find one note in the left-hand room and another on the small table in the hallway.
- #49. Along the northern road, enter the farmhouse near the fields. The note is on the floor by the entrance.
- #50. In the neighboring store, disarm the tripwires first. Then check the table in the room on the right.
- #51. Across the bridge on the way to the anti-aircraft position, enter the first large building with garages and look to the right of the entrance.
- #52. Near the monument on the approach to the missile position, check the concrete block between the routes leading upward.
- #53. Near the upper platform of the missile position, find the Yellow Supply Cache. The note is beside it.
Notes #54-58: Equipment at Base Camp
- #54 - Grenade launcher.
- #55 - Tactical gloves.
- #56 - Tactical boots.
- #57 - Snow camouflage suit.
- #58 - Suppressed sniper rifle with a thermal scope.
Where to Find All 26 Yellow Supply Caches
Use this list alongside the note locations. A shipping container and a supply cache are two different things. First you open the big metal container, then you interact with the yellow cache inside. Entering the door code alone won't count.Caches #1-10: Southern Part of the Map
- #1 - At the top of the blue radio tower near the camp.
- #2 - In the smuggler's hideout in the sewers beneath the water treatment plant.
- #3 - In the guardroom at Infantry Checkpoint 1, southwest of the plant.
- #4 - In the island bunker, code 0008.
- #5 - In the green garage at Logistics Station 200.
- #6 - In the building at Artillery Position 7.
- #7 - In the southeastern village container, code 0078.
- #8 - On the exterior structures of the water tower. Climb the pipes and narrow beams.
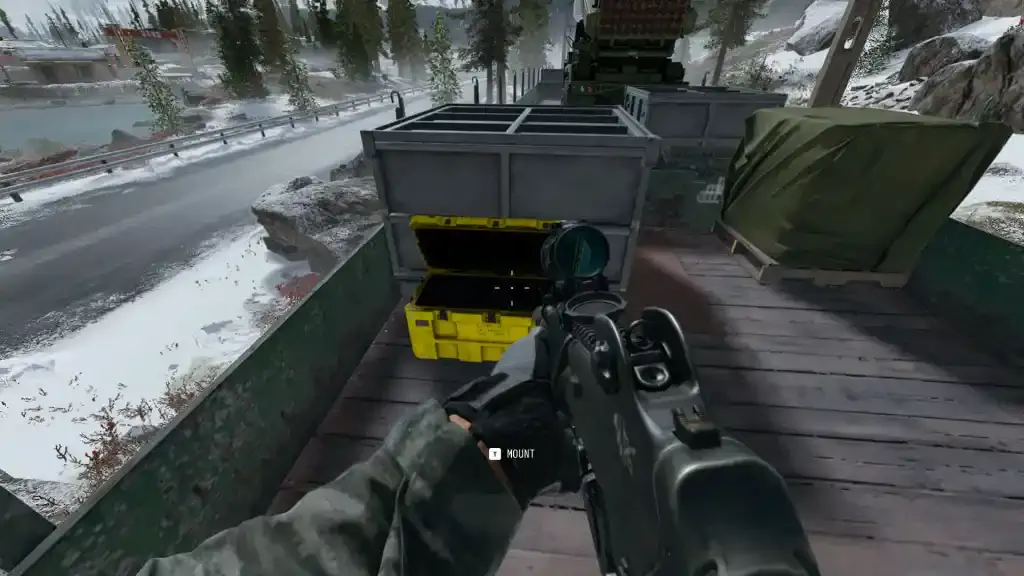
- #9 - In an open car on the moving freight train. Wait by the tracks and climb aboard as it passes.
- #10 - Near the entrance of the large story bunker.
Caches #11-20: Jamming Station and Central Hideouts
- #11 - In the small green building at Logistics Station 10.
- #12 - In the guardroom at Infantry Checkpoint 2.
- #13 - In the guardroom at Infantry Checkpoint 3.
- #14 - On the outdoor platform at the base of the jamming station tower, just past the first ladder.
- #15 - In the guardroom at Logistics Station 20.
- #16 - In the container south of the jamming station, code 8609.
- #17 - In the bedroom of the bombed-out orange house. Enter through the roof.
- #18 - In the container on the cliff north of the camp, code 0600.
- #19 - In the container by the large road sign, code 1234.
- #20 - In the container at Artillery Position 6. Destructible crates block the entrance, so use explosives.
Caches #21-26: Island, Lift, and Northern Road
- #21 - In the container on the small river island, code 6789.
- #22 - On the upper lift platform at Logistics Station 100. Climb the ladders, railings, and red-and-white bars.
- #23 - In the bed of a patrol truck. Check vehicles on the roads, especially near Checkpoint 3.
- #24 - In the green guardroom at Infantry Checkpoint 5.
- #25 - In the booby-trapped store on the northern road. Remove the tripwires before entering.
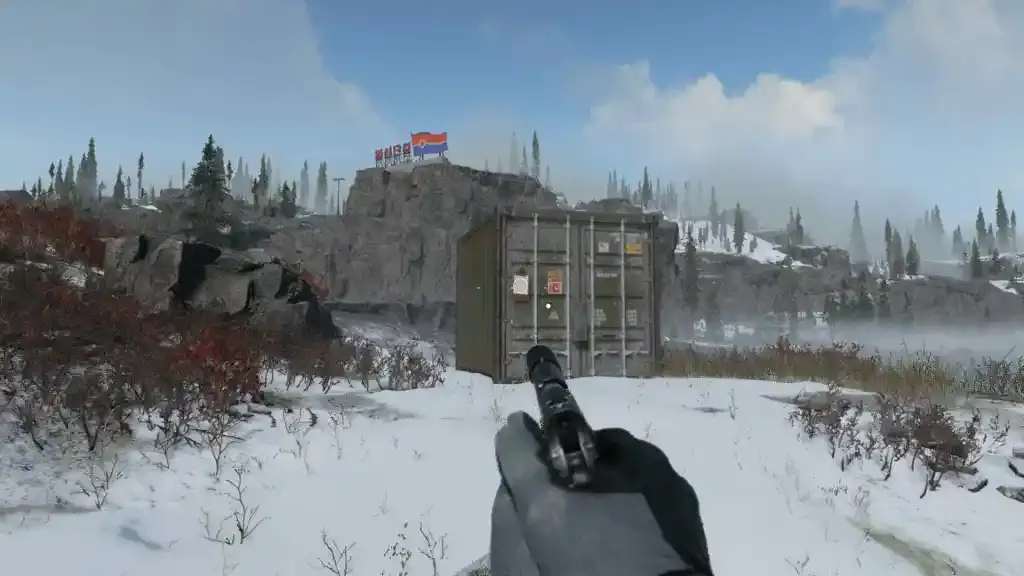
- #26 - At the top of the anti-aircraft position, near the monument.
Mission 13: Two Notes and Gaz's Dog Tags
What to Check If You're Missing One Collectible
If you're stuck at 25/26 caches, think back to the moving train and the patrol truck. Unlike most hiding places, neither stays in one fixed spot. Then check the container at Artillery Position 6. You have to blow up the debris blocking its entrance, not enter a code.If you're short on notes, check the two automatically awarded inventories and the tables at base camp. And if you entered a code on a container and ran off immediately, go back for the clue sheet. Reading it is part of the collection too.Finally, don't mix up the achievements. 50 notes earn the note-reading reward, while 26 caches count toward the mission 10 supply-cache achievement. The contraband and notes in mission 3, along with Gaz's dog tags, are tracked separately. Unlocking one achievement doesn't mean you've collected everything.Sign in to leave a comment or rate this post.
Comments
Be the first to comment!