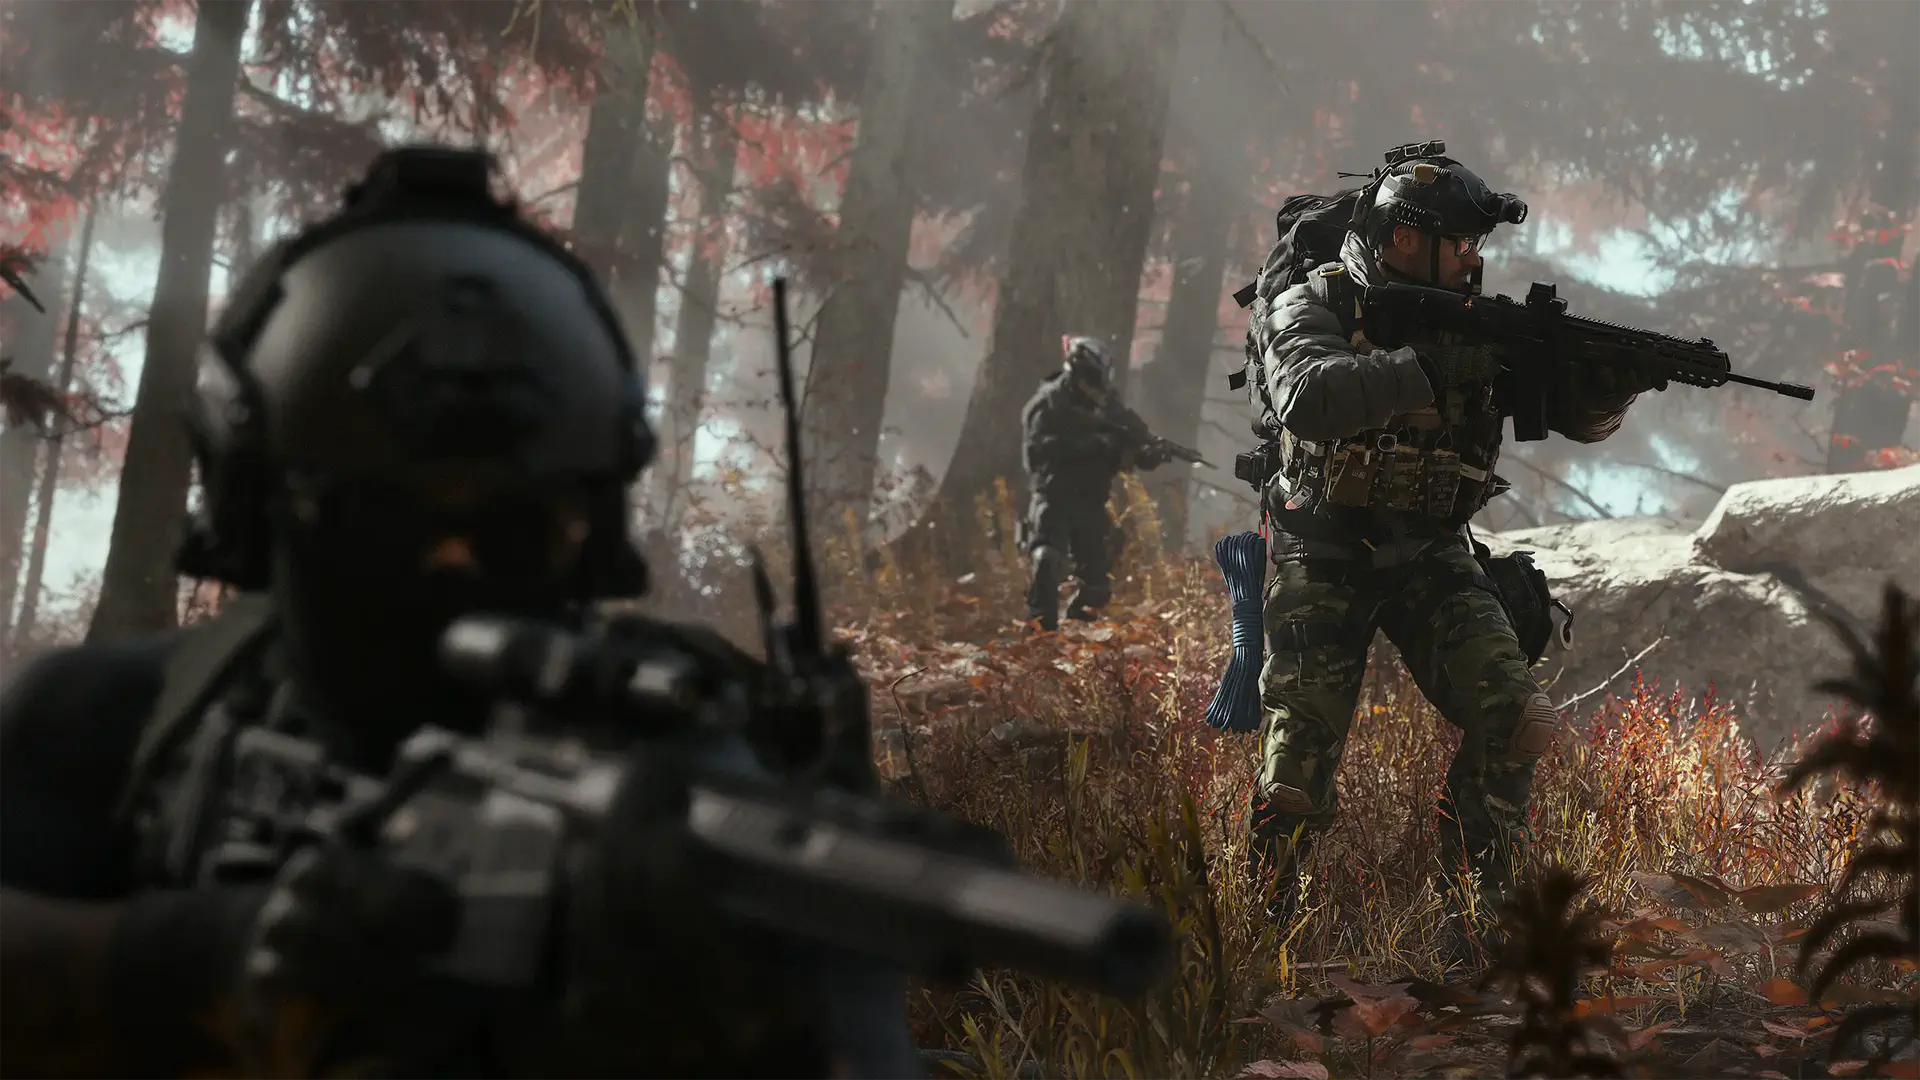

Safe and container codes in Call of Duty: Modern Warfare 4 unlock hidden supplies, notes, and collectibles. Below, we've gathered the combinations for the red lockbox inside a house, containers and bunkers on the open map, three story-related doors, and a prison safe. We'll show you where to find each one and how to read the clues if you'd rather solve the locks yourself.You need to enter the leading zeroes, too! The combination 0008 is four digits, not just the number eight. You don't have to solve the note before entering a code, but it's still worth reading if you're collecting every document.
Recommended Content
More on This Topic
All Modern Warfare 4 campaign codes - quick answers
If you're already standing in front of a lock, you won't have to search through the entire article for the answer. Here are the combinations, along with a quick reminder of where to use them:- 214 - red lockbox in a closet while searching a house, mission 3.
- 5523 - first story door after the library, mission 8.
- 7632 - next door after the kitchen, mission 8.
- 9103 - bunker entrance behind a statue, mission 8.
- 0024 - container by the Base Camp radio tower, mission 10.
- 0600 - container by a cliff north of the camp, mission 10.
- 0078 - container in the southeastern village, mission 10.
- 1234 - container near a large road sign, mission 10.
- 6789 - container on a small river island, mission 10.
- 8609 - container south of the Jamming Station, mission 10.
- 0330 - hidden bunker in the fields, mission 10.
- 0008 - hidden island bunker, mission 10.
- 8410 - wall safe near the barracks during the prison escape, mission 13.
Red lockbox in the house - code 214
In the third mission, Following Orders, you search houses for a defector. In the first building, don't rush to finish your conversation with the residents. Head into the first room on the right as you enter, behind the sliding doors. Open the closet to find a red lockbox with a combination padlock.Enter 214 and collect the medicine and note inside. Both count toward collecting all the contraband and documents in this mission. Opening this one box isn't enough for the achievement that requires every collectible, so be sure to search the other cupboards as well.You'll find the clue in the kitchen, inside the first cupboard on the left. It's a rice cake recipe listing 2 kilograms of flour, salt, 1 liter of water, and 4 packs of raisins. A note tells you to skip the salt. That leaves 2-1-4, in the same order as the ingredients. A useful reminder that, sometimes, a cooking note matters more to soldiers than anything in the fridge.Three keypad doors in mission 8
In Assassins, there's no need to search rooms for scraps of paper. Your squad calls out the combinations as you progress through the mission. If you missed a line of dialogue in the middle of a firefight, enter these codes in order:- 5523 - go through the library and up the stairs to the first locked door.
- 7632 - reach the next lock after fighting the enemies in the kitchen.
- 9103 - open the bunker using the keypad on the back of the statue's base.
Containers and bunkers on the open map in mission 10
After arriving at Base Camp in Stranded, you can start exploring the surrounding area. If you want to look for supplies, choose the dialogue option that lets you take your own route and gather equipment. We recommend starting with the container by the radio tower. Inside, you'll find a tactical map that will help with the rest of the search.The locations below are specifically the stashes secured with numeric locks. There are more Yellow Supply Crates throughout the level, so opening every coded door doesn't mean you've cleared the entire map.Container near Base Camp - 0024
Check the shipping container next to the blue radio tower. Enter 0024, step inside, and collect the supplies and map.The attached note lists previous combinations: 0006, 0012, and 0018. Each increases by six, making the next code 0024.Container by the cliff north of camp - 0600
Head north from the base toward the cliff and truck. The container here opens with 0600. Inside is a Yellow Supply Crate.The clue gives you 9300, 6400, and 3500. Subtract 2900 from the previous number to get 600. Since the lock takes four digits, add a zero at the front.Container in the southeastern village - 0078
Travel to the village in the southeast of the map and look around the bridge. The coordinates are 652, 187. Enter 0078 and check the crate inside.The clue lists 0012, 0034, and 0056. The final two digits go up by 22 each time, so 56 is followed by 78. The two leading zeroes stay in place.Container by the large road sign - 1234
Look for the large road sign near the river, northwest of the camp. The container's coordinates are 634, 136. The code is surprisingly straightforward: 1234.The note builds the combination one digit at a time: 1000, 1200, 1230. All that's left is to add the four. Pick up the equipment after opening the container. If you find the supply detection device, equip it to help locate more crates.Container on the small river island - 6789
Find the small island in the river east of the anti-aircraft site. Its coordinates are 618, 132. Check the container and enter 6789.The earlier codes are 3456, 4567, and 5678. Each digit increases by one, so the last digit of the answer is nine. Inside, you can restock supplies and pick up the Rezi 12 shotgun.Container south of the Jamming Station - 8609
Reach the northeastern part of the map, then search south of the Jamming Station, near the tower and truck. The location is 667, 125. The lock code is 8609.The note shows 5903, 6805, and 7707. The first digit increases by one, the second decreases by one, the third stays at zero, and the last increases by two. Inside is a crate containing a recon drone.Hidden bunker in the fields - 0330
Find the concealed entrance in the fields at coordinates 631, 127. Enter 0330 to open it.The clue asks you to add the logistics station numbers: 10 + 20 + 100 + 200 = 330. Don't forget the leading zero. Once inside, search the bunker and read the documents before heading back out.Hidden island bunker - 0008
This is a different stash from the container holding the shotgun. Look for a concrete entrance by the rock on the island at 615, 169. The combination is 0008.To solve it, add the numbers of the infantry checkpoints along the river: 1 + 2 + 5. Inside, collect the documents and open the Yellow Supply Crate.Prison safe - code 8410
In the thirteenth mission, Escape, while trying to break Price out, you'll pass an office with a large window and a guard inside. Hide under the overhanging countertop and wait until the soldier gets distracted by a message and leaves. Then enter the office and read the note with the updated code, 8410.You'll find the safe later. Keep going until you reunite with Ghost and pass through the barracks. Beyond the sleeping quarters, check the unlocked door in the corridor on your right. There's a wall safe in the office.Enter 8410 and take Gaz's dog tags. They're tied to a separate achievement, so don't run past this office, even if ammo is more tempting than keepsakes right now.What to do if a code doesn't work
First, double-check not just the digits, but the stash you're trying to open. The open map has two different island locations: a container with code 6789 and a bunker with 0008. The correct combination for the neighboring lock won't help here.Next, check the leading zeroes and final digit. It's particularly easy to make a mistake with 0600, 0078, and 6789. If everything matches, back out of the keypad interaction and enter the combination again.Once a lock opens, don't immediately leave. Go inside, pick up the item, and read the notes. Unlocking a door isn't the same thing as collecting what's behind it.You can learn more about the conflict at the heart of the campaign and Price's role in it in our article on the story of Modern Warfare 4.Sign in to leave a comment or rate this post.
Comments
Be the first to comment!