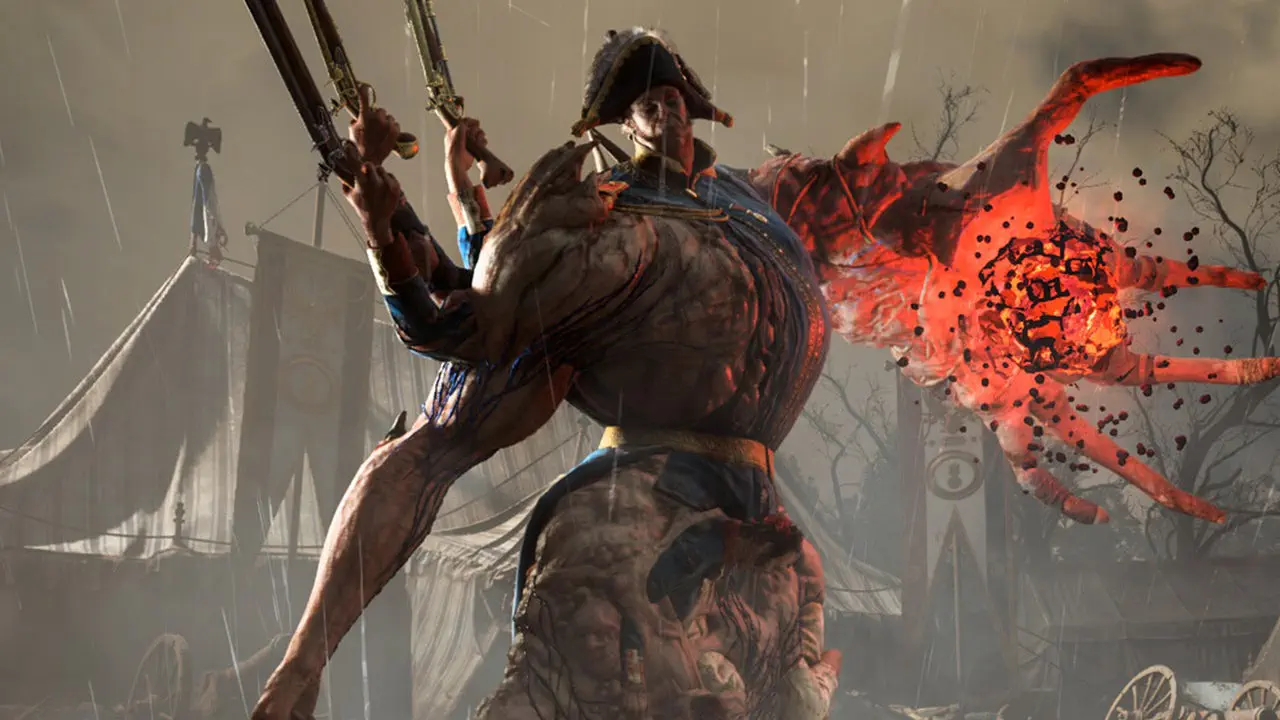
In Valor Mortis, you can survive an attack with a normal block, but defeating enemies becomes much easier once you learn to parry at the right moment. A precise parry consumes no Endurance, quickly damages enemy Posture, and opens the way to a devastating Critical Attack. This guide explains when to press Block, how to avoid running out of stamina in the middle of a combo, and what to do against attacks that cannot be parried at all.
To parry, press Block immediately before the enemy weapon connects. Do not hold your guard in advance. Normal blocking and a precise parry use the same defensive input, but the result depends on timing. If you hit the correct window, William avoids the damage completely, spends no Endurance, and deals significant Posture damage to the enemy.The easiest way to learn the mechanic is against a regular soldier with a saber. Keep the enemy at a comfortable distance, do not attack first, and wait for the wind-up. Watch the weapon rather than the opponent's shoulder. As soon as the blade starts moving toward William and closes the distance, press Block. After a successful attempt, do not immediately counterattack. Let the enemy begin another attack so you can reinforce the timing.Valor MortisValor Mortis
When exactly should you press Block?
Every attack has a wind-up, the actual weapon movement, and a short recovery after the strike. The parry should happen during the final part of the attack, almost immediately before the weapon connects. Press too early during the enemy's preparation and you will either get a normal block or simply mistime the parry. Wait until the actual hit lands and you have already taken damage.Pay particular attention to enemies that raise their weapons high above their heads. A long wind-up encourages you to press Block too early, even though there may be a noticeable pause between the raised arm and the actual attack. Wait until the weapon genuinely begins to descend. The same rule applies to horizontal swings: watch the blade approaching William rather than the first turn of the enemy's body.
How Posture works and why you should break it
Enemies have a separate Posture meter. It fills from melee attacks and especially quickly from successful parries. When the meter reaches its limit, the enemy becomes staggered and vulnerable to a Critical Attack that deals significantly more damage than a normal strike.Valor MortisValor MortisThat means the goal of a good duel is not always to empty the enemy's Health bar as quickly as possible. Several precise defensive actions can create a much better opening. This is especially noticeable against tougher enemies and bosses. Instead of trading hits for an extended period, you steadily break their Posture and capitalize on the resulting window.A reliable sequence looks like this:
Move into attack range and wait for a normal enemy strike.
Parry immediately before it connects.
If the opening is safe, add one quick hit to keep pressure on the enemy's Posture.
Repeat the defensive sequence until the enemy becomes staggered.
Immediately use the available Critical Attack, then let your Endurance recover.
Endurance: Why you cannot attack and block constantly
Endurance in Valor Mortis is consumed by attacks, blocking, dodging, and sprinting. It regenerates automatically when William gets a brief chance to recover. If you spend the entire bar on offense, the next enemy attack may arrive when you have almost no way to defend yourself properly. Even when a duel is going well, keep enough Endurance for at least one dodge or block.A successful parry consumes no Endurance, which is its biggest advantage over regular blocking. That does not make every action afterward free. Counterattacks, especially heavy ones, still consume the resource. Do not treat a perfect defensive action as permission to launch the longest combo possible. One or two hits followed by preparation for the next enemy move is usually safer.
When should you use a normal block?
Blocking is useful when you have not yet learned an attack's speed or are not confident that you can land the precise parry. It reduces incoming damage, but consumes Endurance and does not deal the same amount of Posture damage. Strong attacks can be especially dangerous to absorb passively when your Endurance is already low.This mechanic has an important follow-up: Health lost while blocking can be recovered with a quick melee hit. If you absorb a normal strike with your guard and the enemy briefly opens up afterward, try answering with a short attack. Do not rush to recover that Health at any cost, however. An enemy whose combo is not finished can easily punish the attempt.
Which attacks cannot be parried and how to perform a perfect dodge
A red glow before an attack signals an unblockable strike. You cannot stop it with either a normal block or a precise parry. Do not test this against your own Health bar. As soon as you see the warning, prepare to dodge. William is briefly invulnerable during the movement, so correct timing can carry you safely through the dangerous part of the attack.For a normal dodge, press the corresponding input together with a movement direction. If you time it especially precisely right as the attack arrives, you trigger a perfect dodge, which strengthens your next attack. The same principle applies as with parrying. Dodge too early and the movement may end before the enemy hit arrives. Dodge too late and it will not save you.
How to counterattack after a parry
Successfully parried an attack? Good, but do not press Attack automatically. First check whether the enemy's combo has actually ended. If they are already preparing a second swing, meet that strike with another parry or dodge. Once the sequence is over, you can land a short counterattack and return to defense.Against normal enemies, alternating precise parries with one quick attack is usually enough. Save heavy attacks for genuinely long openings when the enemy misses, becomes staggered, or finishes a dangerous combo. This rhythm may look less dramatic than constant aggression, but it prevents you from burning through all of your Endurance in one attempt.
When should you use a Critical Attack?
Watch the Posture meter. As soon as it fills and the enemy becomes staggered, take the opportunity to use a Critical Attack. Do not waste the opening on random quick hits if a full Critical Attack is available. Afterward, immediately check your distance and remaining Endurance because the enemy may recover faster than you expect.
How to combine counterattacks with firearms and Transmutations
Valor MortisValor MortisFirearms are useful for more than safe damage from a distance. The pistol helps break Weak Points on enemy bodies and generate the resource used by William's supernatural abilities, Nephtoglobin. Melee attacks can also extract Nephtoglobin, so a successful duel gradually prepares your next Transmutation.If several enemies are attacking at once or a normal exchange becomes too dangerous, use the defensive Shield Transmutation. It creates a barrier that can completely stop an attack at the cost of Nephtoglobin, then lets you release a retaliatory wave after deflecting the hit. Do not confuse this resource with Endurance. Running out of Nephtoglobin does not stop you from using a normal parry, but it limits your supernatural defenses.
Sabre or Rapier: Which weapon is easier for parrying?
Beginners should start with the Sabre. Its normal block gives you a safety net when your timing is wrong and more room to learn enemy animations. If a parry attempt comes too early, the guard may still soften the incoming hit. That makes the Sabre especially comfortable when learning bosses and unfamiliar attack strings.The Rapier is built for riskier combat. Its advantage is a stronger focus on precise parrying and the ability to hit enemy Weak Points in melee without relying on firearm ammunition. But you cannot depend on a conventional held block at all. The Rapier's weakness is exactly that it has no reliable normal block. Equip it once you can already read wind-ups confidently and are ready to meet attacks with precise parries.You can learn more about the weapons, supernatural powers, and combat systems in our 12 facts about Valor Mortis.
What to upgrade for parrying and survivability
If you want to win through precise defensive play, prioritize upgrades that help you survive mistakes and break enemy Posture faster. You do not need to invest everything into direct damage. More defensive options are often more valuable than one additional risky strike. Early on, focus on the following upgrades:
Maximum Stamina. Gives you more Endurance for consecutive actions and leaves a larger defensive reserve after attacking.
Parrying Impact. Successful parries deal more Posture damage and help open Critical Attacks faster.
Blocking. Reduces both the Endurance cost of blocking and the damage taken through a normal guard. Useful while you are still making timing mistakes.
Melee Stamina Cost. Reduces the Endurance cost of melee attacks, allowing you to counterattack more often without leaving William exhausted.
Critical Damage. Increases the punishment after breaking Posture once you can reliably stagger enemies.
How to practice parrying before a difficult boss
Valor MortisValor MortisDo not begin your training against the hardest fight available. Find a normal enemy near an unlocked Lantern. Enemies return after resting, which lets you repeat the same duel. Practice one attack first, then a multi-hit combo, and only after that start adding your own counterattacks.Use this short training routine:
First attempt: defense only. Do not attack until you remember where the enemy's wind-up ends and the strike begins.
Second attempt: parry a single attack. Watch whether Endurance is consumed and how much enemy Posture changes.
Third attempt: parry several attacks in a row. Do not counter until the entire combo ends.
Fourth attempt: add one short counterattack after a safe parry.
Final attempt: break the enemy's Posture and finish with a Critical Attack.
Before fighting the boss, restore your Health and make sure your Endurance is full. At the start of the fight, learn at least one normal combo and one dangerous attack, then begin responding to the animations you recognize. If the enemy changes rhythm, return to defense. Trying to finish the entire fight with one long offensive sequence can erase all of your previous progress.
Why parrying does not work: Common mistakes
If attacks keep getting through your defense, do not immediately change weapons or every setting. First identify which part of the technique is failing:
You press Block during the wind-up. Wait until the enemy weapon actually starts moving toward William. A raised arm alone is not the parry window.
You hold Block instead of timing the input. Normal blocking consumes Endurance and does not produce the same Posture effect. For a parry, press the input as the attack arrives.
You try to parry a red attack. The red glow marks an unblockable move. Dodge away and, when possible, aim for a perfect dodge.
You attack immediately after the first parried strike. Wait for the entire enemy combo to end. Some follow-up swings begin with almost no pause.
You spend all of your Endurance on heavy attacks. Keep a defensive reserve and let the bar recover between sequences.
You try to block with the Rapier as if it were the Sabre. Switch back to the Sabre for a reliable guard or commit to precise parries and dodges.
You miss the enemy after breaking Posture. Make sure the target is actually staggered, close the distance, and use the available Critical Attack.
The camera makes the wind-up difficult to read. Lock onto the target in close combat, move the enemy away from walls, and keep them in front of you. Do not learn parry timing while surrounded by a crowd.
The main rule in Valor Mortis is simple: parry normal attacks, dodge red attacks, and immediately use a Critical Attack after breaking Posture. The more calmly you manage Endurance and the better you learn enemy animations, the less often you need to heal and the faster difficult fights end.