Episode 4 of The Long Dark, Fury, Then Silence, is the fourth chapter of the WINTERMUTE story. While exploring Blackrock, we can easily get stuck looking for quest items, keys, notes, side objectives, and safe routes through the region. In this guide, I will explain how to complete the main quests, find the important keys and notes, open the Forest Talker cache, and where to stash our gear before returning to the prisoners so they do not confiscate it.
Choosing the Difficulty
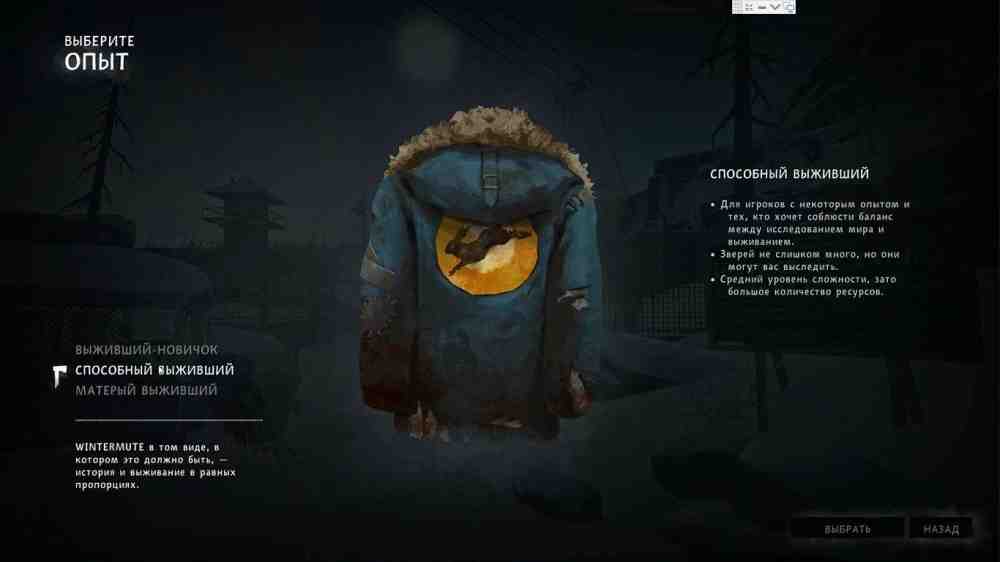
WINTERMUTE offers three difficulty levels:
Green Survivor. Recommended for players who mainly want to experience the story and do not want predators or resource management to become a major obstacle.
Capable Survivor. The balanced difficulty. We still have to deal with dangerous wildlife and search for supplies, but neither should become a constant problem. This is the difficulty used for this walkthrough.
Hardened Survivor. The toughest story difficulty. Supplies are scarcer, predators are more dangerous, and mistakes are much harder to recover from.
Choosing the difficultyChoosing the difficulty
Chapter 1. Blackrock Blues: How to Find the Missing Employee and Medical Supplies for the Warden
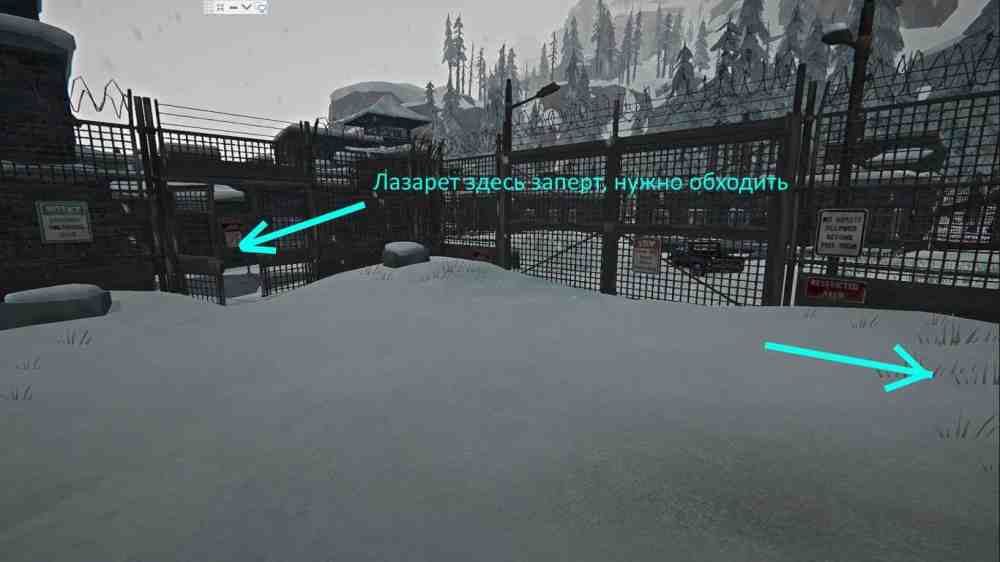
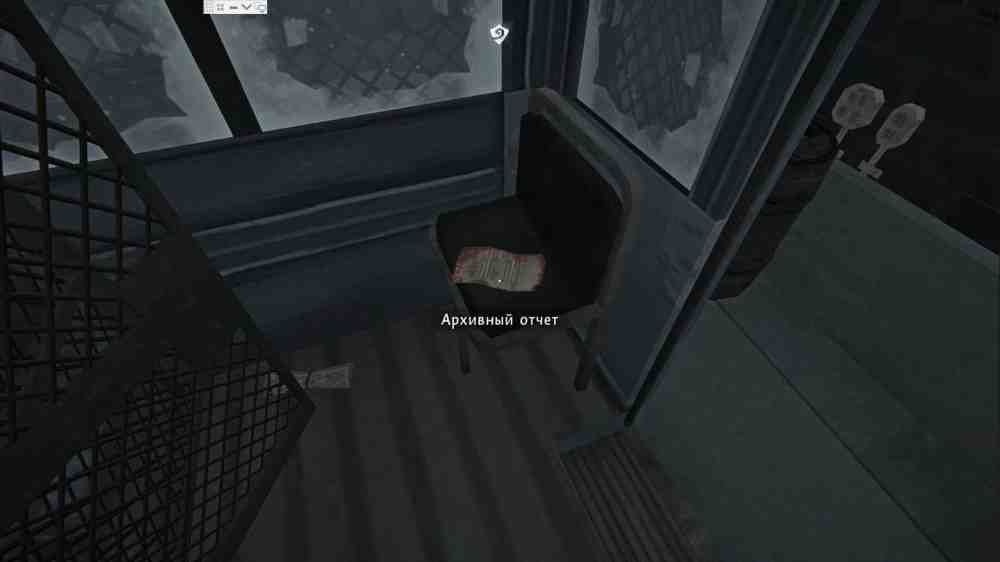
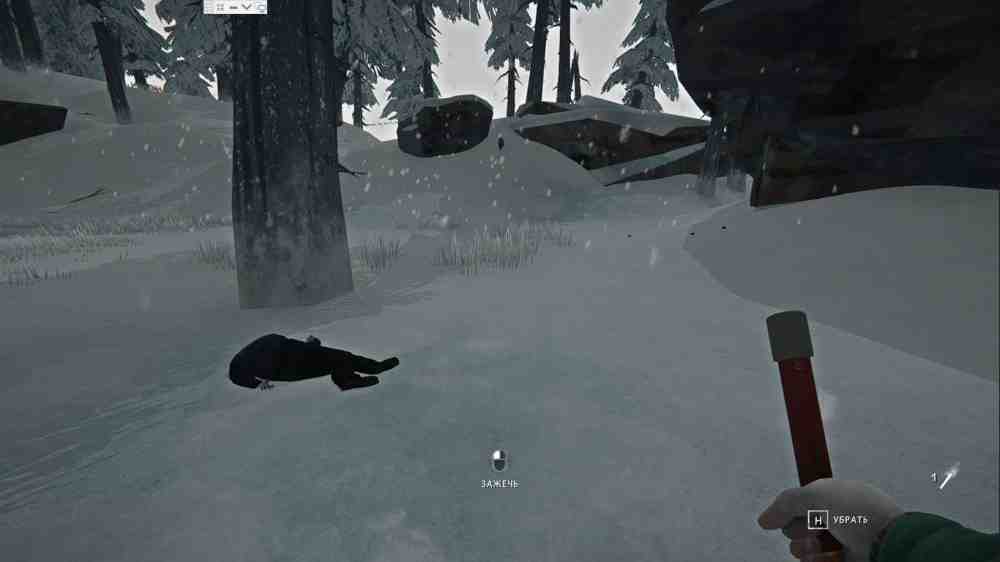
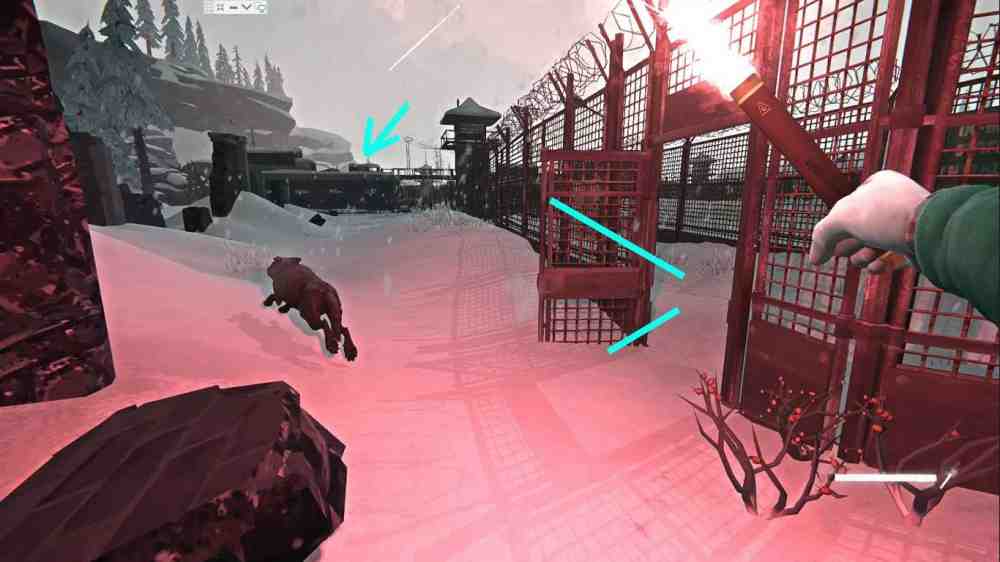
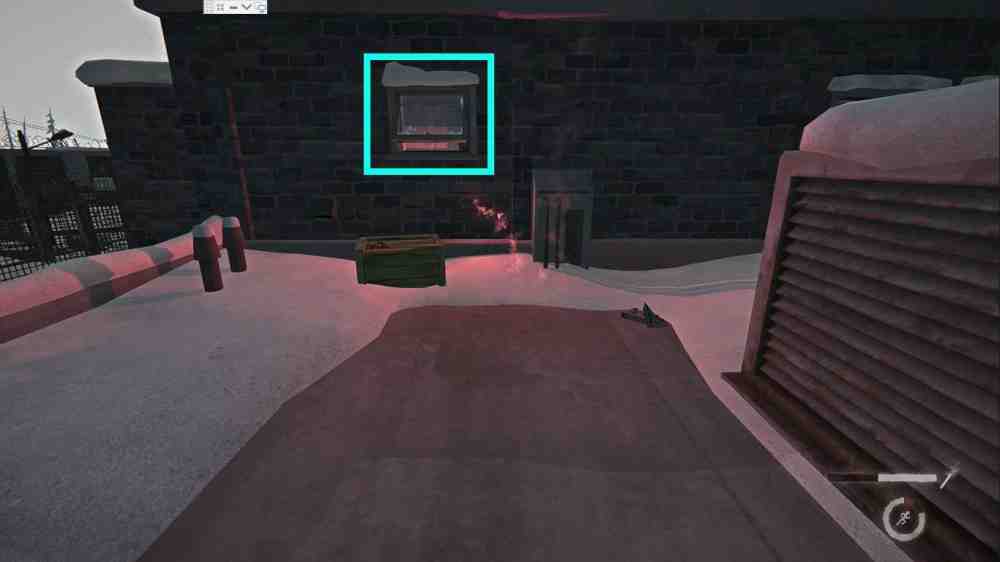
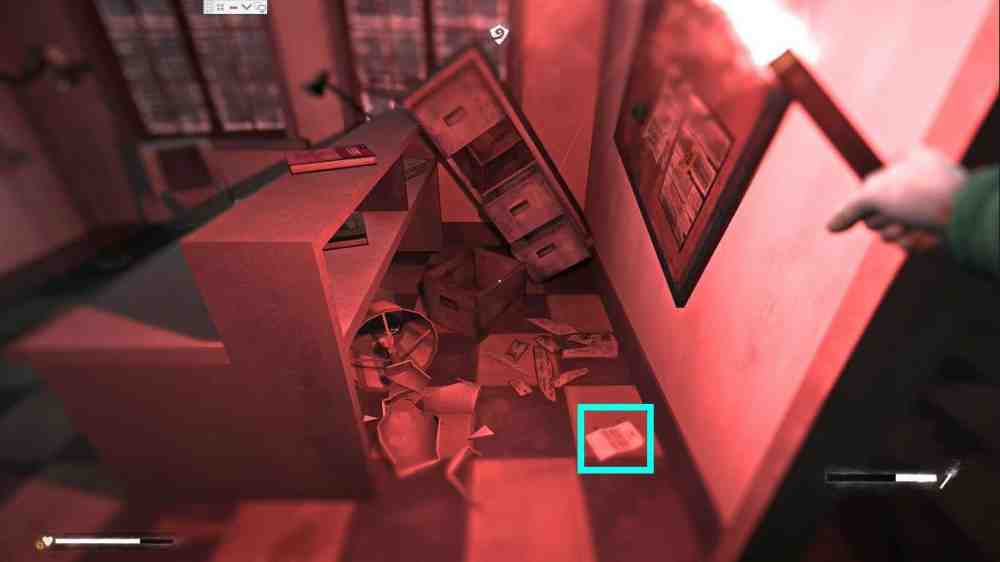
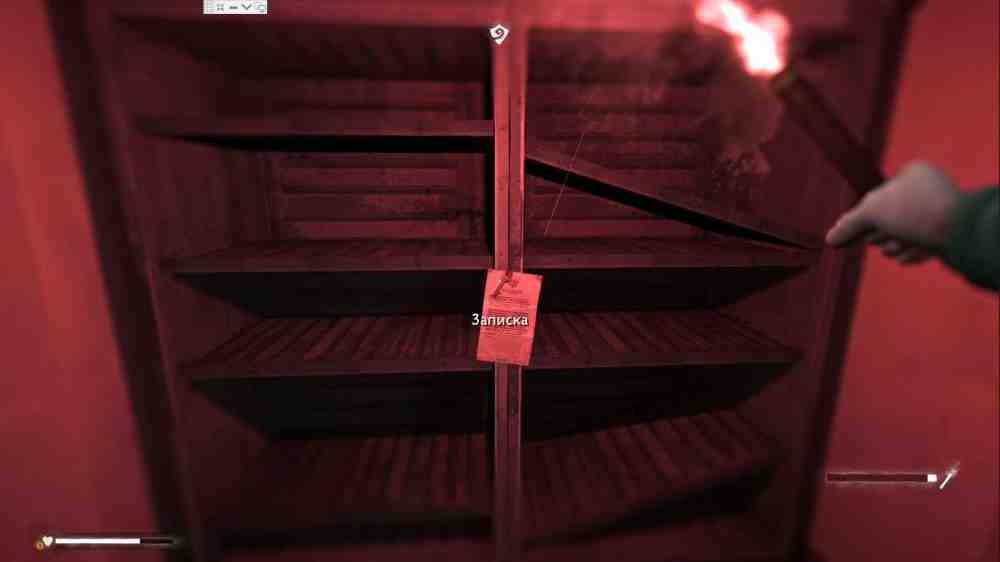
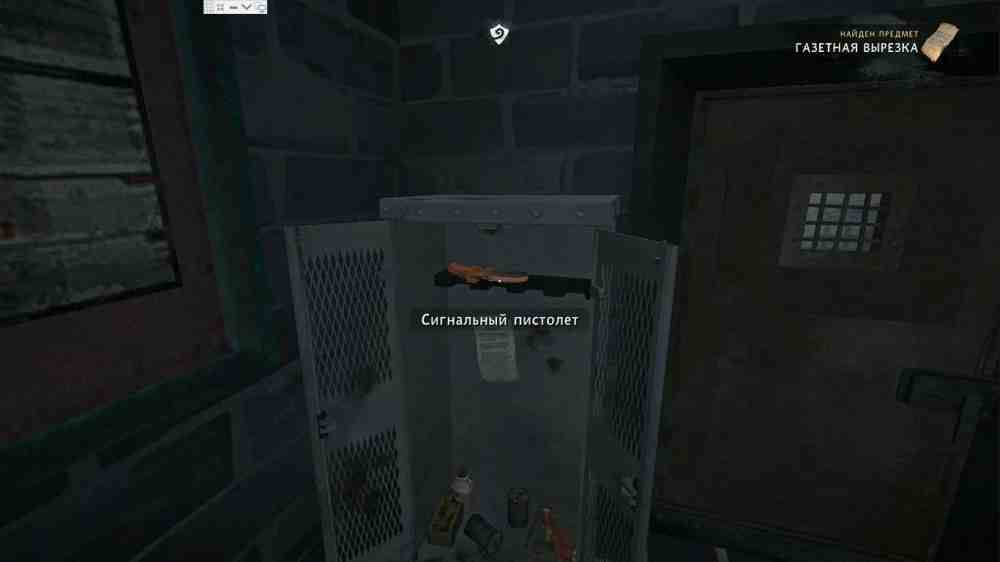
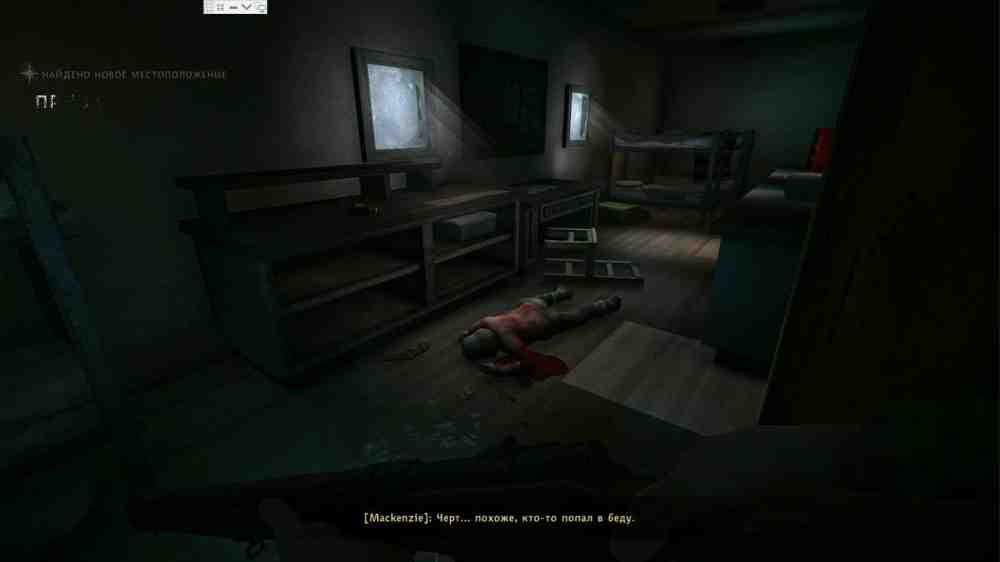
Watch the opening cutscene as the convicts drag Mackenzie toward Blackrock Penitentiary. Wolves attack the group, and we get a brief chance to escape before running into Mathis again. During the escape, search the ruined building and pick up Bonnie's Note (1).Back in the prison, stand on the toilet in Mackenzie's cell and speak with the former Warden through the window.After the conversation with Mathis, leave the prison building. We can now explore the accessible parts of the prison, gather supplies, find keys, obtain weapons, and figure out how to enter the infirmary. Start by heading to the left side of the prison and pass through the open gate. The infirmary is visible on the left, but we cannot use the front door yet.Search the vehicles on the way and take anything useful.Chapter 1. Blackrock BluesChapter 1. Blackrock BluesTo the left of the infirmary is the route toward the maintenance yard. Go through it and use the open door leading outside the inner prison area. There are two wolves here. One is busy feeding, while the second can become aggressive if we run too close. Move carefully around them.Before going farther, search the prison bus in the maintenance area and pick up note (2), Archival Report. This starts part of the Dark Star side mission.Chapter 1. Blackrock BluesChapter 1. Blackrock BluesThere is also a Prybar in the maintenance area. Take it. We can use it to force open locked car trunks and containers.Continue toward the second gate. In the yard beyond it, we can find a dead prison guard. Search the body to obtain Blackrock Locker Key #2 and a Flare. The flare is useful for keeping wolves away.Chapter 1. Blackrock BluesChapter 1. Blackrock BluesContinue to the far gate. It leads into the guard barracks, and from there we can reach the roof and eventually enter the infirmary.Chapter 1. Blackrock BluesChapter 1. Blackrock BluesEnter the barracks and use Blackrock Locker Key #2. Inside the locker we find Rifle Ammunition, Combat Pants, and a Military Coat. Search the other containers as well.There is also a flashlight here. We do not really need to carry it yet. It becomes useful during the Aurora sequence in Chapter 3, and we can find other flashlights later anyway.When we are ready, walk around the lockers on the right side and find the stairs leading to the roof. Cross the metal catwalk to the roof of the infirmary and interact with the open window.Chapter 1. Blackrock BluesChapter 1. Blackrock BluesEnter the infirmary, collect the useful supplies, and read note (3), Blackrock Memo - Late Employee. This starts the Blackrock Rumours objective involving the missing employee.Chapter 1. Blackrock BluesChapter 1. Blackrock BluesIn the back room, find note (4), Memo, a discarded note explaining where the infirmary medical supplies went. The Blackrock Gate Key is attached to it. Read the note and answer the ringing phone.Go downstairs. Beneath the stairs, pick up the Bedroll. We can find another one later near the missing employee's property if needed.Chapter 1. Blackrock BluesChapter 1. Blackrock BluesHead back toward the main prison entrance and use the key to open the gate. Search the area before leaving. Here we can find note (5), Blackrock Memo - Highly Aggressive Wolf. We can complete that rumour later, so leave it for now.The weapons container nearby can contain a Distress Pistol, Flare Shells, and Noisemakers depending on the difficulty. In the guard area, also pick up note (6), Office Memo, which refers to confiscated explosives.Chapter 1. Blackrock BluesChapter 1. Blackrock Blues
Late Employee
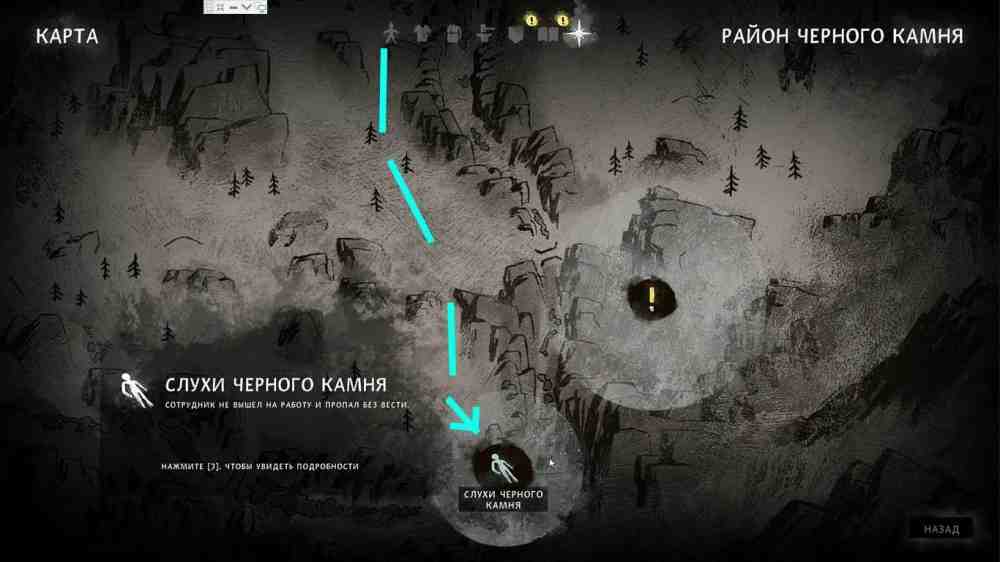
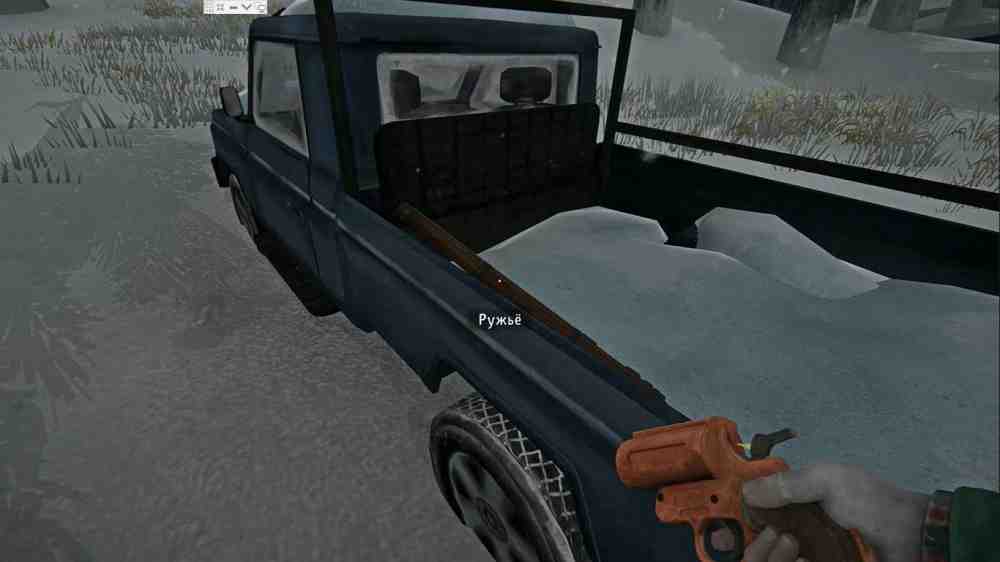
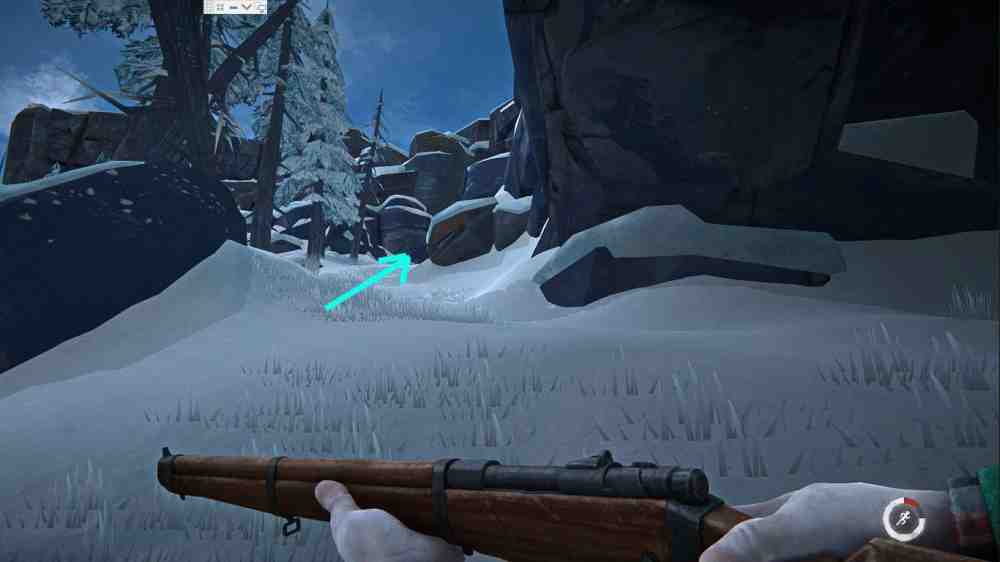
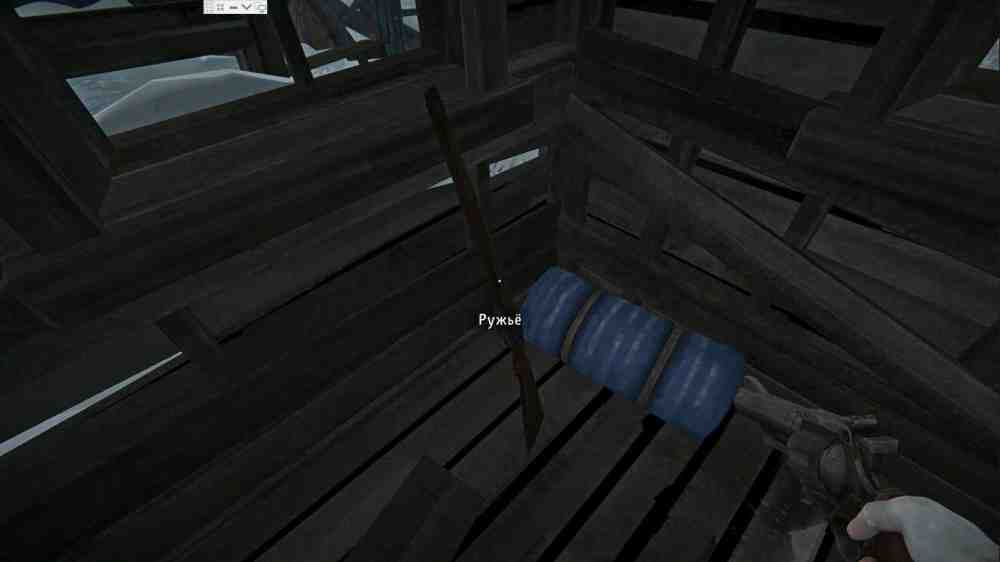
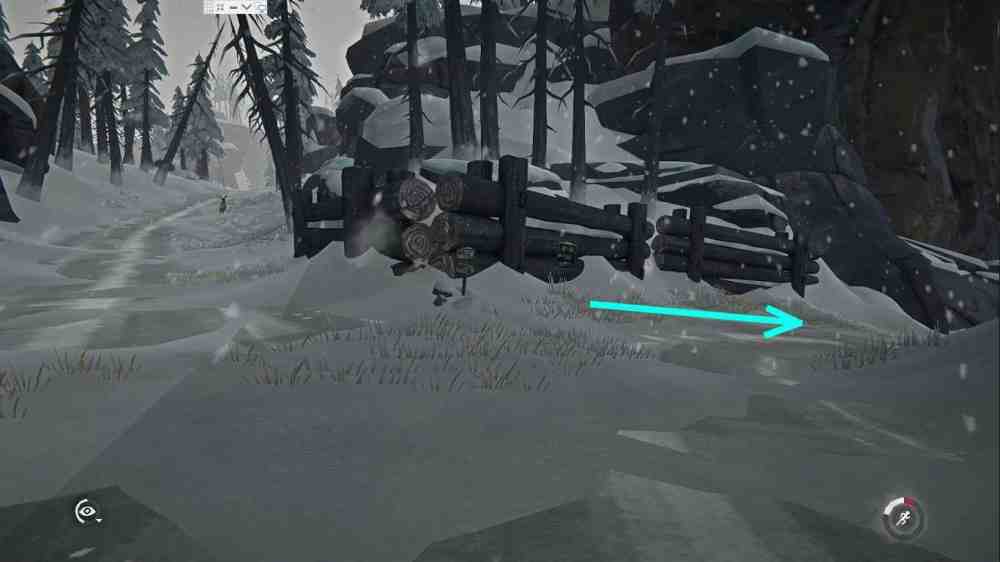
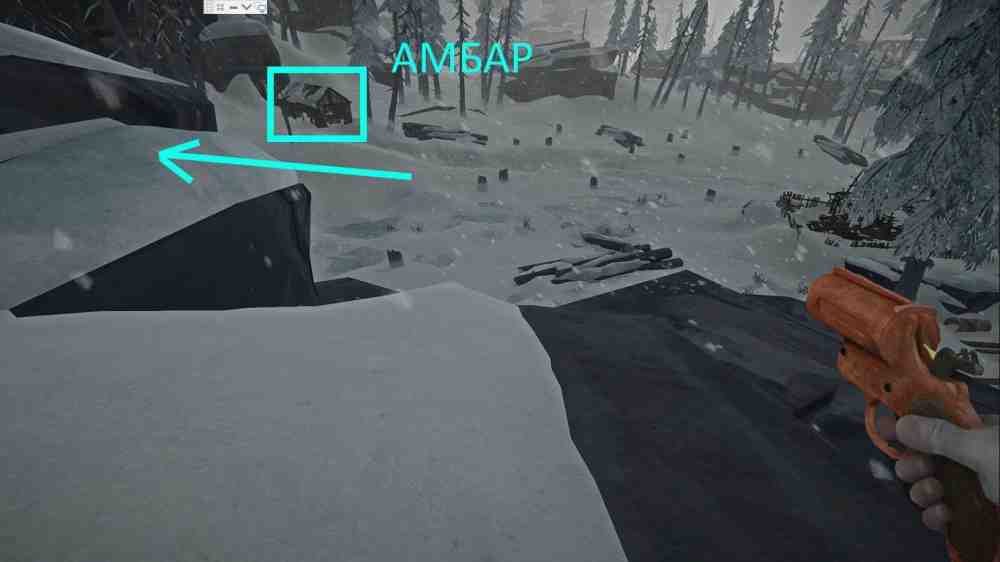
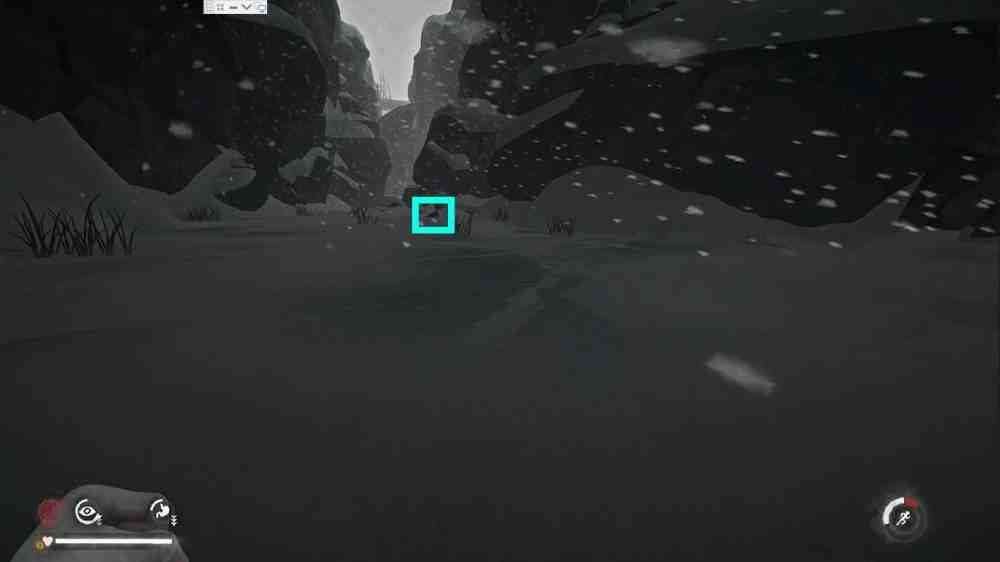
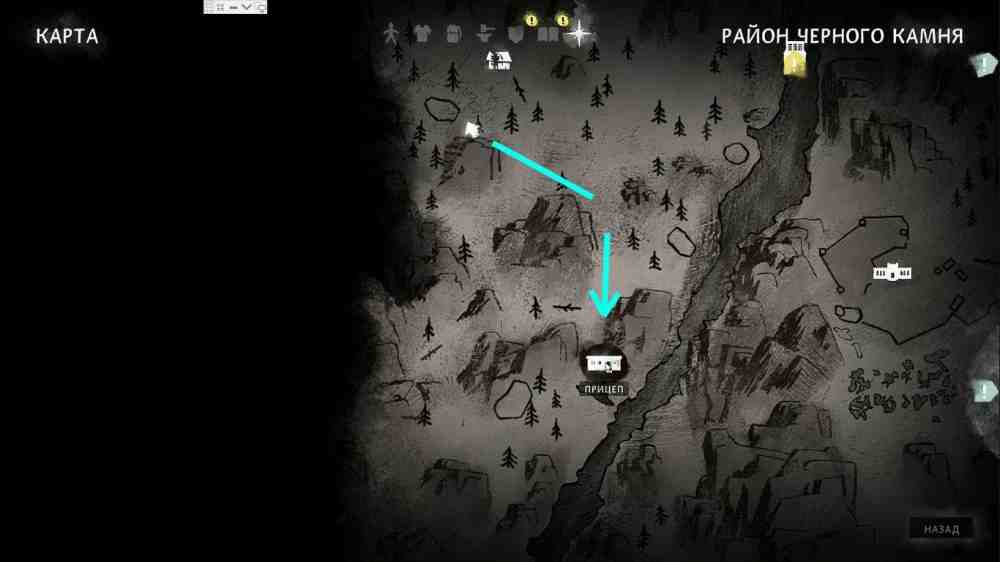
Leave the prison and follow the road downhill, as shown on the map below. Watch for wolves. Use Flares, the Distress Pistol, Noisemakers, or a Rifle if necessary.A Rifle can be found in or near one of the abandoned vehicles along this route, although exact loot can vary with difficulty and game version.Late EmployeeLate EmployeeLate EmployeeLate EmployeeContinue down the road and turn right at the fork. We eventually reach the ruined buildings where the missing employee had been staying. Search the barn for useful supplies.From the barn, head left toward the ravine. Find the fallen tree that lets us descend. Follow the frozen stream through the ravine until we reach the body of the missing Blackrock employee.
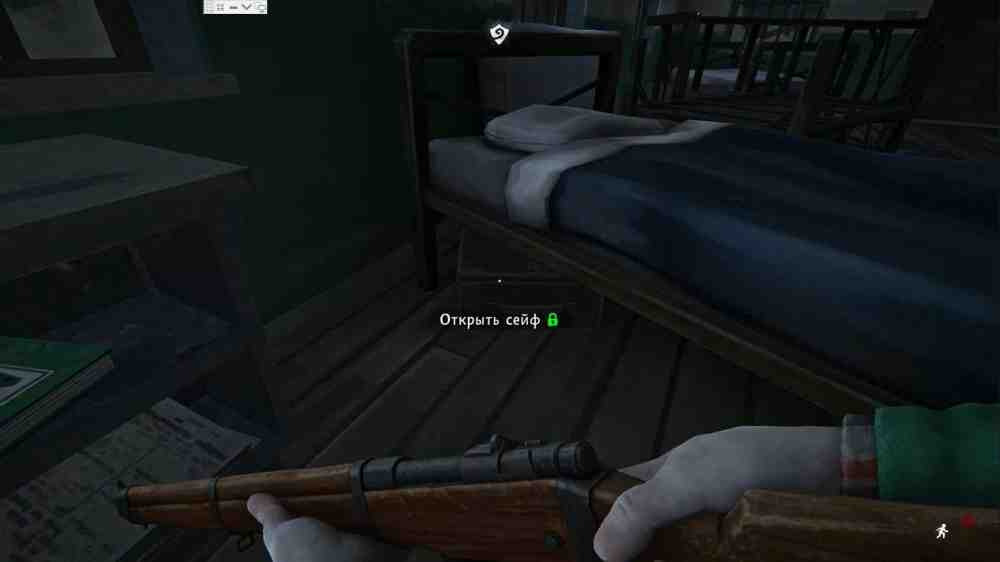
Search the body and take the Lock Box Key. The lock box is back in the guard barracks, beneath one of the beds. It contains a Gold Nugget.We also find note (7), Notebook Page on the employee. Search the nearby backpack as well. Depending on the difficulty and loot table, the area can also contain a Bow, arrows, and other useful equipment.Be ready for a wolf encounter after searching the area.
Find Medical Supplies for the Warden
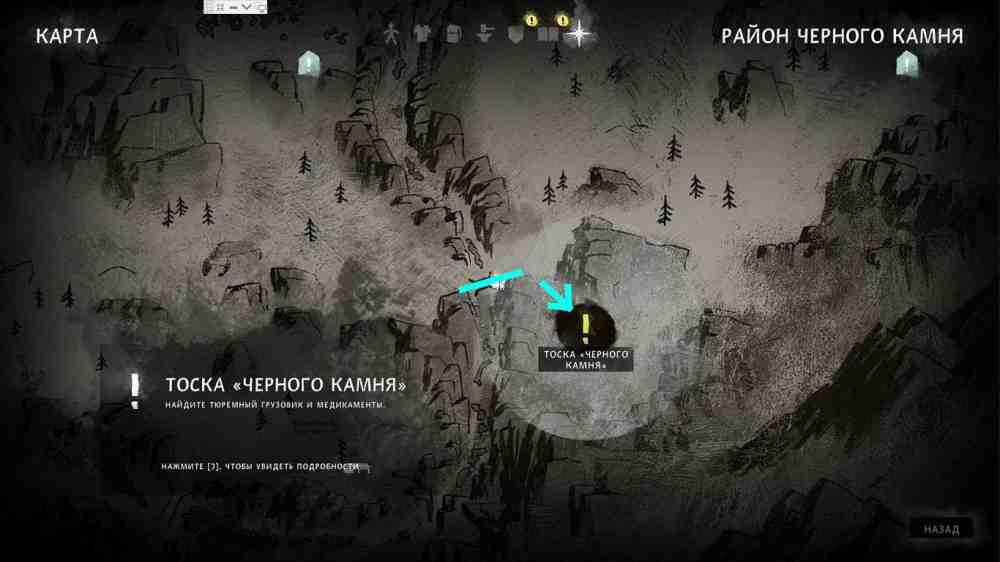
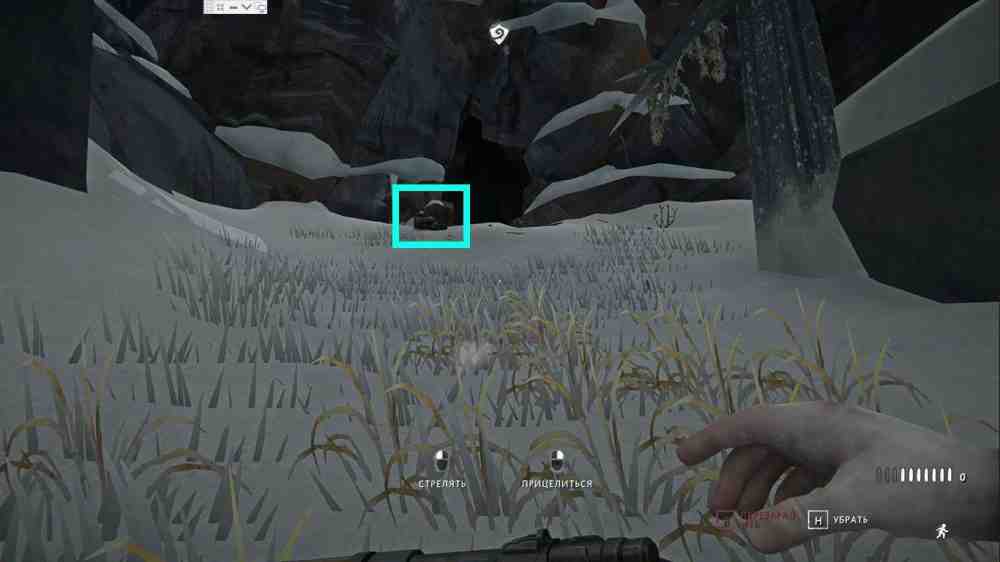
Climb back out of the ravine using the same fallen tree. Pass the barn and return to the fork. This time, go left instead of right. Continue until we reach the wooden bridge and cross to the other side. There may be several wolves nearby.Find Medical Supplies for the WardenFind Medical Supplies for the WardenAfter the bridge, we see two vehicles and a sign pointing toward the Climbing Area. Follow the sign and go right. Soon we find a bloodied backpack and a trail of blood.Follow the trail to a cave. A wolf is feeding on one of the prison guards. Deal with the wolf, search the body, and check the emergency medical kit nearby. Inside are the medical supplies for the infirmary and Painkillers.Find Medical Supplies for the WardenFind Medical Supplies for the WardenWe can return the way we came or use the climbing rope to take another route back. If Mackenzie is exhausted, the cave is a safe place to rest.Once we return to the prison, go to the guard barracks first and open the lock box beneath the bed using the key from the missing employee. Take the Gold Nugget and the Rabbitskin Hat.Find Medical Supplies for the WardenFind Medical Supplies for the WardenDo not immediately return to Mathis. Go to the prison gatehouse and drop the equipment we want to keep there. I recommend leaving weapons, ammunition, tools, and good outer clothing behind.The convicts confiscate Mackenzie's carried gear during the transition, so anything valuable should be stored before triggering the next cutscene.Once that is done, return to the prisoners and watch the long scene that ends Chapter 1.
Chapter 2. The Power Plant: How to Find the Missing Workers and Thaw the Pipes in the Steam Tunnels
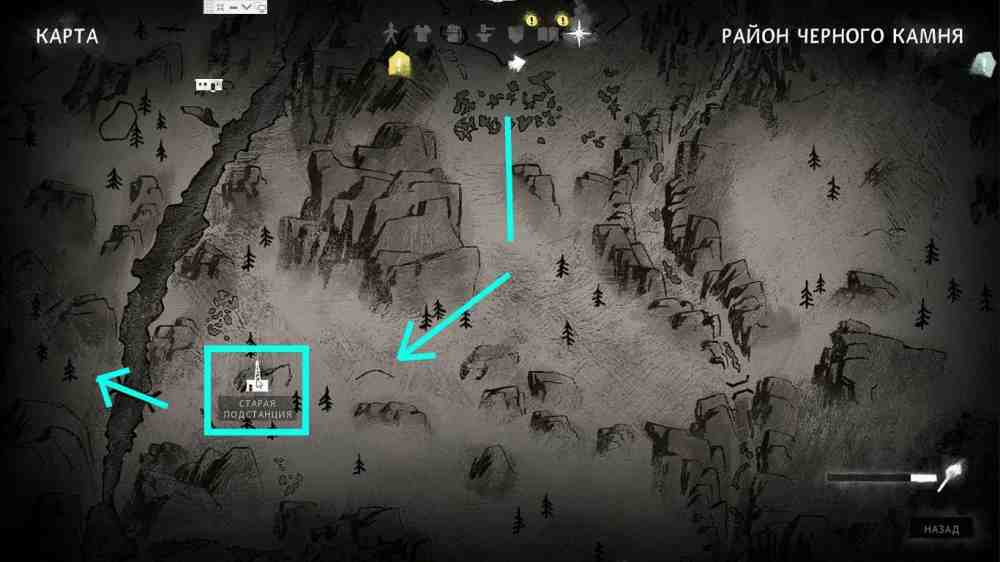
We receive the map and are sent out of Blackrock again. Pick up everything we stored at the gatehouse, prepare food and water, and make sure Mackenzie is warm enough for a long trip.Because the chapter starts at night, we can sleep at the gatehouse until morning if necessary. Our first destination is the Old Substation.Chapter 2. The Power PlantChapter 2. The Power PlantSearch the building thoroughly. We can find useful supplies and several documents, including note (8), Archival Report, note (9), a memo about the Old Substation, and note (10), Building Blackrock in the back room with the bed.One of the documents starts the side mission Lost Power Workers.
Find the Missing Power Workers
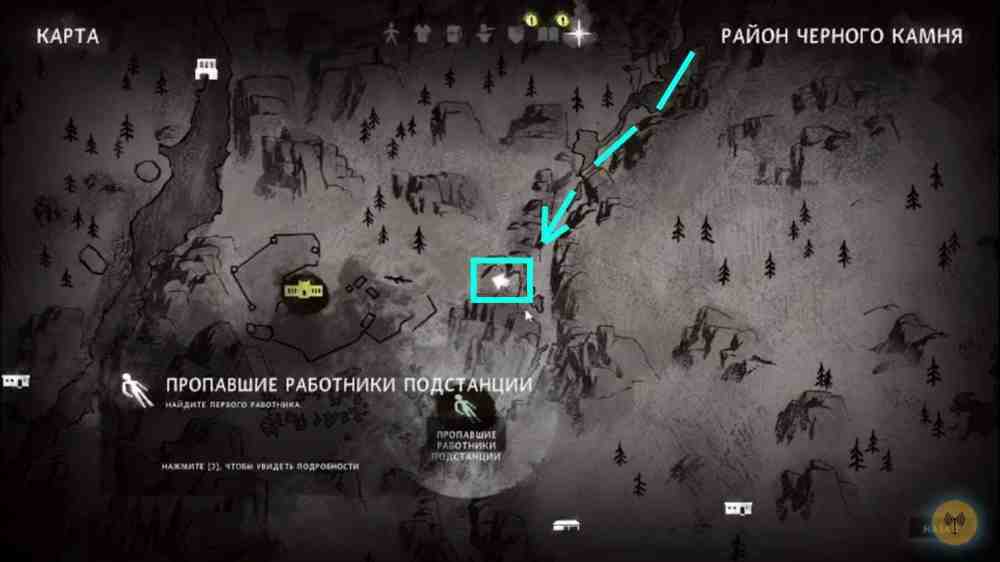
If we want to complete this side mission, it is worth finding the first worker before going too far toward the Power Plant.The first body is in a ravine relatively close to Blackrock Prison. Leave the prison along the main road. After passing an abandoned truck, leave the road and follow the narrow path toward the hanging bridge. From there, descend into the ravine and follow it until we find the first missing worker.Search the body to register the first objective.The second worker can only be reached properly once Chapter 2 is underway and the route toward the Power Plant is open. We will find him later in a trailer along the same general route. Search the body inside the trailer to finish the side mission and take the Revolver and ammunition if they spawn there.
How to Reach the Power Plant
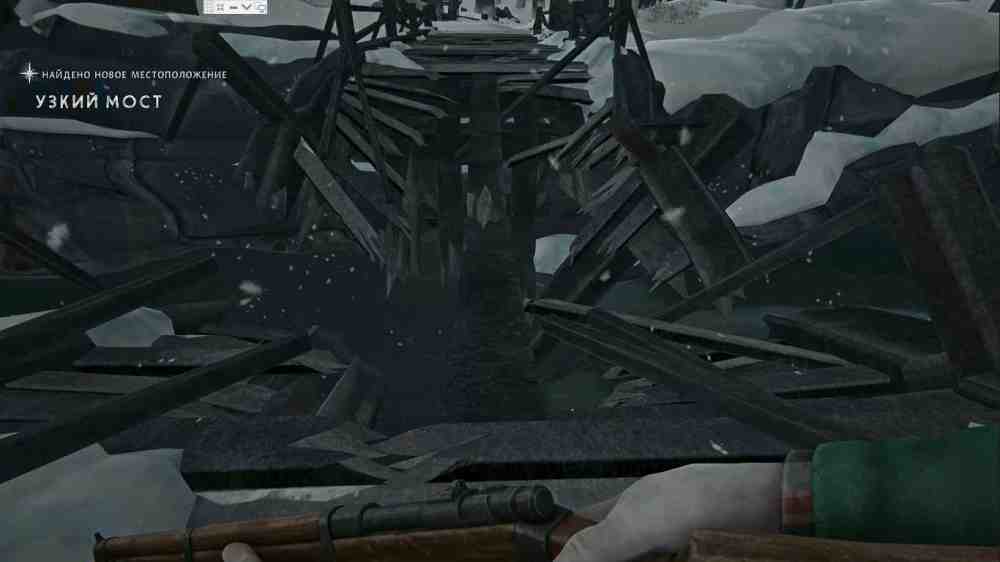
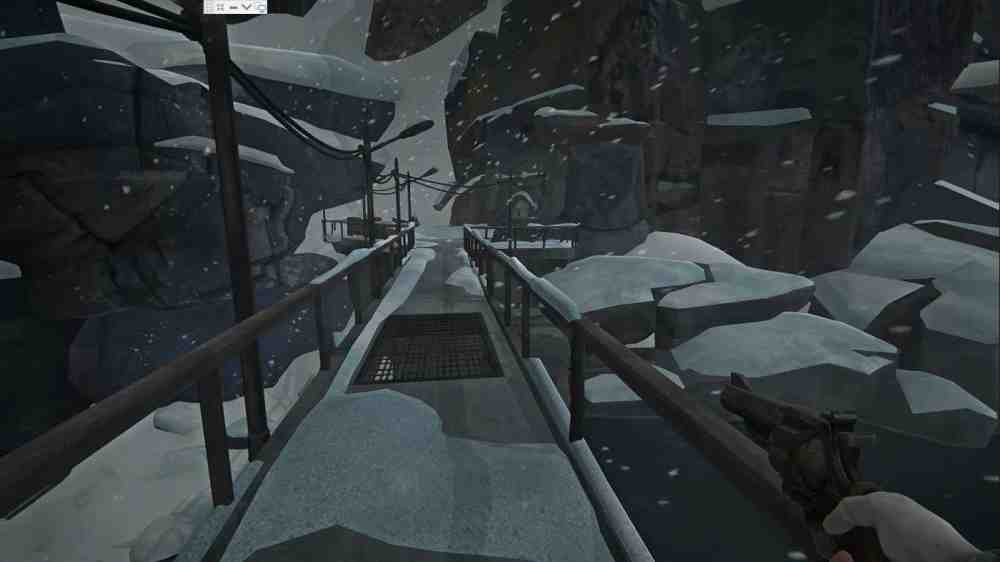
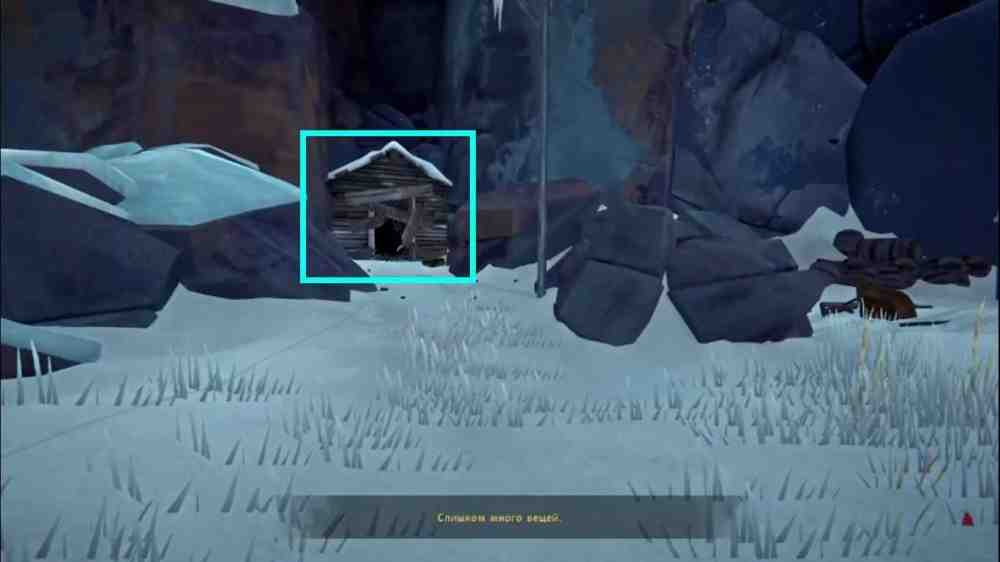
From the Old Substation, follow the route toward the extremely narrow bridge shown below and cross the river. Do not worry, this really is the intended way forward.How to reach the Power PlantHow to reach the Power PlantContinue along the road until the landslide blocks the way. Backtrack slightly and look to the side for a narrow path near the purple car.How to reach the Power PlantHow to reach the Power PlantFrom here we have a long but mostly linear trip through a clearing and a cave. The cave is a decent place to sleep and cook if necessary. Continue along the only path and across the fallen trees.Eventually we reach a climbing rope and descend near a ruined cabin. The main route goes through the cabin and up the hill, but before continuing, go down and turn toward the abandoned trailer nearby.Inside is the second missing power worker. Search the body to finish the Lost Power Workers side mission and take any useful gear.
Near the trailer is a powerline tower. Check the area around it for a backpack containing useful supplies, which can include a Firestriker and food.Return to the ruined cabin and search it. Depending on difficulty and loot settings, we may find another Rifle or other useful supplies. If our current Rifle is in better condition, unload the spare and take the ammunition. Do the same with spare Bedrolls if necessary.How to reach the Power PlantHow to reach the Power PlantFrom the cabin, continue toward the Power Plant and enter the building. Search the interior and answer the phone call from Jace. Leave through the other exit and enter the Steam Tunnels.How to reach the Power PlantHow to reach the Power Plant
How to Thaw the Pipes in the Steam Tunnels
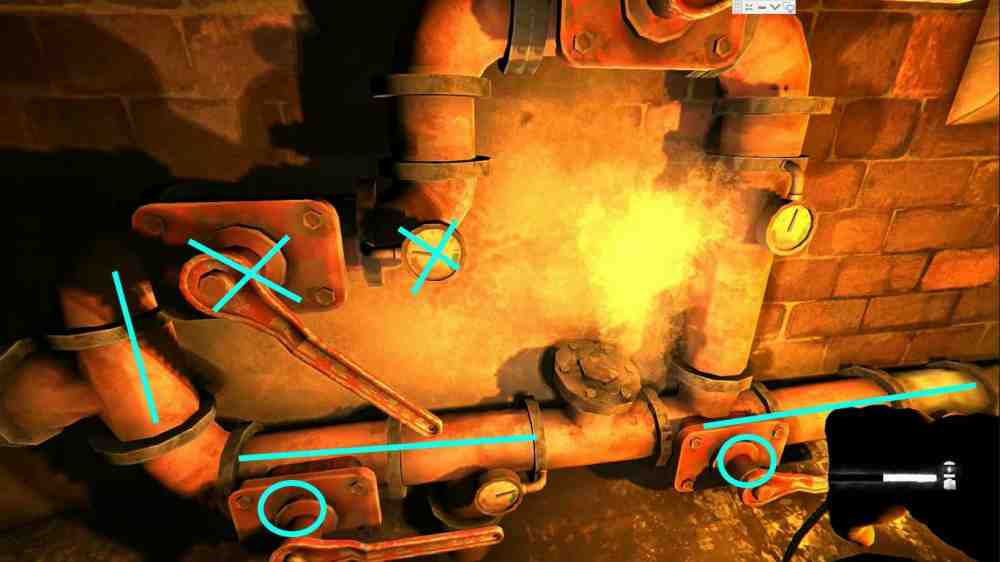
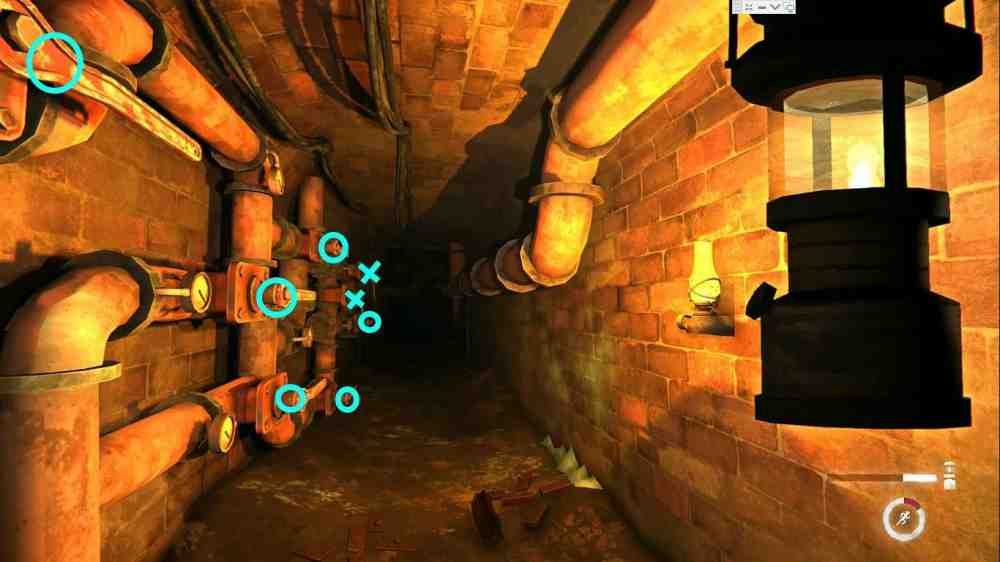
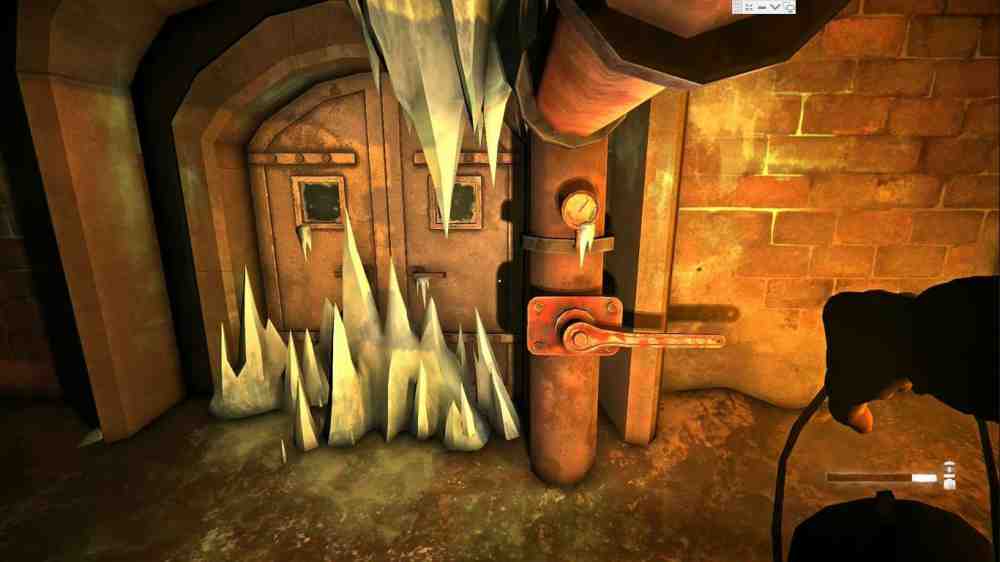
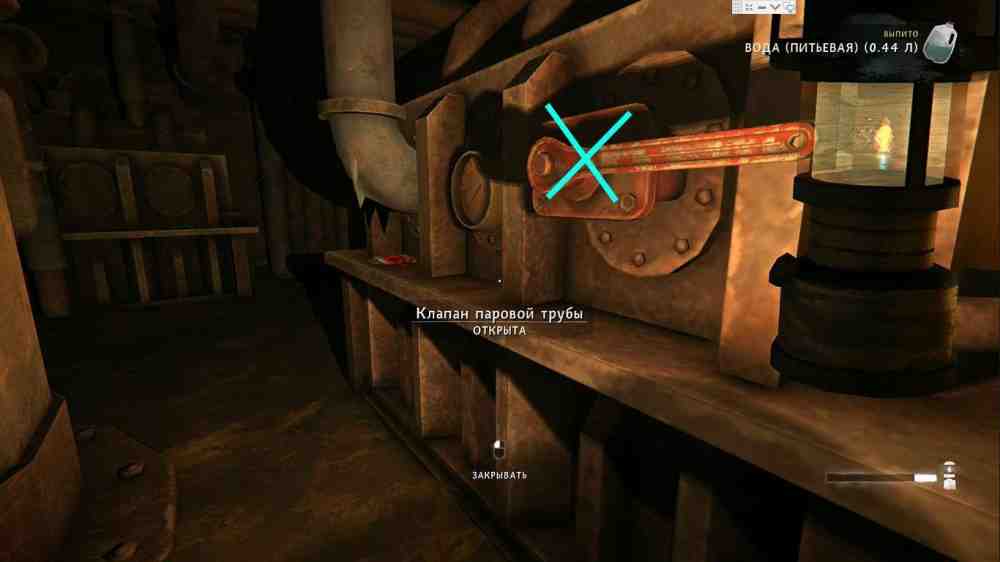
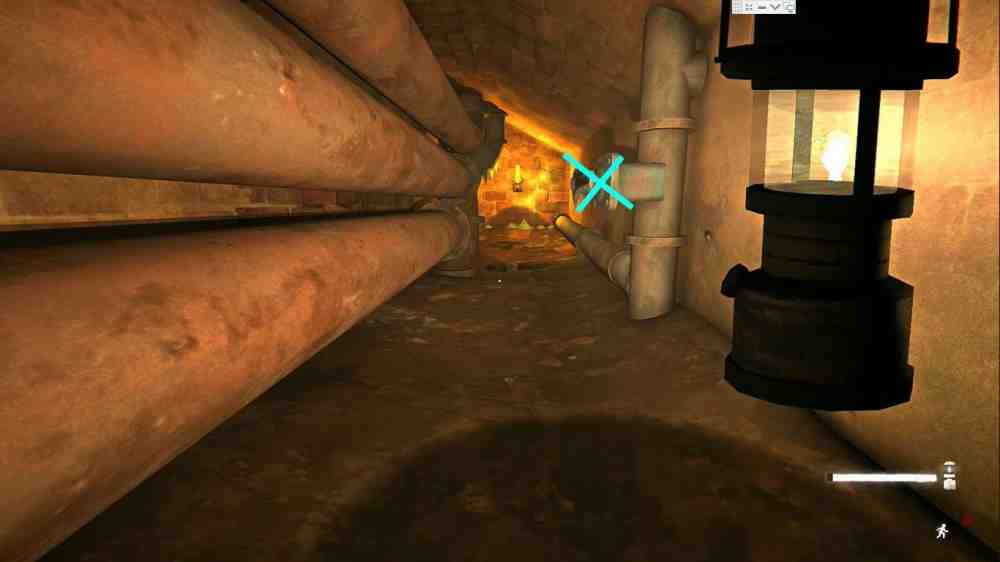
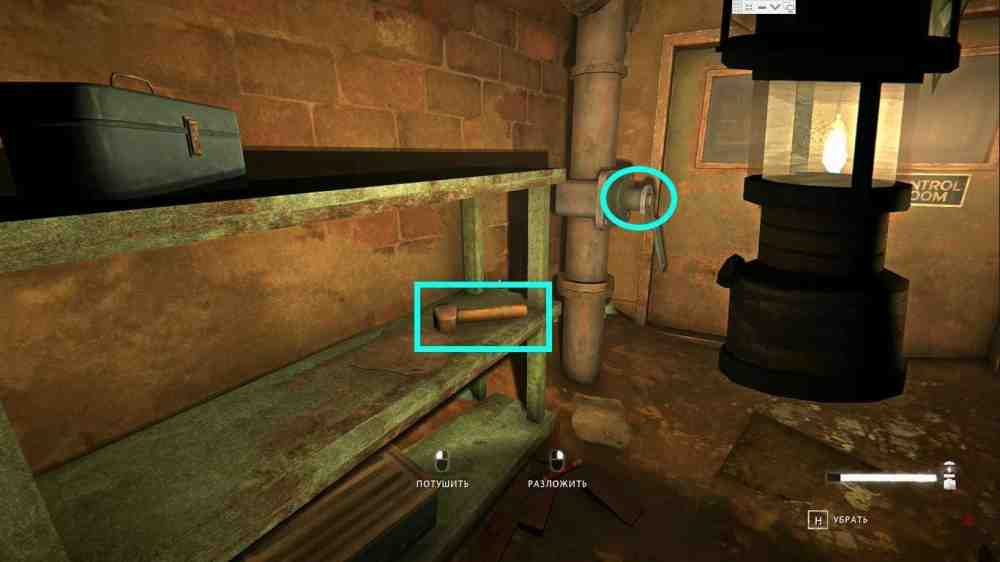
Follow the tunnels and pick up note (11), Work Order. We soon reach a frozen door with a steam valve beside it. Use the valve to send steam through the pipe. Once the mechanism thaws, open the door.Go through and turn right. Continue to the end, then turn left at the junction. Here we find several valves and pressure gauges.Open and close the valves until the pressure on the required gauges reaches the green zone. Some pipes share pressure, so opening everything at once does not work. If one gauge stays too low, close another route and redirect the pressure.How to thaw the pipes in the Steam TunnelsHow to thaw the pipes in the Steam TunnelsCheck around the corner and search the metal container for ammunition before continuing.Run forward and open the valve on the left side of the large steam machinery. Then return toward the entrance and use the second set of valves to route steam to the other side of the machine.How to thaw the pipes in the Steam TunnelsHow to thaw the pipes in the Steam TunnelsGo back to the main machine and watch for bursts of steam from the pipes. Once both sides are supplied, return toward the entrance and use the central valve to open the previously frozen door.How to thaw the pipes in the Steam TunnelsHow to thaw the pipes in the Steam TunnelsEnter the newly opened area and close the first lever on the steam machinery. Take the narrow passage on the right and close the second lever.Continue to the other side. In the right-hand tunnel, find the third control and open it. Nearby, pick up the Heavy Hammer. We absolutely need this item to continue the main story.
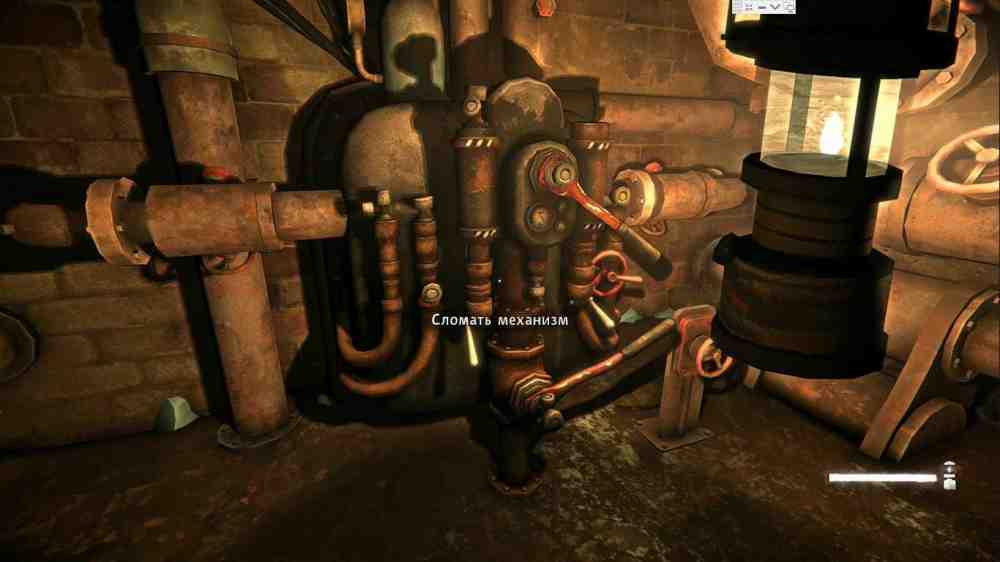
Return to the previous room and use the control leading into the Control Room. Inside, use the Heavy Hammer to smash the damaged locking mechanism, then climb the stairs.Before leaving, search the metal container near the bottom of the stairwell. Inside is Blackrock Locker Key #8. Locker #8 back in the guard barracks contains a Revolver and ammunition.How to thaw the pipes in the Steam TunnelsHow to thaw the pipes in the Steam TunnelsBefore returning to Mathis, stash our important equipment at the prison gatehouse again. This is the last time during the main story when this trick is useful in exactly the same way.Once our gear is safe, return to the convicts and watch the cutscene that finishes Chapter 2.
Optional Side Quests and Keys Worth Finishing Before Chapter 3
The original route above covers the main story and several side objectives, but Episode 4 has a few additional tasks that are easy to miss. If we want the guide title to mean all quests, keys, and notes, now is a good time to clean them up.Blackrock Locker Key #3. Leave the prison and follow the road toward the abandoned staff housing area. At the fork, take the route toward the ruined settlement. Search the glove compartment of the truck near the farther building. Locker #3 contains a Hunting Knife, an Emergency Stim, Rifle Ammunition, and one of the Archival Reports needed for Dark Star.Dark Star. This side mission requires the Blackrock Archival Reports. One is on the prison bus in the maintenance area, one is inside Locker #3, one is at the Old Substation, and another can be found at Foreman's Clearcut in the trailer with the Workbench. The reports all use the same generic in-game name even though they describe different parts of Blackrock's history.Blackrock Rumours - Suspicious Person. The starting memo is in the blue truck near the Old Substation. Follow the clue toward the cabin by the frozen lake. The first hidden cache is behind the building in the rocks. It points us toward a larger Prepper Cache farther away. Search the bunker thoroughly. The most valuable reward is the Moose-Hide Satchel. Read the note inside to complete this branch of Blackrock Rumours.Convict Caches. The side mission begins at Cook's Farm. Search the metal container in the shed for the convict's note. Four caches then become available around the region. One is near the river below the Old Substation, another is near a powerline tower on the route away from the prison, another sits on the clifftop past Cook's Farm, and the final cache is hidden in a small cave on the road toward the mine. They contain ammunition, clothing, Flares, an Emergency Stim, a Firestriker, and other useful supplies.
Chapter 3. The Detonators: How to Find the Aggressive Wolf, the Detonators, and the Forest Talker Cache Combination
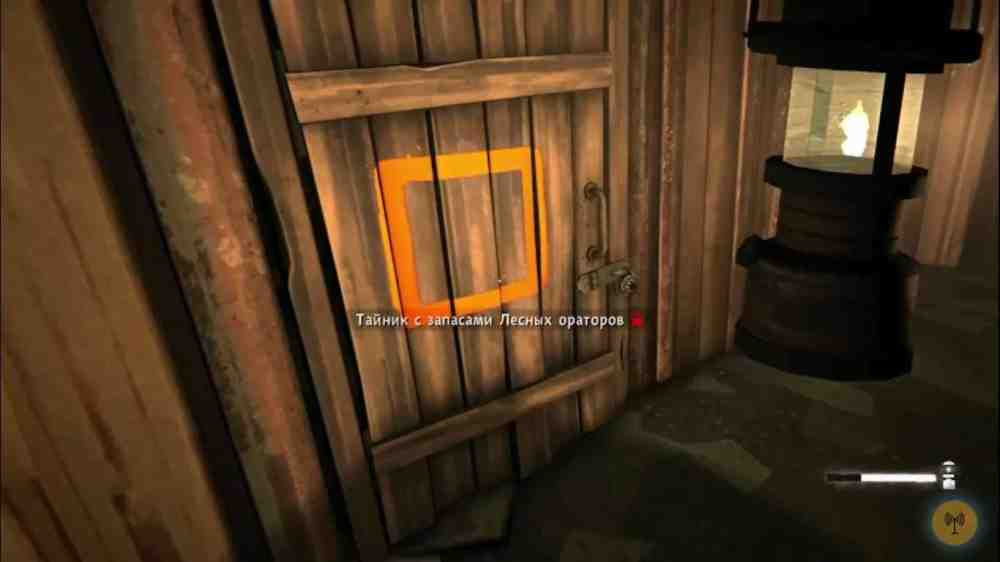
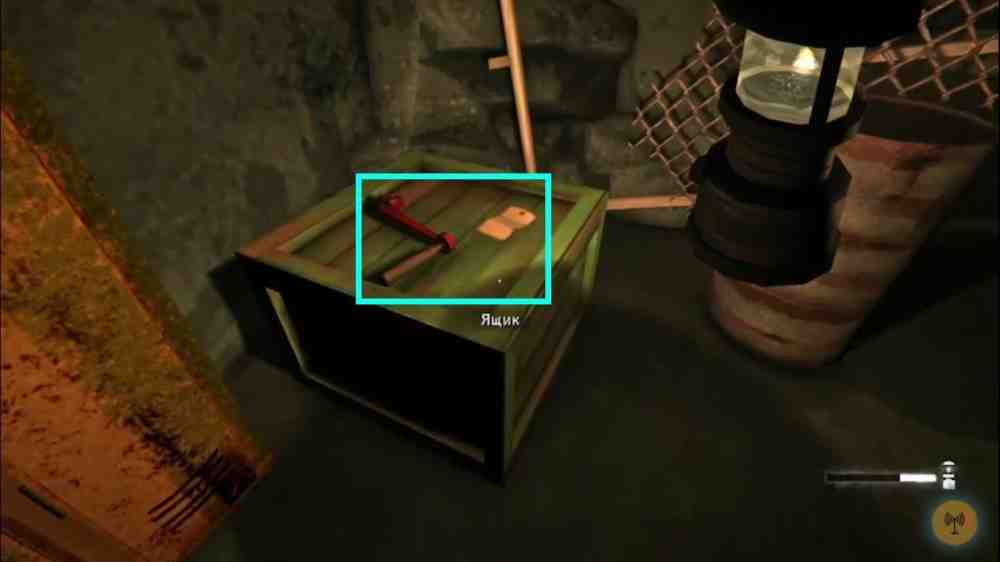
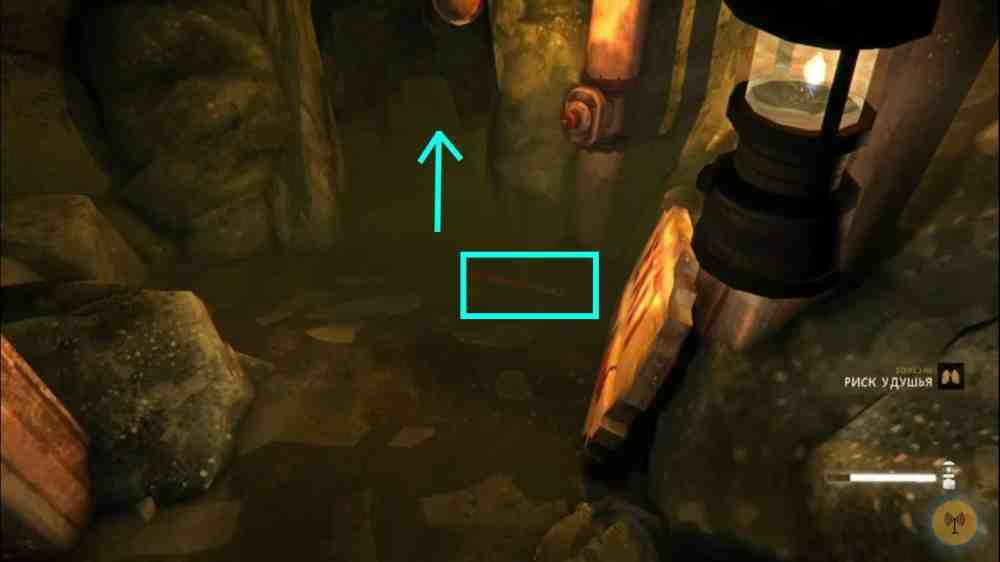
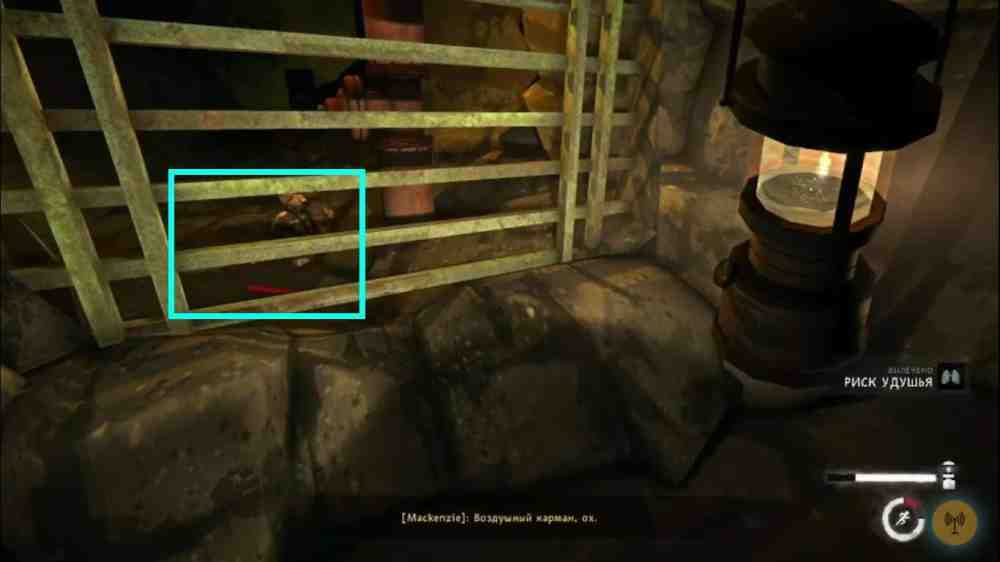
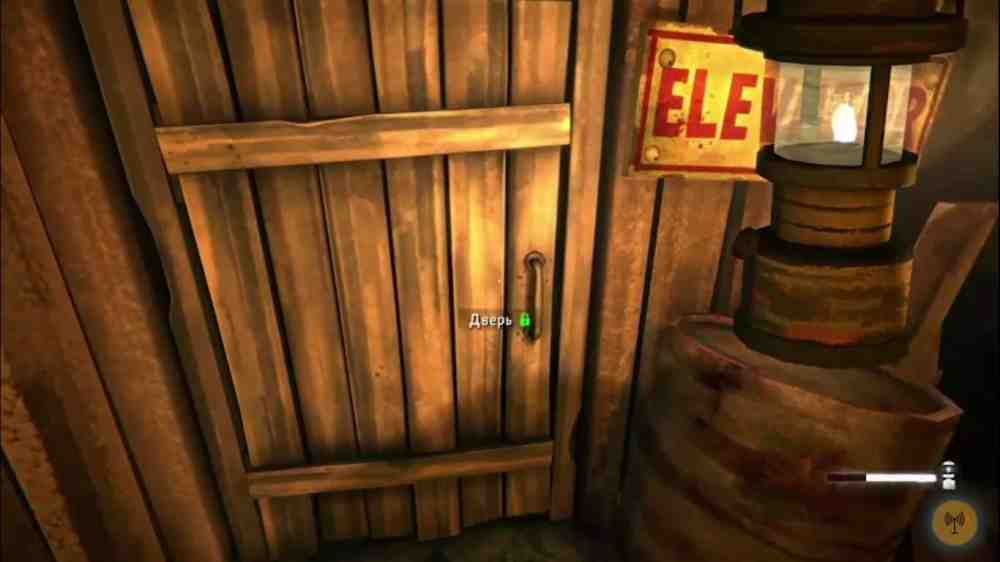
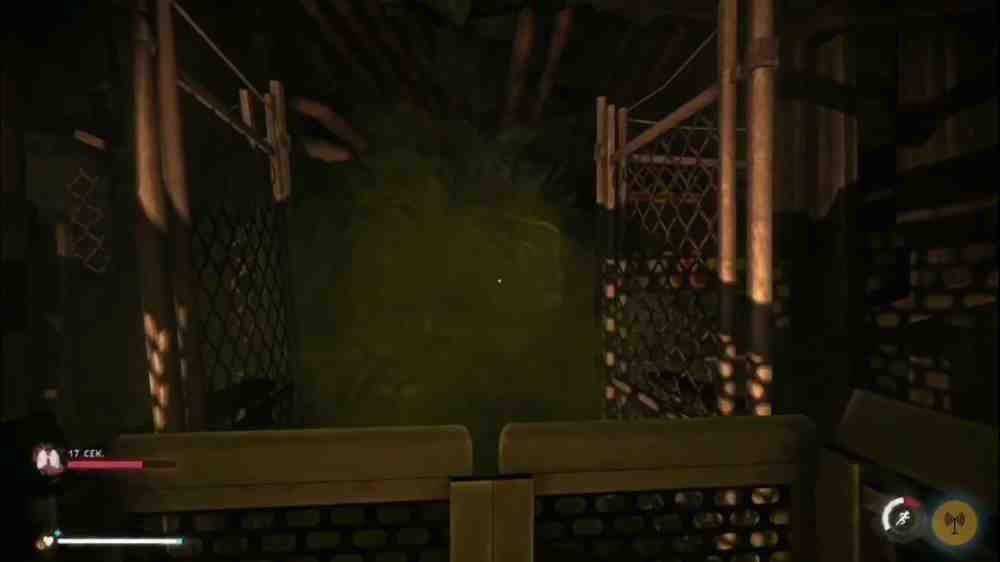
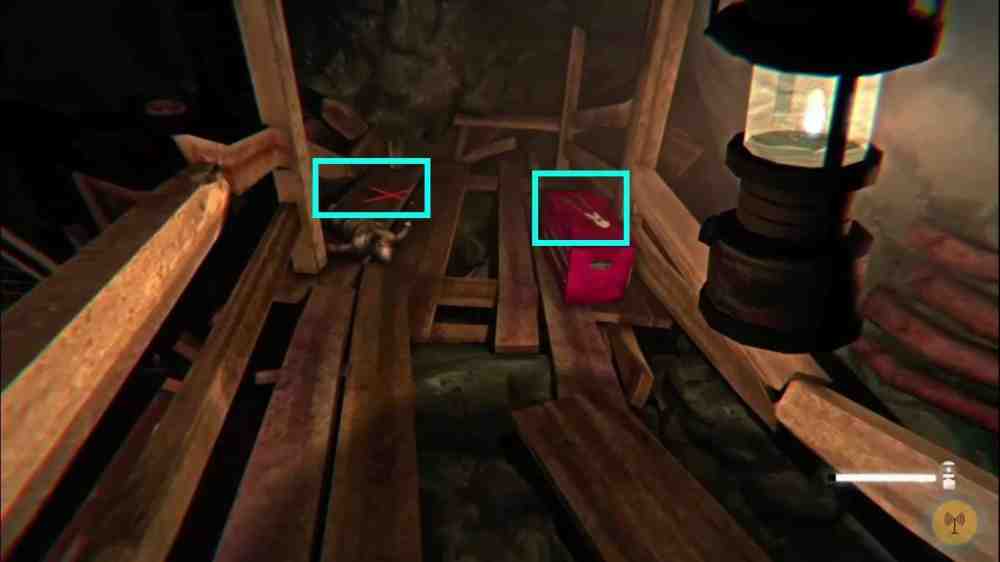
Pick up the gear we left at the gatehouse and head south through the region, following the same general route we used to find the medical supplies in Chapter 1.Cross the wooden bridge and continue toward the upper-right part of the map. Before entering the mine, we can finish the Highly Aggressive Wolf branch of Blackrock Rumours.Prepare for several wolf encounters. Remove raw meat, guts, and hides from Mackenzie's backpack if possible, because their scent makes predators much more interested in us. A bear can also roam this part of Blackrock, so avoid turning a simple wolf hunt into an even bigger problem.Explore any cabins and barns we pass along the way if we need supplies.The aggressive wolf's den is a dead-end cave in the northeastern part of Blackrock. Inside, pick up note (12), Great Bear Wolf Behaviour Study.Deal with the wolf. If it runs away after being wounded, do not panic. Search the back of the cave and the wildlife expert's body to finish this part of Blackrock Rumours.Chapter 3. The DetonatorsChapter 3. The DetonatorsNow head to Last Prospect, the abandoned mine.Near the entrance, there is a wooden door marked with a yellow square. This is the Forest Talker supply cache tied to the side mission A Riddle Among the Shadows.We cannot open it immediately. Mackenzie must find three Forest Talker clues inside the mine before the combination lock becomes usable.Chapter 3. The DetonatorsChapter 3. The DetonatorsGo deeper into the mine. At the first junction, turn right. The route to the left is locked, and we will eventually return from that side.Reach the elevator and find the Elevator Crank. Before using it, read note (13), Mine Safety Notice. Near the crank, pick up note (14), the first Forest Talker clue. This clue reveals that the final number of the combination is 18.Chapter 3. The DetonatorsChapter 3. The DetonatorsSearch the lockers for useful supplies, then take the elevator down.Before entering the toxic-gas section, reduce Mackenzie's carried weight. We are going to sprint through several dangerous sections, and being encumbered can get us killed.At the lower level, we see a Danger: Toxic Gas sign. Pick up the Valve Socket Handle.Do not waste it on the first valve if doing so leaves us without enough time to reach the next safe air pocket. The important thing is to carry the handle forward and use it where it extends the route through the gas.Chapter 3. The DetonatorsChapter 3. The DetonatorsSprint through the toxic section to the next valve and use the handle. Continue until we reach the air pocket near the grate and corpse. Another Valve Socket Handle can be seen beyond the grate.Chapter 3. The DetonatorsChapter 3. The DetonatorsCatch our breath, then take the side tunnel and sprint toward the body. Search it to obtain the Mine Gate Key and note (15), the second Forest Talker clue.Take the Valve Socket Handle nearby and return through the gas.Use the Mine Gate Key on the locked door, then head toward the next elevator.Chapter 3. The DetonatorsChapter 3. The DetonatorsUse the Valve Socket Handle where needed to clear enough gas to reach the elevator. Once we start running, do not stop to search every side container. There is enough time to reach the elevator and ride it to Floor 2, but only if we keep moving.Chapter 3. The DetonatorsChapter 3. The DetonatorsOn Floor 2, move forward. The gate ahead is locked, so turn left and climb the wooden beams.We eventually reach an area with a bed and several lockers. There are two important routes here.First, take the path down toward the body below the wooden structure. Search it for note (16), the third Forest Talker clue.Then climb back up and collect the Detonators.Nearby is another corpse, a toolbox, and an X painted on the floor. Stand on the X and watch the distant light. It flashes seven times, giving us the middle number of the cache combination.Take the Bolt Cutters from the toolbox and cut the chain blocking the nearby gate.Chapter 3. The DetonatorsChapter 3. The DetonatorsThe first number of the Forest Talker code is hidden in the yellow mine signs. Several letters have been crossed out. Put those letters together and they form the number TWELVE.We now have the complete combination:
12.
7.
18.
Return toward the cache near the entrance and enter 12-7-18. Inside we find a good supply of food and ammunition, along with useful equipment such as a Rifle, Combat Boots, Noisemakers, and other supplies depending on difficulty.Opening the room completes A Riddle Among the Shadows.Afterward, answer Jace's phone call.When we try to leave the mine, a collapse blocks the original route and an Aurora begins. A flashlight can be useful here, although waiting for the Aurora to end is also an option in some safe areas.We cannot return along the route we used to enter. Follow the only available passage through the cave system until we reach a climbing rope. Descend to the frozen river.There is another cave nearby where we can sleep if necessary. Continue out of the canyon using the fallen trees and the remaining climbing ropes until we return to the open Blackrock region.Chapter 3. The DetonatorsChapter 3. The Detonators Before triggering the prison cutscene, I recommend leaving our best warm clothing in the storage area near the gatehouse or maintenance yard. We can recover clothing during the final escape.Do not rely on this trick for weapons, ammunition, or other non-clothing gear. During the Chapter 4 transition, non-clothing items stored there may be removed.
Chapter 4. Donner: How to Escape Blackrock and Get Away from Mathis
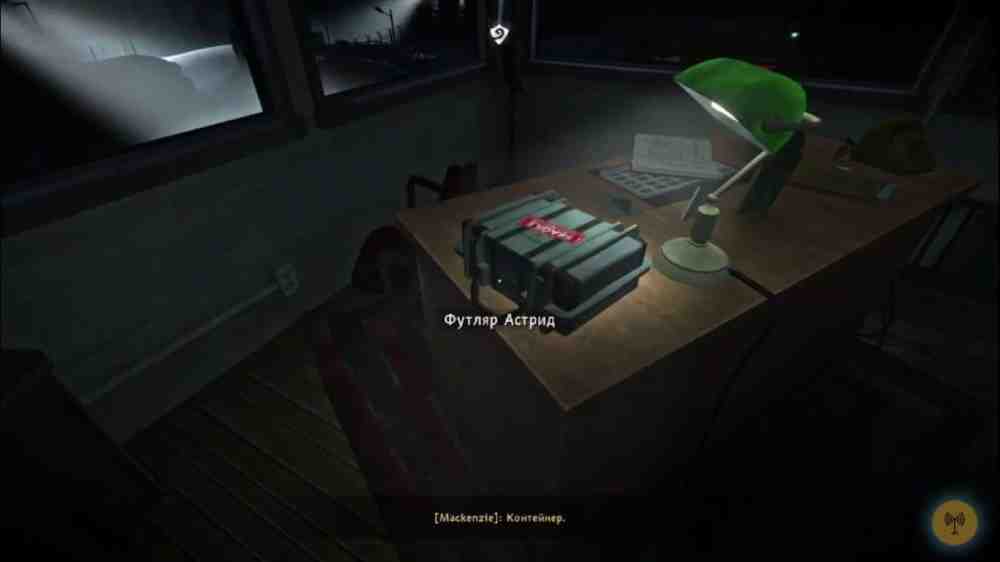
Watch the long cutscene until the explosion finally changes the situation. After Mackenzie regains control, speak with Mathis and follow the newly opened route upstairs to the Warden's office.Take Astrid's Hardcase. The phone immediately begins ringing. Answer Jace's call.Chapter 4. DonnerChapter 4. DonnerFrom this point onward, we are escaping. Do not stop to loot everything.Run out onto the roof and descend into the prison yard. Use the yellow bar or lever at the door when the game prompts us to block the convicts behind us.Continue through the yard while avoiding the searchlights.If a searchlight catches Mackenzie, the convicts start shooting. Staying inside the beam for too long can kill us, so move from cover to cover and wait for a safe opening before crossing exposed areas.Reach the maintenance yard. If we stored warm clothing here before the chapter transition, grab it now.Head for the entrance to the Steam Tunnels. The approach is scripted so that Mathis' men spot Mackenzie and fire at him. Do not stop near the door. Interact with it as soon as we can.Inside the tunnels, parts of the route are burning and some sections are filled with smoke and dangerous electrical cables. Use the side passages and maintenance routes we learned during Chapter 2.At this stage, carrying less weight makes the escape easier. We no longer need to hoard supplies for another chapter.Follow the Steam Tunnels until we reach fresh air and emerge at the Power Plant.Enter the building and meet Jace.Watch the final cutscene. This completes Episode 4, Fury, Then Silence.That is the end of our complete walkthrough for The Long Dark Episode 4: Fury, Then Silence. We covered the four main chapters, Blackrock Rumours, Lost Power Workers, Blackrock Lockers, Dark Star, Convict Caches, the Forest Talker puzzle, the important notes and keys, and the safest places to leave valuable gear before the story confiscates it.