A complete walkthrough for the second installment of the first-person shooter series: how to eliminate every target and complete all contracts, where to take the best firing positions, and how to neutralize each objective.
The Grey Desert
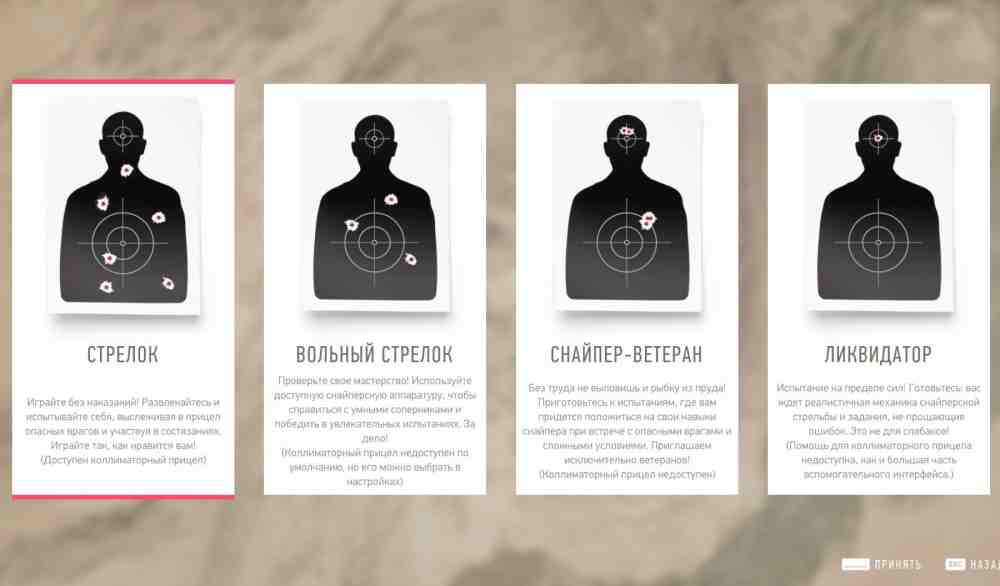
The tutorial mission consists of several straightforward stages. You will learn how to use an extreme long-range sniper scope, operate the drone and turret, and work with different ammunition types.Choose a difficulty:
Marksman (aiming assist available): a very easy mode that does not punish mistakes or slip-ups. Have fun and test yourself as you track dangerous enemies through the scope. Play however you like.
Sharpshooter (aiming assist is enabled by default and can be changed in the settings): a medium difficulty that puts your skills to the test. Use all available sniper equipment to deal with smarter enemies and overcome challenging encounters.
Veteran Sniper (aiming assist unavailable): a hard mode where you will face serious challenges.
Deadeye (aiming assist and most HUD assistance are unavailable): you are a killer. Just do the job.
There are several types of special ammunition. You will not always need them, but it is still worth completing the tutorialThere are several types of special ammunition. You will not always need them, but it is still worth completing the tutorialThere are several types of special ammunition. You will not always need them, but it is still worth completing the tutorial.
Zindah Province: How to Eliminate Antwan Zarz, Ronald Payne, and Fyodor Novikov, and Sabotage the Satellite Dishes
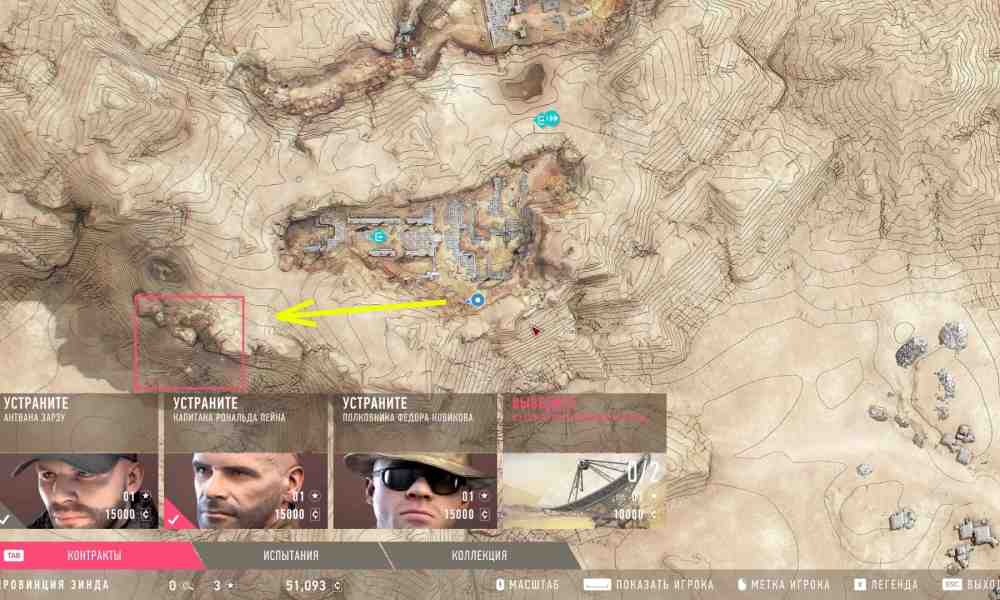
The map is divided into several large areas. Reach each of the three key points and take up position. All key locations are marked on your map. You may encounter armed soldiers along the way. If you raise the alarm, eliminating the main target becomes much harder.Sniper Ghost Warrior Contracts 2 Walkthrough — Zindah ProvinceSniper Ghost Warrior Contracts 2 Walkthrough — Zindah Province
How to Eliminate Antwan Zarz
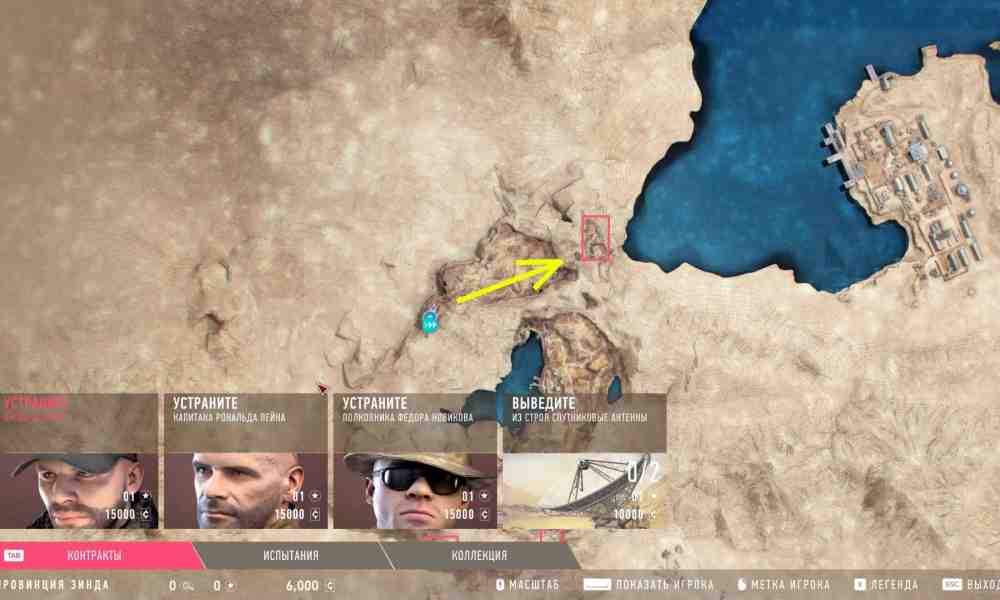
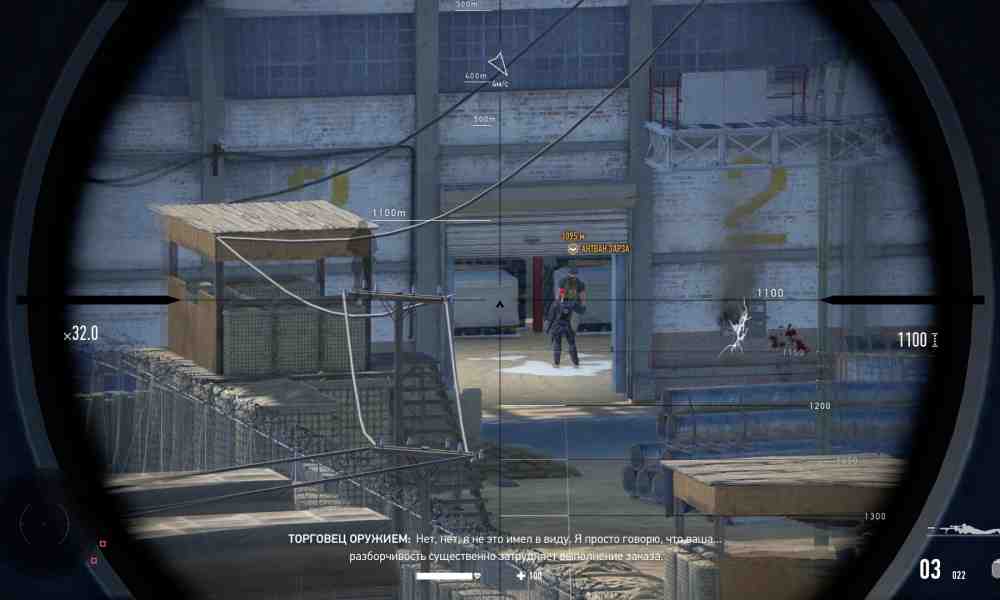
Open the map with M and head to the first sniping position. Take out the binoculars with T and tag the enemies. One of them is your target. You can eliminate Antwan Zarz in several ways.
Kill him anywhere. This gives you the standard reward.
Drop the metal container hanging from the crane onto Antwan.
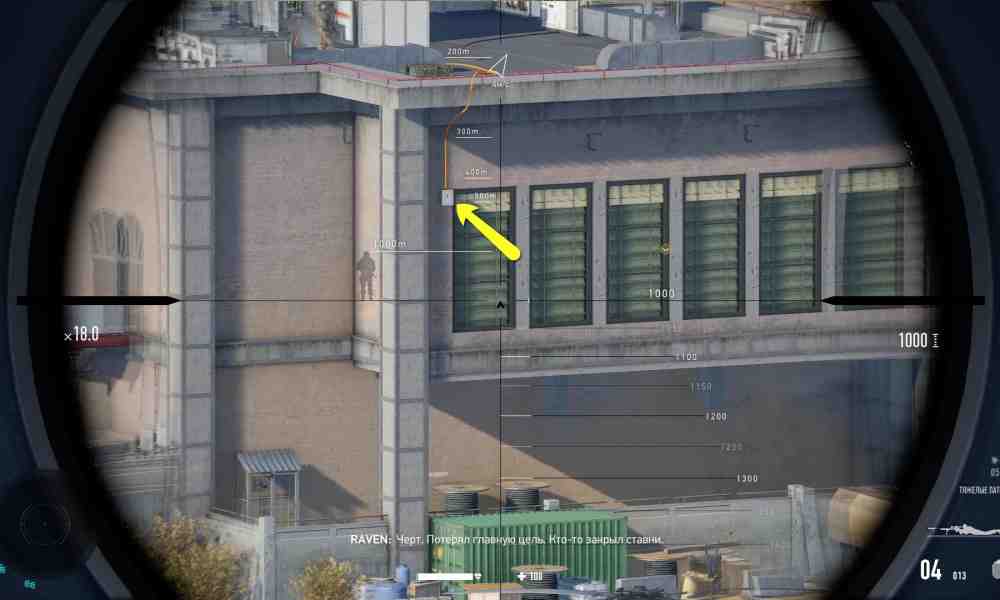
Lure Antwan into his office and shoot him. Find the three soldiers on the roof of the central building, eliminate them, then disable the ventilation system by shooting the fuse box. Wait for Zarz to head to his office. Shoot down the metal container blocking your line of sight and eliminate the target.
Kill Antwan together with the dealer. Wait until the dealer joins Zarz. Eliminate the soldier near the fuse box and open the gate. Kill Zarz and the dealer with a single shot.
Other methods become available later.
Sniper Ghost Warrior Contracts 2 Walkthrough — How to Eliminate Antwan ZarzSniper Ghost Warrior Contracts 2 Walkthrough — How to Eliminate Antwan Zarz
How to Eliminate Captain Ronald Payne
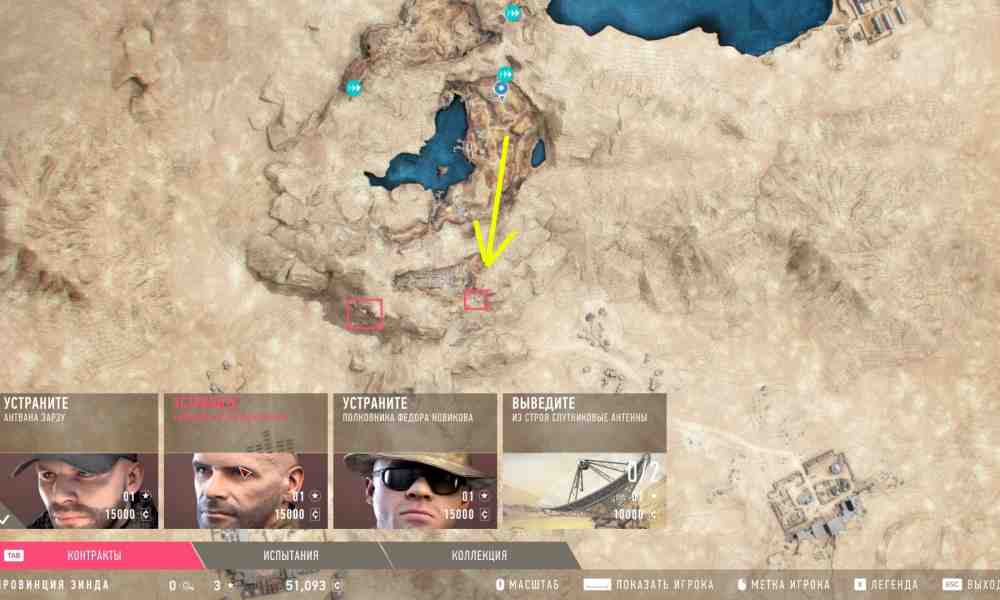
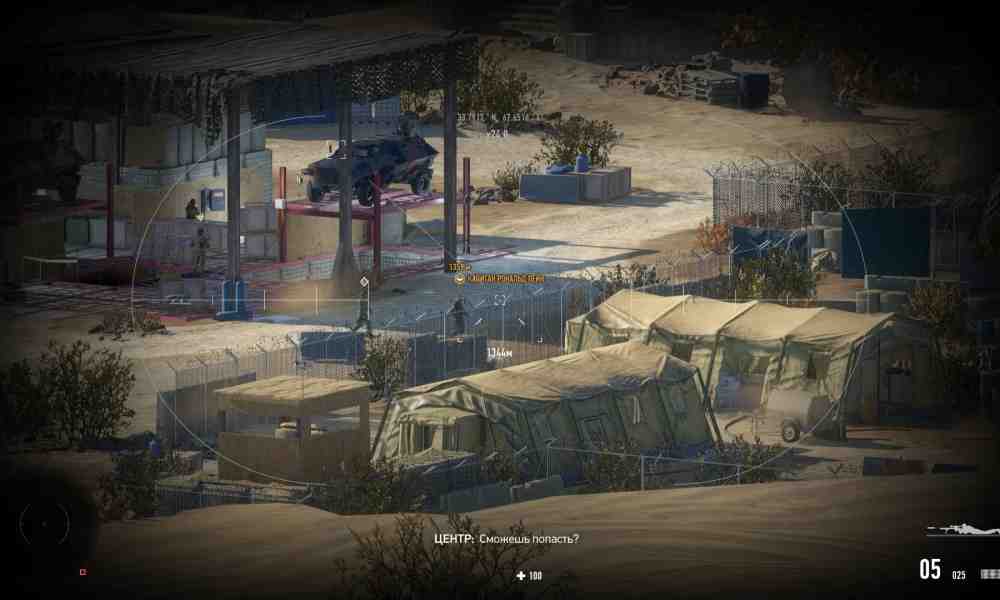
Sniper Ghost Warrior Contracts 2 Walkthrough — How to Eliminate Captain Ronald PayneSniper Ghost Warrior Contracts 2 Walkthrough — How to Eliminate Captain Ronald PayneRun through the cave toward the second key location, eliminating enemies along the way. Take up position and tag your targets. The easiest option is to eliminate Captain Payne with a precise shot the next time he stops. Additional elimination methods become available later.Sniper Ghost Warrior Contracts 2 Walkthrough — How to Eliminate Captain Ronald PayneSniper Ghost Warrior Contracts 2 Walkthrough — How to Eliminate Captain Ronald Payne
How to Eliminate Colonel Fyodor Novikov and Sabotage the Satellite Dishes
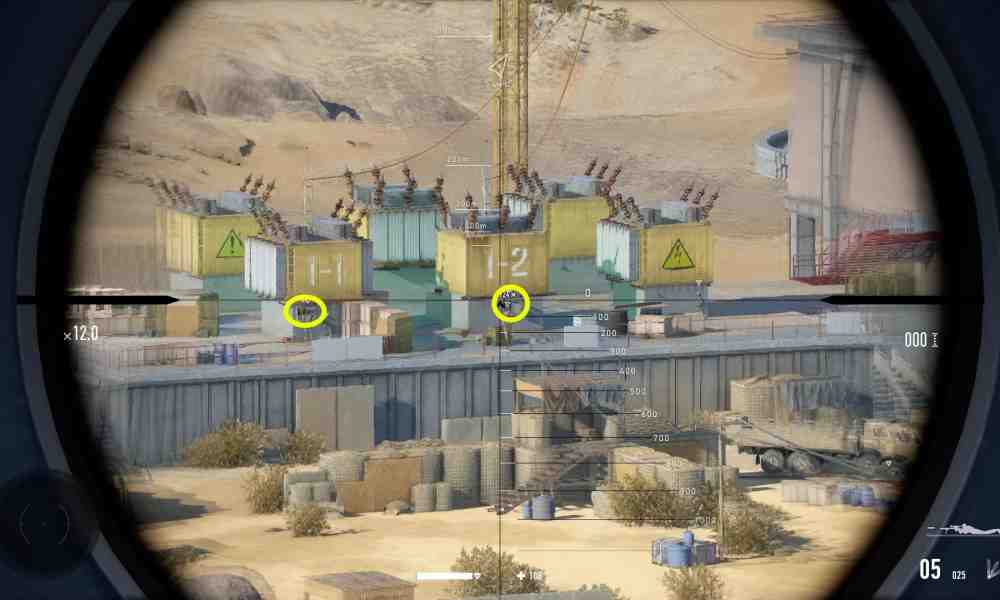
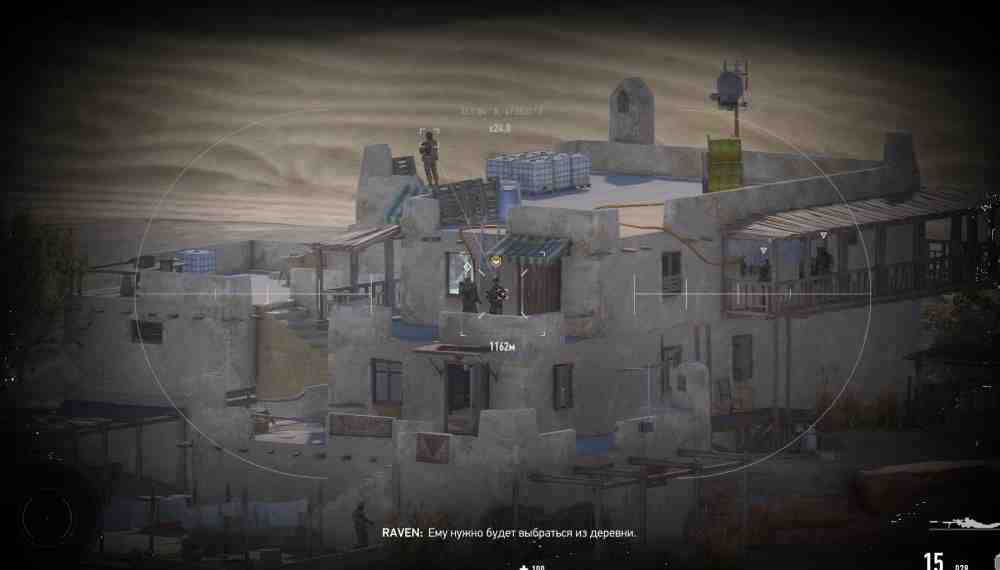
Sniper Ghost Warrior Contracts 2 Walkthrough — How to Eliminate Colonel Fyodor Novikov and Sabotage the Satellite DishesSniper Ghost Warrior Contracts 2 Walkthrough — How to Eliminate Colonel Fyodor Novikov and Sabotage the Satellite DishesHead to the final sniping position and tag the targets. Colonel Novikov is hiding inside the building on the right, so you need to lure him out. You can see satellite dishes with fuse boxes on both sides. Shoot all four fuse boxes and Novikov will leave the building. Sniper Ghost Warrior Contracts 2 Walkthrough — How to Eliminate Colonel Fyodor Novikov and Sabotage the Satellite DishesSniper Ghost Warrior Contracts 2 Walkthrough — How to Eliminate Colonel Fyodor Novikov and Sabotage the Satellite DishesIf you disable the satellite dishes without raising the alarm, you receive extra points and complete the challenge. The best way to eliminate the target is to kill him in his own office. Wait for Novikov on the second floor of the building on the left, shoot the fuse box on the roof, and take him out.How to Eliminate Colonel Fyodor Novikov and Sabotage the Satellite DishesHow to Eliminate Colonel Fyodor Novikov and Sabotage the Satellite Dishes
Mount Kuamar: How to Eliminate Lars Hellstrom, Disable the Jammers, and Complete the Other Objectives in Sniper Ghost Warrior Contracts 2
Below, I'll explain how to complete the Mount Kuamar mission quickly and efficiently.
Preparing for the Mount Kuamar Mission
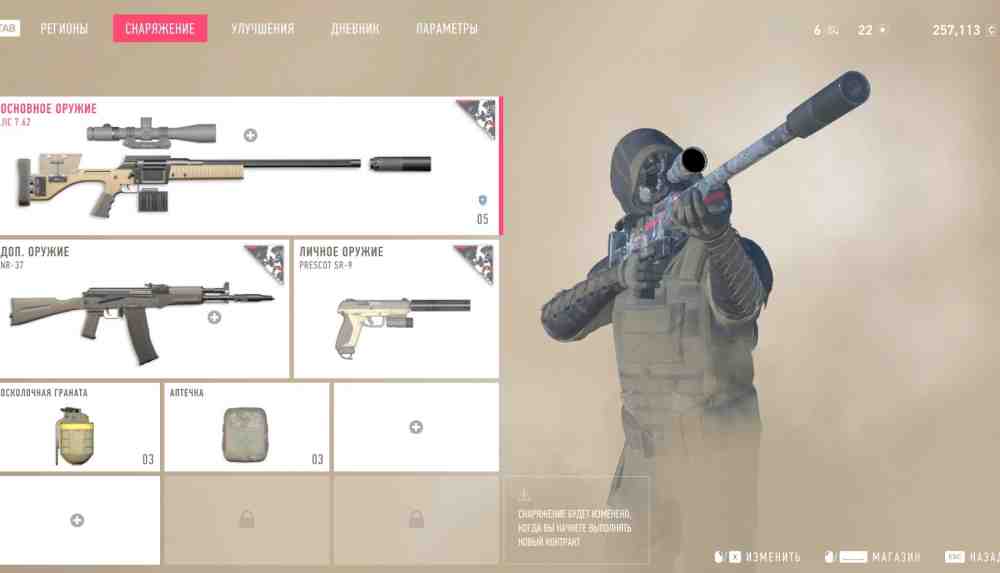
For this mission, choose the lightweight JIC 7.62 sniper rifle and buy a suppressor and armor-piercing ammunition for it. The suppressor helps you avoid raising the alarm, while armor-piercing rounds are useful against heavy enemies. The mission becomes much harder without this loadout.Preparing for the Mount Kuamar MissionPreparing for the Mount Kuamar Mission
How to Disable the Jammers (2/3)
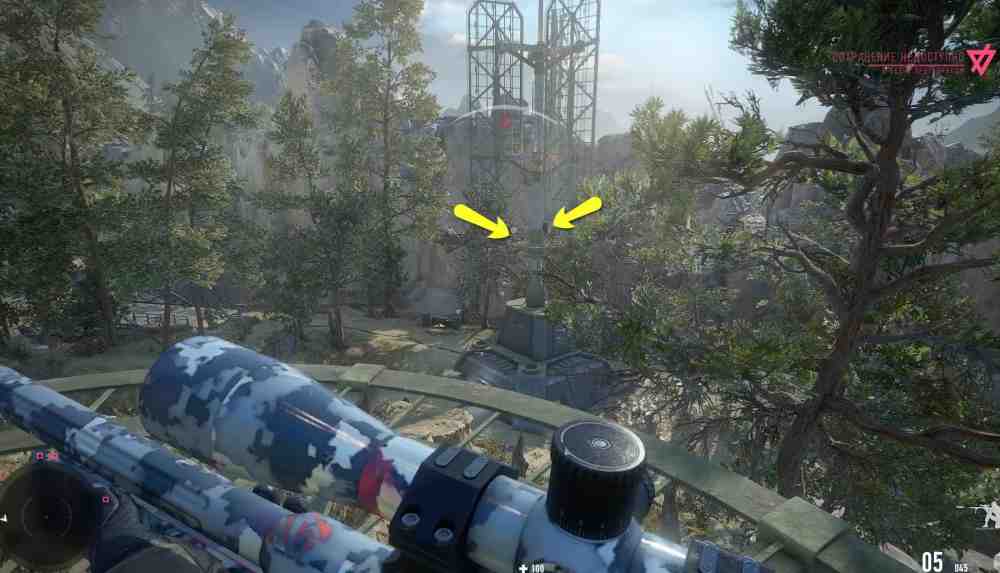
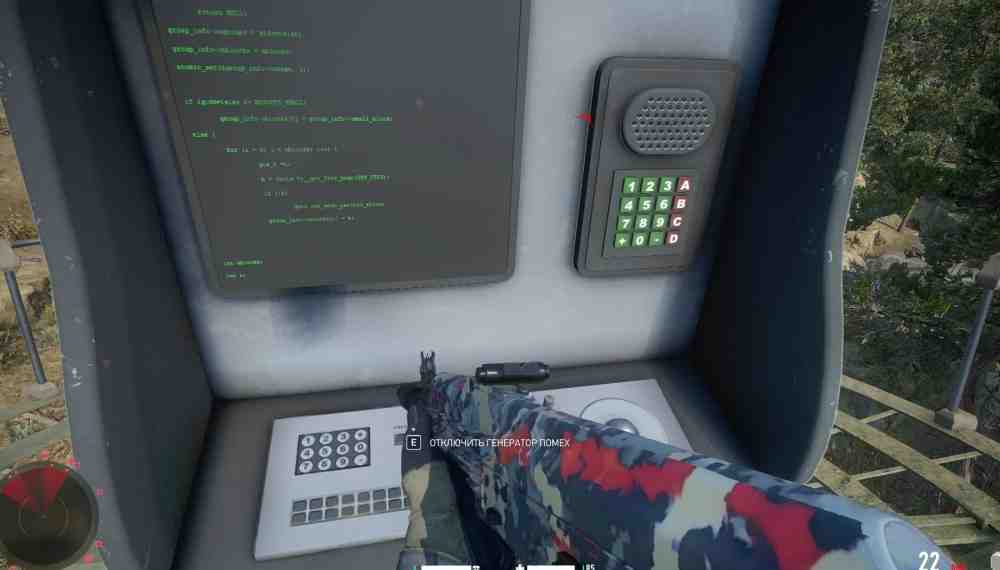
You start in the lower-right corner of the map. Two objectives are directly ahead of you: the jammers. Approach the tower, let the soldiers pass, climb up, and eliminate the two snipers. Interrogate the first sniper to reveal all available objectives on the map. Avoid direct encounters with soldiers and make your way to the first tower.How to Disable the Jammers (2/3)How to Disable the Jammers (2/3)How to Disable the Jammers (2/3)How to Disable the Jammers (2/3)The area around the towers is mined, so I do not recommend wandering around the buildings. The tower structures themselves also contain turrets. Move around them, eliminate the guards, and climb to the top. Disable the jammers one by one and move on to the other objectives.How to Disable the Jammers (2/3)How to Disable the Jammers (2/3)That takes care of two of the three jammers. If you started with the jammer on the right, move on to the next objective. We will deal with the final jammer later.
How to Disable the Cooling System and Where to Find the Water Pumps
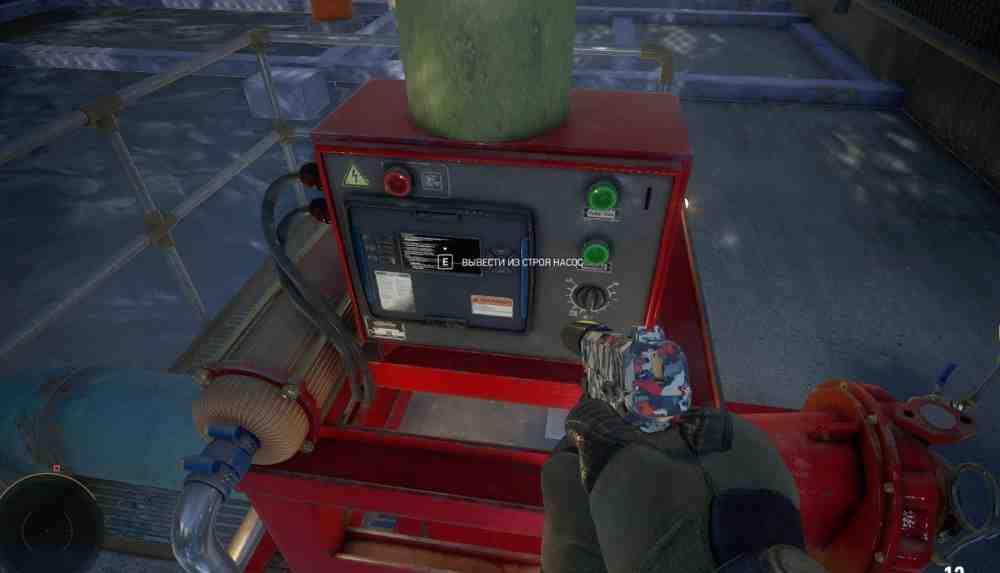
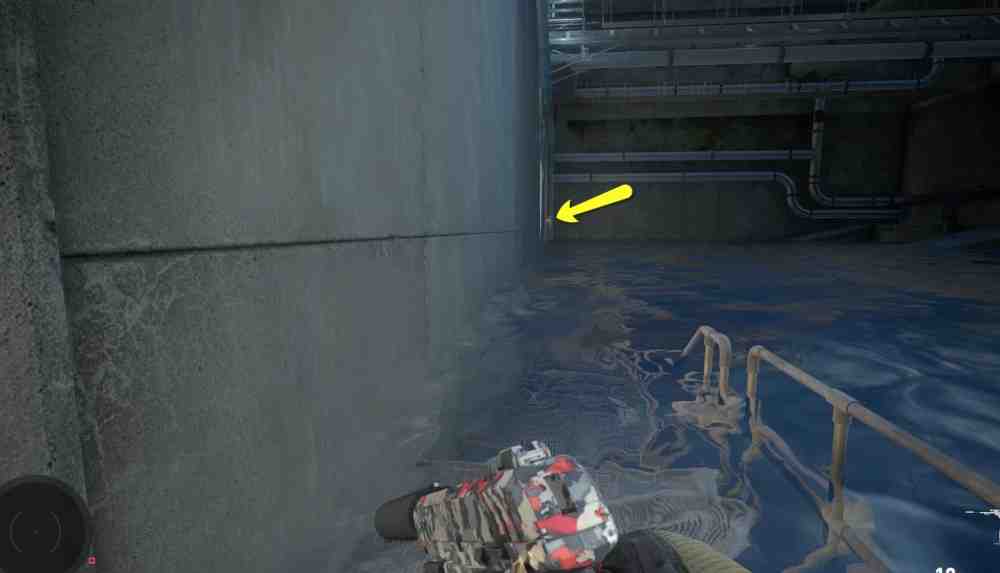
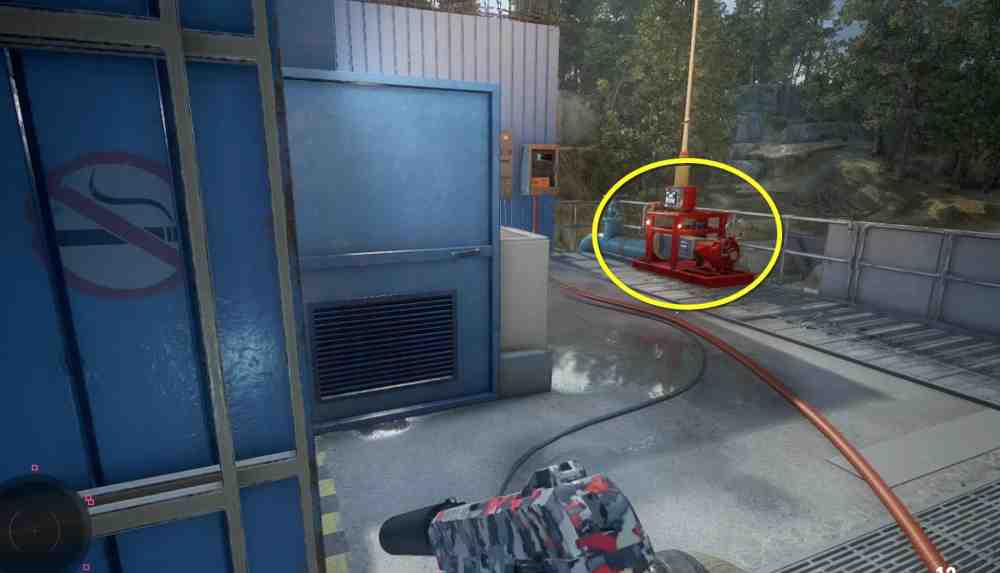
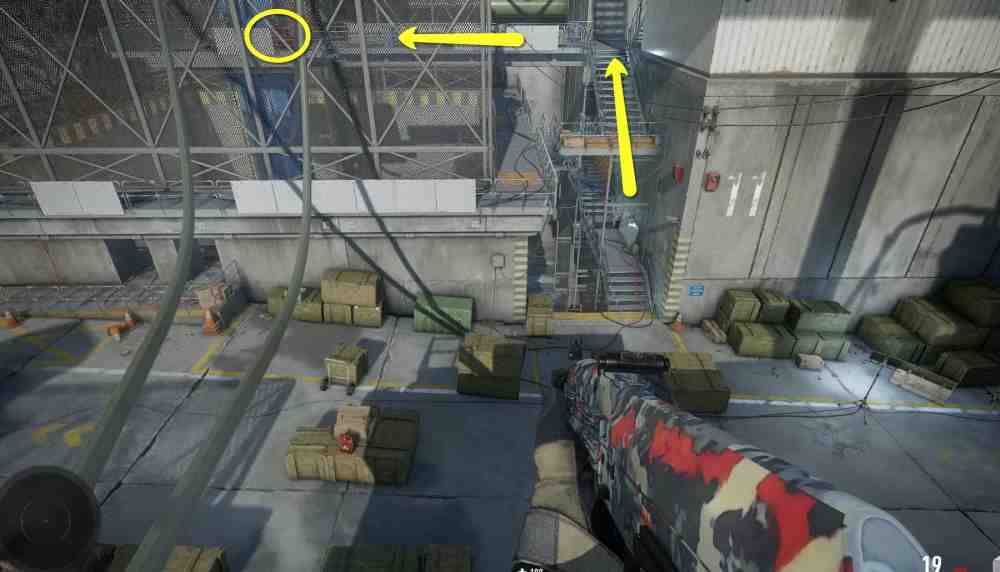
Open the map and find the dam with two large pipes. Use the binoculars to locate and eliminate the sniper on the other side, then cross the dam.How to Disable the Cooling System and Where to Find the Water PumpsHow to Disable the Cooling System and Where to Find the Water PumpsHow to Disable the Cooling System and Where to Find the Water PumpsHow to Disable the Cooling System and Where to Find the Water PumpsReach the sniping position and eliminate the snipers and other targets. While taking out enemies, try to complete the optional challenges as well. Use armor-piercing ammunition against heavy enemies.Head down to the pumps and find the water reservoir on the right side of the station. Dive underwater and surface in the central part of the facility. Disable the first pump.How to Disable the Cooling System and Where to Find the Water Pumps — First PumpHow to Disable the Cooling System and Where to Find the Water Pumps — First PumpHow to Disable the Cooling System and Where to Find the Water Pumps — First PumpHow to Disable the Cooling System and Where to Find the Water Pumps — First PumpHow to Disable the Cooling System and Where to Find the Water Pumps — First PumpHow to Disable the Cooling System and Where to Find the Water Pumps — First PumpThe water level will drop, allowing you to descend and find the passage to the central pump. Wait until the water has drained completely, return to the passage, and turn left. Run to the end of the pool and turn left again. Climb the stairs and disable the second pump.How to Disable the Cooling System and Where to Find the Water Pumps — Second PumpHow to Disable the Cooling System and Where to Find the Water Pumps — Second PumpHow to Disable the Cooling System and Where to Find the Water Pumps — Second PumpHow to Disable the Cooling System and Where to Find the Water Pumps — Second PumpReturn to the central part of the pumping station, find the passage marked 11, and climb the stairs. The final pump is on the left. Disable it and open the map.How to Disable the Cooling System and Where to Find the Water Pumps — Third PumpHow to Disable the Cooling System and Where to Find the Water Pumps — Third Pump
How to Disable the Jammers (3/3) and Eliminate the Hyena and the Rival Sniper
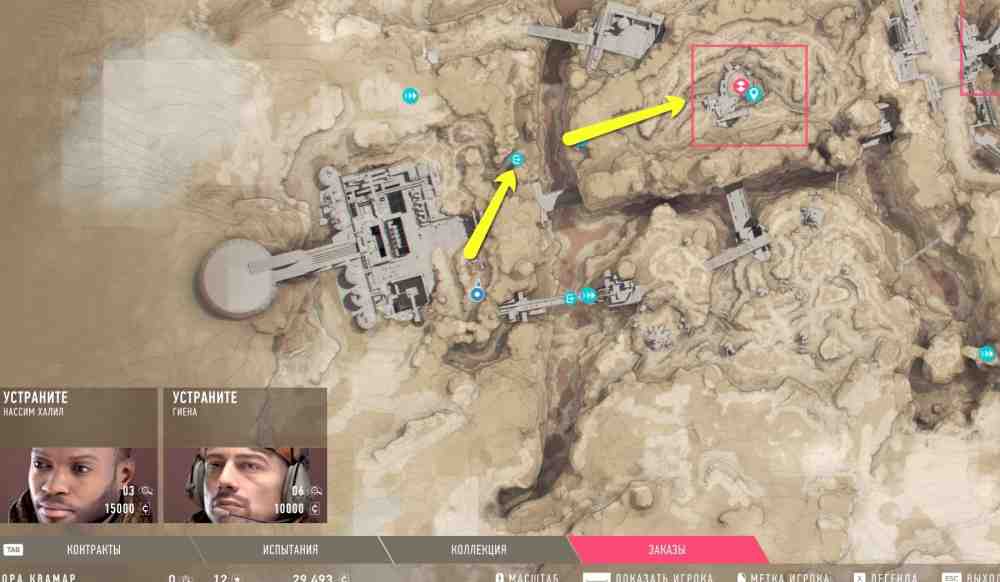
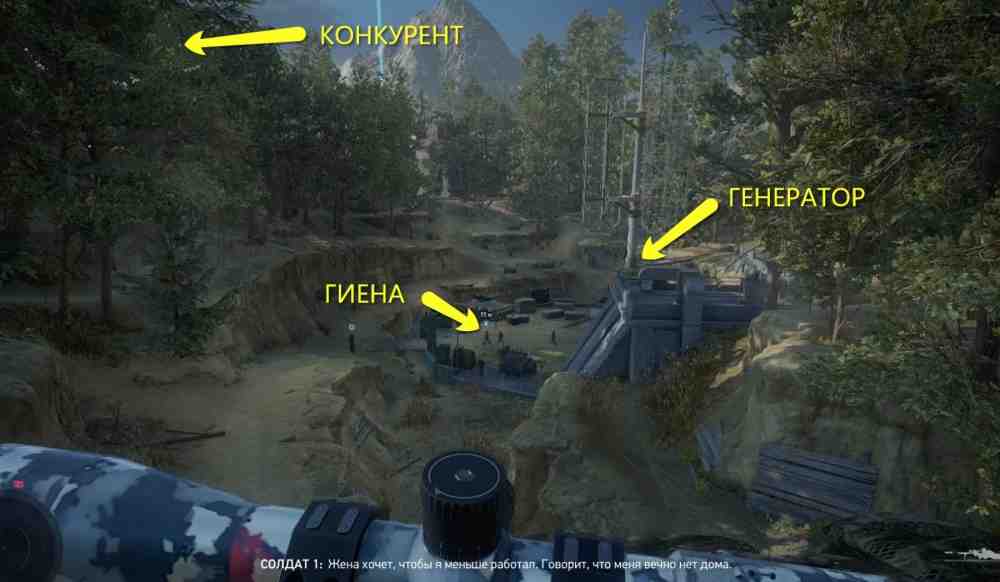
When you try to leave the area and head toward the final jammer in the center of the map, you receive two bounty contracts. The first target, the Hyena, is in the same area as the jammer you still need to disable.How to Disable the Jammers (3/3) and Eliminate the Hyena and the Rival SniperHow to Disable the Jammers (3/3) and Eliminate the Hyena and the Rival SniperThis area is heavily guarded, so do not rush to eliminate the Hyena. Tag the enemies and locate several snipers. From the sniping position, you can also spot the rival sniper, who is worth an additional bounty. The rival is on the mountain to the left of the enemy base.How to Disable the Jammers (3/3) and Eliminate the Hyena and the Rival SniperHow to Disable the Jammers (3/3) and Eliminate the Hyena and the Rival SniperEliminate the Hyena and the rival sniper however you like. Disable the final jammer and move to the right side of the map.
How to Sabotage the Main Antenna
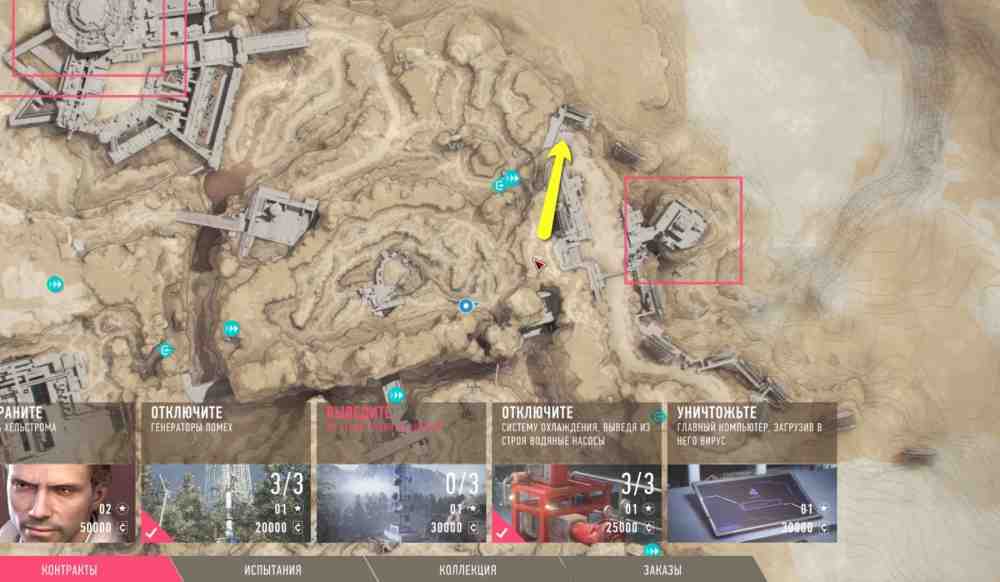
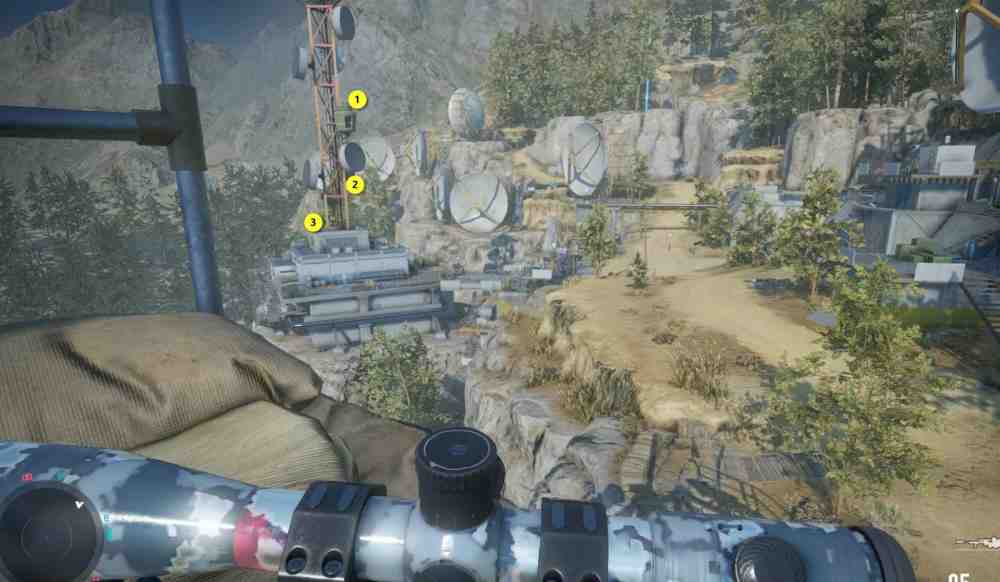
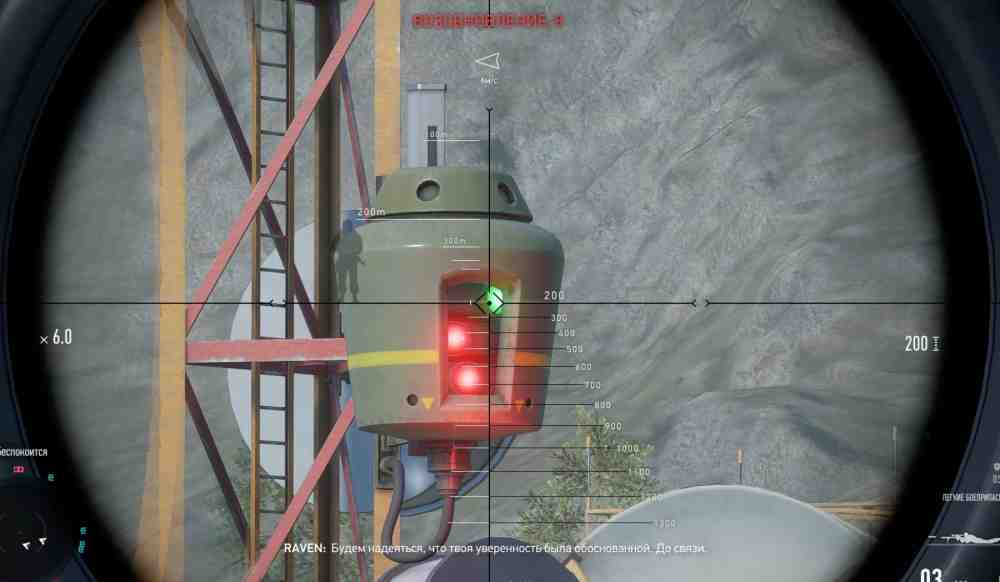
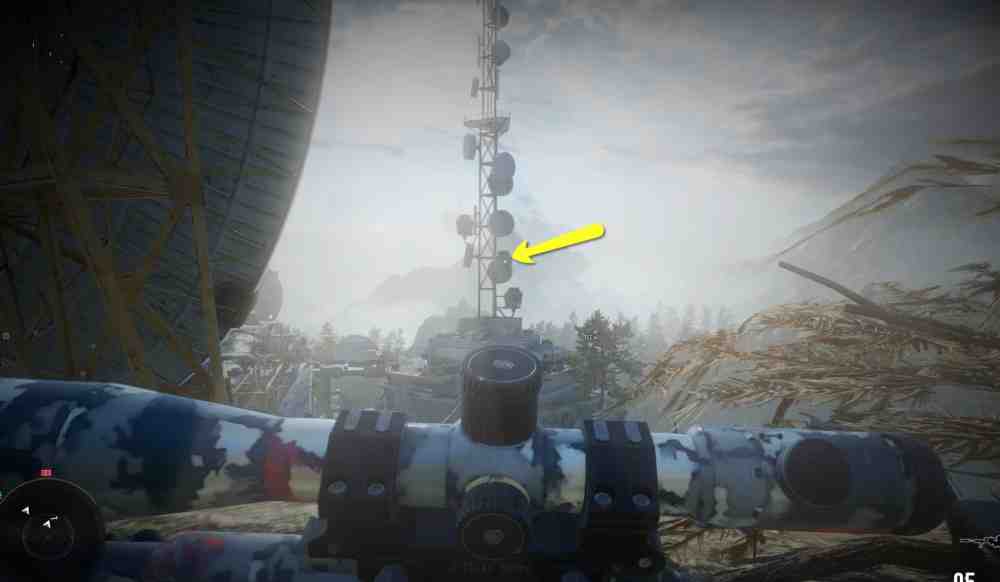
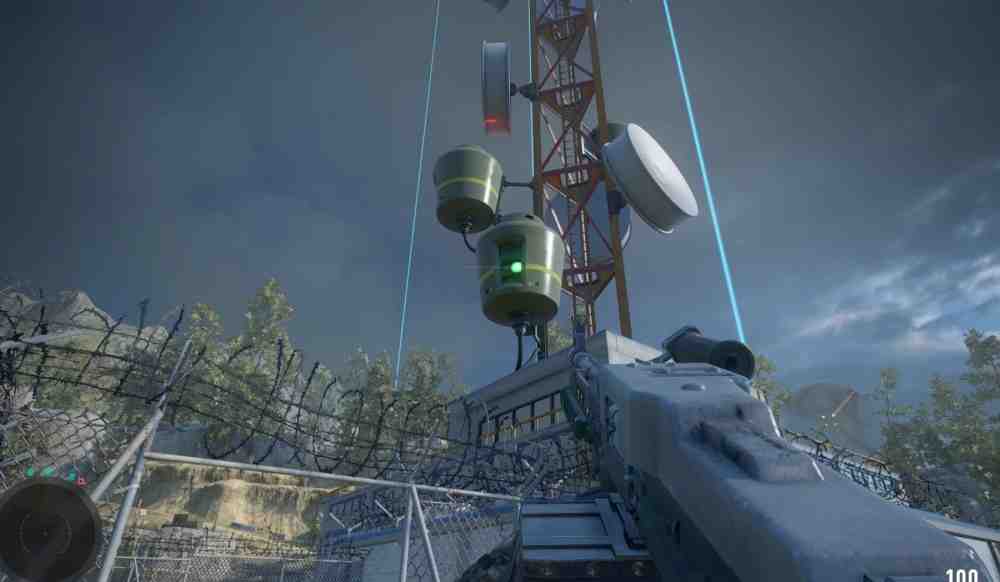
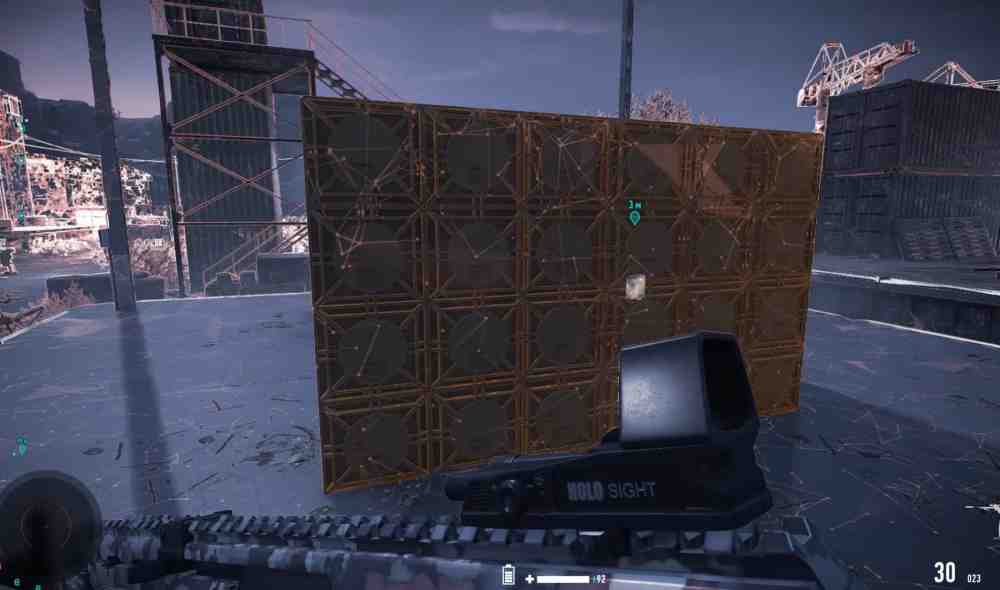
How to Sabotage the Main AntennaHow to Sabotage the Main AntennaReach the main antenna area, tag the enemies, and locate the snipers. Inspect the antenna itself. It has three green devices, each containing three rotating discs. Every disc has a green light. You need to hit each light with a precise shot to disable the device.How to Sabotage the Main Antenna — All DevicesHow to Sabotage the Main Antenna — All DevicesHow to Sabotage the Main AntennaHow to Sabotage the Main AntennaThe devices are positioned awkwardly, so you will need to find suitable angles for shooting the green lights. The first two are easy enough, but the third takes more effort.How to Sabotage the Main Antenna — Second DeviceHow to Sabotage the Main Antenna — Second DeviceIn the center of the area, find the path down toward the building supporting the antenna. Kill the enemies, move around the building, and shoot the lights from the opposite side. It should look roughly like this.How to Sabotage the Main Antenna — Third DeviceHow to Sabotage the Main Antenna — Third DeviceThe main antenna is now offline. Leave the area and head toward the final objective.
How to Eliminate Lars Hellstrom and Infiltrate the Bunker
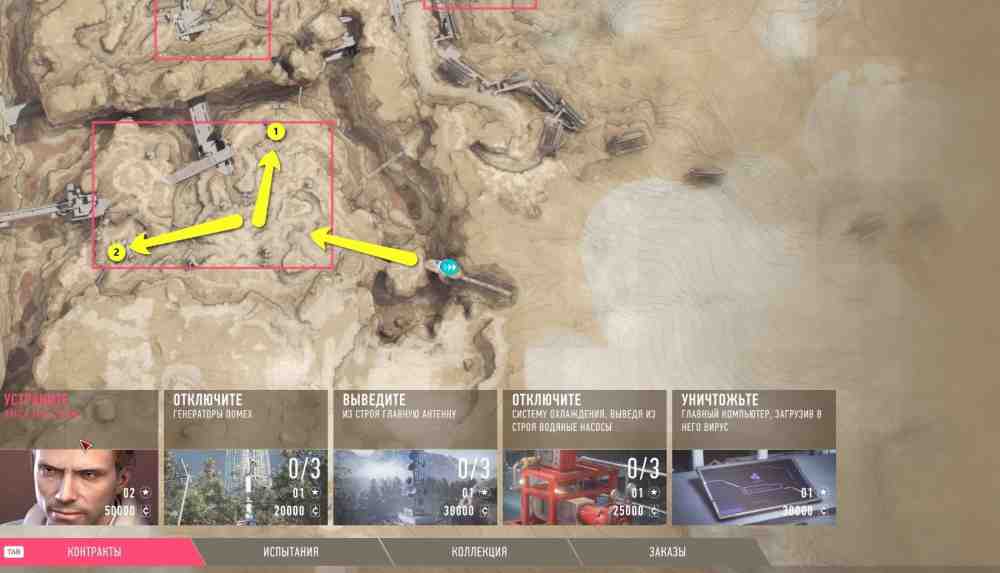
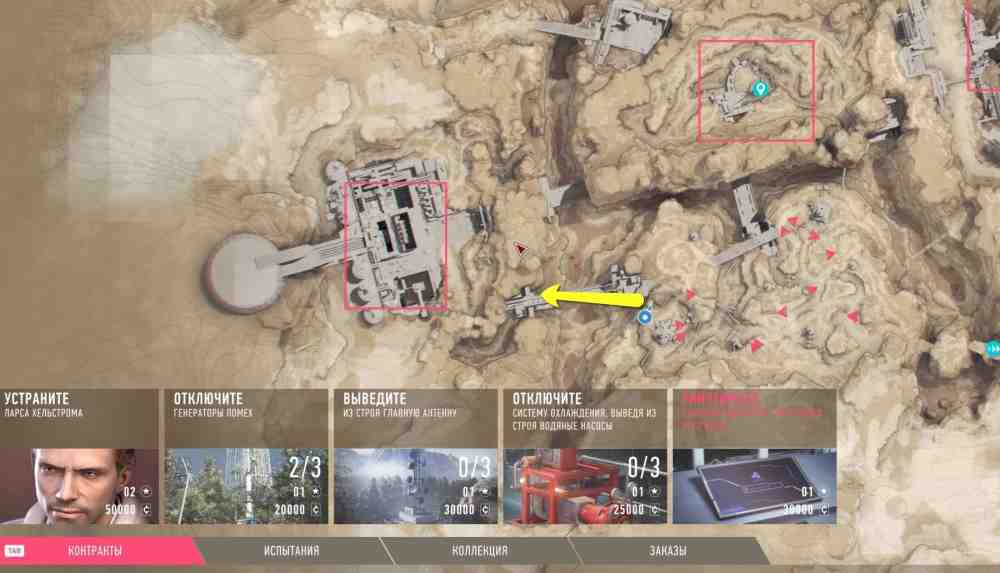
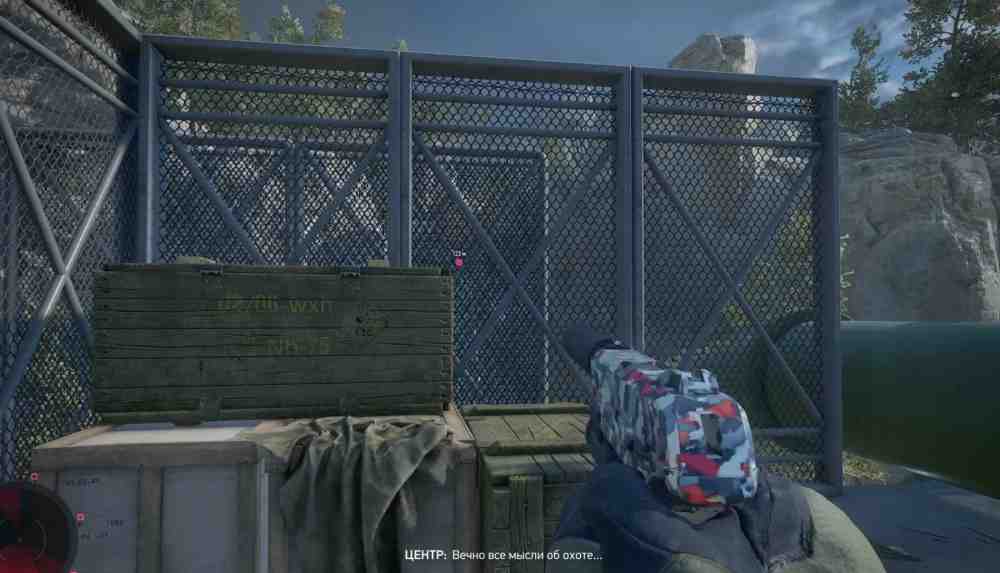
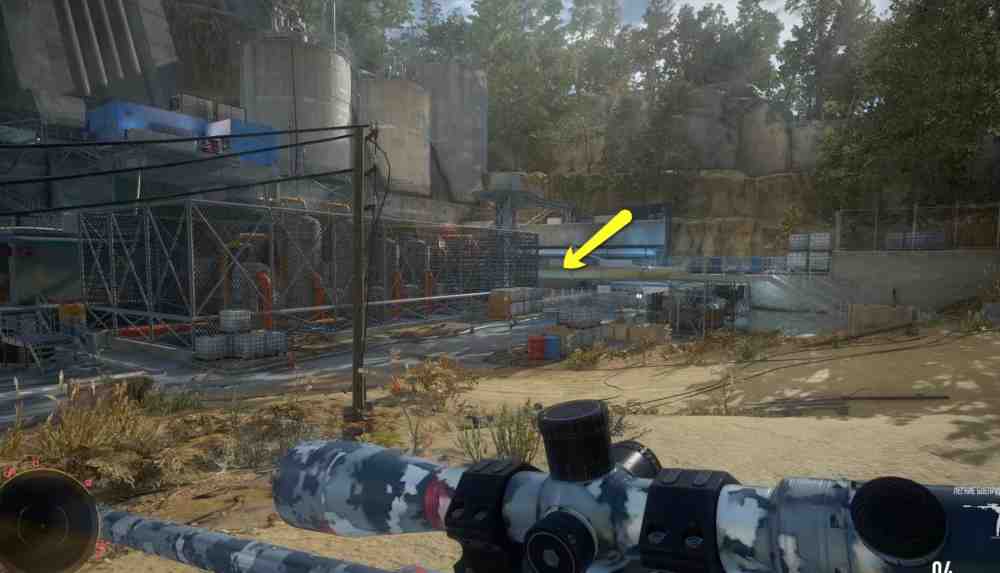
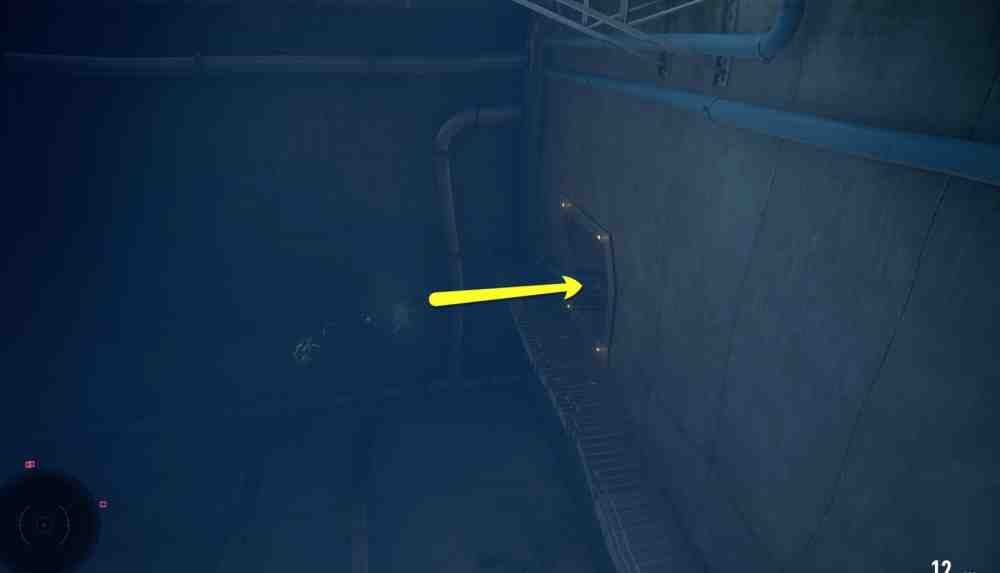
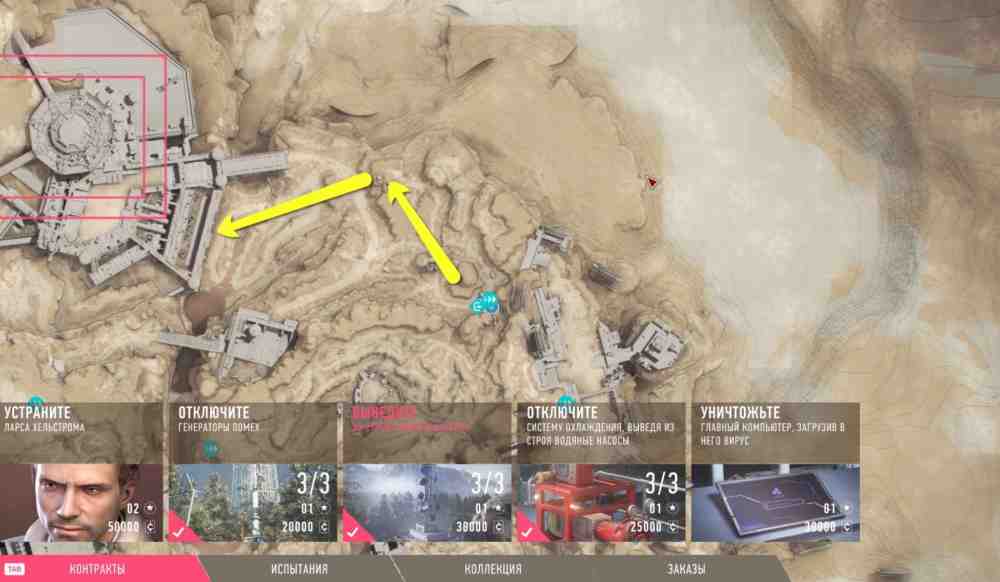
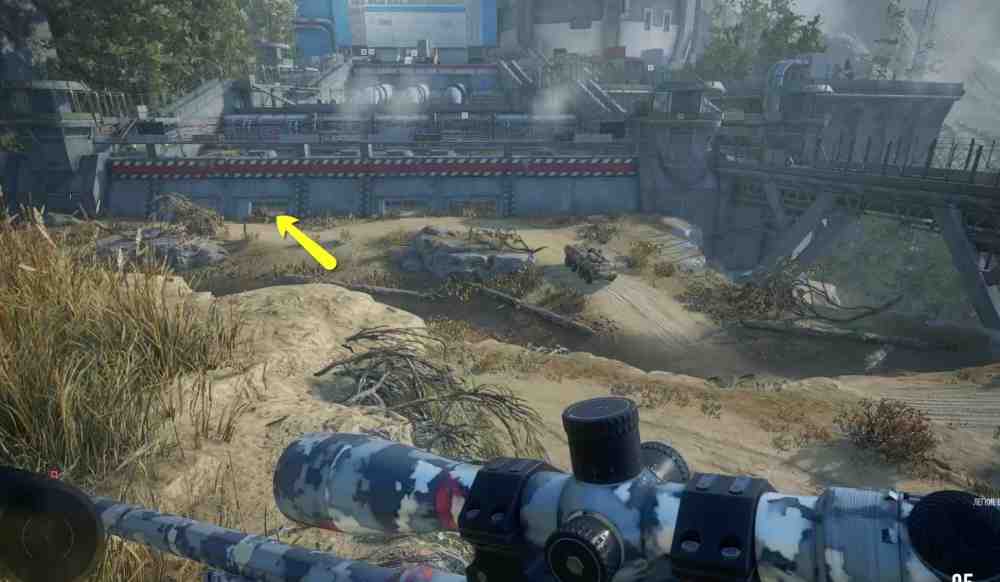
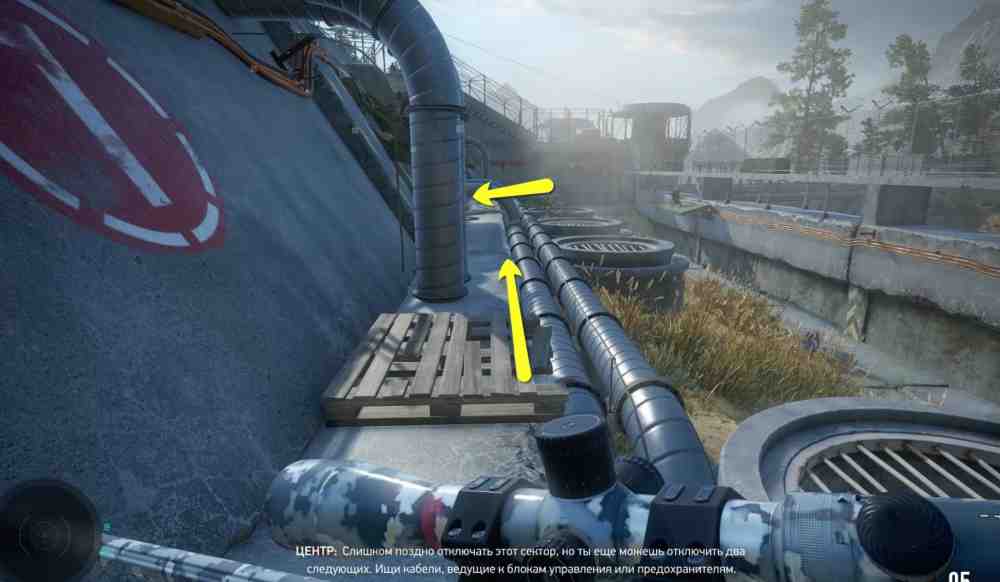
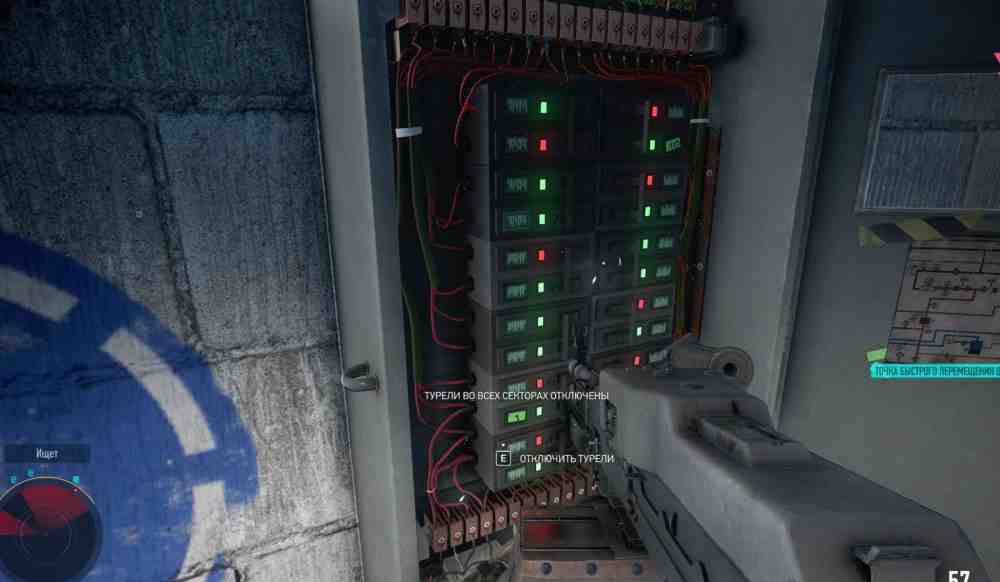
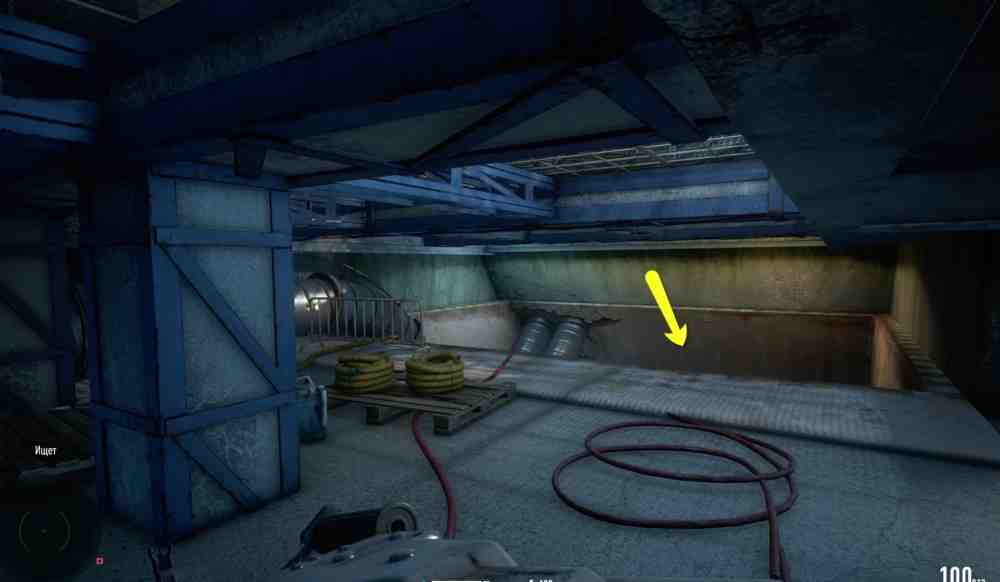
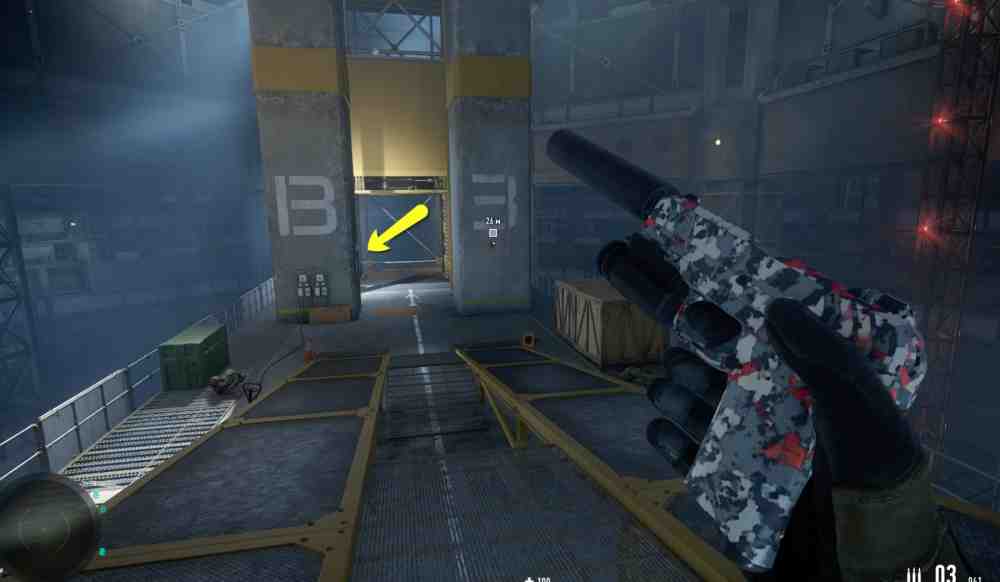
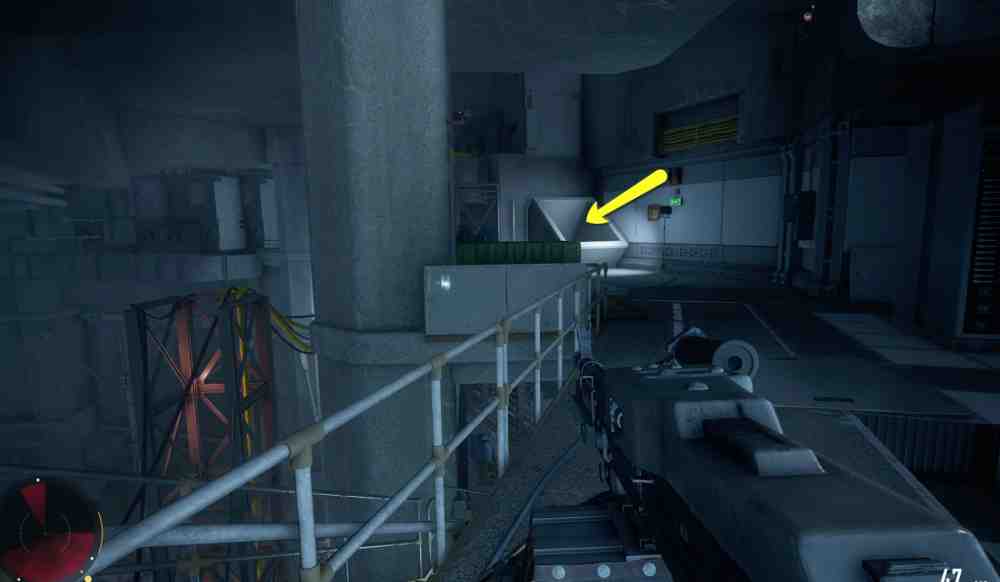
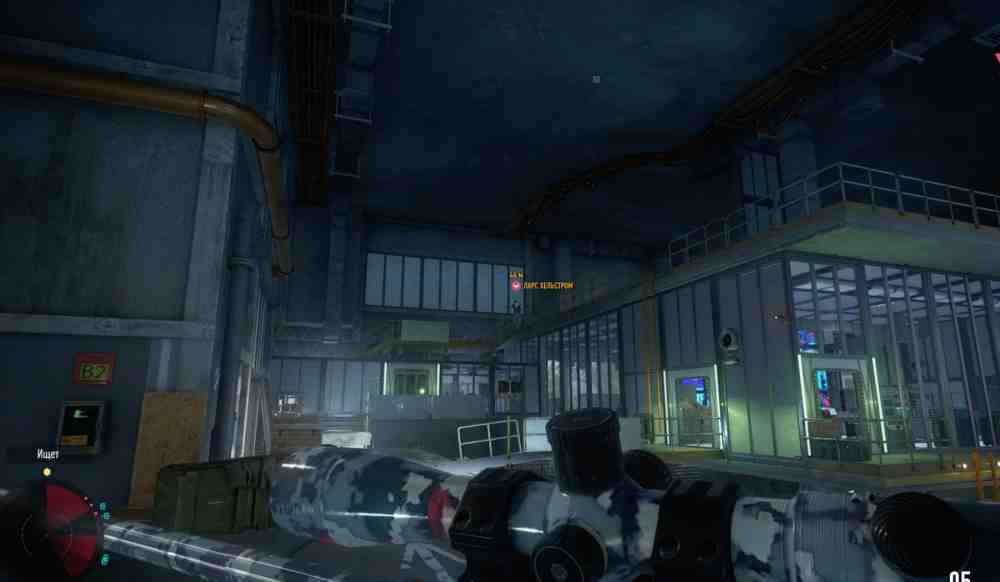
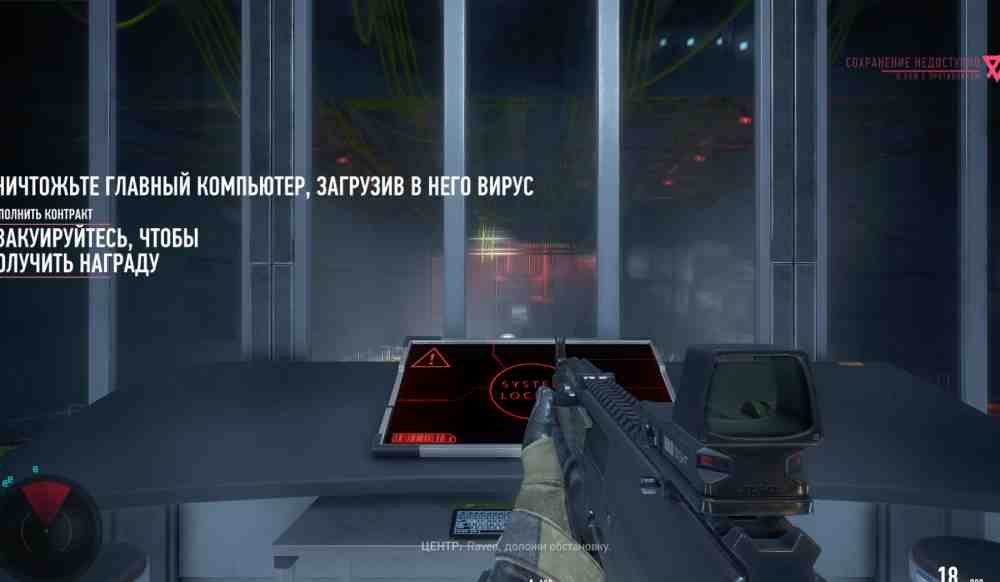
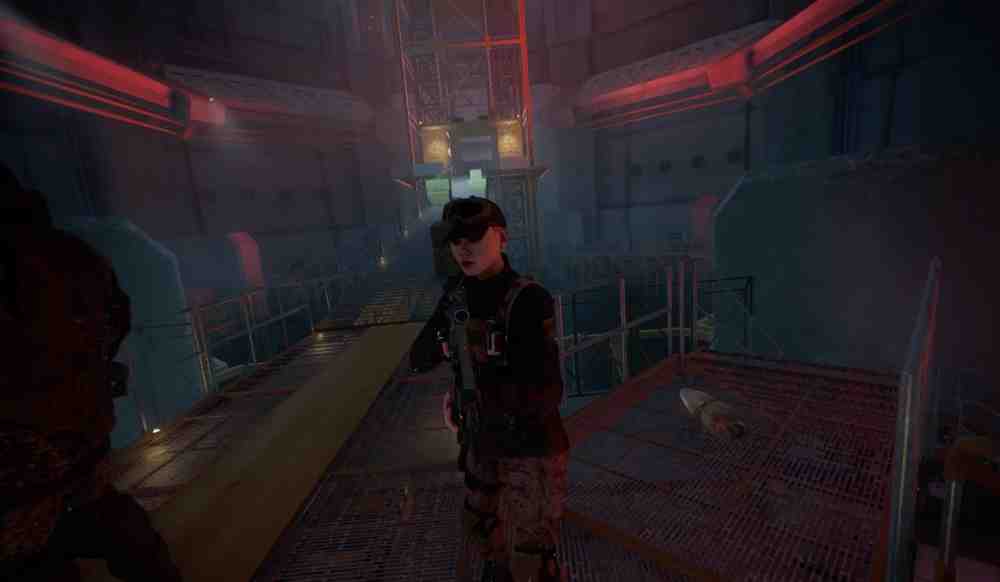
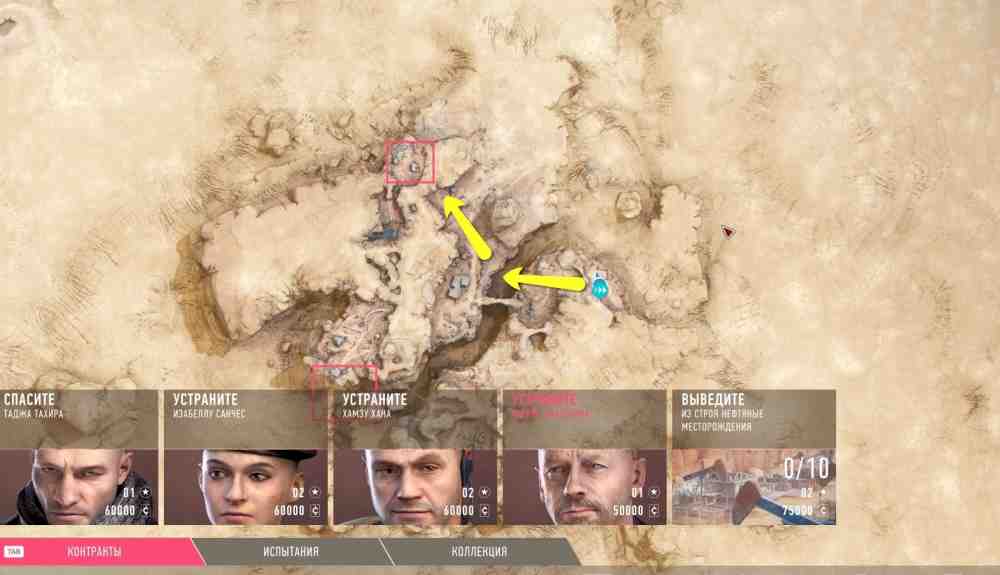
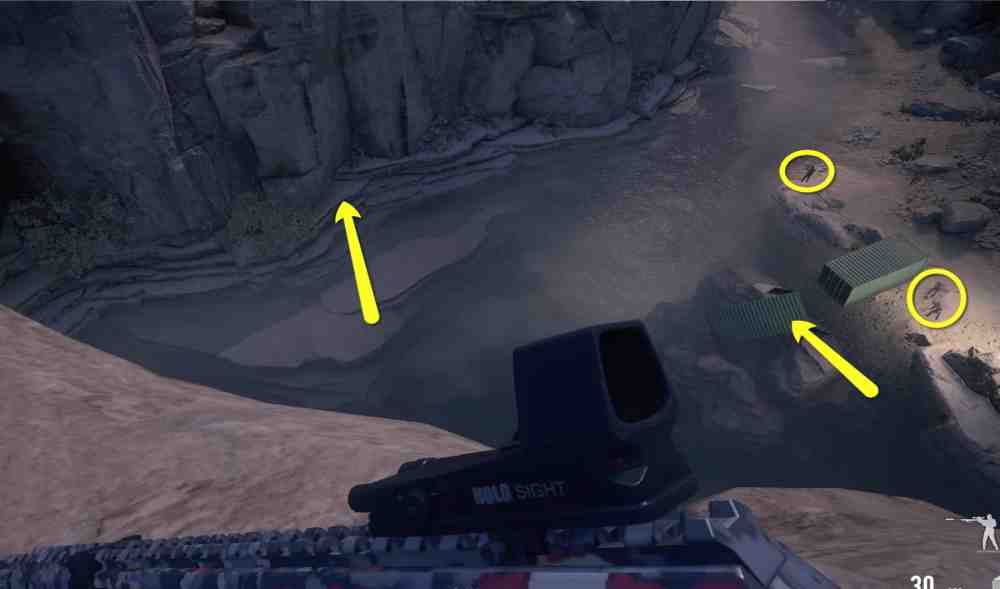
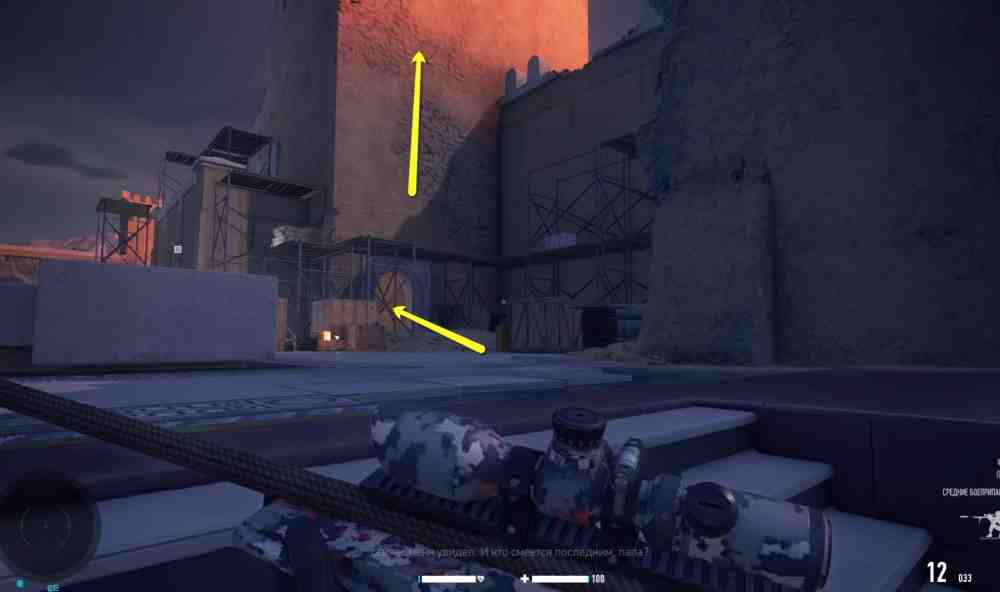
How to Eliminate Lars Hellstrom and Infiltrate the BunkerHow to Eliminate Lars Hellstrom and Infiltrate the BunkerReach the sniping position shown by the first arrow in the screenshot and tag the enemies. The second arrow shows the best route into the base. There are turrets here, but we are going to move quickly.How to Eliminate Lars Hellstrom and Infiltrate the BunkerHow to Eliminate Lars Hellstrom and Infiltrate the BunkerKill the soldier at the gate, head down, and run past the turrets while they are facing away. Move along the wall and hide from the turrets beneath the open shutter.How to Eliminate Lars Hellstrom and Infiltrate the BunkerHow to Eliminate Lars Hellstrom and Infiltrate the BunkerFrom here, choose whichever route is most convenient. Unfortunately, once you reach the main bunker entrance, you will have to destroy one turret. Afterward, use the fuse box in the control room to cut power to all the remaining turrets.How to Eliminate Lars Hellstrom and Infiltrate the BunkerHow to Eliminate Lars Hellstrom and Infiltrate the BunkerLeave the control room, search the area, and find the ventilation shaft. Drop down and eliminate the soldier.How to Eliminate Lars Hellstrom and Infiltrate the BunkerHow to Eliminate Lars Hellstrom and Infiltrate the BunkerMake your way to the central elevator by any route you prefer and ride it to Level B1.How to Eliminate Lars Hellstrom and Infiltrate the BunkerHow to Eliminate Lars Hellstrom and Infiltrate the BunkerOn Level B1, proceed however you like. You need to reach the central platform opposite the elevator. There, find the route down to Level B2 and eliminate the main target, Lars Hellstrom.How to Eliminate Lars Hellstrom and Infiltrate the BunkerHow to Eliminate Lars Hellstrom and Infiltrate the BunkerHow to Eliminate Lars Hellstrom and Infiltrate the BunkerHow to Eliminate Lars Hellstrom and Infiltrate the BunkerThe mission is not over yet. Return to the elevator and descend to Level B4. Kill all the soldiers, reach the server room, and upload the virus to the computer.How to Eliminate Lars Hellstrom and Infiltrate the BunkerHow to Eliminate Lars Hellstrom and Infiltrate the BunkerDepending on your difficulty setting, a small, medium, or large military squad will arrive. The only person you care about is the squad leader, a woman carrying a keycard. Kill her, take the keycard, and leave the complex.How to Eliminate Lars Hellstrom and Infiltrate the BunkerHow to Eliminate Lars Hellstrom and Infiltrate the Bunker
Tajmid Heights: How to Rescue Taj Taheer, Eliminate Isabella Sanchez, Hamza Khan, and Zivko Dragovic, and Sabotage the Oil Fields in Sniper Ghost Warrior Contracts 2
For this mission, you need a sniper rifle with high damage and an extreme long-range scope, preferably 32x. For direct combat, equip a suppressed assault rifle and several grenades. Armor-piercing ammunition will also be useful.
How to Eliminate Isabella Sanchez and Rescue Taj Taheer
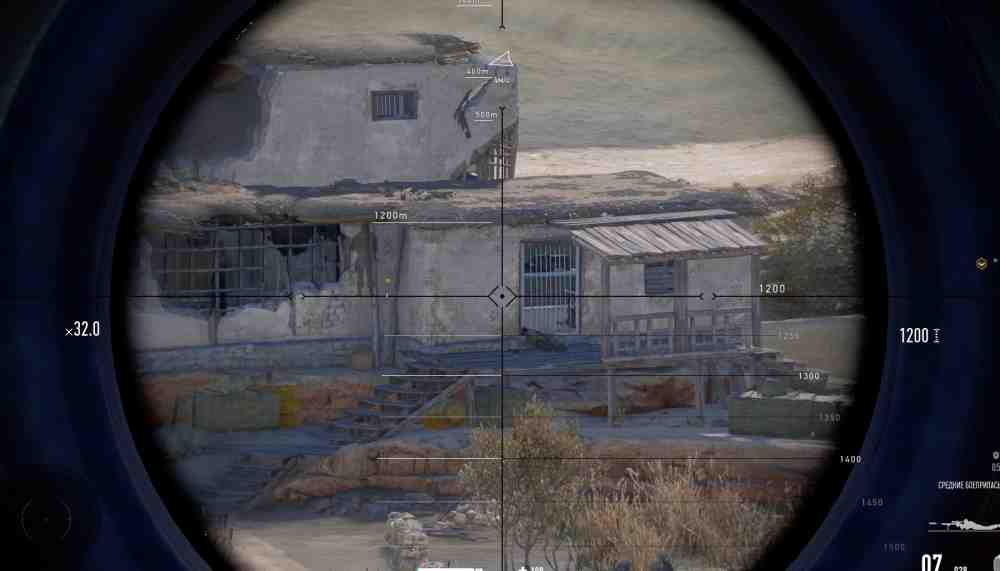
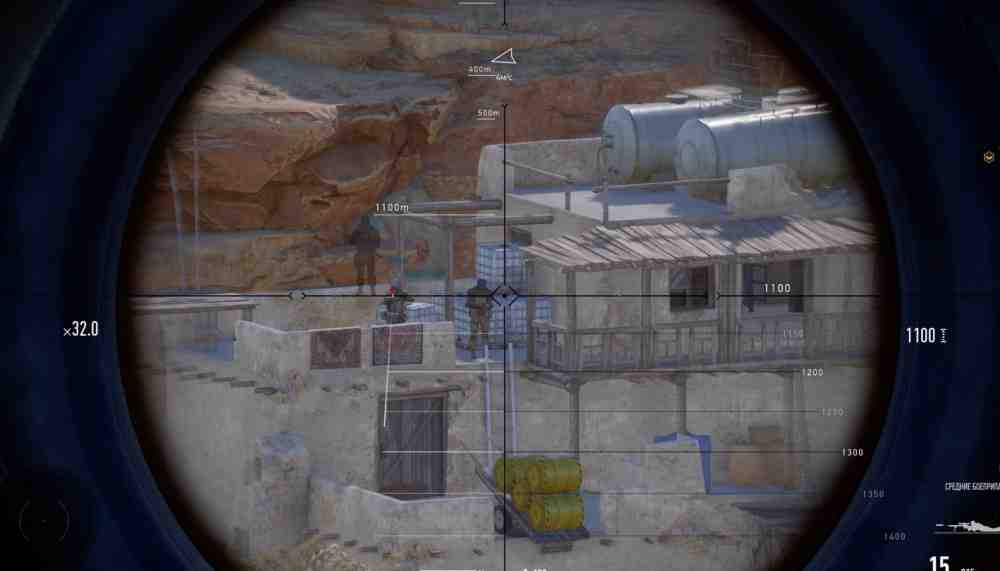
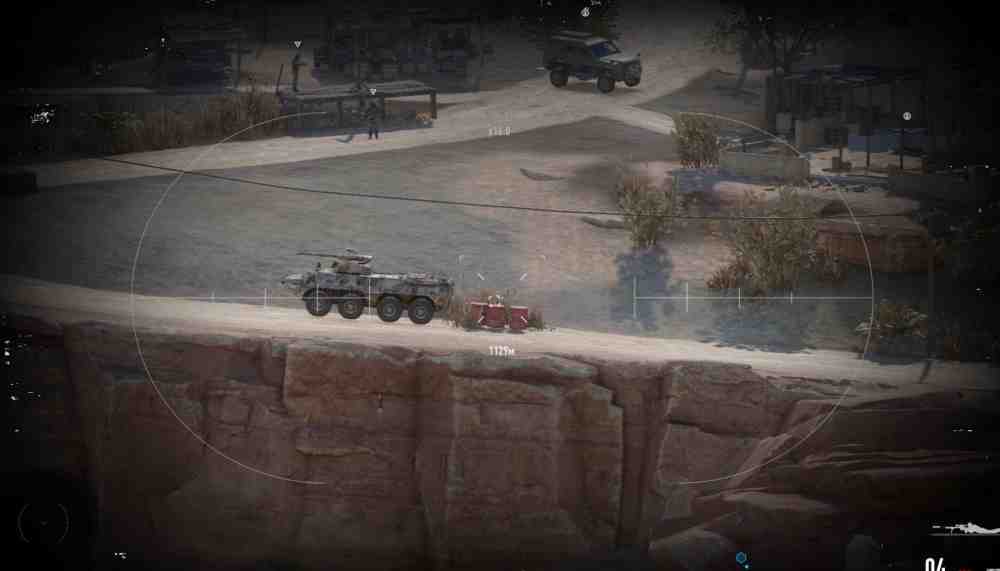
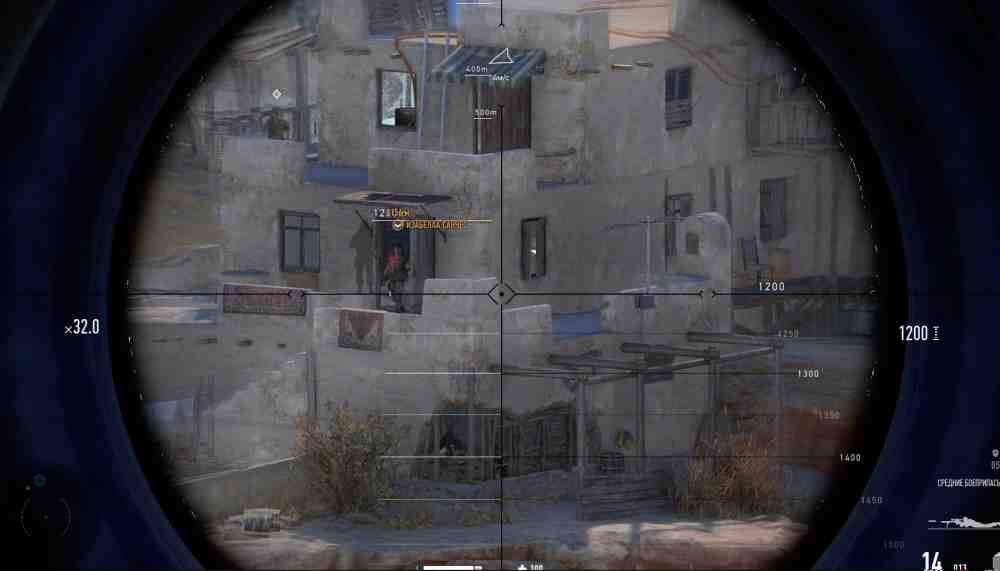
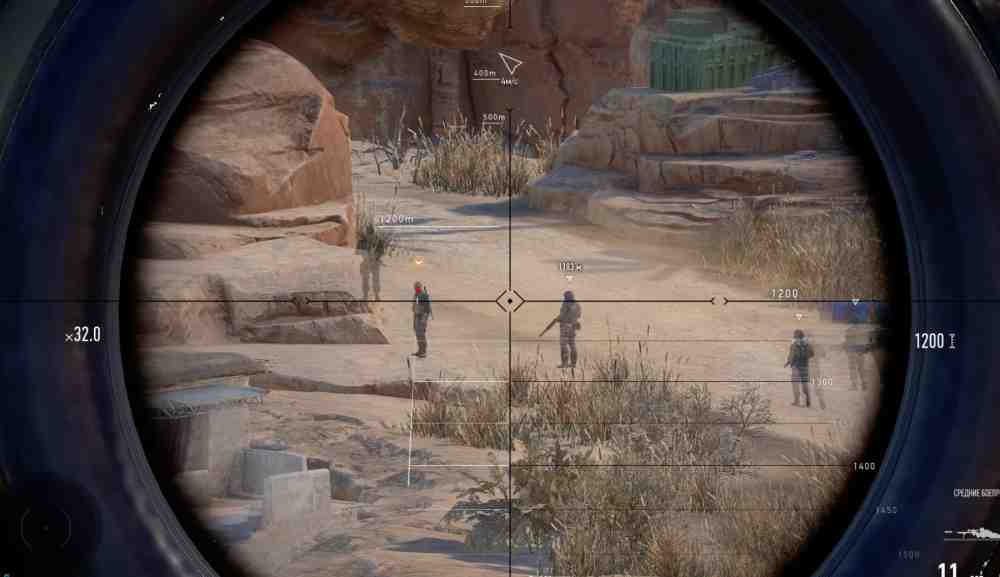
You start in the eastern part of the map. Head toward the first checkpoint and decide whether to eliminate the enemies or bypass them. This does not affect your final score.How to Eliminate Isabella Sanchez and Rescue Taj TaheerHow to Eliminate Isabella Sanchez and Rescue Taj TaheerReach the sniping position and survey the area. Your target, Isabella Sanchez, is inside a two-story building on the right side of the camp. She will go inside, and Control will suggest luring her out. Open the map and check the optional objectives. There are several ways to kill Isabella, but we will describe the simplest one.How to Eliminate Isabella Sanchez and Rescue Taj TaheerHow to Eliminate Isabella Sanchez and Rescue Taj TaheerCheck the left side of the camp and find the locked room holding Taj Taheer. Kill the lone soldier guarding the bars, wait for Taheer to leave the room, and eliminate every target that appears along his escape route. This will not be easy.How to Eliminate Isabella Sanchez and Rescue Taj TaheerHow to Eliminate Isabella Sanchez and Rescue Taj TaheerAim slightly below the soldiers' heads and pay attention to the way their bodies sway. A bullet takes about a second and a half to reach the target. During that time, the enemy can move, causing you to miss at best or trigger the alarm at worst. Raised the alarm? Reload the latest save.How to Eliminate Isabella Sanchez and Rescue Taj TaheerHow to Eliminate Isabella Sanchez and Rescue Taj TaheerTaheer will eventually reach the turrets, with two soldiers patrolling to the right. Do not kill them. Destroy the turrets, move your scope up toward the road, and find the fuel barrels next to the armored vehicle. Blow them up and Taheer will be free.How to Eliminate Isabella Sanchez and Rescue Taj TaheerHow to Eliminate Isabella Sanchez and Rescue Taj TaheerDuring the escape, your main target, Isabella Sanchez, may leave her room and head toward Taheer's cell. If you do not kill her now, she will reach the cell and raise the alarm.How to Eliminate Isabella Sanchez and Rescue Taj TaheerHow to Eliminate Isabella Sanchez and Rescue Taj TaheerAgain, this is the simplest way to rescue Taheer and eliminate Isabella Sanchez. You can experiment with other methods and complete the different challenges available from this mission's main menu.
How to Eliminate Hamza Khan and Zivko Dragovic
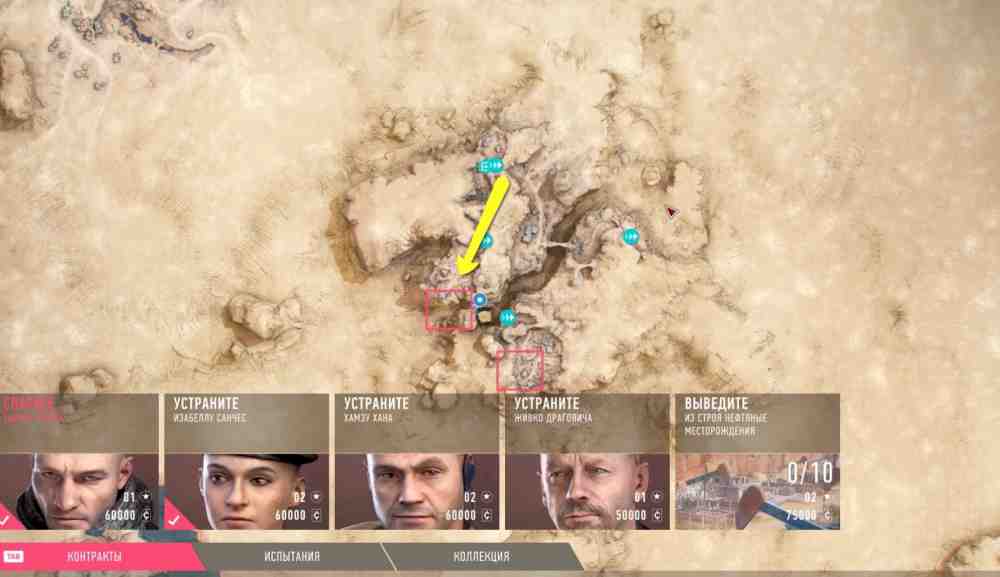
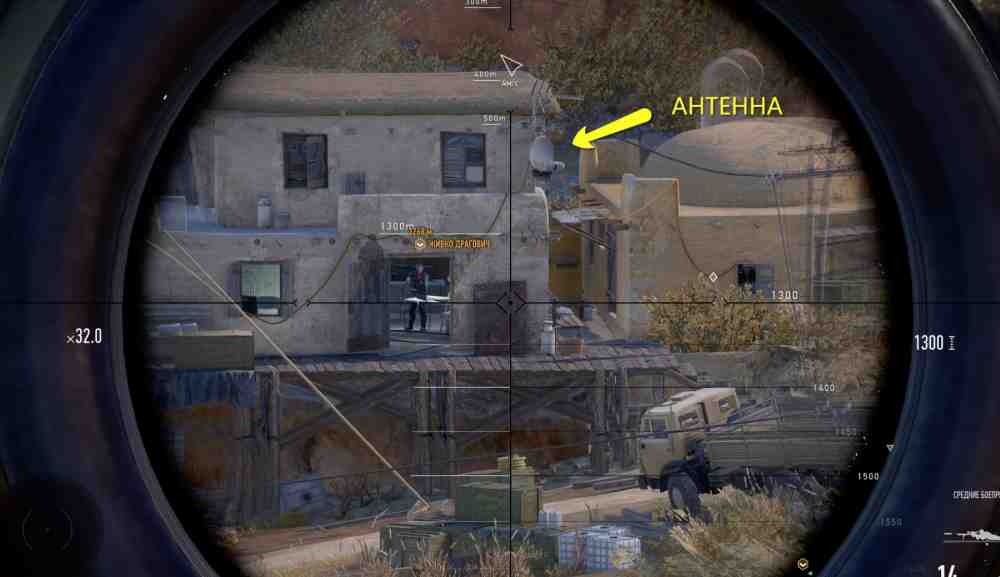
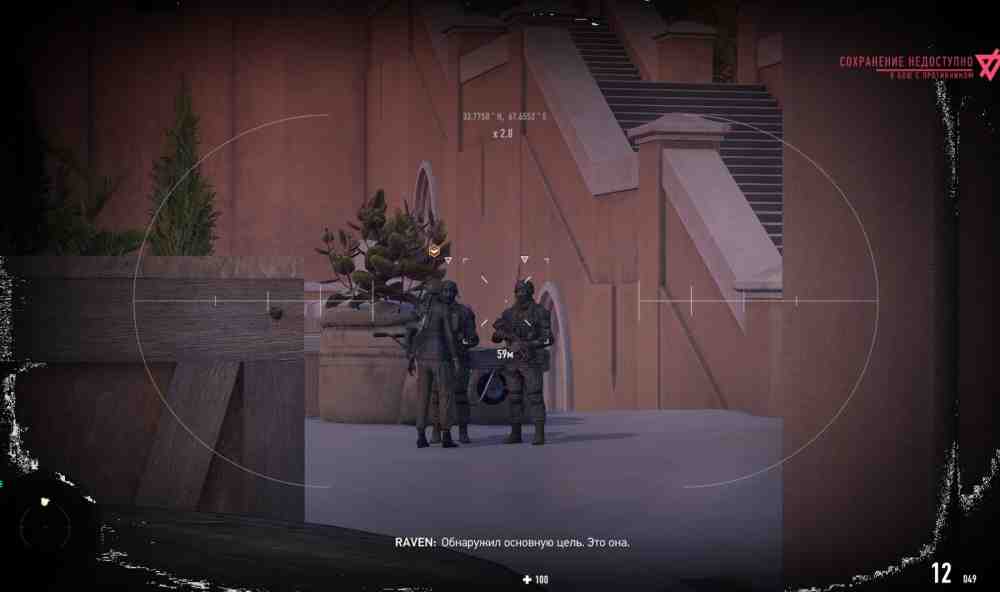
Run to the next sniping position and take your place. You need to reach the area in the southeast. Use the map for orientation.How to Eliminate Hamza Khan and Zivko DragovicHow to Eliminate Hamza Khan and Zivko DragovicZivko Dragovic is inside a locked building, so you need to lure him out. There is an antenna on the roof. Shoot it, and Dragovic's associate will open the door, giving you a chance to take the target down.How to Eliminate Hamza Khan and Zivko DragovicHow to Eliminate Hamza Khan and Zivko DragovicThe final target, Hamza Khan, can be eliminated a little later. By this point, he will be walking around the camp and occasionally stopping to answer a phone call. Wait for the best opportunity and take the shot.How to Eliminate Hamza Khan and Zivko DragovicHow to Eliminate Hamza Khan and Zivko Dragovic
How to Sabotage the Oil Fields
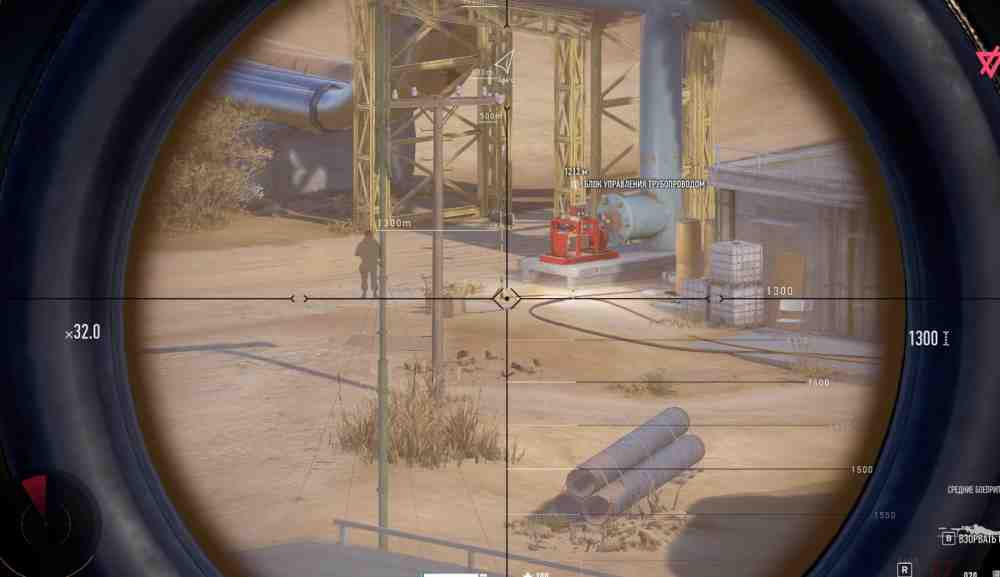
Sabotaging the oil fields without raising the alarm is very difficult. If an alarm is triggered, infantry and snipers will begin appearing behind your sniping position. Destroy every fuse box and red pump to complete the objective.How to Sabotage the Oil FieldsHow to Sabotage the Oil Fields
Rashida Qalat: How to Eliminate Bibi Rashida, Sabotage the Missiles, Acquire the Manifest from the Train Depot, and Retrieve the Data Chip in Sniper Ghost Warrior Contracts 2
For this mission, you will need a sniper rifle with relatively short range but high damage. Several turrets and EMP grenades will be useful, along with distraction ammunition for the sniper rifle.
Where to Find the Data Chip and How to Retrieve It Without Raising the Alarm in Sniper Ghost Warrior Contracts 2
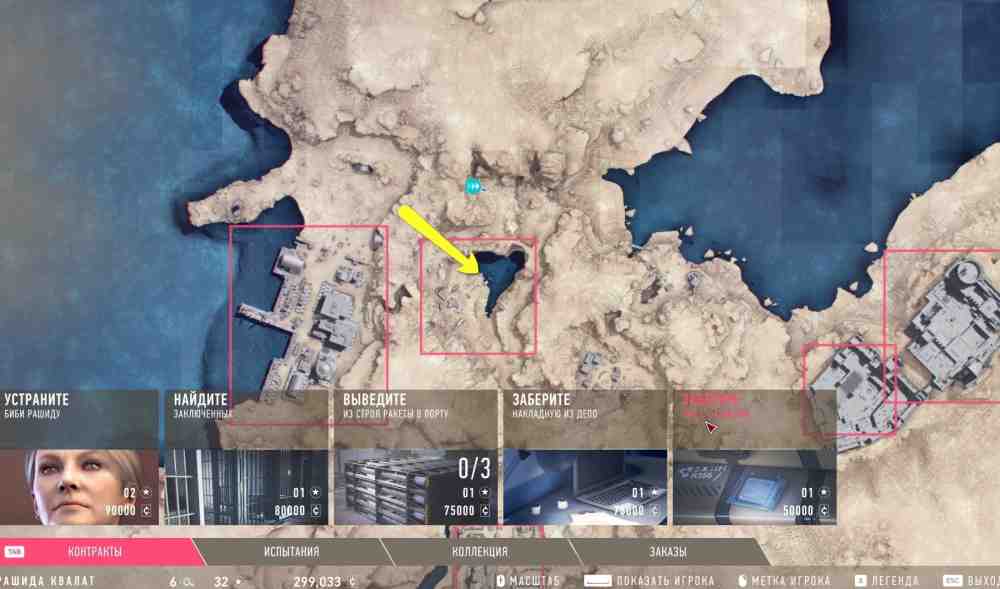
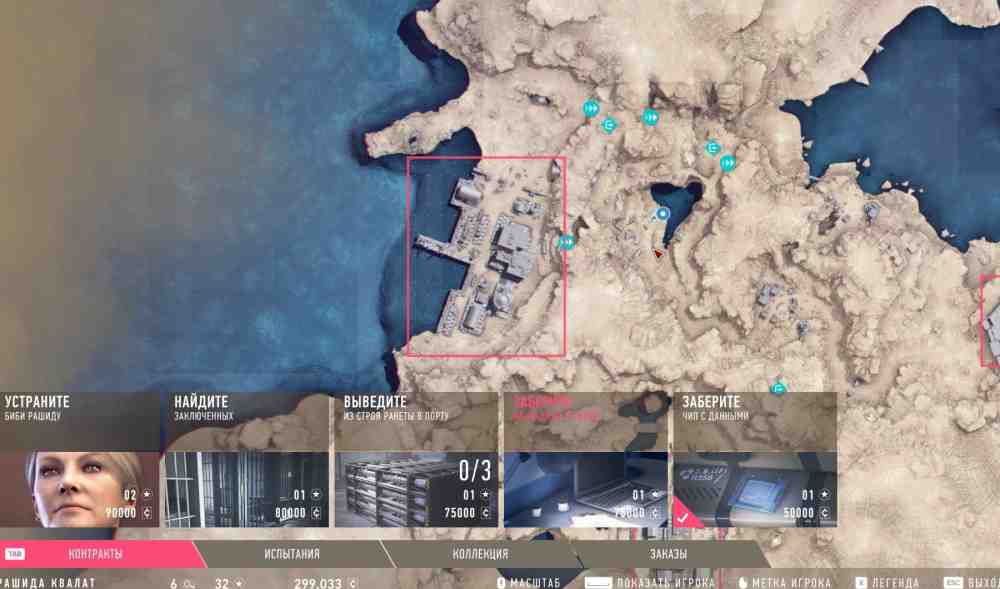
Where to Find the Data Chip and How to Retrieve It Without Raising the Alarm in Sniper Ghost Warrior Contracts 2Where to Find the Data Chip and How to Retrieve It Without Raising the Alarm in Sniper Ghost Warrior Contracts 2You start in the upper part of the map. Follow the road toward a small lake. You will see two containers on the shore. Jump straight into the water and eliminate the three soldiers from the opposite bank before they can raise the alarm. Dive into the container, collect the data chip, and head toward the port.Where to Find the Data Chip and How to Retrieve It Without Raising the Alarm in Sniper Ghost Warrior Contracts 2Where to Find the Data Chip and How to Retrieve It Without Raising the Alarm in Sniper Ghost Warrior Contracts 2Where to Find the Data Chip and How to Retrieve It Without Raising the Alarm in Sniper Ghost Warrior Contracts 2Where to Find the Data Chip and How to Retrieve It Without Raising the Alarm in Sniper Ghost Warrior Contracts 2
How to Sabotage the Missiles in the Port and Where to Find Them
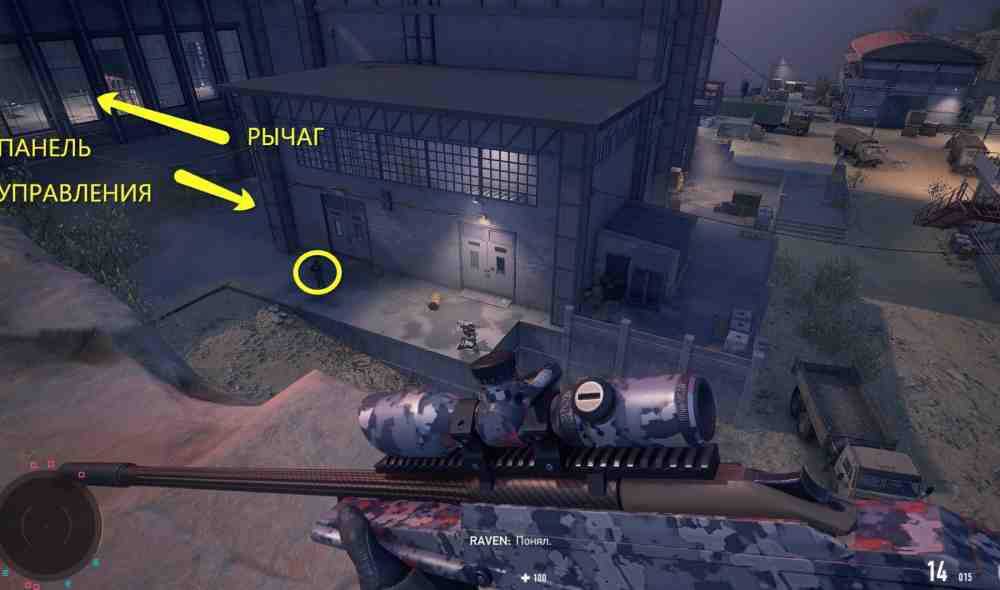
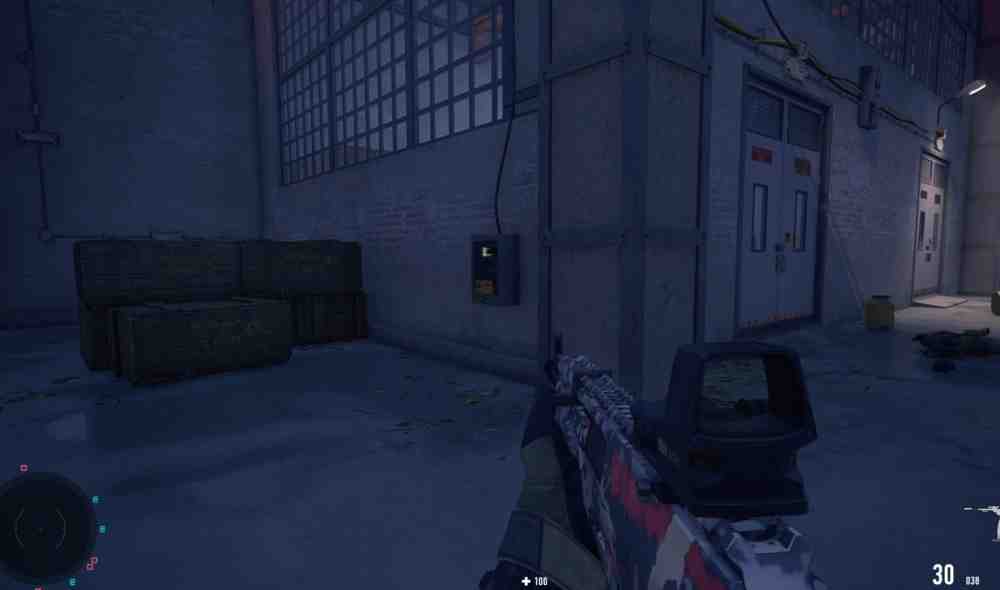
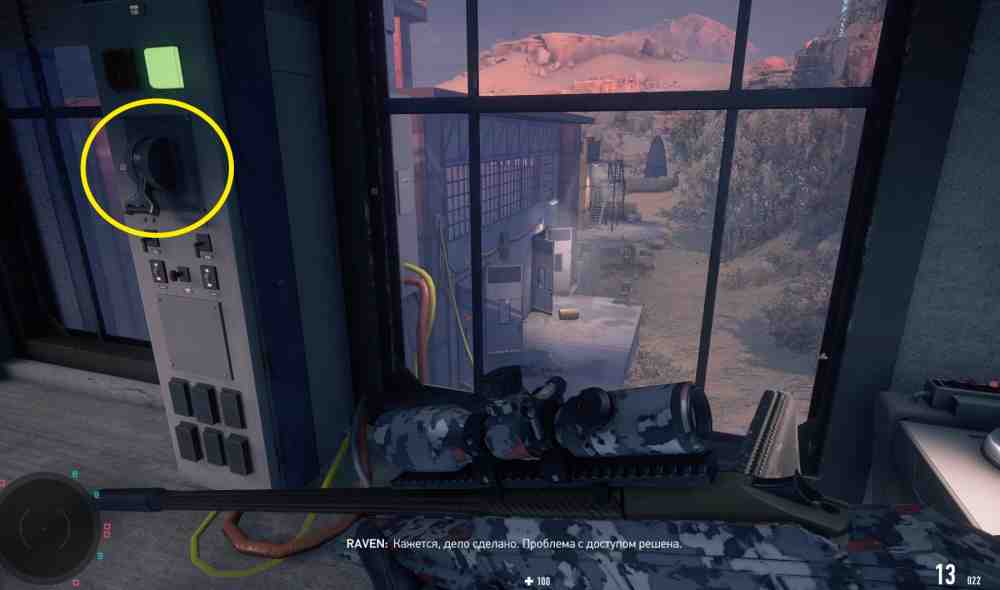
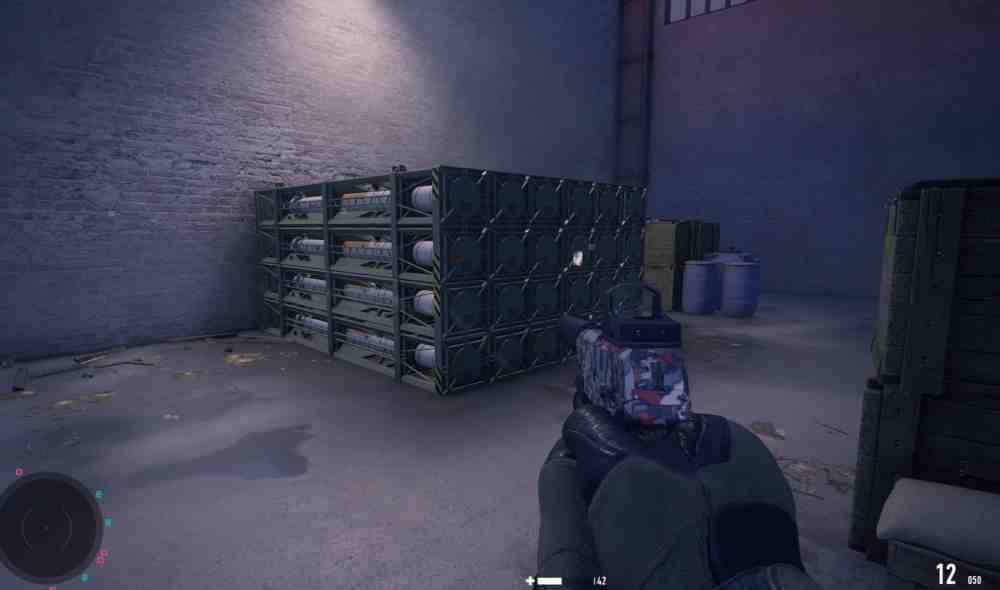
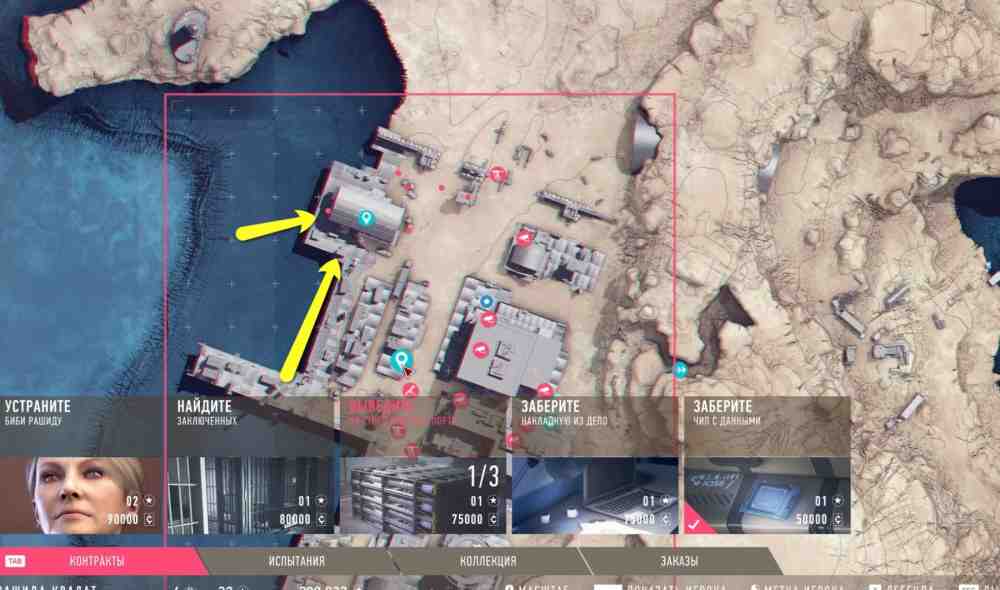
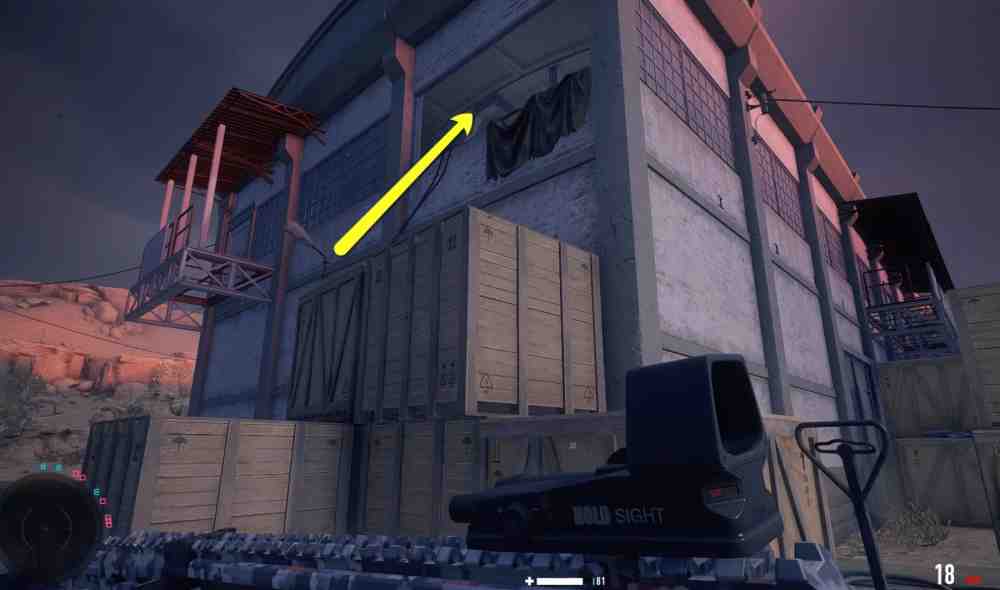
Reach the port and kill the lone soldier in front of the warehouse building next to the turret. On the warehouse wall, find the CCTV control panel. Use it to locate all nearby enemies.How to Sabotage the Missiles in the Port and Where to Find ThemHow to Sabotage the Missiles in the Port and Where to Find ThemHow to Sabotage the Missiles in the Port and Where to Find ThemHow to Sabotage the Missiles in the Port and Where to Find ThemThe warehouse doors are locked. Enter the neighboring building and go up to the second floor. There are two soldiers here. Kill them, then find the warehouse door control lever near the window. Activate it and head back down. Plant explosives on the missile crates.How to Sabotage the Missiles in the Port and Where to Find ThemHow to Sabotage the Missiles in the Port and Where to Find ThemHow to Sabotage the Missiles in the Port and Where to Find ThemHow to Sabotage the Missiles in the Port and Where to Find ThemNext, you need to visit another missile warehouse and plant explosives on the platform in the center of the area. Reach the uppermost warehouse by any route you prefer, eliminate several soldiers, and find a hole in the wall facing the water, directly in front of the crates. This is the only way into the building.How to Sabotage the Missiles in the Port and Where to Find ThemHow to Sabotage the Missiles in the Port and Where to Find ThemHow to Sabotage the Missiles in the Port and Where to Find ThemHow to Sabotage the Missiles in the Port and Where to Find ThemDone? Only one missile crate remains. It is in the center of the location and guarded by roughly a dozen soldiers. Sneak up to it from the water, plant the explosives, and get out of the area.How to Sabotage the Missiles in the Port and Where to Find ThemHow to Sabotage the Missiles in the Port and Where to Find Them
Optional Target: How to Complete the Bounty and Eliminate Ghazi Talib
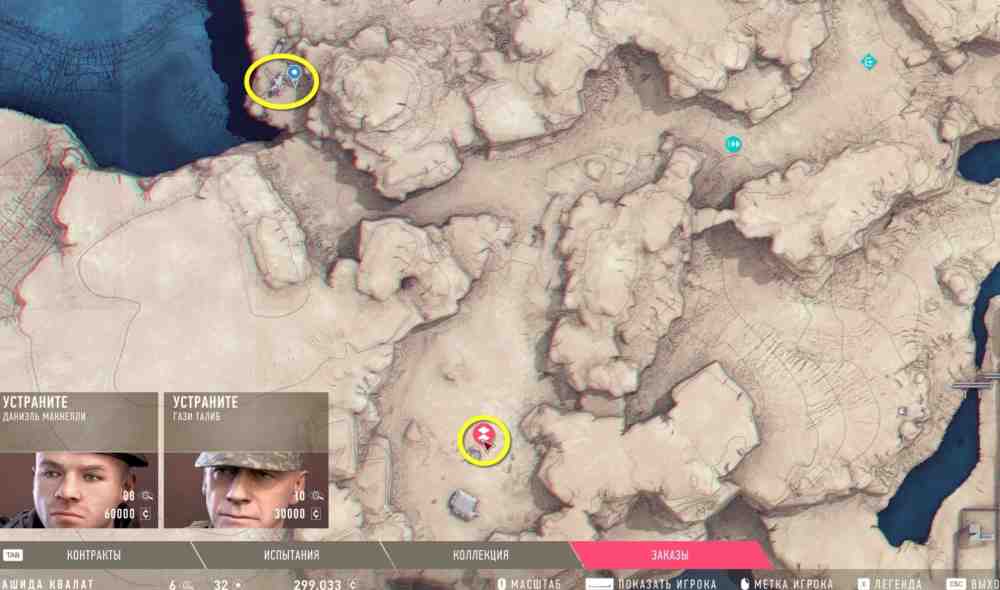
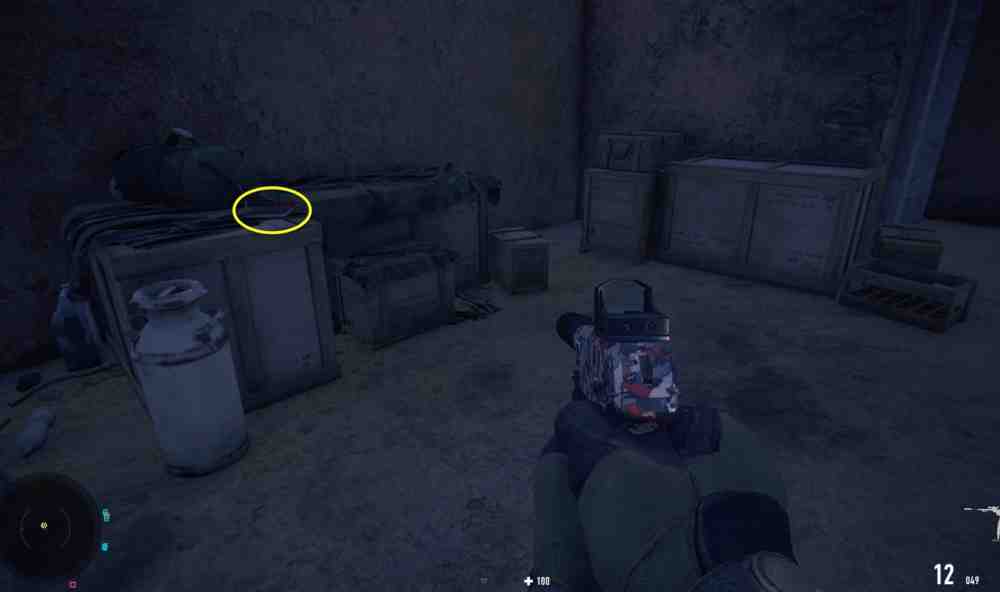
Head south through the area and find the crashed helicopter. Inside the wreck, you will find a camouflage crate.Optional Target: How to Complete the Bounty and Eliminate Ghazi TalibOptional Target: How to Complete the Bounty and Eliminate Ghazi TalibGhazi Talib is not difficult to eliminate, since one accurate shot is enough, but you will still have to approach his position to collect the bounty. Do not take unnecessary risks. Eliminate the sniper on the mountain to the right and approach the target from the left.Optional Target: How to Complete the Bounty and Eliminate Ghazi TalibOptional Target: How to Complete the Bounty and Eliminate Ghazi TalibOptional Target: How to Complete the Bounty and Eliminate Ghazi TalibOptional Target: How to Complete the Bounty and Eliminate Ghazi TalibKill the two soldiers near the isolated building and wait for Ghazi Talib to enter the house.
How to Acquire the Manifest from the Train Depot in Sniper Ghost Warrior Contracts 2
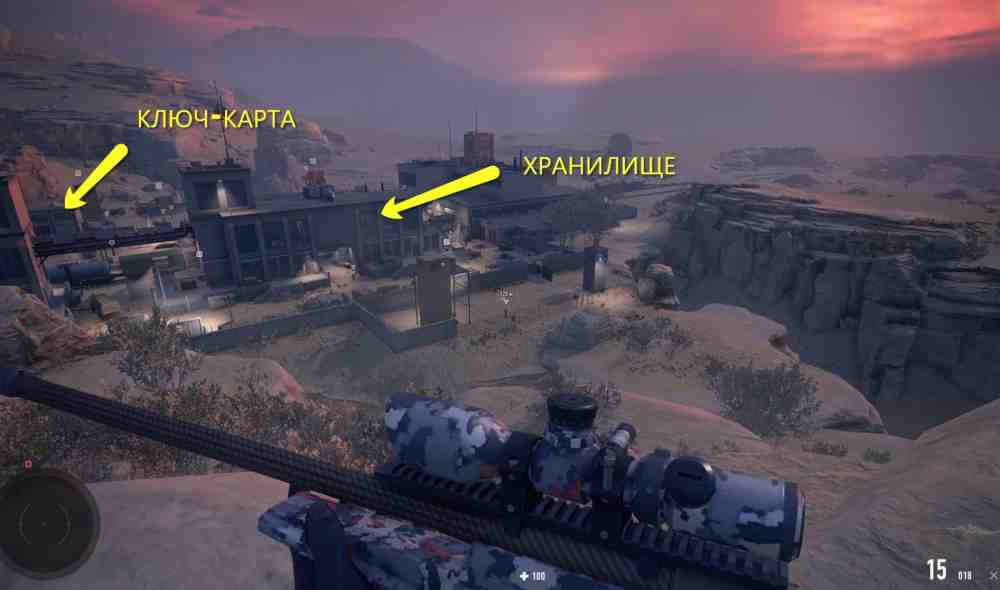
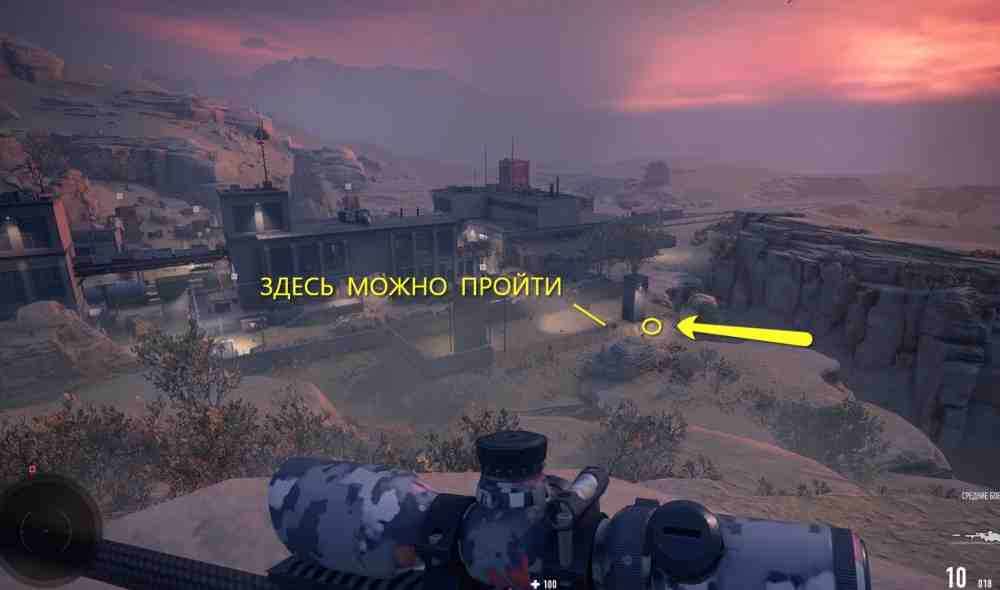
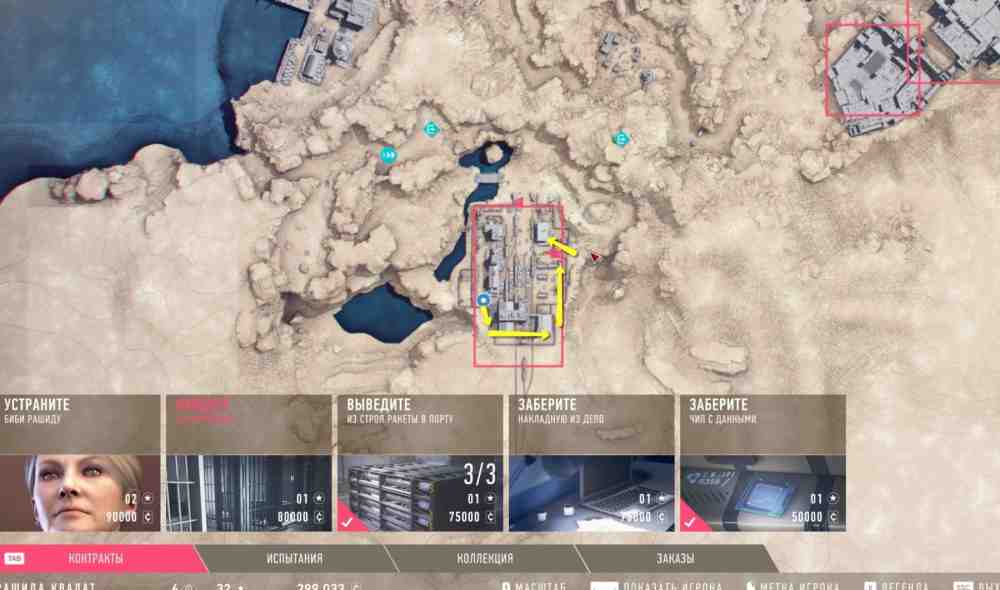
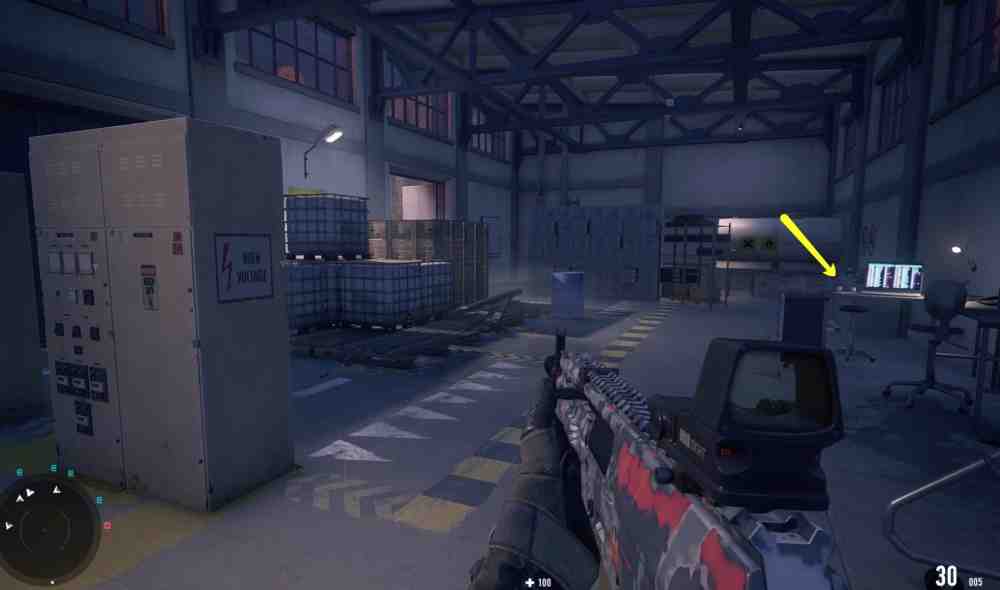
In this area, I recommend deliberately raising the alarm. This draws most of the soldiers outside and makes it easier to move around the depot. The screenshot below shows the buildings containing the keycard and the storage room with the data.How to Acquire the Manifest from the Train Depot in Sniper Ghost Warrior Contracts 2How to Acquire the Manifest from the Train Depot in Sniper Ghost Warrior Contracts 2Proceed as follows. Eliminate the snipers on the rooftops and the soldiers on the right side of the depot, then trigger the alarm. Once the armored vehicle carrying reinforcements starts moving toward your position, head down to the water and find the opening in the fence in front of the two towers. There is also a Mines sign here. Run past the two towers. There are no mines along this route.How to Acquire the Manifest from the Train Depot in Sniper Ghost Warrior Contracts 2How to Acquire the Manifest from the Train Depot in Sniper Ghost Warrior Contracts 2Move around the depot along the right side, then reach the building containing the keycard. Pick up the keycard from the table and return to the building with the storage room.How to Acquire the Manifest from the Train Depot in Sniper Ghost Warrior Contracts 2How to Acquire the Manifest from the Train Depot in Sniper Ghost Warrior Contracts 2How to Acquire the Manifest from the Train Depot in Sniper Ghost Warrior Contracts 2How to Acquire the Manifest from the Train Depot in Sniper Ghost Warrior Contracts 2Go up to the second floor, open the storage room, and take the folder from the desk next to the computer. After that, you can leave the area and continue the mission.How to Acquire the Manifest from the Train Depot in Sniper Ghost Warrior Contracts 2How to Acquire the Manifest from the Train Depot in Sniper Ghost Warrior Contracts 2
How to Find the Prisoners in Sniper Ghost Warrior Contracts 2 and Reach the Tunnels Beneath the Palace
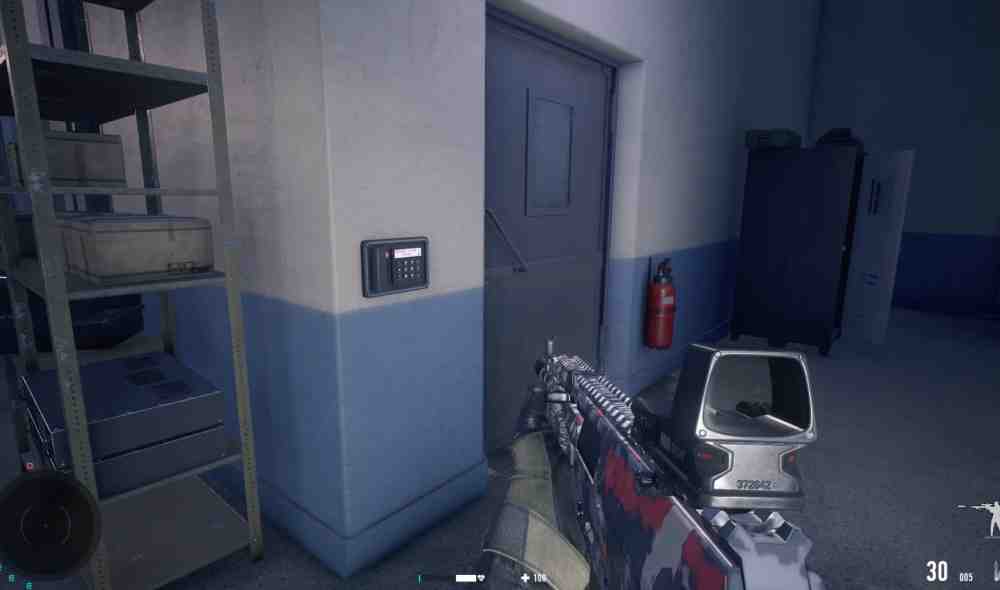
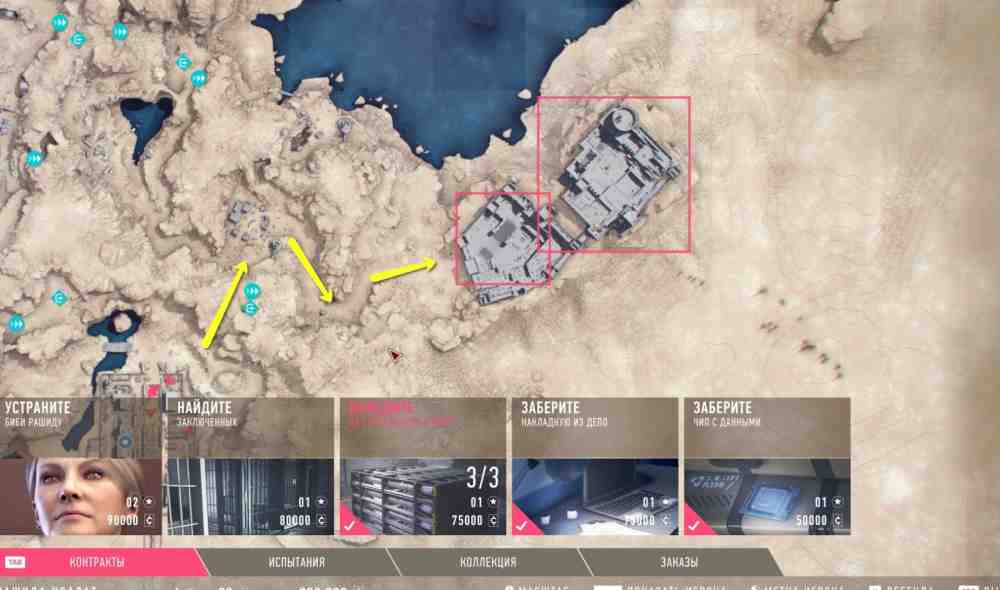
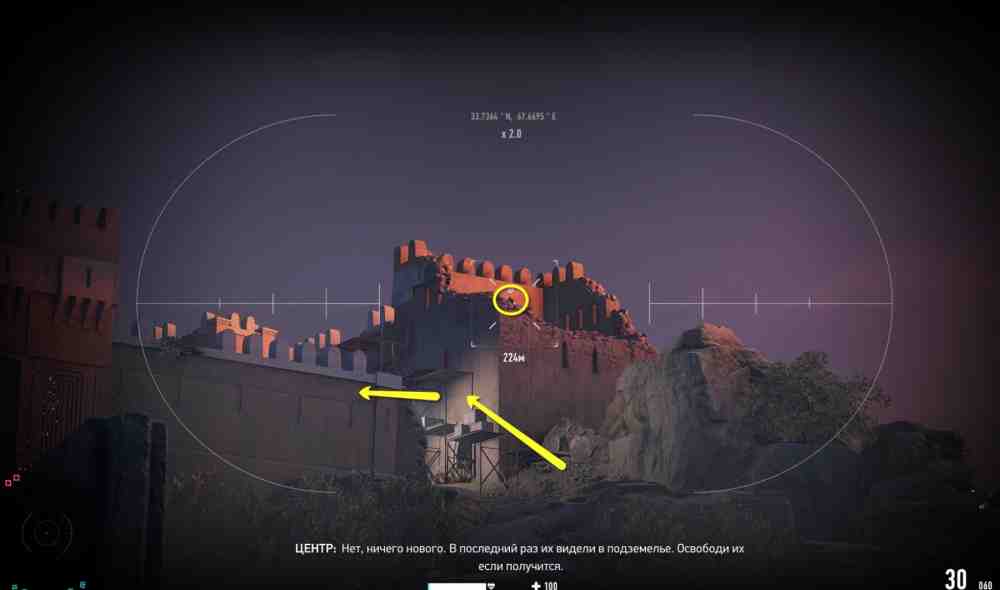
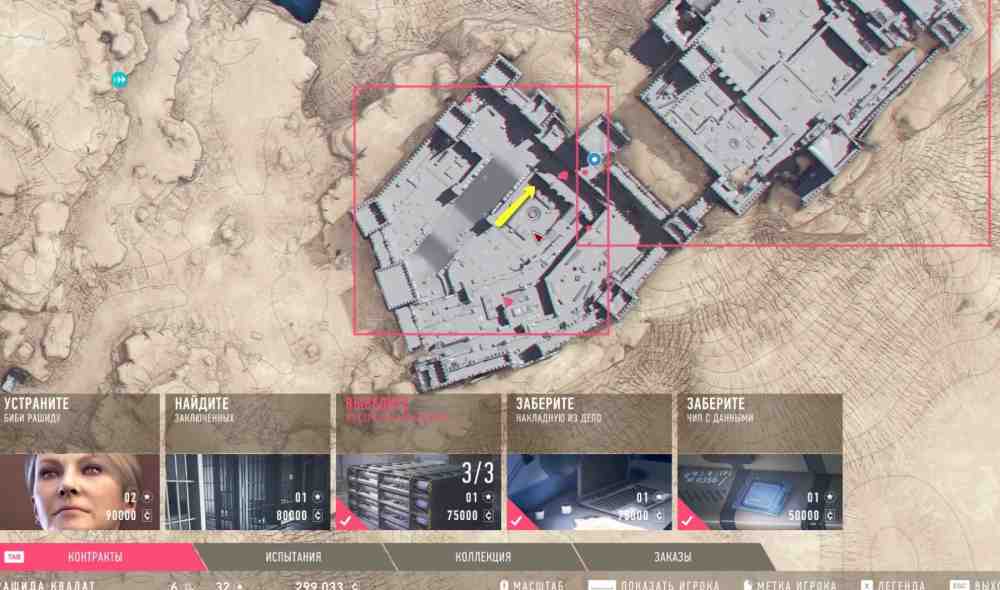
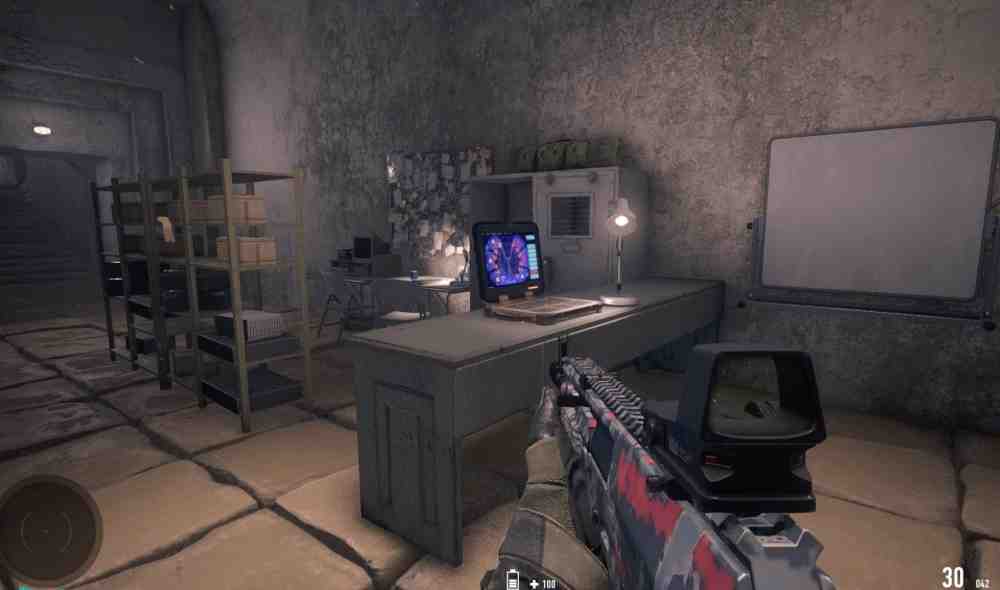
Leave the depot through the upper-right section of the area. There is a checkpoint here. You can eliminate all the enemies and search it, then do the same at another checkpoint near the cliff. This will let you find several collectibles. Return to the first checkpoint and head toward the palace.How to Find the Prisoners in Sniper Ghost Warrior Contracts 2 and Reach the Tunnels Beneath the PalaceHow to Find the Prisoners in Sniper Ghost Warrior Contracts 2 and Reach the Tunnels Beneath the PalaceTo the right of the palace entrance, eliminate the sniper on the scaffolding, run to his body, and climb into the palace. There are three entrances to the tunnels, but two are locked. The only open entrance is in the center of the area.How to Find the Prisoners in Sniper Ghost Warrior Contracts 2 and Reach the Tunnels Beneath the PalaceHow to Find the Prisoners in Sniper Ghost Warrior Contracts 2 and Reach the Tunnels Beneath the PalaceHow to Find the Prisoners in Sniper Ghost Warrior Contracts 2 and Reach the Tunnels Beneath the PalaceHow to Find the Prisoners in Sniper Ghost Warrior Contracts 2 and Reach the Tunnels Beneath the PalaceReach the iron bridge and drop into the water. Follow the flooded tunnels, pass the prison cells, and eliminate all the guards. In the final room, find a military laptop containing footage of the prisoners' execution. Collect the reward, return to the fortress, and move on to the final contract.How to Find the Prisoners in Sniper Ghost Warrior Contracts 2 and Reach the Tunnels Beneath the PalaceHow to Find the Prisoners in Sniper Ghost Warrior Contracts 2 and Reach the Tunnels Beneath the Palace
How to Eliminate Bibi Rashida Silently Without Raising the Alarm in Sniper Ghost Warrior Contracts 2
In the upper part of the fortress, climb the nearest tower. An infantryman patrols the second floor, while a sniper is positioned on the roof. Kill both of them to reveal the locations of all enemies in the area. You can also pick up the collectible Rashida's Notebook on the roof.How to Eliminate Bibi Rashida Silently Without Raising the Alarm in Sniper Ghost Warrior Contracts 2How to Eliminate Bibi Rashida Silently Without Raising the Alarm in Sniper Ghost Warrior Contracts 2How to Eliminate Bibi Rashida Silently Without Raising the Alarm in Sniper Ghost Warrior Contracts 2How to Eliminate Bibi Rashida Silently Without Raising the Alarm in Sniper Ghost Warrior Contracts 2Eliminate another sniper on the neighboring tower, head down, and move closer to Rashida's quarters. She occasionally steps outside to reprimand her subordinates. You can eliminate her there or inside her own quarters. On the lower floor of Rashida's tower, you can find another collectible, The Late Husband's Notebook.How to Eliminate Bibi Rashida Silently Without Raising the Alarm in Sniper Ghost Warrior Contracts 2How to Eliminate Bibi Rashida Silently Without Raising the Alarm in Sniper Ghost Warrior Contracts 2