Little Nightmares II, a platformer with adventure and puzzle elements, launches tomorrow. You play as a boy named Mono, who is trying to save the protagonist of the first game and escape from a distorted world. I've prepared a complete walkthrough covering every level, puzzle, and tricky section.The game consists of five exciting and frightening levels. Some sections can be difficult to get through or contain challenging puzzles. I've separated those moments into their own subheadings. You can also watch the full Little Nightmares II video walkthrough.
Level 1: The Wilderness
Collectibles in this chapter:
Hats: 2/2.
Glitching Remains: 4/4.
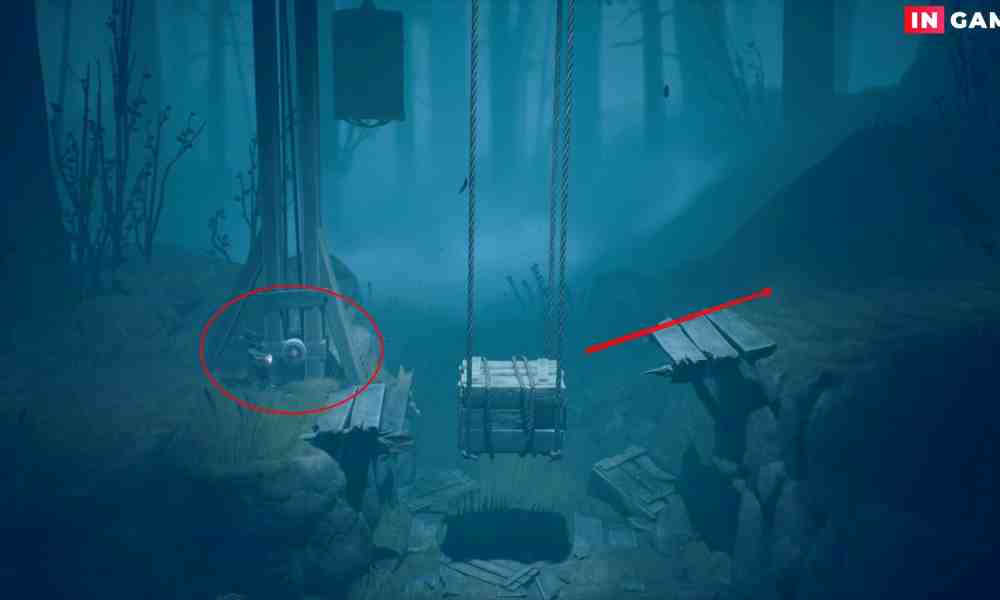
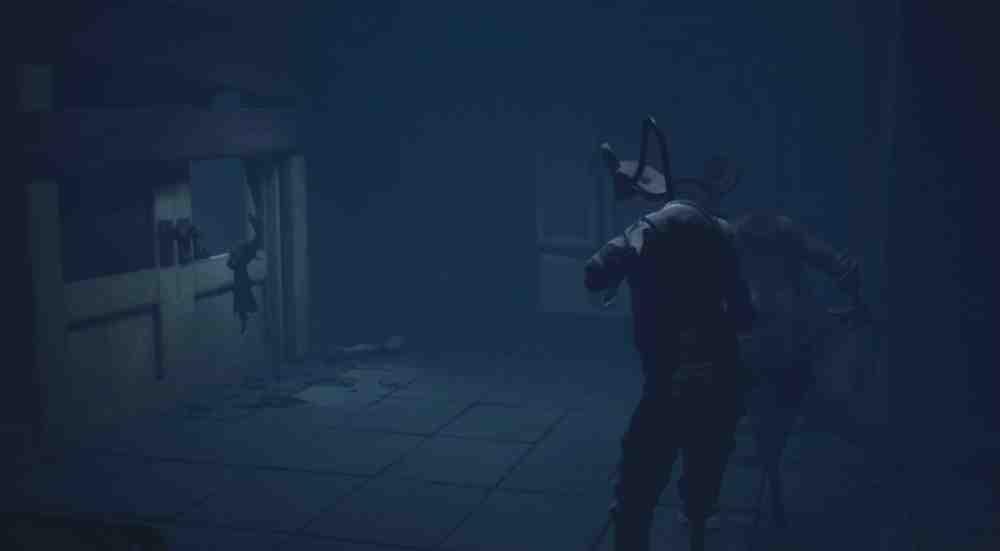
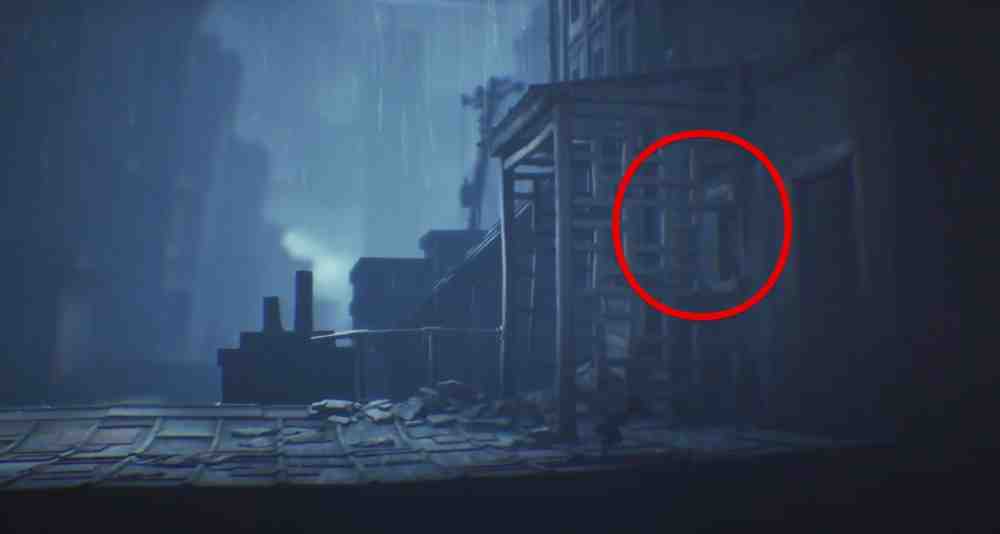
Run forward. Use the crate to climb onto the ledge. Dodge the log rolling toward you, climb up the tree trunk, and grab the rope to swing across. Use the lever to lower the crate and continue forward.How to Cross the RavineHow to Cross the RavinePick up the shoe and throw it into the trap ahead. Climb the log, move around the bear traps, and pull out the stick caught in one of them. Hit the trap with the stick to clear the way. Repeat the trick in the next clearing, then throw pinecones into the leaves to trigger the hidden traps.How to Disarm the TrapsHow to Disarm the TrapsOn the way to the Hunter's house, you can find several Glitching Remains:
The first is near the broken bridge you need to climb. Move a little to the right of the bridge to find it (1).
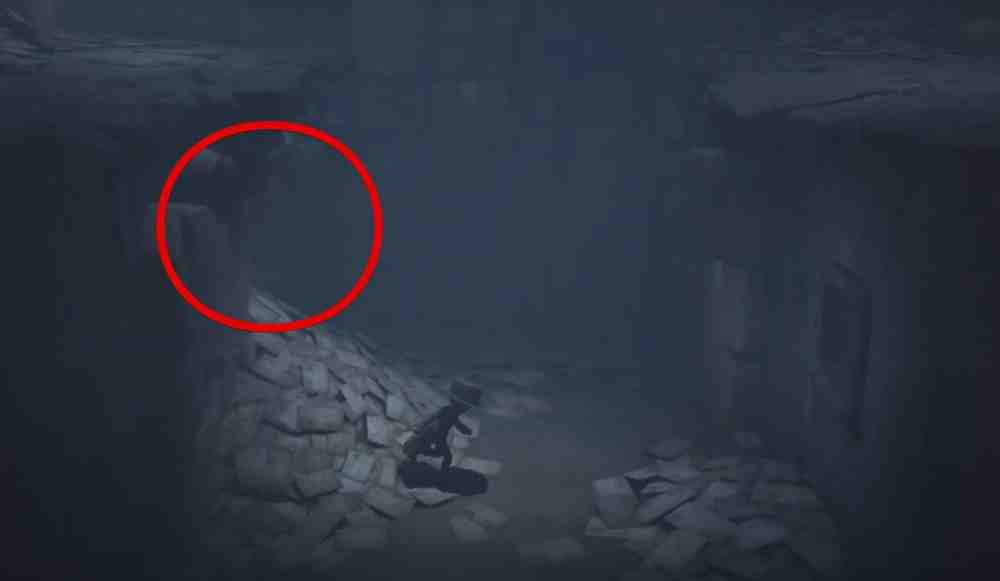
The second can be found after sliding down the log and reaching the bear traps for the first time. Stop and head left toward the log. The Glitching Remains are inside a small cave (2).
How to Free Six
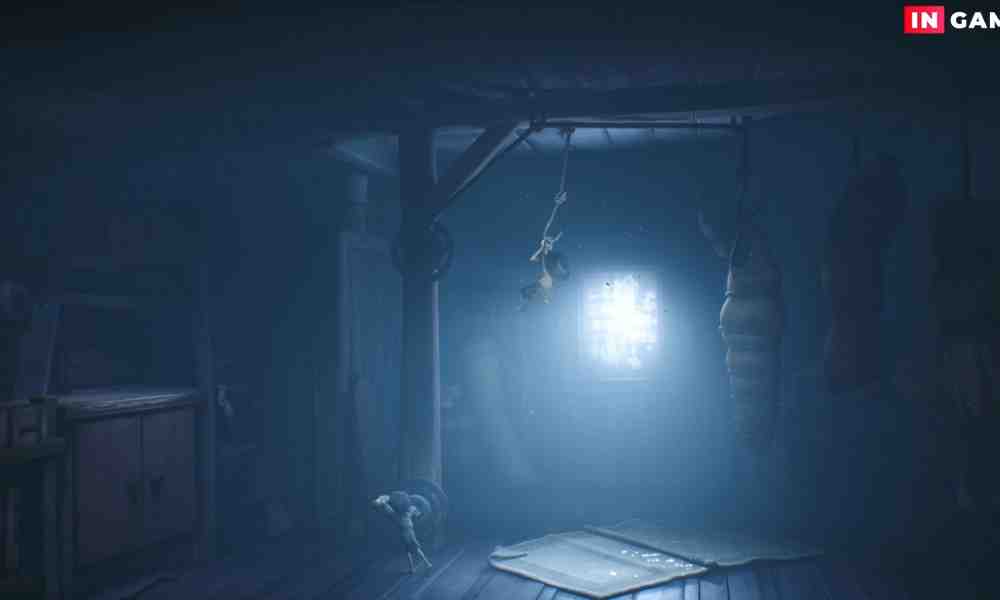
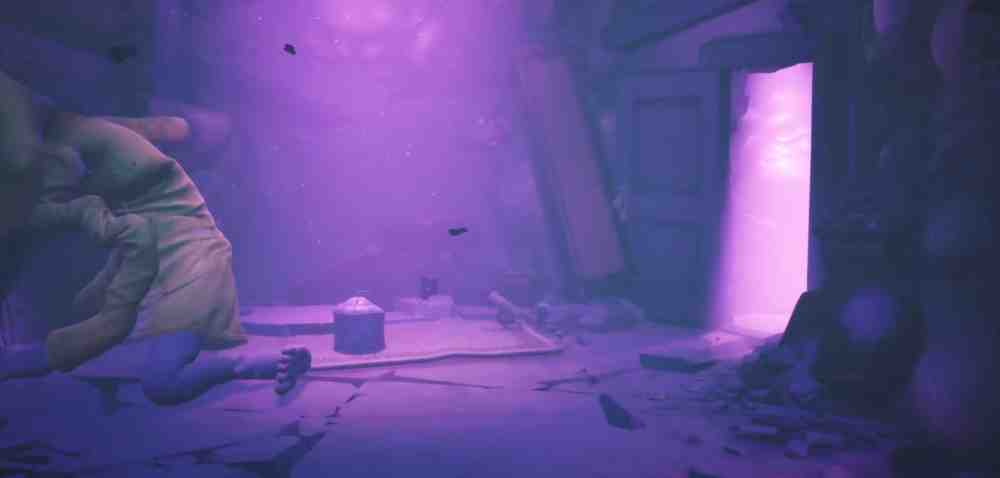
Enter the house, go down into the basement, and pick up the axe in the room on the right. Use the axe rather than the cleaver near the stairs, because the cleaver breaks when you interact with it. Break down the door and watch the cutscene with the girl. Follow her to the second floor, help lower the ladder, and climb into the attic. Push the suitcase together, approach the cabinet on the left, and use Six's help to climb onto it. Pick up the crank and head back. Climb onto the hanging bag and jump to the hook holding the key.How to Get the KeyHow to Get the Key
How to Find the Hat in The Nome's Attic DLC for Little Nightmares II
If you own The Nome's Attic DLC, you can encounter a strange little Nome wearing a cone-shaped hat in the attic. Players without the DLC will not see him. He appears after you obtain the key to the ground-floor door. Follow him back to the room with the doll, where you found the crank. You will need to search for him by checking the drawer and climbing onto the chair. Eventually, he leads you into the attic, where you can pick up the Nome Hat.Head back downstairs, unlock the door, and ask Six to help you open the wooden outhouse. Pick up the Glitching Remains. In the shed, move the crate, climb into the monster's house, and leave through the other side. The Hunter will begin chasing you. Hide behind the crates and then in the grass.How to Hide from the Hunter, the Boss of The WildernessHow to Hide from the Hunter, the Boss of The WildernessAt the broken bridge, grab the rope and pull it back. Jump across the ravine with Six's help and inspect the cages on the right. Knock down the upper cage to obtain a Hat.
How to Kill the Hunter in The Wilderness
Hide behind the crates and climb to the second floor of the shed. You will eventually reach the water. Make your way to the tree with the heart carved into it and lure the Hunter into shooting the tree three times. Push the tree down together with Six and get out of the water.How to Knock Down the TreeHow to Knock Down the TreeHide behind the crates and reach the shack with the shotgun. Use the gun, climb through the window, and sail away on the door toward the next location. On the shore before entering the second level, find the Glitching Remains.
Level 2: The School
Collectibles in this chapter:
Hats: 2/2.
Glitching Remains: 6/6.
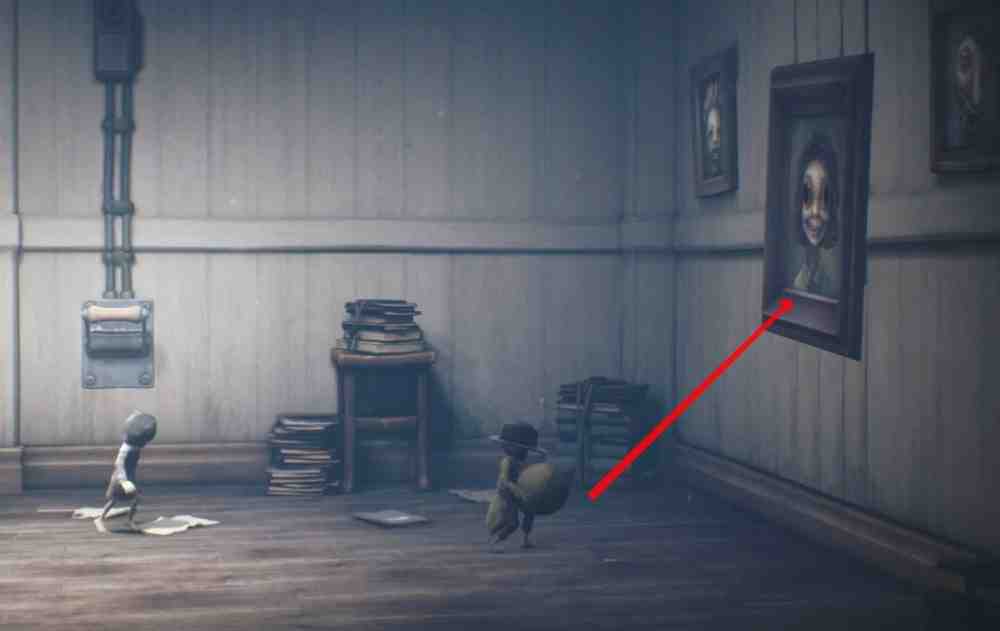
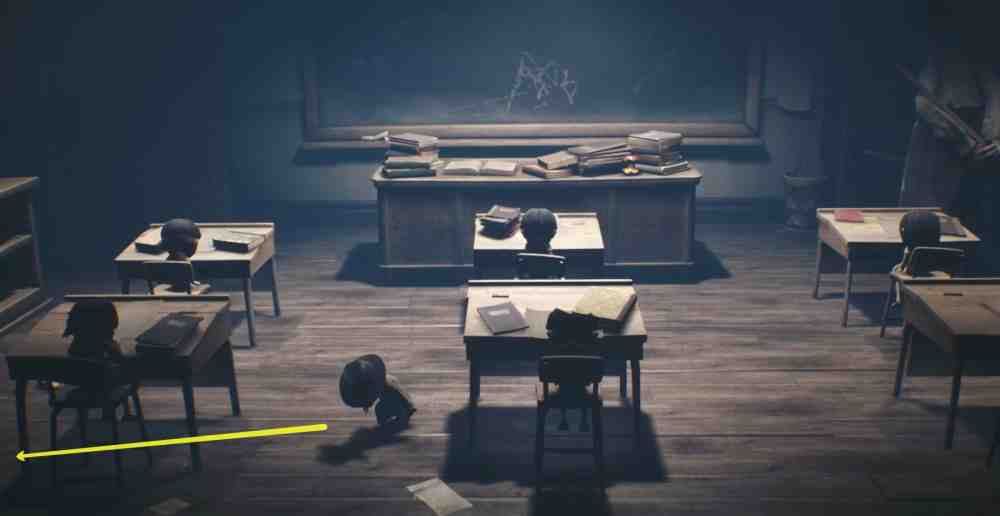
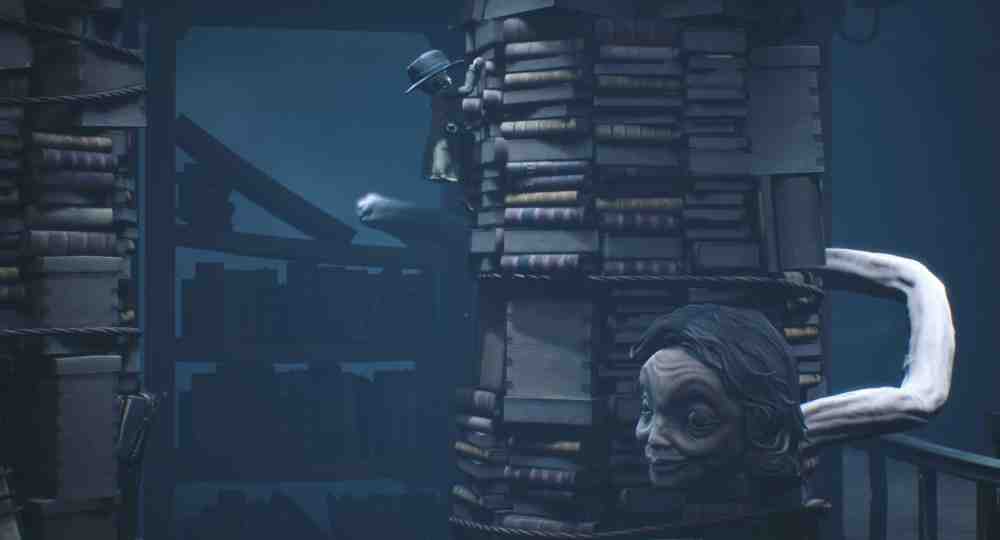
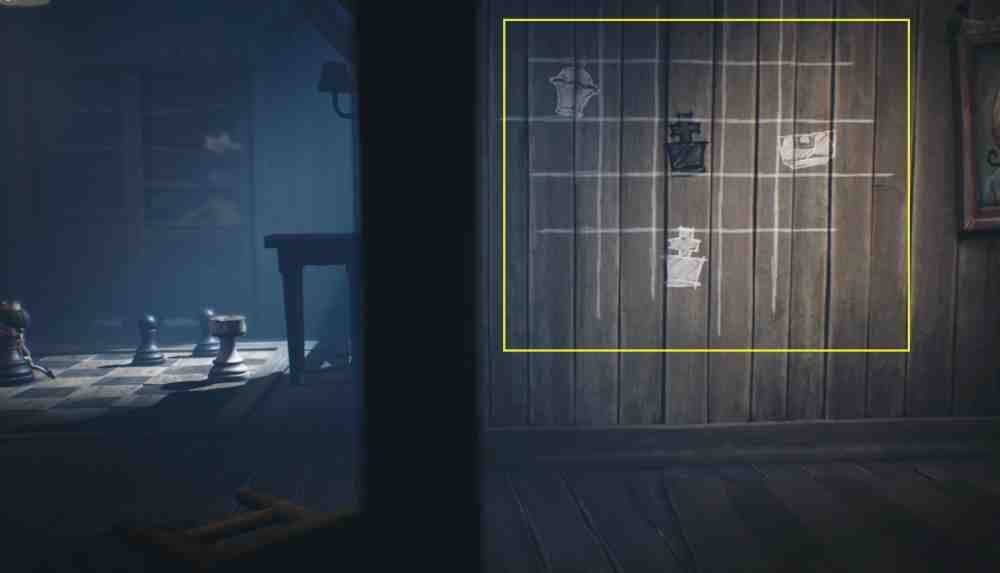
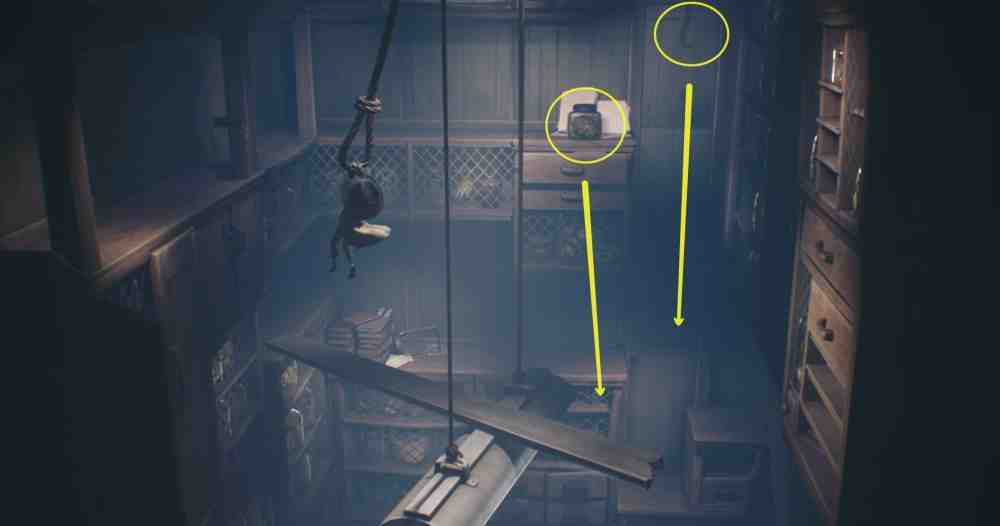
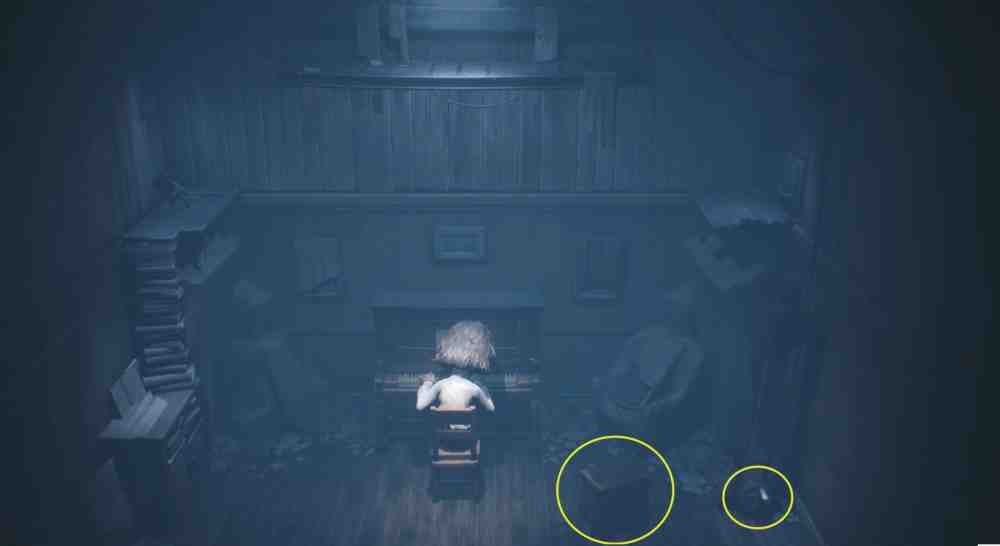
Reach the room with the television tied to a rope. Jump onto the rope, swing, and climb to the upper floor. Push the second television down. Six can now catch you when you jump across the gap. Before moving on, search the upper floor where she climbed up and find the Glitching Remains. Enter the room with the television, tune the signal, and keep moving.Before reaching the playground, move the dumpster and crawl through the hole in the fence. Search the playground. You can find Glitching Remains in the far-left corner of the area and a ball-shaped Hat on the trash bin near the entrance. Climb the sheets to the second floor.In the hallway, find the portrait on the wall. Run to the bedroom, pick up any object, and throw it at the picture. Continue through the pipes.How to Leave the Room Through the PaintingHow to Leave the Room Through the PaintingDodge the traps in the hallways and keep running until the Bullies attack. Grab the hammer and smash two of them. Continue into the classroom with the boss. Search the lockers in the hallway to the left of the elevator to find Glitching Remains. Sneak behind the classroom into the room on the right. Climb onto the cabinet. It falls and attracts the Teacher's attention. Hide inside the box in the center of the room. Pick up the key and return the same way while trying not to get caught by the Teacher.How to Get the Key in the SchoolHow to Get the Key in the SchoolTake the elevator upward and you will see a tied-up Bully. Wait for it to attack, pick up the pipe, and kill it. Follow the pipes into the attic. If you knock cans, bottles, or other objects onto the floor, hide inside the boxes. In the library, run from the Teacher without stopping, then hide between the two connected piles of books.How to Hide from the Teacher in the SchoolHow to Hide from the Teacher in the SchoolWait for the Teacher to close the door behind her, move the crate, and follow her. Climb the stairs toward the door on the left and collect the Glitching Remains. Return to the door on the right, pick up the top of the chess piece, and place it back in position. Open the door, take the piece again, and bring it inside. On the right wall, interact with the curtain to reveal the correct arrangement of pieces on the chessboard.How to Solve the Chess PuzzleHow to Solve the Chess PuzzleOnce every chess piece is in the correct position, activate the lever and take the key. Go down the stairs, unlock the door, and move the dish cabinet to the right. Open the door on the left and collect the Glitching Remains from the dead-end room. Return and climb the cabinet. In the kitchen, grab the ladle and start smashing the enemies. The last one drops its head. Put it on as a disguise.Walk past the students into the room with the tall shelves. Climb higher, grab the rope, and knock down the jar containing a brain, which you will need to open the door. Grab the hook to the right of where the jar was sitting. Head down to the door, pick up the brain, and throw it at the button.How to Open the Door in the Utility RoomHow to Open the Door in the Utility RoomWait for the Teacher to move into the other room, climb onto the table, and proceed into the room on the right. Enter the hallway with the Bullies. Grab the hammer and deal with every enemy in the corridor all the way to the bathroom. Kill two more Bullies inside and free Six.Next, you enter a room with a piano. Raise it, then jump on it several times together with Six until it crashes through the floor. Behind the bars, you can see a Bully and a key. Go around from behind, grab the pipe, and kill it. Use the key to open the door and watch the scene where Six kills the Bully.You can actually kill the Bully yourself, but this may lead to different consequences. At the moment, we're still checking what changes if Six is the one who kills it.How to Get Past the Teacher in the SchoolHow to Get Past the Teacher in the SchoolClimb the stairs and enter the pipe. In the piano room, try not to make any noise whenever the Teacher stops playing. Climb down, use the lever, move the cabinet to the left side of the room, and climb up to Six. Run from the monster's pursuing head.The game still counts the area after the School as part of the same chapter. That means the final Glitching Remains can be found in the alleyways after moving the dumpster and climbing onto the ledge.
Level 3: The Hospital
Collectibles in this chapter:
Hats: 2/2.
Glitching Remains: 4/4.
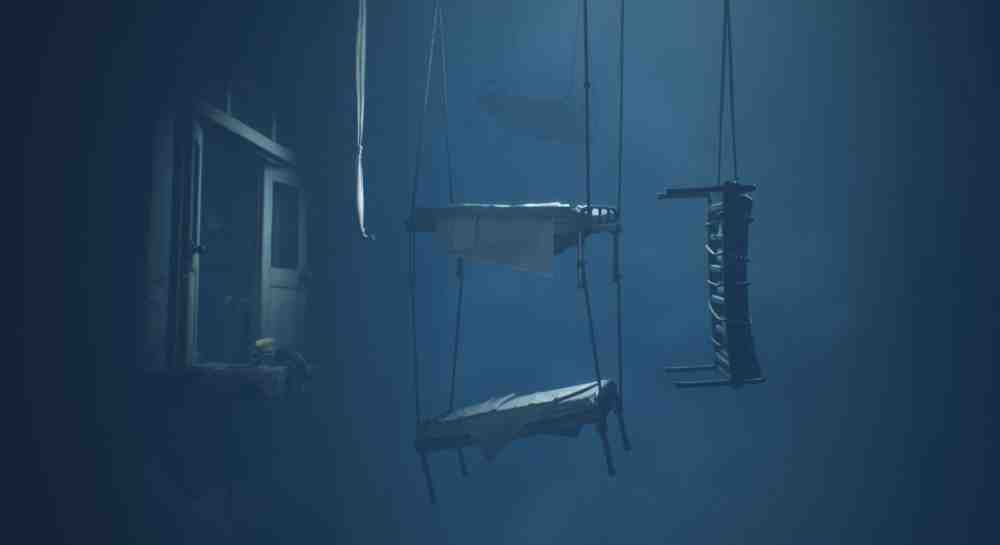
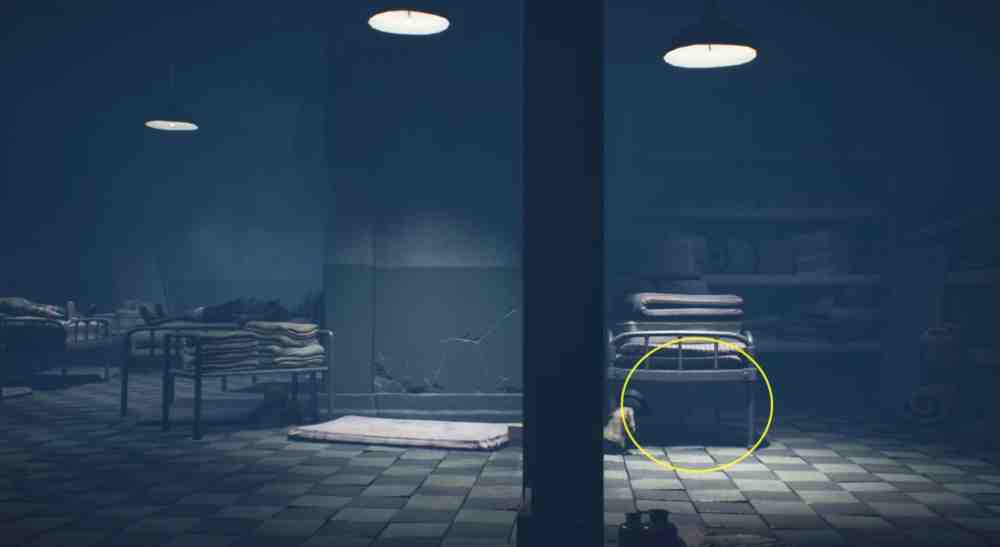
Run forward. Watch the cutscene with Six and continue toward the locked gate. Climb onto the dumpster, cross to the other side over the roof, and push the wooden panel. Enter the Hospital and climb up using the beds.How to Climb the Beds in Little Nightmares IIHow to Climb the Beds in Little Nightmares IITake the fuse and place it into the fuse box next to the elevator. Jump into the elevator, hold the crouch button, and approach the gate on the right. If you run or jump, you will fall. Pick up the flashlight and find Glitching Remains (1) in the next room with the hospital beds.
The Key Inside the Toy
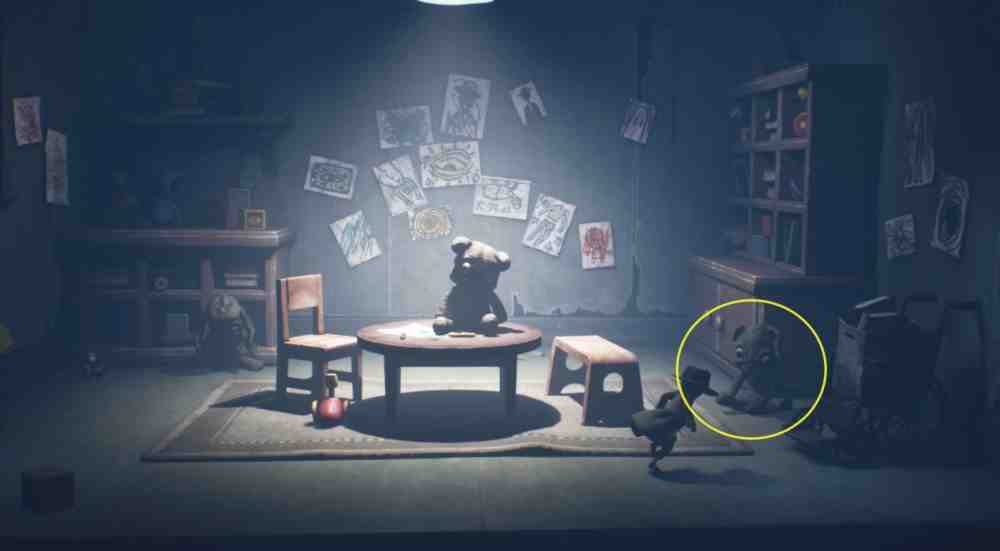
Reach the reception area with the vending machine. Take a can from the machine and throw it at the button next to the door, then interact with the television. Run through the X-ray room into the playroom and pick up the stuffed rabbit on the right side of the bed. Take it to the basement using the elevator, throw it into the incinerator, and retrieve the key.Where to Find the Key in the Hospital Playroom in Little Nightmares IIWhere to Find the Key in the Hospital Playroom in Little Nightmares IITake the key upstairs and unlock the door to the right of the elevator. Move through the room full of arms and legs, then find Glitching Remains (2) in the next hallway. Ask Six to help you climb through the broken window in the door and run from the Living Hand chasing you.
How to Kill the Living Hand and Find the First Fuse
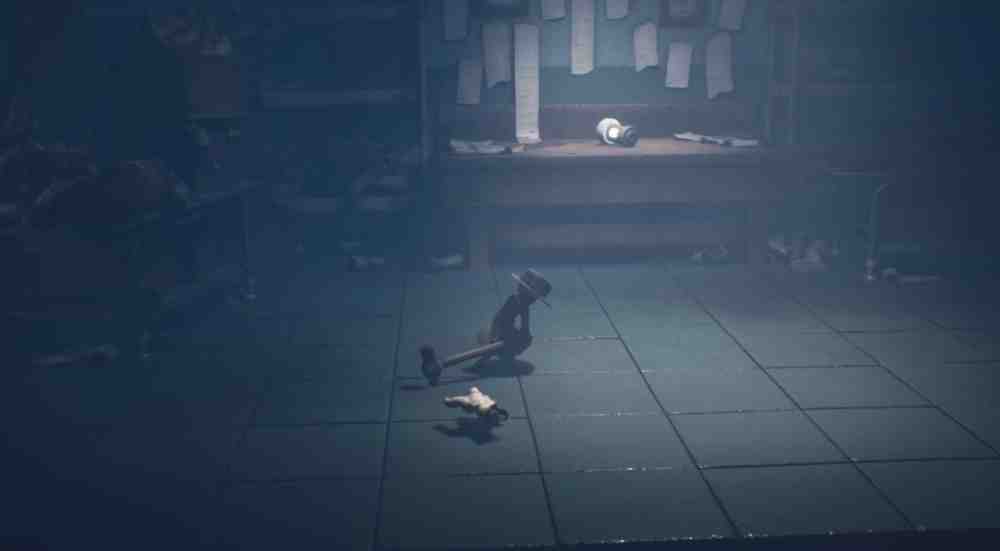
Run until you reach a room with a locked door, where the Living Hand attacks again. Pick up the hammer and kill it. It takes three hits. The best time to strike is immediately after the hand attacks.How to Kill the Living Hand in Little Nightmares IIHow to Kill the Living Hand in Little Nightmares IIMove the crate next to the door, smash the glass with the hammer, and return to the table holding the fuse. Take it and insert it into the fuse box to the left of the elevator. Ask Six to help you cross the gate and activate the switch. Some Patients will hunt you in the darkness. Stop them with the flashlight by keeping the beam aimed at them until you reach safety.
How to Escape the Patients and Find the Second Fuse
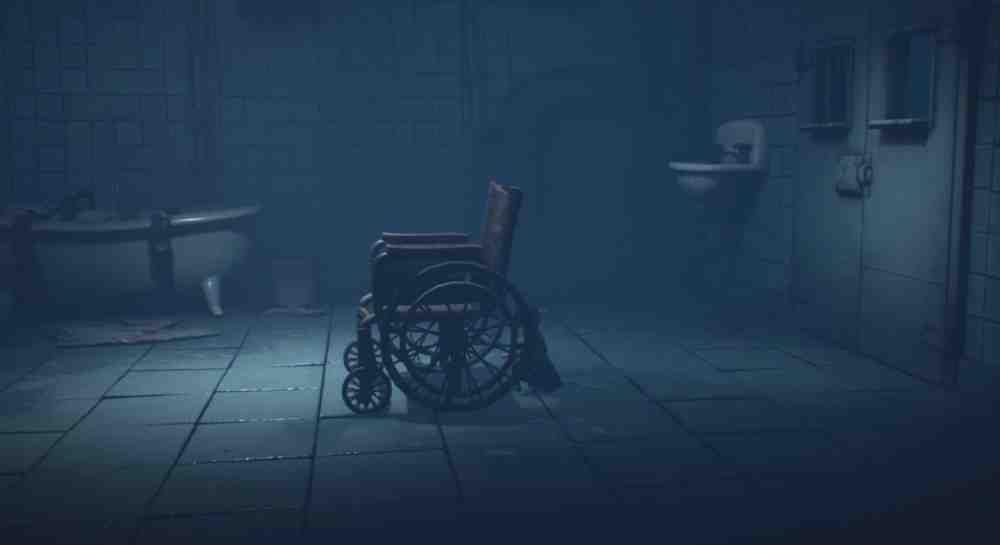
Move down the hallway and enter the dark ward. Two Patients will attack. Ignore them and hide beneath the hospital bed. Now three Patients will try to kill you. Gather them together and lure them toward the far-right side of the room. Move through the door and find a pipe you can crawl into.How to Escape the Patients in Little Nightmares IIHow to Escape the Patients in Little Nightmares IIAs soon as you reach the long hallway, step behind the open door you just came through. You will see a passage between the bars leading to a room with Glitching Remains (3).Run down the hallway. Mannequin arms will begin appearing from every direction, followed by the Patients themselves. Keep the flashlight trained on them and escape the ward. In the shower room, first inspect the far wall with the lever. Move the box to reveal an entrance to a secret room containing the final Glitching Remains (4) for this level. Leave the room. Activate the lever, throw the soap at the button to the left of the gate, then use the lever again. Approach the Patient sitting in the wheelchair and make it move. Return to the lever, turn on the lights, and use the wheelchair to reach the next room.How to Move the Wheelchair in Little Nightmares IIHow to Move the Wheelchair in Little Nightmares IIAround ten Patients attack you in this dark room. The important detail is that they come to life gradually as you move through the area, which makes the section harder. The easiest solution is to gather as many Patients as possible on the left side of the room, where you entered, while keeping the flashlight on the remaining ones. There is no easier way through this section.Even in a game this creepy, there are some amusing moments. A moment ago you were running from a crowd of Patients, and now you can play ball with them. Throw the ball toward the hands sticking through the fence if you want. This is optional.Back to the walkthrough. Climb onto the stool and turn on the power to the chair in the center of the room. The fuse falls out. Pass it to Six through the bars. With both fuses, run back toward the elevator and descend into the morgue.Where to Find the Fuses in Little Nightmares IIWhere to Find the Fuses in Little Nightmares II
The Morgue
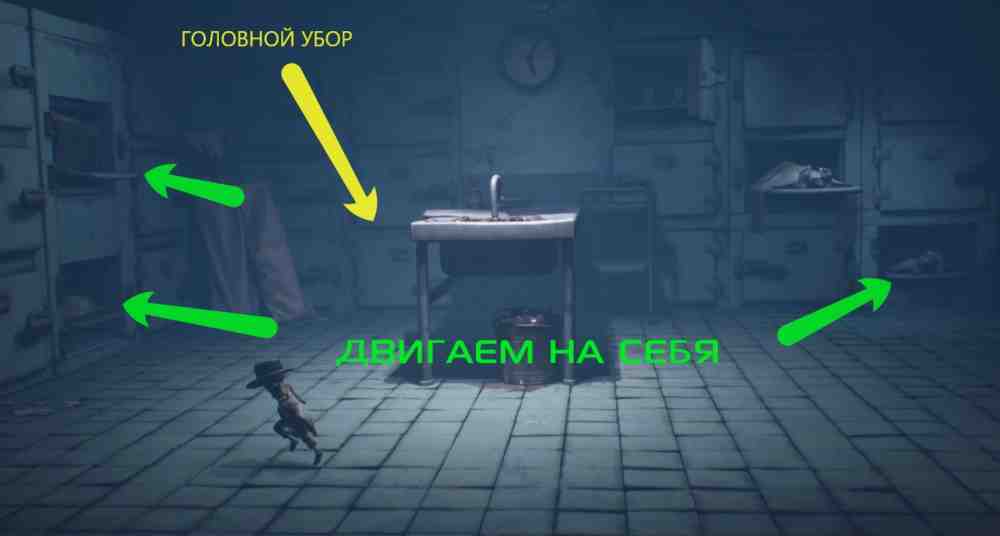
Run through the corridors. In the final room, Six will try to hold the refrigerator door shut while you fight a Living Hand. After two hits on the first hand, a second one appears. Dodge both and kill them one at a time.When you encounter the Doctor, the boss of this level, hide behind the crates and move into the next room. Crawl under the hospital beds and slowly make your way toward the far side where the toys are. Pick up any object and head toward the gate. Open it by throwing the toy at the button, then hide under the bed in the next room.Where to Hide and How to Escape the Doctor in Little Nightmares IIWhere to Hide and How to Escape the Doctor in Little Nightmares IIWait for the Doctor to leave and crawl into the pipe. Enter the morgue, approach the gurney sticking out of the refrigerated cabinet, and pull it toward you. Climb into the body drawer and wait for Six to push you into the next room. Open every available drawer and find the mummy-shaped Hat. Pull out two gurneys on the left and then one on the right. Jump across the extended drawers and pick up the key.How to Reach the Key in the Morgue — Little Nightmares IIHow to Reach the Key in the Morgue — Little Nightmares IIRun into the next room with the Doctor, sneak around him, and enter the ward with the patient. Climb the stairs, jump onto the lever, and hide somewhere safe. While the Doctor tends to his patient, return to the previous room, take the fuse, and insert it next to the locked gate.Run from the Doctor and press the jump button at the right moment. If you hesitate, you will have to start over. Six shuts the incinerator door, leaving you to pull the switch and burn the monster.
Level 4: The Pale City
Collectibles in this chapter:
Hats: 2/2.
Glitching Remains: 4/4.
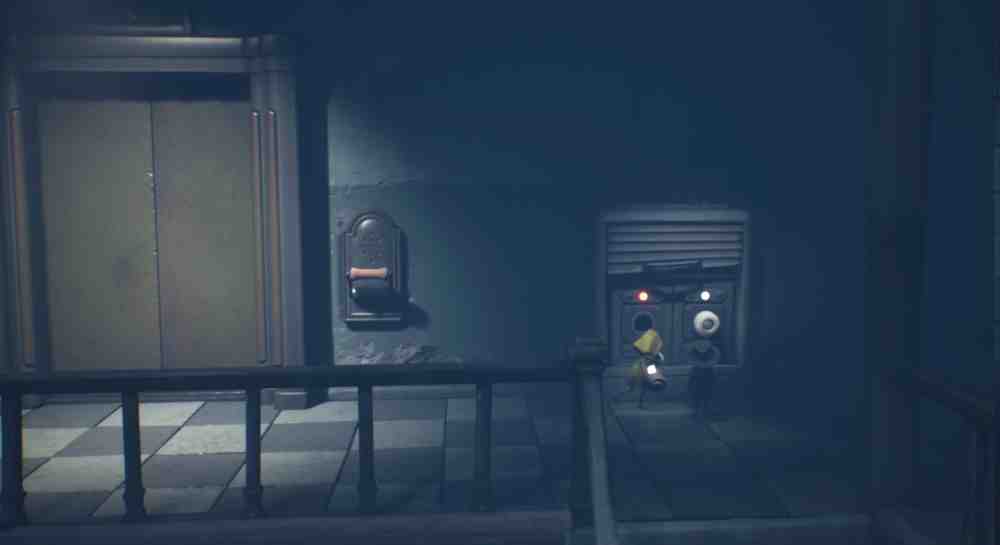
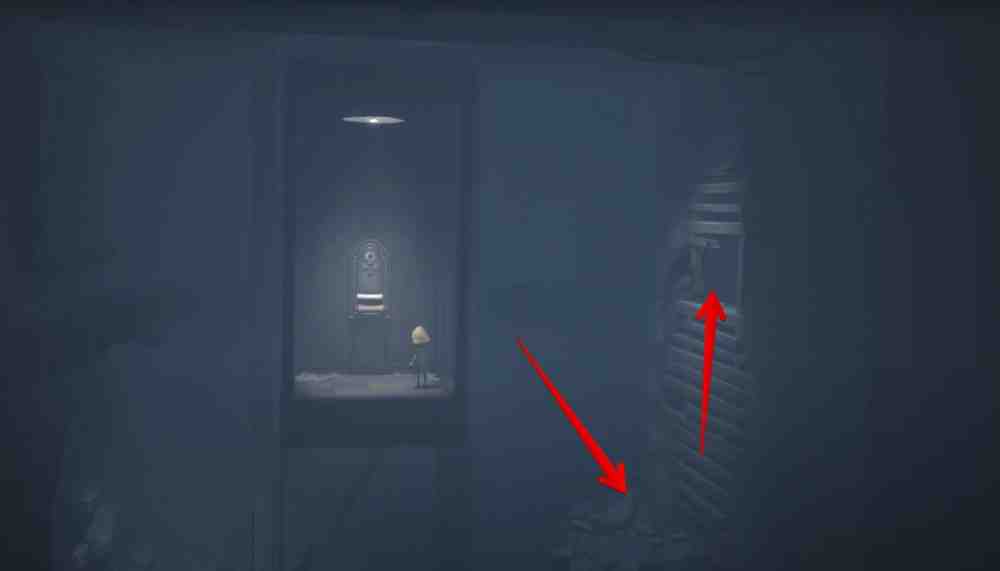
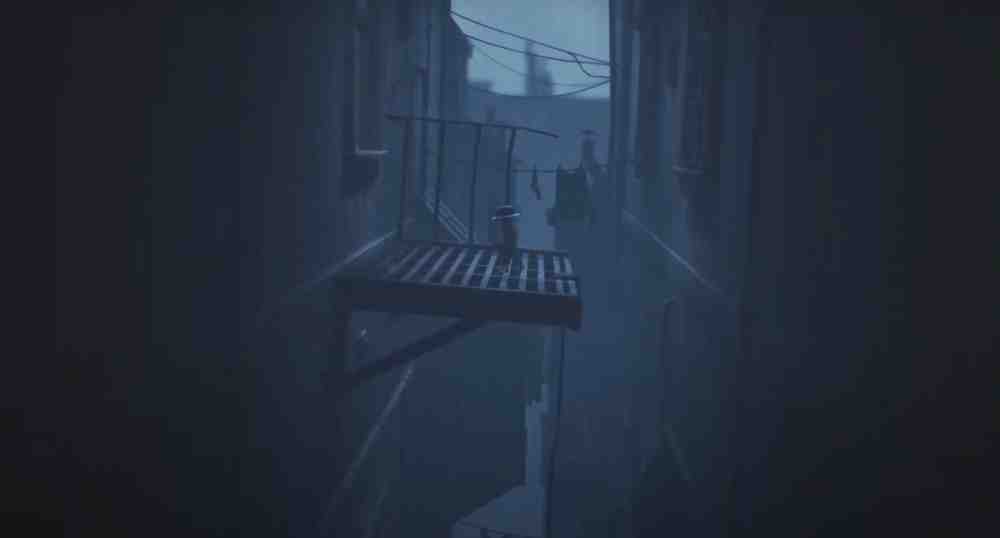
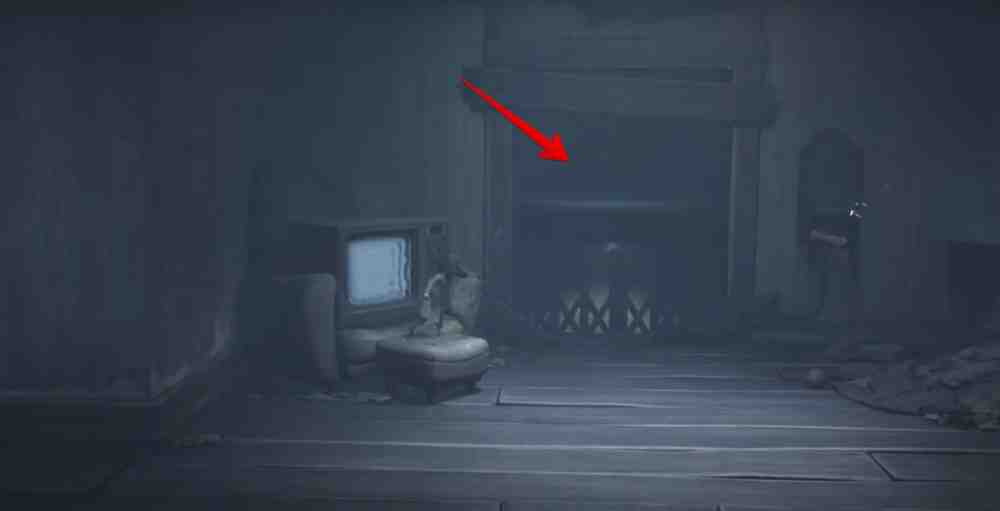
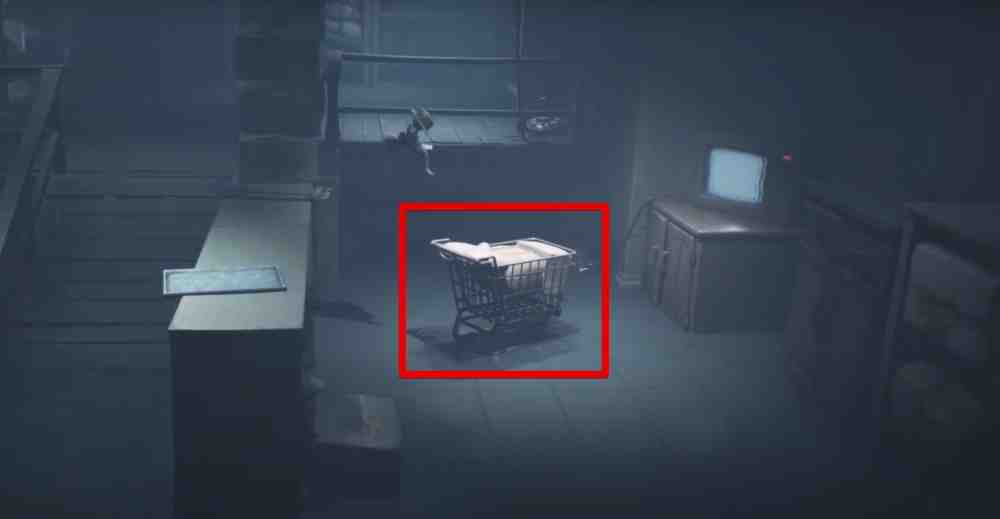
Leave the Hospital and climb the stairs into the neighboring building. You need to reach the ruined elevator shaft, where there is a small puzzle. Go down to the elevator and pull the lever, then jump onto the intermediate floor on the right as the elevator moves. Climb up the boards. This lets you reach the upper floor and open the elevator door. The key to the gate is inside one of the drawers in the far office on the left.How to Solve the Elevator Puzzle in Little Nightmares IIHow to Solve the Elevator Puzzle in Little Nightmares IIAfter freeing Six from the elevator, get back inside and use the lever to send it down. While the elevator is descending, jump onto the intermediate floor on the right again and climb upward. Ask Six to help you reach the lever to the left of the elevator shaft. The elevator rises, allowing you to jump onto its roof.Continue toward the right side of the area and reach the rooftops. Before climbing onto the decorative wooden structure, go behind it and enter the open window. You will find Glitching Remains (2) inside.How to Find Glitching Remains in Little Nightmares IIHow to Find Glitching Remains in Little Nightmares IIHelp Six get across, jump after her, and climb the ladder. You enter a room that begins collapsing. Push open the door on the left and run until the cutscene starts. In the hallway, inspect the far room with the television where the Thin Man appears. Run from him into the next room with the toys and hide under the bed. Return to the television afterward. From this point on, Mono is alone.You appear in a completely different building. Climb higher and use the television to teleport outside. Use the crank to move the television hanging from the rope to the right, break down the door, and enter the television inside the building again. Follow the pipes along the building facades and enter the room. Pick up the TV remote, which lets you turn televisions on and off. Switch on the television ahead and teleport upward. Use the ledge to descend. The path to the left leads to a police cap Hat. The path to the right leads to a switched-off television and a shopping cart that you need to move into the center of the room.How to Find the Police Cap Hat in Little Nightmares IIHow to Find the Police Cap Hat in Little Nightmares IIOnce the cart is positioned in the center of the room between the gaps, switch on the television and return to the previous set. Use the chandelier to cross the gap and leave the building. Climb down the rope into the open window and stop. If you climb back out and follow the rooftop to the far open window beyond the two air conditioners, you will find Glitching Remains (3).In the room with the woman watching television, run to the right side of the apartment and turn on the television outside the kitchen window. Return to the woman, switch off her television, and wait for her to run into the kitchen. Use the first television to teleport outside the window.After climbing higher, lure the man away from his television the same way. He falls to his death, allowing you to continue. Run across the rooftop and watch the men jumping from it. Drop through the opening and climb out the window. Push the television down, then teleport using the set inside the room.How to Get Through the Pale City in Little Nightmares IIHow to Get Through the Pale City in Little Nightmares IIWhen you reach the room with water and a lever, tear several boards off the door, run back, and switch on the power. The Viewer is electrocuted, allowing you to continue. In the hallway, you will see a television and a garbage chute. Jump down, move the crate toward the lever, and enter the elevator. Send the elevator upward, pull the lever again to send it down, and teleport outside. Jump onto the elevator roof in time, then leap onto the intermediate floor as it passes.How to Solve the Elevator Puzzle in Little Nightmares IIHow to Solve the Elevator Puzzle in Little Nightmares IIIn the hallway, move the crate on the right and enter the bathroom. Climb onto the toilet and jump onto the dry section of the floor. Switch off the television and jump back onto the toilet. Do not touch the water on the floor or you will die. The woman is electrocuted, allowing you to continue.In the next area, move the cart toward the window you entered through. Pick up the Hat from the wall and lower the cart into the storage area. Jump onto the table on the right, then onto the cart and move toward the left side of the location. You will see a small room where you can climb up and turn off the electricity. Do so, return to the cart, and reposition it so you can reach the television once the power is back on. It is not difficult. You can use the screenshot prepared by NOWGAME as a reference.How to Move the Cart in the Pale City in Little Nightmares IIHow to Move the Cart in the Pale City in Little Nightmares IIHead down and turn on the television. Teleport into the store. Run from the Viewers toward the next television. When you try to pull Six out of the television again, you will have to run from the Thin Man for quite a while. There are no special tricks here. Just keep moving forward and avoid getting caught. After using the lever to uncouple the train car, climb the ladder and confront the boss.
Level 5: The Signal Tower
In this level, you need to solve several simple door puzzles. Some players have trouble with this section, so NOWGAME has prepared a few tips for solving them:
The doors always return you to the same area.
If you hear a harsh sound after passing through a door, you chose the wrong one.
The correct door is the one where the music box can be heard most loudly.
How to Solve the First Door Puzzle in Little Nightmares II
Go through the door on the right twice, then through the door on the left twice.
You will then enter a room with three doors. Use the middle door.
How to Solve the Second Door Puzzle in Little Nightmares II
In the room with four doors, go through the upper-left door, then the upper-right door, followed by the lower-right door.
How to Solve the Third Door Puzzle in Little Nightmares II
There are seven doors in total: four on the left and three on the right. First, push the plank in the center of the room down so you can walk across it. Enter the nearest door on the right, cross the beam back, then go through the second door on the left and finally the third door on the left. This completes all of the door puzzles.
How to Destroy the Music Box
This section is also divided into several stages. You can call the transformed Six toward you using the standard call button. The first time you find her, call out to her and use the hammer to hit the music box. Then run through the corridors. Use the doors to teleport more quickly. After that, you need to solve three simple puzzles to destroy the music box.
First Room
Pick up the axe and enter the room. Call Six, then run back through the door you came from, preferably while keeping the axe. Six will be distracted, giving you a chance to hit the music box.How to Destroy the Music Box in Little Nightmares IIHow to Destroy the Music Box in Little Nightmares II
Second Room
Take the axe, teleport to the opposite side, and call Six. She becomes distracted and runs to the right side of the room. Teleport back and go through the far-left door. Call Six again. Once she is distracted, enter the door and appear on the opposite side. While she is occupied, hit the music box.How to Destroy the Music Box in Little Nightmares IIHow to Destroy the Music Box in Little Nightmares II
Third Room
Call Six and teleport to the right side of the room. While she is distracted, pick up the axe and return. Distract Six again and go through the far-right door. Call her one more time and destroy the music box.If you do everything correctly, escape from the collapsing world and watch the final cutscene. The game is over.