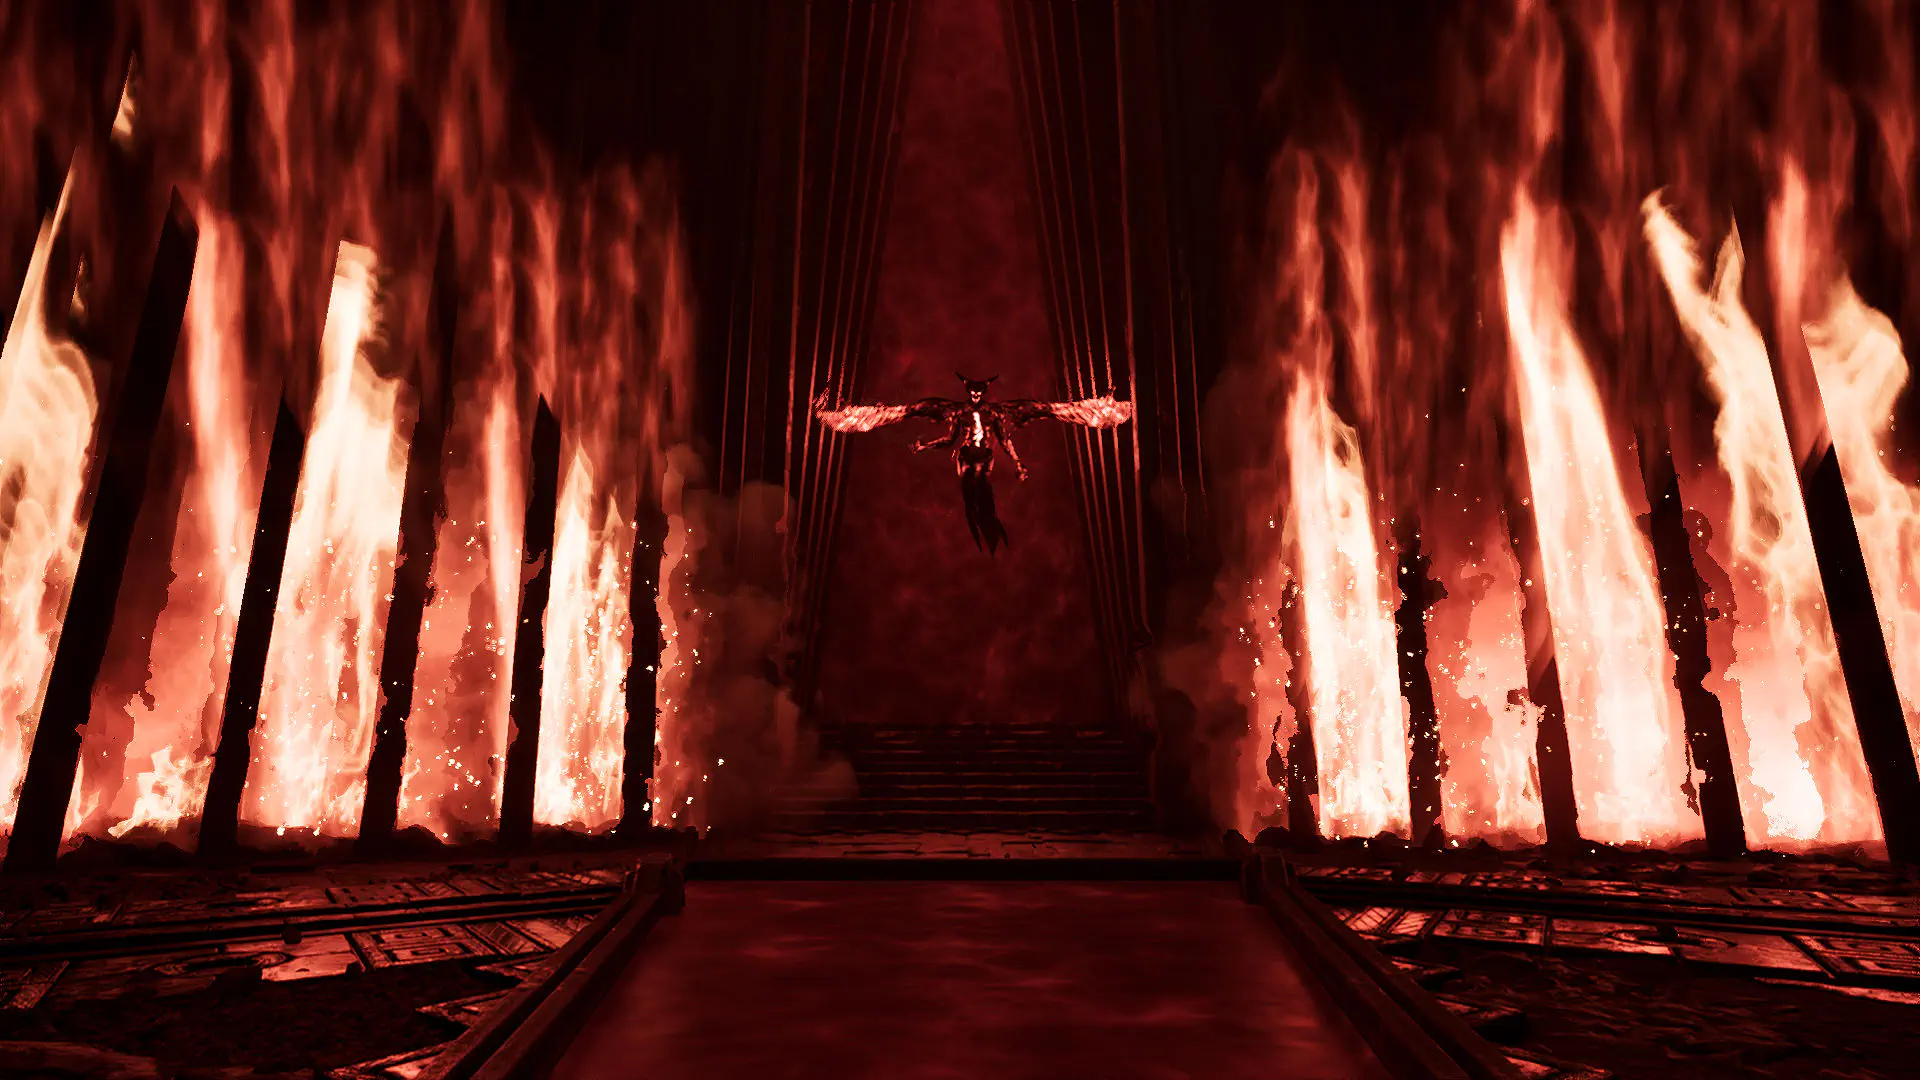
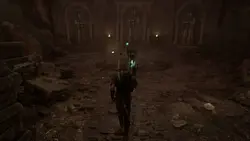
Your main objective is to solve the temple's puzzles, defeat the five Orc Shamans known as the Varrag, and collect five gemstones, each with its own name. Deeper inside the temple, you will also encounter three Demon Lords. Defeating all three opens the way to a Strange Sword and another of the shamans.
Head forward and clear the first hall of Skeletons and a Skeleton Mage. You will find three rotating wheels on the right, but it is not yet clear how to use them. Instead, enter the corridor on the left. Pick up the Sketch of the Temple beneath the statue and examine it to obtain a map of the area.
How to Solve the Four Statues Puzzle
Go around the stationary statue on the left and head downstairs. You will reach a room with two Skeletons and three more statues holding up their hands. Unlike the statue near the entrance, these three can be rotated.Turn the left statue so that it points toward the pillar to its right. The right statue should face the pillar across from it, slightly to the right, while the middle statue must point toward the doorway you entered through. If all three are facing the correct directions, a stone pillar will rise from the floor, revealing the symbol combination needed in the previous hall.Gothic 1 Remake Sleeper Temple WalkthroughGothic 1 Remake Sleeper Temple Walkthrough
How to Open the Gate with the Three Rotating Wheels
Return to the three wheels in the entrance hall and match the symbols shown on the raised pillar. If you have not touched the wheels yet, turn the left wheel, which controls the top symbol, seven times clockwise. Turn the middle wheel six times clockwise and the right wheel five times clockwise. The gate on the right will open.Gothic 1 Remake Sleeper Temple WalkthroughGothic 1 Remake Sleeper Temple WalkthroughGo through the gate and kill the Skeletons and the Skeleton Mage waiting beyond it. As usual, focus on the mage first so that he cannot keep summoning enemies. You will also notice three stone mechanisms near a gap. One already has a lever, another has an empty slot, and the third platform is stationary. You need to find an Orc Lever before you can use the moving platforms to cross.
Where to Find the Orc Lever
Take the passage on the opposite side of the hall and drop through the hole in the floor. Pulling the left lever opens a cell containing an Elite Temple Guard, but you do not have to release him. Pull the right lever to open the passage ahead. Defeat the guard beyond the door and search the chests in the next room. The middle chest contains the Orc Lever you need. The passage to the left lets you return upstairs.
Gemstone 1: Lightbringer and the Ring Puzzle
Return to the main hall and insert the Orc Lever into the empty mechanism. To the right of the levers, you will find a path leading down into a cave inhabited by Temple Minecrawlers. Go down, kill the monsters, and follow the tunnels until you find a corridor with stairs. Climb up, turn left, and enter the puzzle room.There are four wheels here. Find the one positioned higher than the other three, which controls the large central ring of the floor pattern. Turn it until the ring lines up with the middle of the design. If you have not adjusted it before, turn it twice clockwise.Now use the other three wheels to rotate the smaller floor plates until their patterns form complete images. Turn two of these wheels once clockwise and the remaining wheel twice clockwise, so that four short lines appear in the pattern.
Once the design is aligned correctly, the Orc Shaman Varrag Kasorg will appear. Defeat him and loot his body to obtain the Lightbringer quest item and the Ball Lightning rune.
Gemstone 2: Worldcleaver
Return to the main hall and look for the locked door. Shoot the glowing seal directly above the doorway with your bow. Make sure you hit the seal over the door itself, not the one higher up on the wall.Gothic 1 Remake Sleeper Temple WalkthroughGothic 1 Remake Sleeper Temple WalkthroughFollow the corridor and fight Varrag Hashor. The edges of the arena will catch fire during the battle, so stay near the center. Defeating him grants you the Pyrokinesis rune, the Worldcleaver quest item, and 8,000 experience points.Gothic 1 Remake Sleeper Temple WalkthroughGothic 1 Remake Sleeper Temple Walkthrough
How to Cross the Moving Platforms
Return to the platforms and their levers. Pull the left lever first, wait briefly for the platform to begin lowering, then pull the middle lever where you installed the Orc Lever. While the platforms are descending, run up the stairs and jump across the two moving platforms to the stationary one on the far side. Do not jump forward from that last platform. Simply run ahead, or you will hit the spikes hanging from the ceiling.Gothic 1 Remake Sleeper Temple WalkthroughGothic 1 Remake Sleeper Temple Walkthrough
Gemstone 3: Timesplinter
Follow the corridor, kill the two Temple Guards, and shoot the red sigil above the door on the right to open it.Gothic 1 Remake Sleeper Temple WalkthroughGothic 1 Remake Sleeper Temple WalkthroughDefeat Varrag Unhilqt to earn 8,000 experience points, then search his body for the Chain Lightning rune and the Timesplinter gemstone. Before leaving, check the next room for a Summon Golem scroll.Return to the corridor and descend the stairs ahead. After killing the enemies, look for a cave on the left. You can cut through the cobwebs to open a shortcut back to the main hall. Then take the path on the right until you reach a red magical barrier.
How to Solve the Blood Fountain Puzzle at the Red Barrier
Do not head left yet, as the spike trap in that room can kill you. Start with the room on the right instead. Once inside, turn around and look above the doorway you just passed through. Shoot the red sigil with your bow to reveal a hidden lever, then pull it to start the blood fountain.Gothic 1 Remake Sleeper Temple WalkthroughGothic 1 Remake Sleeper Temple WalkthroughUse the two rotating floor plates to direct the blood through their L-shaped channels into the skulls on the left and right walls.Gothic 1 Remake Sleeper Temple WalkthroughGothic 1 Remake Sleeper Temple WalkthroughWhen both skulls have filled, a third rotating mechanism will rise from the floor. Reposition the first two plates so that the blood reaches this new central plate. Then rotate the third plate to send the blood out of the room toward the chamber with the red barrier.Gothic 1 Remake Sleeper Temple WalkthroughGothic 1 Remake Sleeper Temple Walkthrough
How to Disable the Spike Trap in the Second Room
Enter the other room and look forward and upward. Shoot the red sigil to temporarily disable the spikes.Gothic 1 Remake Sleeper Temple WalkthroughGothic 1 Remake Sleeper Temple WalkthroughWalk ahead, turn around, and shoot the second red sigil above the doorway.Gothic 1 Remake Sleeper Temple WalkthroughGothic 1 Remake Sleeper Temple WalkthroughA hidden recess will open on the left. Pull the lever inside it to channel blood from this room's fountain into the central chamber with the red barrier.Gothic 1 Remake Sleeper Temple WalkthroughGothic 1 Remake Sleeper Temple WalkthroughOnce blood is flowing in from both rooms, return to the barrier and interact with the pedestal. After the cutscene, defeat the Fire Demon. The red barrier will disappear, and you will receive 500 experience points.
Go through the opening where the barrier stood. Kill the Temple Guards first, then turn right. Inside the cave, follow the uphill path and defeat the three Demon Lords in the side chambers on the right.Gothic 1 Remake Sleeper Temple WalkthroughGothic 1 Remake Sleeper Temple WalkthroughTheir three souls will power the gate farther up, allowing you to cross the bridge to the central platform. Defeat Varrag Ruuushk and loot the Fiendeye gemstone and the Storm of Fire rune from his body.Gothic 1 Remake Sleeper Temple WalkthroughGothic 1 Remake Sleeper Temple WalkthroughYou can also take the Strange Sword from the center of the arena. You will need to show it to Xardas later. There is only one gemstone left to collect.
Gemstone 5: Banstone
Return to the crossroads beyond the former red barrier. Stand with your back to the opening you originally came through, then head left, drop down, and follow the tunnel with the channel on your right. This leads to a chamber with a large furnace-like mechanism. Rotate it counterclockwise to release the lava and uncover another passage.Go around the mechanism on its right side, following the walkway beside the wall rather than circling the furnace itself. You will find a newly opened corridor where the lava used to be. Follow it. There is a door on the left that opens with a pressure plate, and you can loot the room if you want.Continue until you reach a series of ledges. Jump up them and turn the wheel to raise the portcullis and create a shortcut. From the room with the wheel, go up the stairs. Search the two rooms on the left and right, then turn the wheel to the right of the large gate to raise it.Gothic 1 Remake Sleeper Temple WalkthroughGothic 1 Remake Sleeper Temple WalkthroughGo through the gate, collect any remaining loot, and continue toward the enormous red barrier behind which the Sleeper awaits. Here you will fight the fifth Orc Shaman, Varrag Arushat. Defeat him for 10,000 experience points, then loot his body to obtain the Banstone gemstone and the Breath of Death rune.Once you have all five gemstones and the Strange Sword, use your teleport rune to return to the necromancer Xardas. He will reveal that the weapon you found is Uriziel. Keep talking to him. If you have collected all five gemstones, The Dreamer's Nightmare will be completed and you will receive another 2,000 experience points.