
Contents
- What Order Should You Fight the Bosses In?
- The Fallen: The First Boss in the Sewers
- Medusa: How to Survive Her Gaze and Attacks from the Water
- Joan of Arc: The First Fight and the Rematch
- Death: Why the First Encounter Doesn't Give You a Card
- Isaac: The Illusion on the Bridge and the Real Boss
- Talos: Hit the Core and Don't Miss the Escape
- Carmilla: Blood, Skulls, and the Final Wave
- Mammon: How to Open the Door in the Circle of Greed
- Dracula: Both Forms of the Final Boss
- Succubus: The Hidden Fight After the First Ending
- Shadow of Rose: The Boss Marked "???"
- Arthur: How to Pull Out Excalibur and Summon the Boss
- Which Arcana Cards Can You Get Without Fighting a Boss?
- What to Do After Defeating Every Boss
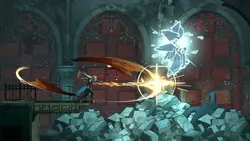
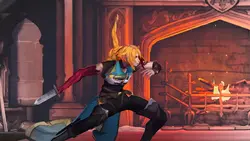
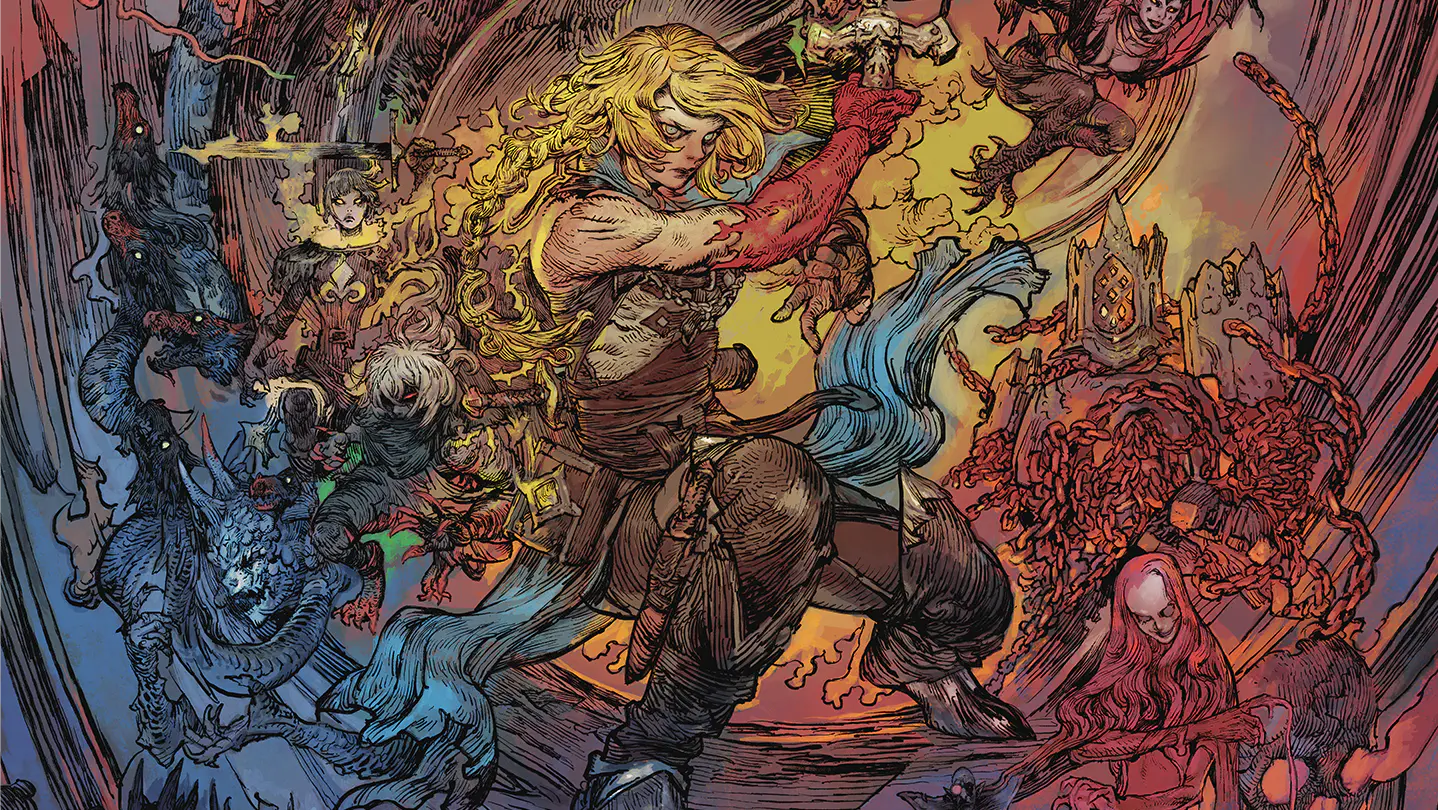
Bosses in Castlevania: Belmont's Curse block the way to new areas, reward you with Arcana cards, and sometimes even come back for a rematch. In this guide, we'll cover where to find each enemy, how to unlock hidden encounters, and which attacks to use to deal damage. We'll also go over your rematches with Death, Joan, and Isaac, Dracula's two forms, and the fight against Rose's dark double.The Fallen is a good reminder that a long combo isn't always better than two clean hits. When his claw glows red, slip behind him and attack during his recovery. If he slams the ground, move back or jump over the shockwave.When he grabs onto the ceiling ring, get out of his landing zone. Wait for him to drop, jump over the shockwave, and only then close the distance. Standing directly beneath a swinging monster is a little too generous.Rewards: The Fallen Arcana card with the Holy Cross spell, plus The Fallen's Key. You'll unlock the Arcane Whip grapple further along the path after the arena.Fight from the raised platforms and use the golden ring above the arena. When Medusa dives underwater, stay above her tail. When her face starts glowing before a beam attack, move out of the firing line. Grappling with the whip is a quick way to change your height.After her biting lunge, jump over her movement and strike her head in midair. Later in the fight, she'll fire multiple beams and summon flying snakes. Find a safe position first, then strike back. Trying to finish her off while the attacks are still coming usually costs more than waiting for one more opening.Rewards: The Prophetess card with Petrifying Gaze, plus The Prophetess's Key.After she swings her sword, move behind Joan and land a short combo. When the fire pillars are about to erupt, look for a gap between their markers. After her high jump, move away from the landing spot and jump over the flames.You don't have Holy Light for parrying yet, so rely on movement instead.Rewards: The Warrior card, the Infernal Pyre spell, and The Warrior's Key. After the fight, pick up the Burnt Sword of Fierbois. Holy Light becomes available in the following section.Jump over the green waves, move away when Death appears above you, and attack after his scythe swings end. But don't try to empty his entire health bar at any cost. A story cutscene interrupts the fight while he still has health left.You won't get a card from this encounter. That's how the story is supposed to progress, not a missed reward.Jump over his thrown spear and green waves. After his straight thrust, get behind Isaac. You don't have Aerial Rush or Double Jump at this stage, so don't expect to spend the whole battle safely above the arena.After you win, you'll discover that you were fighting an illusion. It doesn't reward you with an Arcana card.Talos's weak point is the orange core beneath his chest plate. When his armor opens, wait out the stream of fire before climbing toward the core and attacking. During his barrages, drop from the platforms to the floor and look for safe gaps.During the fight, you'll have to navigate a short section with grappling points and presses. Near the end, a 90-second timer appears. Run left, grapple to the anchor points, climb through the shaft, and use the chains to return to the chamber for the final hits. This isn't the time to check every corner.Reward: The Builder card with Fist of Talos. Further along the path, Rose learns Smash, a downward attack that breaks floors marked with golden cracks.Carmilla dives into the blood and emerges elsewhere in the room. Attack when she surfaces. Dodge or knock down the skulls and find gaps between the blood pillars. If she surrounds herself with a red shell, break the shell itself.Near the end, Carmilla disappears and floods the arena with dense waves of blood. You can't damage her during this attack, so move between the pillars and avoid getting trapped against a wall. Once the barrage ends and she falls, close in to finish her off.Reward: The Occultist card with Blood Spikes. After winning, pick up Brauner's Paintbrush. Aerial Rush unlocks in the next section.Equip all three relics at the same time to open the door:Make your way through the mirror maze, descend the red staircase, and reach the room with the fireplace. Speak to the figure pretending to be Sypha and refuse her offer. The fight begins once the illusion is exposed.Slide beneath her horizontal lunges. When Succubus enters a pink barrier, destroy her copies. Attacks against the boss inside the sphere will be blocked. Once the shield breaks, she'll fall onto the carpet, giving you a good opening for a powerful combo.Reward: The Temptress card with Life Drain.To access the stained-glass windows, equip the matching spells:Equip Fist of Talos from The Builder card and interact with the sword. If the first attempts fail, keep interacting until the cutscene starts. Arthur will transform into a giant stained-glass knight.Back away and jump over his wave of shards. When he raises his shield and fires beams of light, look for gaps near the lower part of his body. Stay out of the beams and shards. Sliding through them won't save you.Rewards: the legendary Excalibur and The Brittle King card with Stained-Glass Shield. You don't have to wait until after the first ending to unlock this fight. The requirement is having the right spell equipped.
Recommended Content
More on This Topic
What Order Should You Fight the Bosses In?
Start with The Fallen. Next, you'll need to defeat Medusa and Joan of Arc. Their keys, together with The Fallen's Key, open the entrance to the Catacombs. You can tackle those two branches in either order.Here's where the route takes you next:- Catacombs of Paris - your first encounter with Death.
- Approach to the castle - Isaac's illusion.
- Clock Tower and Library - Talos and Carmilla.
- Side branch of the Catacombs - Mammon behind the eye-covered door.
- Notre-Dame - the second fight with Death. This is also where you can unlock the rematches with Joan and Arthur's encounter.
- Heart of the Clock - the real Isaac.
- Master's Quarters - Dracula in two forms.
- After the first ending - the Succubus, Rose's shadow, and a return to Dracula to lift the curse.
The Fallen: The First Boss in the Sewers
Where to find him: Paris Streets, in the sewers before the sealed Gate to the Catacombs. Head through the Sewer Reservoir and the Path of the Rat to reach a large flooded chamber.
Medusa: How to Survive Her Gaze and Attacks from the Water
Where to find her: Holy Innocents' Cemetery, Serpents' Lair. The route goes through the Roman Baths and Hot Springs. There's a Mirror of Life before the arena.
Joan of Arc: The First Fight and the Rematch
Joan on the Prison Tower Rooftop
Where to find her: climb through the upper floors of the Prison Tower to the Roof of the Tower.
Second Fight with Joan in Notre-Dame
In the Gallery of the Four Virtues, equip Infernal Pyre and interact with the red Courage stained-glass window.About halfway through the fight, Joan enters her golden form. Keep slipping behind her sword attacks, but pay closer attention to the fire pillar markers. You have Holy Light now, so you can parry her sword. You can't parry the exploding flames.Reward: the Courage blessing. You won't receive a second card or another key for this fight.Death: Why the First Encounter Doesn't Give You a Card
Death in the Catacombs of Paris
Where to find him: the ritual chamber in Stairway to Hell.
Death in the Notre-Dame Transept
To open the way to the arena, clear the organ pipes by playing three melodies on the great organ.Use the floor and the two floating platforms on either side during the fight. When thin lines marking incoming cuts cover the screen, move into a safe gap. Later, slip through openings in the rings of green blades and counterattack after his scythe combo.Reward: The Shadow card with Soul Harvest. Hold the absorb button after winning to claim its power.Isaac: The Illusion on the Bridge and the Real Boss
First Encounter Near the Castle
Where to find him: the bridge leading to the castle courtyard.
The Real Isaac in the Heart of the Clock
Before interacting with the large green clock on the Clock Tower bridge, equip Soul Harvest. Without it, you'll end up in Death's trap instead of following the route you need.Use both levels of Isaac's arena. You can drop from the walkway to the lower floor to avoid his beams. When copies appear, keep track of the real boss. Don't attack Isaac while he's in his parry stance, or he'll hit you with a powerful counterattack.Rewards: The Zealot card with Chronomantic Dive. Before leaving, search the arena and pick up the legendary spear Chauve-Souris.Talos: Hit the Core and Don't Miss the Escape
Where to find him: the forge section of the Clock Tower, deep along the route through Foundry Apex and Final Trap.
Carmilla: Blood, Skulls, and the Final Wave
Where to find her: the Observatory above the Observation Tower in the Library. First, pick up the star chart in the room near the Planetarium and use it to align the astrolabe's nodes. This opens the ascent to a save point and the arena.
Mammon: How to Open the Door in the Circle of Greed
Where to find him: the Catacombs of Paris, behind the flesh-and-eyes door in the Circle of Greed.
- Thrilling Eye - the lower section of the Hospital in Paris Streets.
- Trembling Eye - the Pillaged Tombs in Holy Innocents' Cemetery.
- Oozing Eye - a high platform in the Circle of Greed.
Dracula: Both Forms of the Final Boss
Where to find him: Master's Quarters. From the Sanctuary of Solitude, follow the bridges and chains through the approach to the throne room toward the Court of the Night.
First Form: Fight in the Throne Room
Dracula teleports, launches fire projectiles, and summons pillars of flame. Jump over low shots, dodge his cape swipe, and attack beside a fire pillar while staying out of the flames.During the second half of his health bar, more pillars appear. Wait out the volley beside the group of pillars, then go back in for a few hits during the opening.Second Form: The Winged Demon on the Rooftop
After the first victory, the fight continues on a ruined rooftop with a new health bar.Get out of the marked dive-bomb area, jump over low streams of fire, and attack after Dracula flies past or reappears. When a magma sphere starts growing in the center and spikes cover the floor, climb to higher ground or stay airborne.You can continue your save after the first ending. For the true ending, you'll need to prepare to lift the curse and defeat both of Dracula's forms again.Succubus: The Hidden Fight After the First Ending
Where to find her: the Hall of Mirrors in Belmont Manor, at the end of Descent into Memory.
Shadow of Rose: The Boss Marked "???"
Where to find her: the central altar in the Gallery of the Four Virtues in Notre-Dame, after the first ending and all four trials.
- Courage - Infernal Pyre from The Warrior card.
- Justice - Chains of Justice from The Judge card.
- Temperance - Freezing Path from The Whisperer card.
- Prudence - Mirror Walk from The Sage card.
Arthur: How to Pull Out Excalibur and Summon the Boss
Where to find him: the Chapel in Notre-Dame, at the stone altar with the sword.
Which Arcana Cards Can You Get Without Fighting a Boss?
Finding every card involves more than clearing boss arenas. Some characters reward you for completing other tasks:- Brauner - smash the suspended sculpture in his workshop with a downward attack to receive The Artist.
- Saint Louis - solve the Scales of Justice puzzle in the Palace of Justice and complete the related sequence to obtain The Judge.
- Queen Eleanor - free her by breaking the four seals at the entrance to the Hall of Mirrors, then find her in the Mausoleum of the Queens in Holy Innocents' Cemetery. The reward is The Sage.
- Ferryman - return the Obol from Mammon's treasure room to receive The Whisperer.
What to Do After Defeating Every Boss
If you want to lift the curse, interact with the altar again and speak to Sypha after defeating the Shadow of Rose. Then equip Absolution, return to Dracula, and keep the spell equipped until the fight is over.Along the way, don't forget to pick up weapons left behind in boss arenas. Receiving an Arcana card doesn't always mean you've collected everything useful. After Isaac, for example, you still need to pick up the spear separately.Sign in to leave a comment or rate this post.
Comments
Be the first to comment!