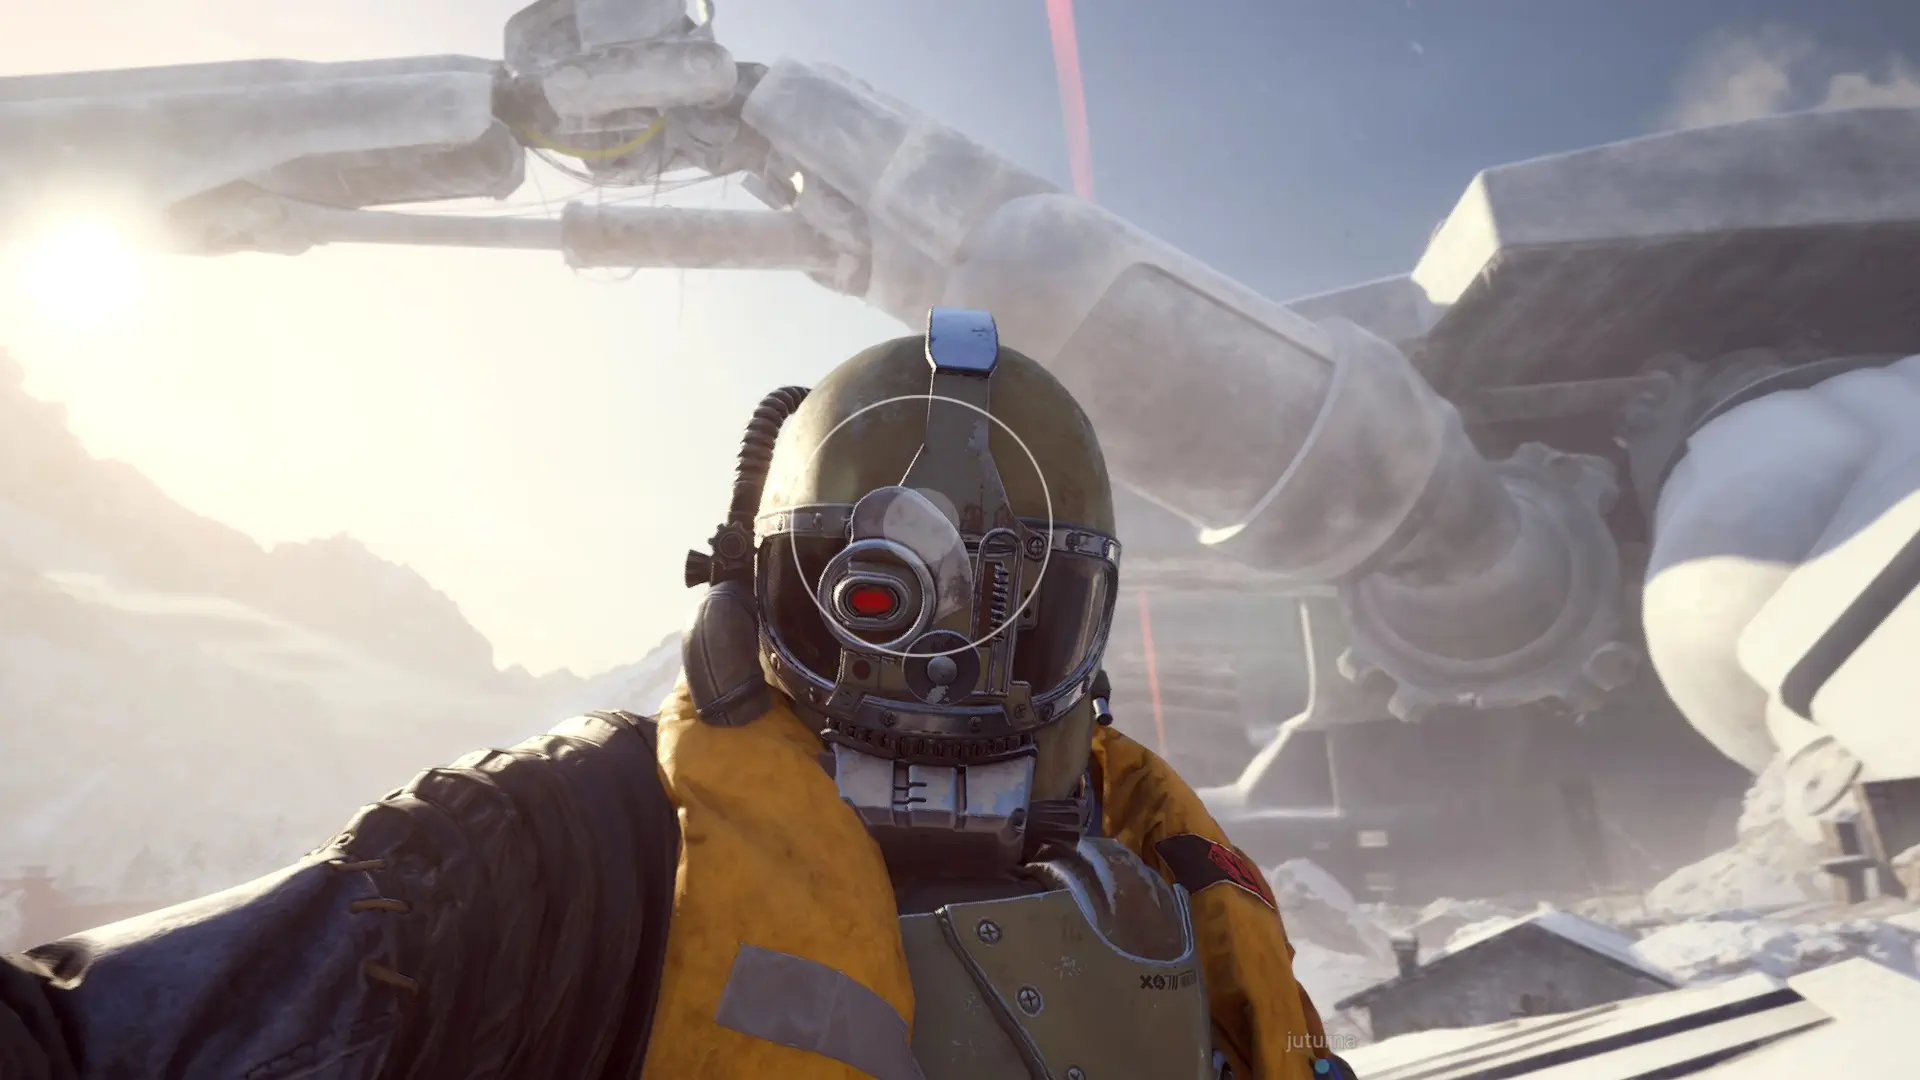
The new threats in ARC Raiders: Frozen Trail require very different tactics. Bully closes the distance aggressively, Skulker attacks from ambush, and Hydra can pressure several Raiders at once with three autonomous weapon sections. Frigate is a separate endgame ARC Operation rather than a normal enemy, and the goal is to board the vessel, survive its interior, and sabotage it from within. This guide covers the confirmed behavior of each threat, developer advice, and practical combat recommendations.
Frozen Trail adds three new ARC enemy types: Bully, Skulker, and Hydra. The update also introduces Frigate as a major Map Condition and ARC Operation rather than a fourth ordinary enemy. Bully and Skulker are primarily associated with the new Pendola Pass map, while Hydra is found aboard the Frigate. We covered the rest of the update in our Frozen Trail overview with Pendola Pass, the Outpost, and Frigate. Here, the focus is combat behavior and the tactics that can help you survive these encounters.Pendola PassPendola PassHere is the short version of each threat:
Bully - a fast ground machine that aggressively pushes directly toward Raiders and punishes close-range mistakes.
Skulker - a small, very fast ground enemy that keeps its distance, repositions, hides, and attacks when you lose track of it.
Hydra - a stationary armored turret built from three autonomous armed sections that can engage multiple targets at once.
Frigate - a massive airborne ARC vessel used for a separate endgame operation in which Raiders board the ship, navigate its interior, sabotage it, and fight for rare loot.
As of October 8, 2026, the verified material still does not provide a complete health table, exact weak-point multipliers, or a full room-by-room Frigate sabotage walkthrough. The sections below therefore separate confirmed enemy behavior and developer comments from our practical recommendations. We do not invent exact damage values, guaranteed loot, or fixed shot counts where the game has not established them publicly.
How to beat Bully
ARC RaidersARC RaidersBully behaves like an aggressive pursuit unit. It comes to you instead of patiently trading shots from range and is designed to pressure positions that would normally feel comfortable against slower ARC. Developer explanations describe a canister-shot attack fired from its mouth as the machine runs past its target. The damage falls off quickly with distance, which makes spacing one of the most important parts of the fight.Another unusual detail is that returning fire changes Bully's behavior. Embark says the machine can lose confidence and become more erratic when shot. Do not interpret that as a guarantee that a few bullets will safely drive it away. An unpredictable Bully is still an active threat. Once it changes direction, keep tracking it rather than assuming the fight is over.For a first encounter, we recommend this approach:
Choose a position with an escape route. Do not start the fight with a dead end behind you and the machine controlling the only exit.
Maintain distance whenever possible. The canister-shot attack is much more dangerous at close range.
Use cover, but do not rely on one doorway for the whole fight. Bully is specifically designed to pressure static positions.
Take safe shots instead of forcing the last bullet in the magazine. Losing half your health to finish one reload cycle is rarely worth it.
Reacquire the target after every charge or direction change. The machine becomes more dangerous when you mentally write it off after it leaves your immediate line of sight.
In a squad, agree on the direction of retreat before the fight becomes chaotic. If everyone runs in a different direction, supporting the Raider under pressure becomes much harder. Keep enough spacing to avoid clustering directly in front of the machine, but stay close enough to provide crossfire and cover. If you are still testing potential weak points, do it from a safe position rather than spending your entire health bar on a guess.
How to beat Skulker
ARC RaidersARC RaidersSkulker uses almost the opposite strategy. It stays at range, looks for an opening, attacks, then quickly repositions and disappears behind terrain. This is a ground-based machine, not a flying drone. Embark specifically recommends listening for it because players can often hear the machine before they properly see it.Do not turn your back on Skulker unless you have to. Looting a container, reloading, or focusing on another enemy creates exactly the kind of opening the machine is designed to exploit. The developers describe it as less durable than the heavier new threats, and lower-tier weapons can still deal with it, but there is no reliable universal shot count to plan around.We recommend the following:
Stop looting when you hear it closing in. Find the machine first, then return to the container.
Track its escape direction. Losing visual contact does not mean the threat is gone.
Fight from a position with clear sightlines to likely approaches. Do not chase a fast target blindly into unfamiliar cover.
Call out its last known direction in a squad. A landmark or side of the room is more useful than shouting that it is "somewhere nearby."
Use a weapon you can comfortably hit moving targets with. For the first few encounters, a familiar gun is often better than an expensive new weapon whose recoil and firing rhythm you are still learning. The important part is maintaining awareness. The container will still be there after the fight. Skulker is counting on you forgetting that.
How to beat Hydra
Hydra is a tall stationary turret found aboard Frigate. It is divided into three stacked autonomous sections, and each section can engage a different target. That means seeing one part of the turret fire at a teammate does not make your own peek safe. Other sections can still acquire you independently.Hydra's main limitation is that it does not relocate. Embark recommends splitting its attention, with one Raider drawing fire while another changes angle. Treat that as a positioning strategy rather than proof that the entire rear of the unit has one special damage multiplier. Exact weak-point zones still need separate testing.For a squad, we recommend:
Identify real cover before opening fire. Every player should already know where to break line of sight.
Approach from different angles. If the entire squad peeks from one doorway, you are giving away the main advantage of splitting Hydra's attention.
Coordinate the distraction and movement. The player drawing fire should know when the flank begins instead of guessing from gunshots.
Watch all three sections. One weapon being occupied does not mean the others are.
Attack only while your position remains safe. If your angle becomes exposed again, return to cover instead of forcing the damage window.
Solo players cannot reproduce the same distraction tactic with a teammate. Without squad support, the safer approach is to learn the firing sectors, expose as little of your Raider as possible, and work from cover one angle at a time. If the route becomes unfavorable, backing off preserves your equipment for another attempt. Hydra is not automatically easy just because it has no legs.
How to complete the Frigate encounter
ARC RaidersARC RaidersFrigate is not a normal boss that you are supposed to shoot down from the ground. Embark presents it as a large ARC Operation and Map Condition built around infiltration. The basic objective is to find a way aboard, move through the ship's internal passageways, unlock routes, survive the ARC inside, and sabotage the vessel. Other Raiders can enter for the same rewards, so the encounter combines PvE pressure with close-quarters PvP hundreds of feet above the ground.The confirmed high-level structure looks like this:
Find a way onto the ship. Do not assume an unverified climbing route or random exterior shortcut is the intended entrance.
Navigate the internal passageways. You need to open further routes while dealing with the ship's defenses and other ARC threats.
Complete the sabotage objective. Destroying one Hydra or another defensive unit does not automatically complete the operation.
Secure the loot and extract successfully. Winning a fight aboard the vessel does not matter if you lose everything before leaving the raid.
This is the structure of the operation, not a room-by-room puzzle solution. The sources available at launch do not yet provide a verified full layout, exact interaction order, or universal route through every interior section. Do not waste ammunition trying to destroy the Frigate itself from the ground. The encounter is designed around boarding and sabotage.For your first attempt, treat the run as reconnaissance. Learn how you get aboard, where the first internal routes lead, which areas create dangerous close-range engagements, and where Hydra can control movement. Bringing your most expensive stored kit before you understand the layout is an unnecessary risk.Because other Raiders are also chasing the same high-value technology, expect the fight to change after you enter the ship. A route that is clear on the way in can become occupied on the way back. Listen for gunfire, footsteps, and ARC activity before committing to narrow passages. Frigate is an operation, not a shooting gallery with one health bar.
How to prepare for the new Frozen Trail threats
We recommend bringing healing supplies, enough ammunition for an extended encounter, and a weapon you already know how to use. Bully rewards range control and quick repositioning. Skulker punishes tunnel vision and demands accurate fire against a fast moving target. Hydra makes cover and angle management much more important. Frigate combines all of that with narrow interiors, multiple ARC threats, and rival Raiders.There is no single mandatory gun for every new encounter. Without verified armor values, exact weak-point multipliers, and complete combat data, pretending one weapon is objectively required would be premature. During the first few raids, understanding the enemy's behavior is more valuable than carrying an expensive build you are afraid to lose.Pendola Pass also adds another danger that can interrupt a fight at the worst possible moment: the weather. Before engaging in an exposed area, check your retreat route and remember where nearby protection is located. Our Flash Freeze and Avalanche Shelter guide explains how the new cold event works and how to react when the warning appears.After a successful fight, check the surroundings before opening loot. Gunfire against Bully, Hydra, or another ARC can attract nearby players, and the worst reward for winning a difficult encounter is losing everything while reading the contents of a wreck.The overall rule for Frozen Trail is simple: fight each threat on its own terms. Keep Bully at range, track Skulker even when it disappears from view, split Hydra's attention instead of feeding all three weapon sections one angle, and treat Frigate as an infiltration operation rather than a giant flying health bar. The update is built to punish static habits, so surviving it means changing position, sharing information, and knowing when to disengage.