During the story campaign in Resident Evil Village, you will encounter mandatory puzzles, optional treasure rooms, locked safes, labyrinths, and several key-item challenges. This guide explains the major puzzles in chronological order and also covers useful weapons and treasures found along the same routes.
Where to Find the M1897 Shotgun During the First Lycan Attack
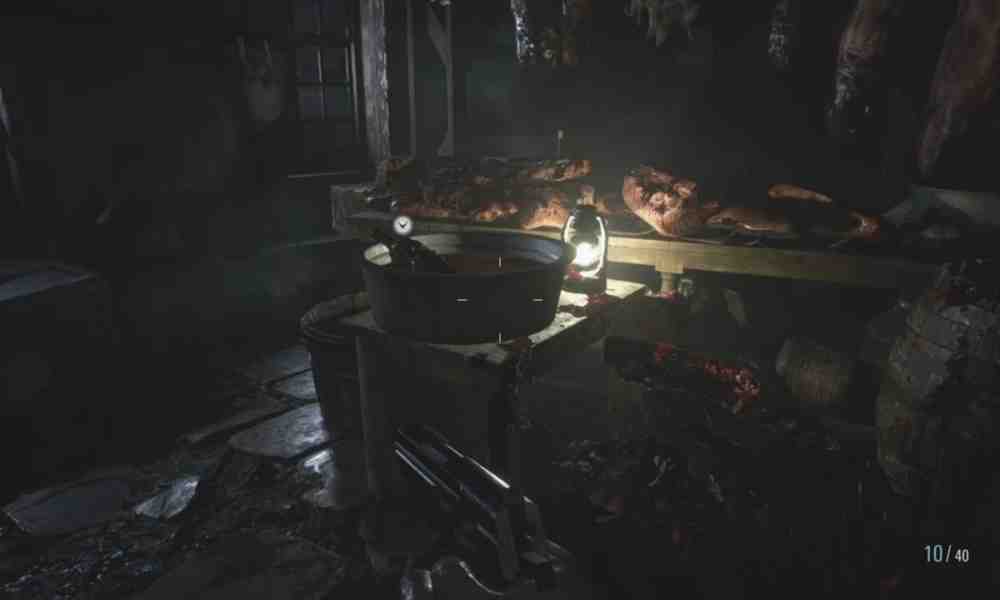
After fighting the first Lycan, continue into East Old Town and survive the large village assault. One of the nearby two-story houses contains the M1897 Shotgun.Enter the house and check the kitchen table. Pick up the shotgun before continuing through the survival sequence.
How to Find the Maiden Crest and Demon Crest and Open the Castle Gate
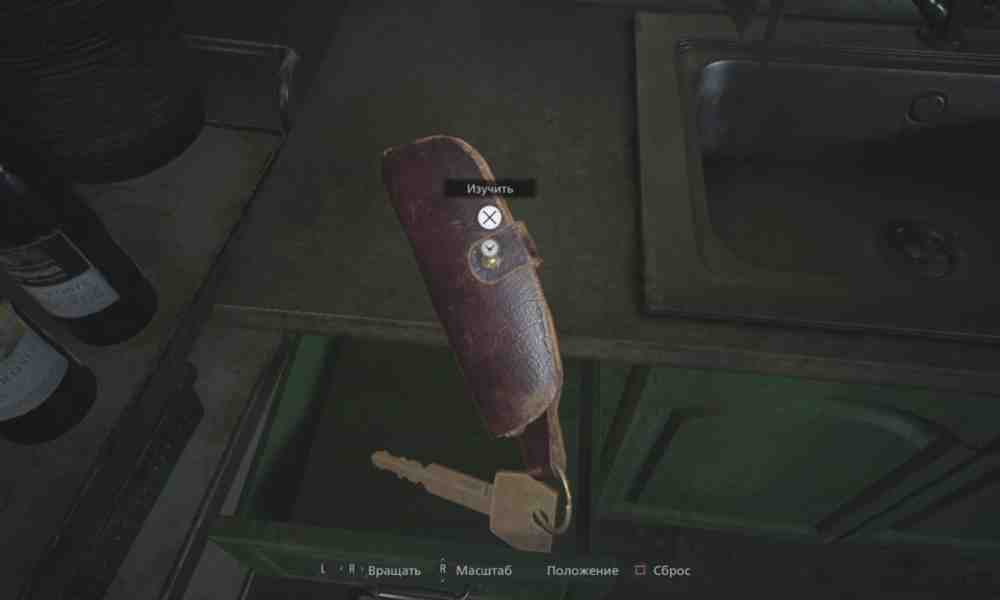
You need two crests to open the stone gate leading toward Castle Dimitrescu.The Maiden Crest is inside the village church, displayed on the small altar.The Demon Crest is obtained after visiting Luiza's House. During the escape sequence, find the Truck Key and examine it in your inventory to remove the Screwdriver. Once you are outside, use the Screwdriver on the locked shrine to obtain the Demon Crest.Return to the gate and place both crests into the mechanism. Rotate them until their shapes match the slots.How to Find the Maiden Crest and Demon CrestHow to Find the Maiden Crest and Demon Crest
How to Survive Heisenberg's Spike Trap
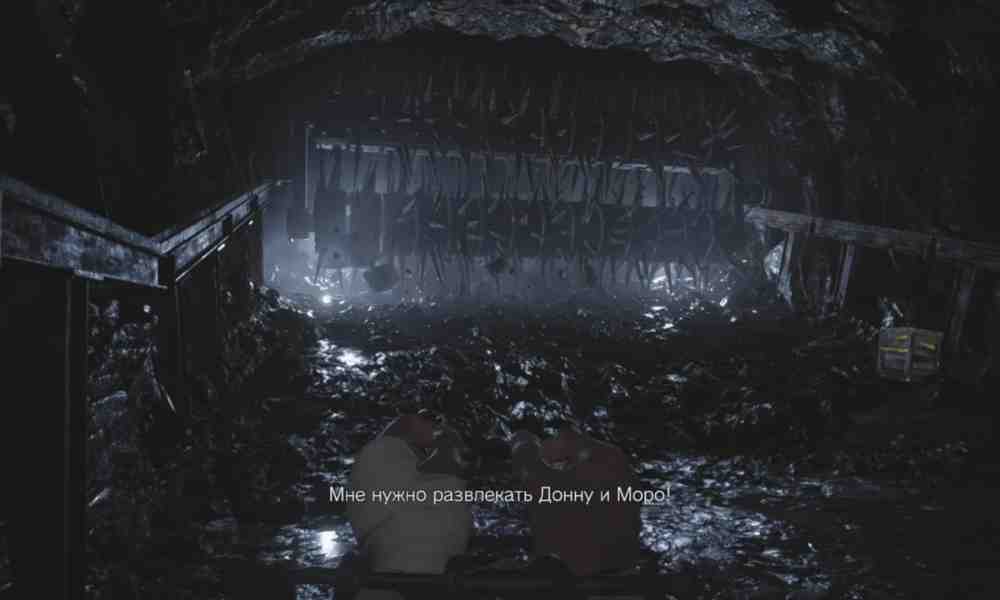
After entering the area beneath Castle Dimitrescu, Ethan is captured by Heisenberg and forced through a series of traps.When the large rotating spike mechanism closes in on you, run to the far corner and crouch inside the small recessed space in the wall. Stay there until the mechanism passes. Do not try to outrun it back through the corridor.How to Survive Heisenberg's TrapHow to Survive Heisenberg's Trap
How to Open the Maroon Eye Door in Castle Dimitrescu
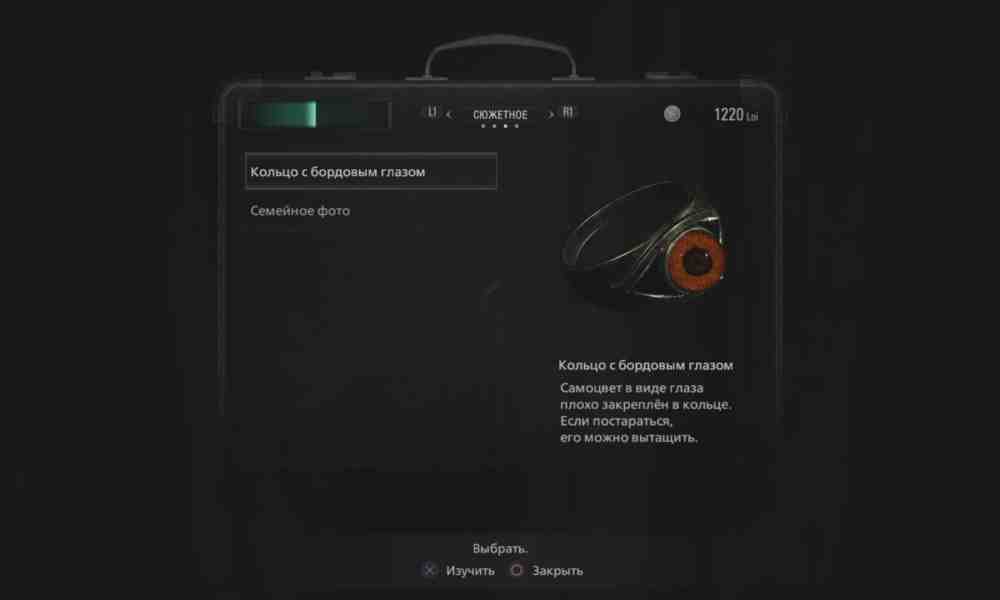
After escaping from Lady Dimitrescu and her daughters for the first time, you will obtain the Maroon Eye Ring.Open your inventory, examine the ring, rotate it, and remove the Maroon Eye. Return to the second floor of the Main Hall and insert the gem into the female-face door.Opening this door triggers another encounter with one of Dimitrescu's daughters and leads toward the castle dungeon.How to Open the Maroon Eye DoorHow to Open the Maroon Eye Door
How to Solve the Brazier Puzzle in the Hall of War
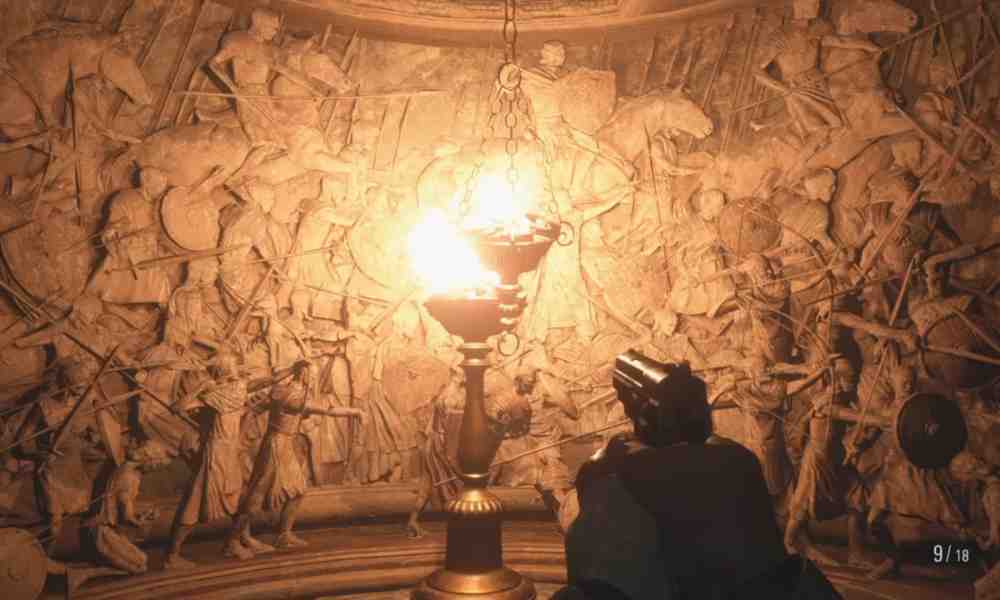
The old version of this guide incorrectly called this area the Tasting Room. The puzzle is actually in the Hall of War in the castle basement.A burning brazier hangs from the ceiling between two unlit torches. Push it or attack it to make it swing. Your goal is to make the burning brazier touch both stationary torches.Once both torches are lit, the sealed passage opens.How to Solve the Hall of War Brazier PuzzleHow to Solve the Hall of War Brazier Puzzle
How to Open the Secret Passage in the Wine Room
After passing through the Maroon Eye door and escaping the dungeon, you will fight Bela in the kitchen.After the fight, pick up the Sanguis Virginis wine bottle. Return to the Wine Room on the second floor of Castle Dimitrescu and place the bottle in the decorative wine holder.A hidden compartment opens and gives you the Courtyard Key.How to Open the Secret Passage in the Wine RoomHow to Open the Secret Passage in the Wine Room
How to Solve the Statue Puzzle in the Hall of Ablution
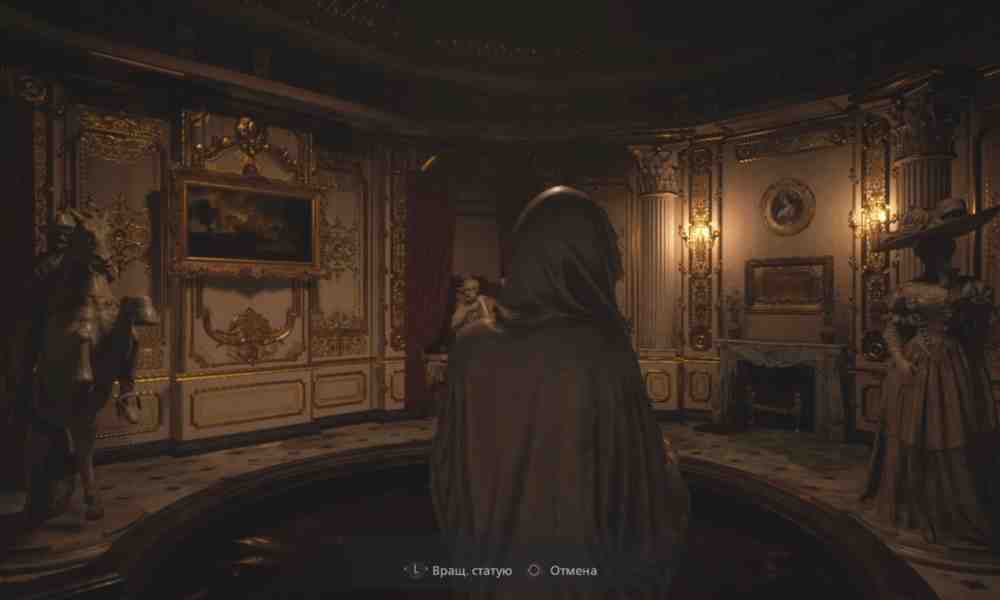
After obtaining the Courtyard Key, cross the Courtyard and continue until you reach the Hall of Ablution. The room contains four statues standing around a pool.Turn them into the following positions:When all four statues are positioned correctly, the liquid drains from the pool and reveals the route into the dungeon below.How to Solve the Hall of Ablution Statue PuzzleHow to Solve the Hall of Ablution Statue Puzzle
How to Solve the Piano Puzzle in the Opera Hall
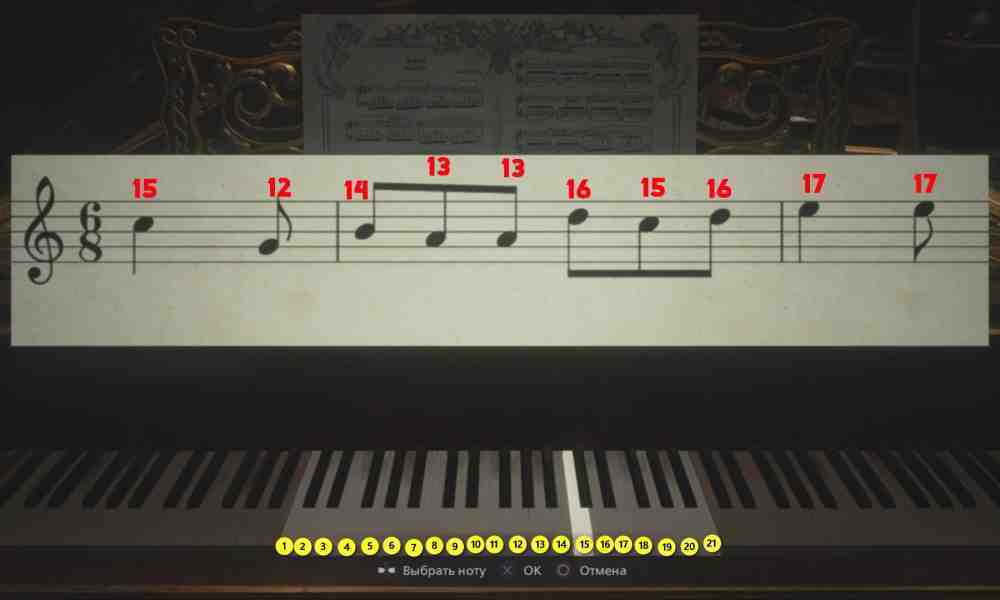
In the Opera Hall, interact with the piano and the sheet music.You need to play the notes shown on the score. You do not need to understand musical notation. When you press a key, an orange note appears. Move left or right until that orange note aligns vertically with the black note shown on the sheet.There is no penalty for pressing a wrong piano key, so you can simply work through the keyboard one note at a time.Completing the melody opens the compartment in the piano and gives you the Iron Insignia Key.How to Solve the Piano Puzzle in the Opera HallHow to Solve the Piano Puzzle in the Opera Hall
How to Solve the Five Bells Puzzle in the Atelier
After defeating Cassandra in the Library, continue into the Atelier. A note on the easel reads:
Let the five bells of this chamber ring out.
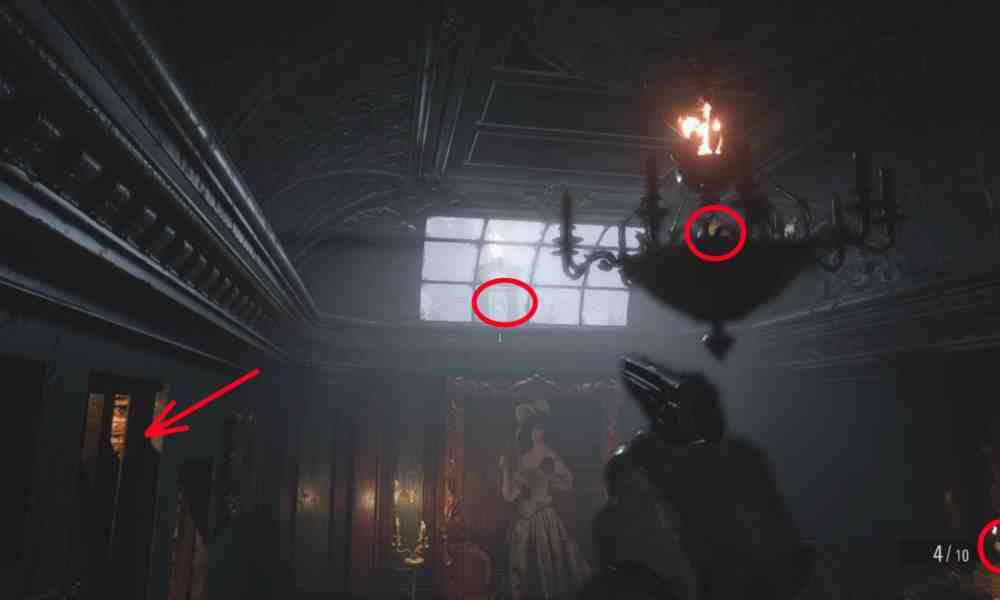
Shoot all five bells. A bell that has been activated will burn with a small flame.After all five bells are hit, the large portrait of Lady Dimitrescu opens and reveals a secret route to the attic and rooftops.How to Solve the Five Bells PuzzleHow to Solve the Five Bells Puzzle
Where to Find the F2 Rifle
After solving the bell puzzle, follow the newly opened passage and climb toward the attic.The F2 Rifle is sitting on a chair shortly before you step outside onto the rooftops. Pick it up before continuing.
How to Find All Four Masks and Escape Castle Dimitrescu
To open the exit in the Hall of the Four, you need the Mask of Sorrow, Mask of Joy, Mask of Rage, and Mask of Pleasure.Return to the Hall of the Four and place each mask on the matching angel statue. You do not need to memorize a special code. Each mask only fits its intended statue.
How to Solve the Dungeon Coffin Puzzle and Get the Azure Eye
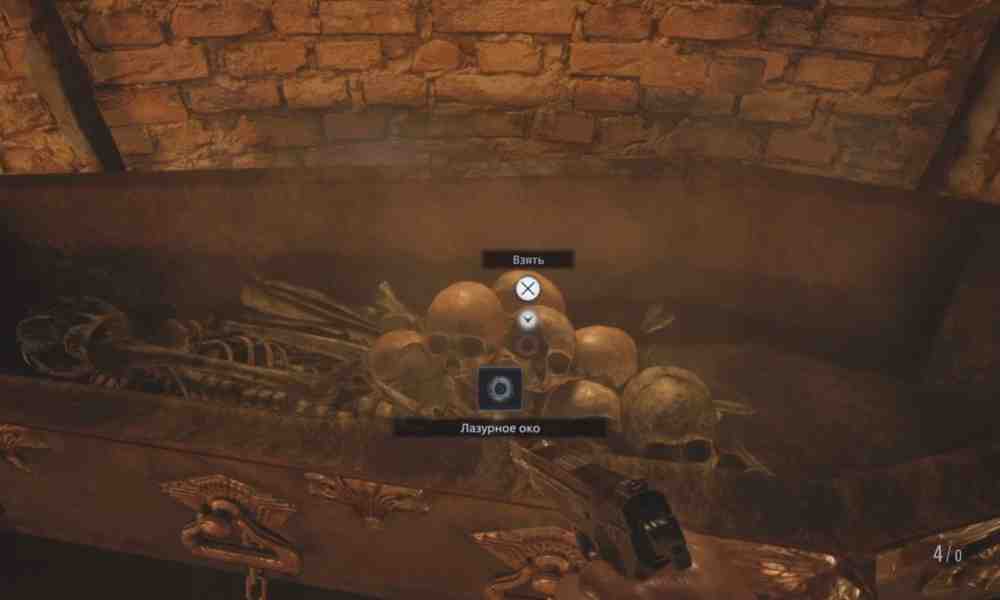
The Treasure Map found in the attic points to a locked chamber in the castle dungeon. You cannot fully solve it on your first visit.Return after obtaining the Iron Insignia Key from the piano puzzle. Use the key on the dungeon gate and enter the Special Chamber.Pick up the Pipe Bomb on the right and throw it at the cracked wall to the left of the coffin. This exposes a burning torch.Now shoot or push one hanging brazier into the exposed torch to ignite it. Then make the two hanging braziers swing into each other so both are burning.Once both hanging braziers are lit, the spikes around the coffin retract. Open it to receive the Azure Eye.You can combine the Azure Eye with the Silver Ring from the Hall of Pleasure to create the Azure Eye Ring.How to Solve the Dungeon Coffin PuzzleHow to Solve the Dungeon Coffin Puzzle
All Four Labyrinth Puzzles
Resident Evil Village contains four mechanical Labyrinths. Each requires its own special ball.
Castle Dimitrescu Labyrinth. Located in the Merchant's Room beside the Duke.
House Beneviento Labyrinth. Located in the Gardener's House on the road back from House Beneviento.
Moreau Labyrinth. Located in a shack outside the first windmill, near the entrance to Moreau's Lab.
Heisenberg's Factory Labyrinth. Located on B4 in the room near the Duke's elevator.
To solve a Labyrinth, insert the correct ball and tilt the miniature structure until the ball reaches the goal. Take your time near holes because falling off resets the ball.
Where to Find Every Labyrinth Ball
Labyrinth Rewards
Labyrinth Rewards in Resident Evil VillageLabyrinth Rewards in Resident Evil Village
Workshop Safe Code: How to Get the Jack Handle and M1911
After returning to the village from Castle Dimitrescu, enter the Workshop area.A locked cabinet contains the Jack Handle and M1911. Look through the nearby window to line up the numbers painted on the environment.The code is:
07-04-08
Take both items. Use the Jack Handle on the tractor blocking the road so you can crawl underneath it and continue.Workshop Safe Code and Jack Handle LocationWorkshop Safe Code and Jack Handle Location
Where to Find the Well Wheel and How Wells Work
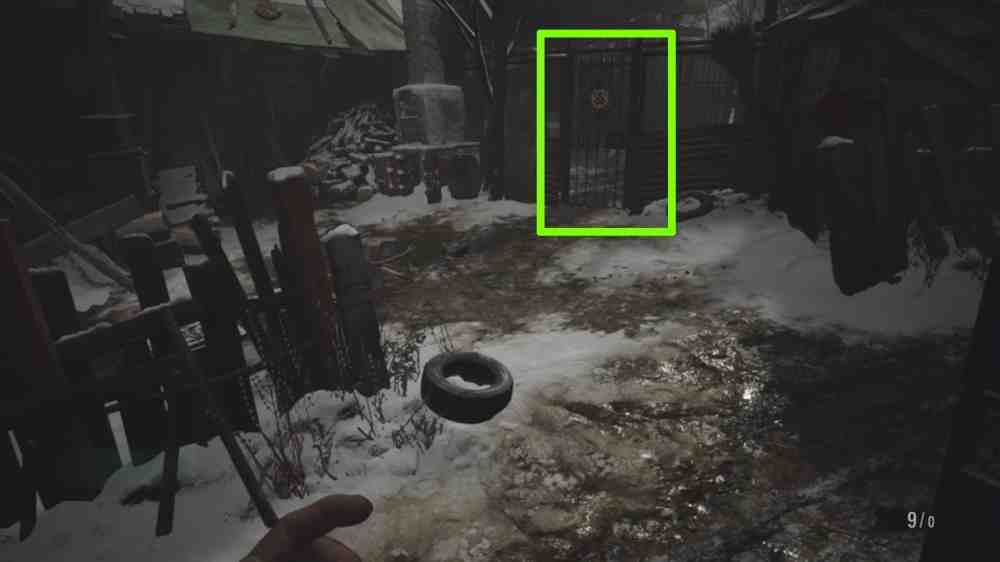
After using the Jack Handle to get past the tractor, continue until you reach the gate that requires the Iron Insignia Key.Unlock it and enter the small building in the yard. The Well Wheel is inside.Where to Find the Well WheelWhere to Find the Well WheelThe Well Wheel can be used at seven wells around the game world:Most wells simply raise an item. The final riverside well is different and leads into a small underground platform puzzle with the Large Pigeon Blood Ruby.
How to Reach House Beneviento
After returning to the village and completing the house with the red chimney objective, the Four-Winged Key route becomes available.Follow the path toward House Beneviento. At the locked door leading to the elevator, interact with the slot and use the Family Photo.The door opens and allows you to continue toward the house.
House Beneviento: Complete Doll Workshop Puzzle
After taking the flask, the lights go out and Ethan loses his weapons. Examine the Mia doll on the table carefully.You can obtain:Use the Silver Key to open the nearby medicine room. Wash the Blood Covered Ring in the sink, then examine it in your inventory. It becomes the Wedding Ring and reveals the date:
05-29-11
Use 052911 on the locked door to leave the Doll Workshop.
How to Solve the Music Box Puzzle
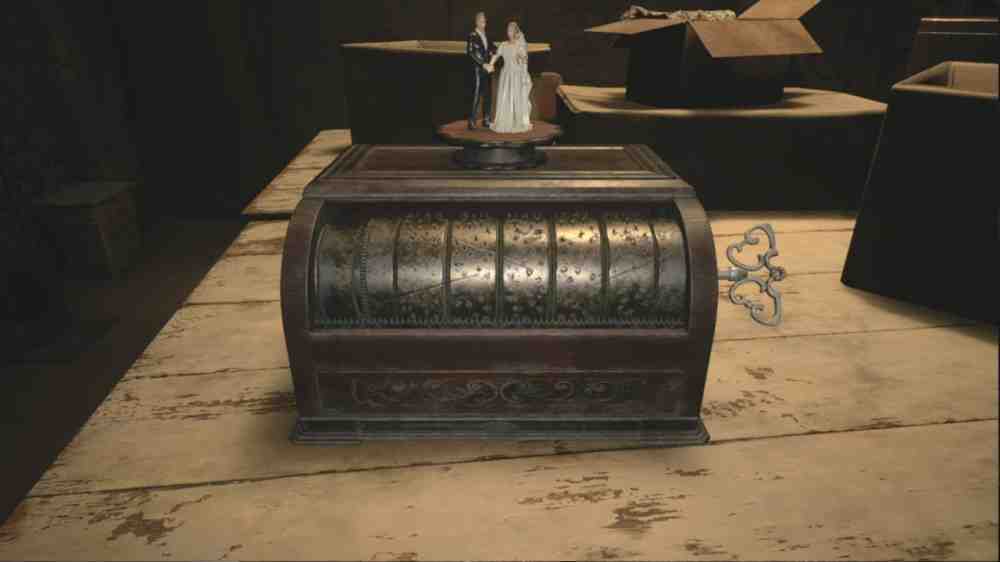
Enter the Storage room and use the Winding Key on the music box.The five cylinders must be arranged so the scratches across them form continuous lines. If you have not moved anything yet, the quickest sequence of swaps is:Use the Winding Key again after arranging the cylinders. The music box opens and gives you the Tweezers.How to Solve the Music Box PuzzleHow to Solve the Music Box PuzzleReturn to the doll and use the Tweezers on its mouth to obtain the Film.
How to Solve the Film Projector Puzzle
Take the Film to the Study and place it in the projector.Arrange the five film strips from left to right in this order:Play the film. A secret passage opens behind the bookcase.Enter it and take the Scissors.Return toward the Doll Workshop and use the Scissors to cut the bandages blocking the passage. Then use them on the doll's chest to obtain the Brass Medallion.
How to Solve the Medallion Symbol Door
Insert the Brass Medallion into the door beside the Doll Workshop.Set the remaining two symbols to:The correct clues can be found by examining the doll.Go through the door and climb down the well. Take the Breaker Box Key from the bottom.Return to the elevator and open the breaker box. Take the Relief of a Child, then use it on the matching door near the medicine room.Continue through the bedroom and collect the Fuse.The giant baby creature appears when you start returning toward the elevator.You can hide under the bed and wait for it to enter the room, then crawl out from the opposite side and run. Other pieces of furniture can also be used to loop the creature if necessary.Install the Fuse in the breaker box and survive until the elevator arrives.
How to Find Angie and Defeat Donna Beneviento
After returning upstairs, Donna forces you into a hide-and-seek sequence with Angie.You must find Angie three times.The first location is fixed. Go upstairs and enter the side room connected to the upper hallway. Angie is on the floor.After the first stab, her later locations can vary. Look for blood trails and search the common spawn areas, including:Do not rely on an old guide that claims all three positions are always identical. Only the first spawn is guaranteed.Find and stab Angie three times to finish the encounter.
Where to Find the W870 TAC Shotgun
After defeating Donna Beneviento and leaving the estate, follow the path back through the Garden.Enter the small hut beside the trail. The W870 TAC Shotgun is inside.House Beneviento Garden AreaHouse Beneviento Garden Area
How to Enter the Luthier's House and Open the Cabinet
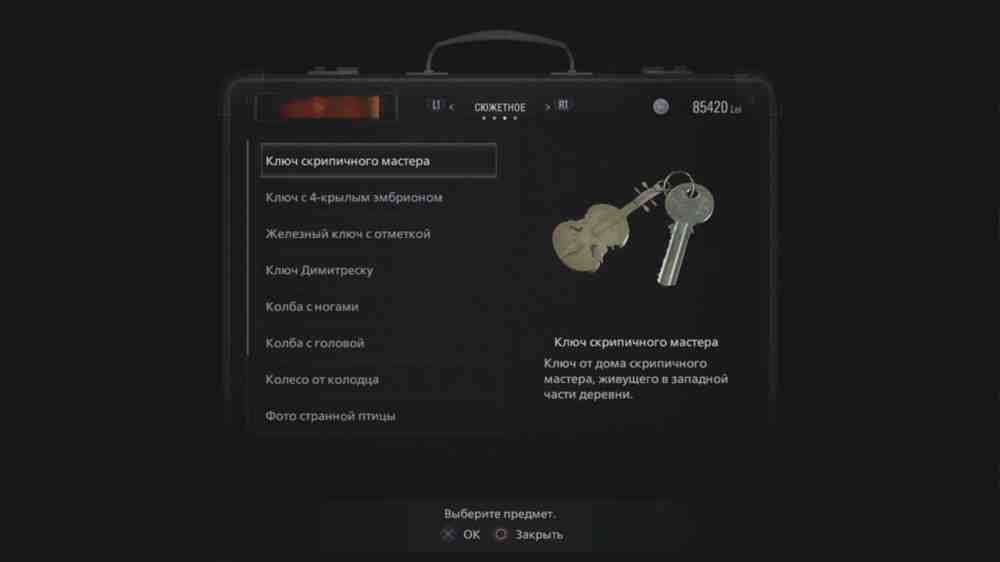
On the way back from House Beneviento, visit the Gardener's House and pick up the Luthier's Key.Use it to enter the Luthier's House in West Old Town.Inside, the locked cabinet uses the date written on the nearby birthday drawing:
27-09-17
The cabinet contains the Steel Hraesvelgr treasure and the F2 Rifle - High-Capacity Mag weapon part.How to Enter the Luthier's House and Open the CabinetHow to Enter the Luthier's House and Open the Cabinet
How to Get the Treasure Chest in Moreau's Reservoir
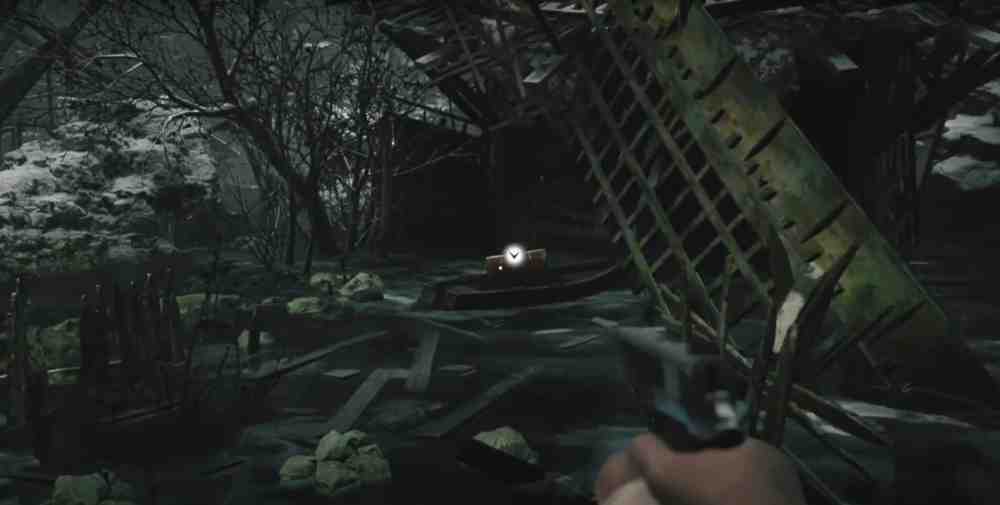
When you first reach the boat dock in Moreau's Reservoir, you can see a treasure chest on another boat but cannot reach it.Continue through the area, solve the reservoir puzzles, drain the water, and defeat Moreau.Before using the elevator to permanently leave the lower Reservoir area, return to the old boat dock. The drained water now lets you walk through the ruined windmill and reach the stranded boat.Open the chest to obtain the Silver Angel Statue.Treasure Chest in Moreau's ReservoirTreasure Chest in Moreau's Reservoir
How to Solve the Colored Platform Switches in Moreau's Reservoir
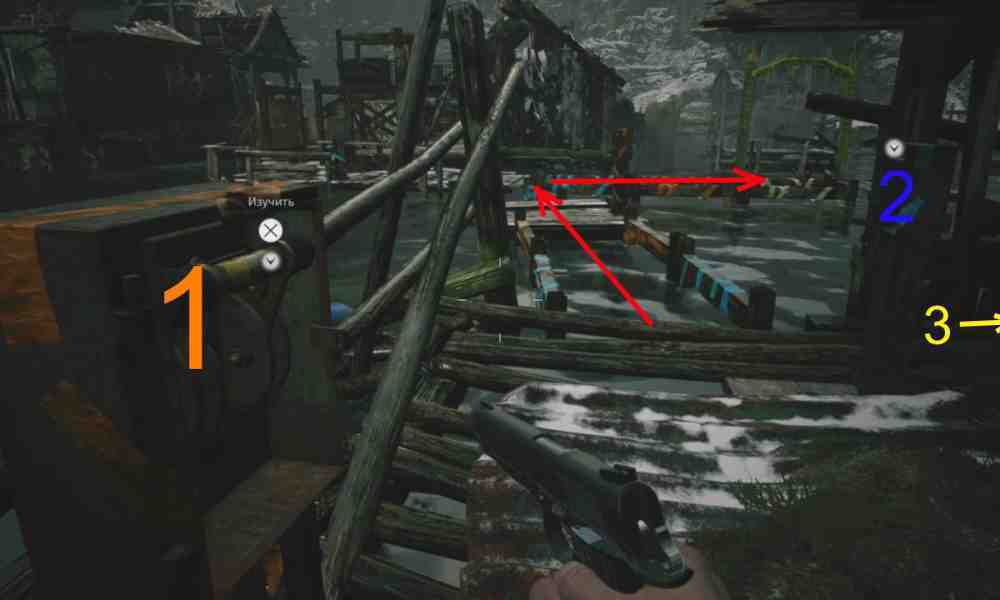
While crossing the flooded section, Moreau swims around and can knock Ethan into the water. The colored switches temporarily raise matching platforms.Start with the blue switch and cross the raised platform. Use the orange switch to open the next route, then activate the next blue switch as you move across.When you reach the platform with all three switches, activate them in this order:Immediately sprint across the raised platforms before they sink again.The old version of this guide listed Orange, Blue, Yellow. That order is not the reliable route used by current walkthroughs.How to Solve the Colored Platform SwitchesHow to Solve the Colored Platform Switches
How to Solve the Sluice Gate Control Puzzle
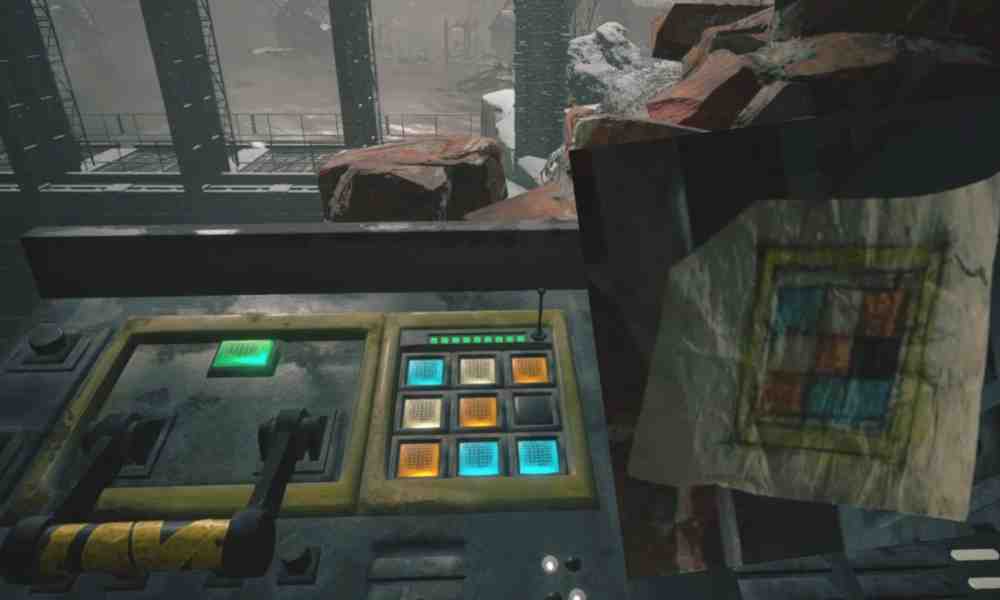
After reaching the second windmill, obtain the Crank, use it to restore the windmill mechanism, and return to the Sluice Gate Control building.The nearby diagram is rotated relative to the control panel. Set the 3x3 grid as follows:Then use the main control to open the sluice gate and drain the Reservoir.Moreau Sluice Gate Control SolutionMoreau Sluice Gate Control Solution
Where to Find the M1911 High-Capacity Mag
After draining the Reservoir, follow Moreau through the newly exposed route toward the boss arena.Enter the ruined building along the path and open the silver case to obtain the M1911 - High-Capacity Mag.This is a weapon part, not a separate handgun.
Moreau's Lab: Mermaid Ball and M1851 Wolfsbane Magnum
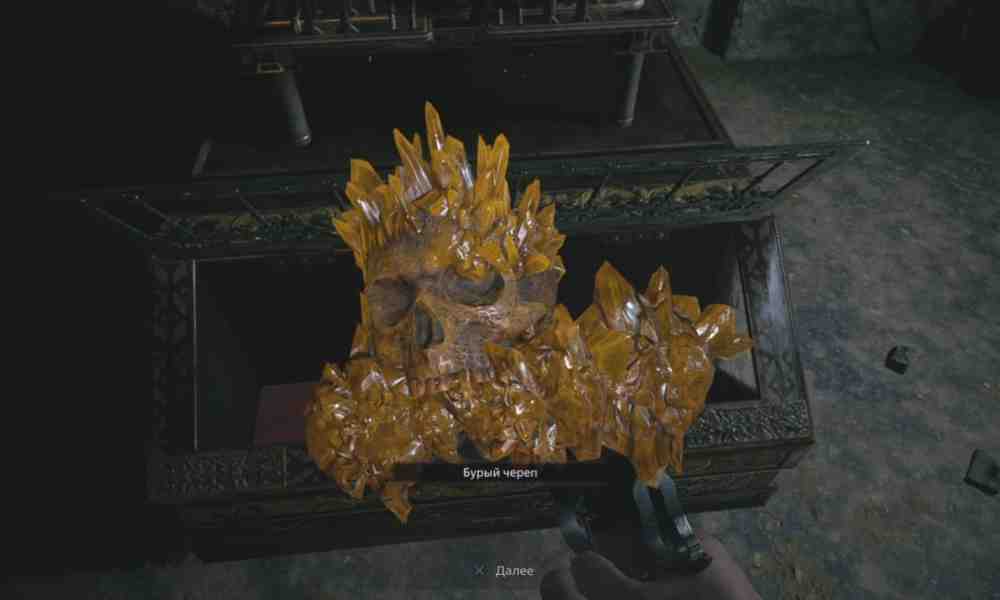
After defeating Moreau and leaving the lower Reservoir, use the Crank on the mechanical gate leading into Moreau's Lab.Follow the upper route to the small shrine and open the chest to obtain the Mermaid Ball. Take it back to the nearby Labyrinth beside the windmill to obtain the Chartreuse Skull.Continue deeper into Moreau's Lab toward the marked treasure house. The front door is locked, so go around the building and crawl through the opening in the wall.Inside the case is the M1851 Wolfsbane Magnum.A powerful Varcolac enemy appears in the area after you take the weapon. You can fight it for extra treasure or simply leave.
Secret River Areas After Getting the Crank
After defeating Moreau, return to the Lone Road west of the Altar. Use the Crank on the raised drawbridge and take the boat.There are valuable optional areas in both directions.
South: Finest Fish, Antique Coin, and W870 TAC Foregrip
Sail south and dock at the end of the river.To the left is a small pond containing two normal Fish and the unique Finest Fish required for Sarmale de Peste.Take the other path into the cave. Inside you will find the Antique Coin, ammunition, the Analysis Results file, and the W870 TAC - Foregrip.
North: Riverbank Treasure House
Sail north from the Lone Road dock and enter the large double doors beneath Castle Dimitrescu.Inside is another hanging brazier puzzle.Shoot the burning brazier so it swings into the two unlit torches. This opens the side doors.A Moroaica repeatedly spawns from one of the rooms. Make the hanging brazier hit the enemy and set it on fire, then lure the burning Moroaica into the final standing torch.When that torch ignites, the last room opens. Take the Golden Lady Statue, worth 20,000 Lei.
North: Hidden Well Puzzle and Large Pigeon Blood Ruby
There is another optional area on the northern river route.Use the Crank on the second drawbridge and cross back toward the riverside house you visited after leaving Castle Dimitrescu. Go through the house and use the Well Wheel on the well behind it.Instead of raising an item, this well raises a ladder.Climb down. Use the control panel to raise the platforms, push the mine carts so you can cross to the opposite side, and drop through the opening behind the locked bars.Open the chest to obtain the Large Pigeon Blood Ruby.This gem can be combined with the Necklace with Two Holes and the regular Pigeon Blood Ruby to complete Dimitrescu's Necklace.The most important fixed puzzle codes in Resident Evil Village are 07-04-08 for the Workshop cabinet, 05-29-11 for House Beneviento, and 27-09-17 for the Luthier's House cabinet. The Moreau sluice panel is Blue / White / Orange, White / Orange / Black, Orange / Blue / Blue. Castle Dimitrescu contains the Hall of War brazier puzzle, Hall of Ablution statues, piano, five bells, four masks, and the optional Azure Eye coffin puzzle.