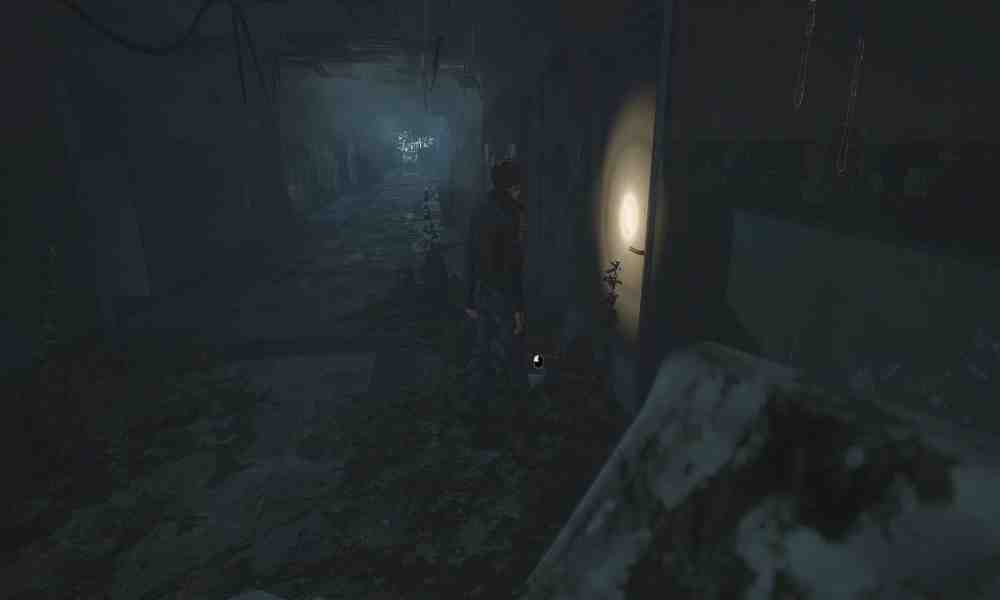
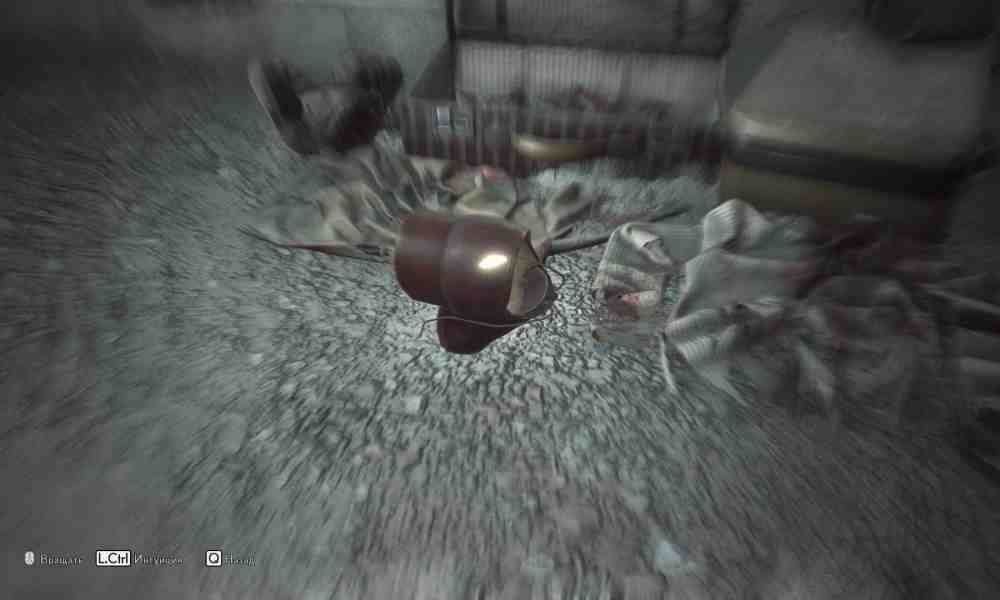
The original version of this guide covered only part of the collectibles in The Medium. The complete game contains 7 Mentor's Diaries, 11 Groundskeeper's Postcards, 8 Eerie Drawings, 20 Troubled Man's Notes, 3 Photos, 28 Echoes, 10 Memory Shards, and 3 additional optional items.Several collectible achievements require an entire set to be found in a single playthrough. The game also does not provide a convenient counter for Echoes or Memory Shards, so it is worth following the locations in order.Our separate The Medium achievement guide explains the rest of the game's achievements.
Mentor's Diaries
There are 7 Mentor's Diary pages. Finding the first page unlocks Guiding Light, while collecting all seven in one playthrough unlocks Devouring Darkness.
An Apology
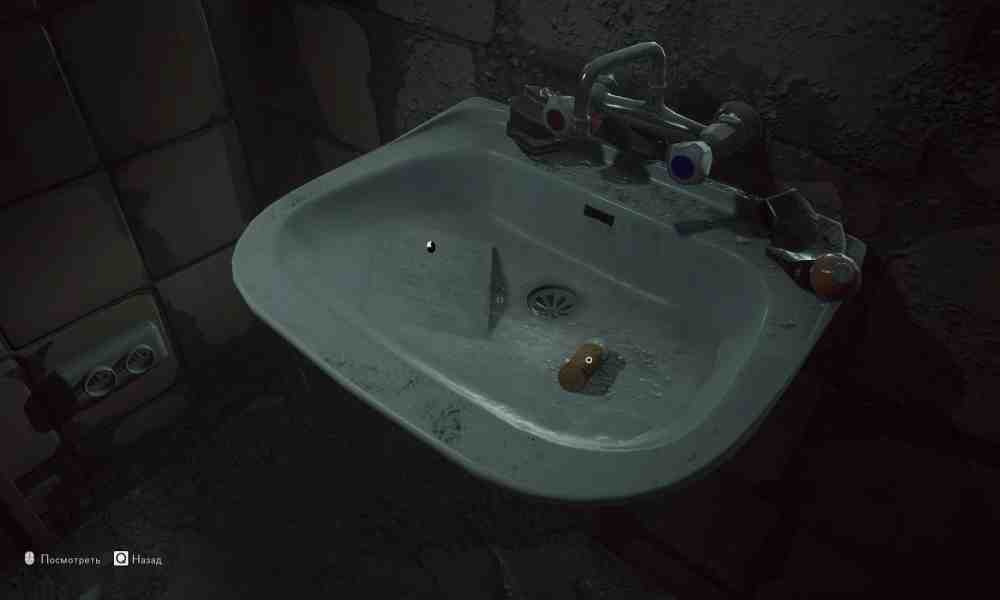
After dropping through the large hole in the Niwa Resort, enter the bathroom in the first apartment area and inspect the sink.An Apology Mentor's DiaryAn Apology Mentor's Diary
Throwing Away Greatness
In the Dayroom, inspect the left side of the room. The page is close to the drawing that also contains an Echo.
A Very Special Boy
Still in the Dayroom, check the couch between the globe room and the piano area.
A Well of Inspiration
Look on the opposite side of the Dayroom from the couch. The page is on a small table near the entrance to the teacher's room.
A Method to Madness
Enter the room containing the rotatable globe. The diary page is lying on the desk opposite the globe.
Growing Apart
After solving the globe puzzle and obtaining access to the teacher's room, inspect the desk. The page is near the Memory Shard trigger.
A New Home
After the Dayroom sequence, reach the ground-floor area beyond it, stay to the right, and search the nearby furniture before continuing.
Groundskeeper's Postcards
There are 11 Groundskeeper's Postcards. Finding one unlocks From Niwa with Love. Collecting all 11 in a single playthrough unlocks All That's Left Unsaid.
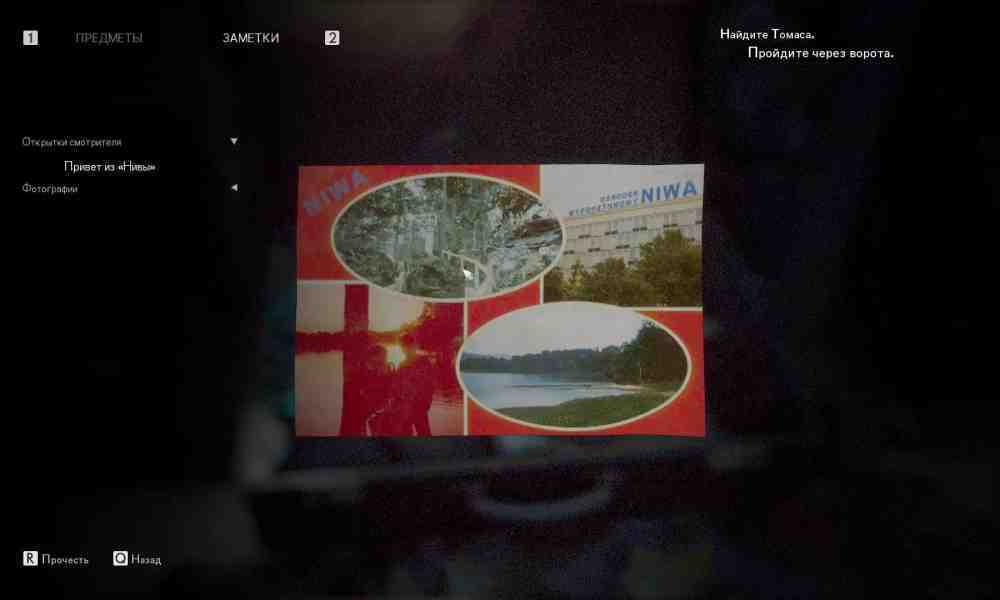
Niwa Says Hello
Before entering the Niwa Resort grounds, go into the small guard building to the left of the gate. The postcard is inside a suitcase near the desk.Niwa Says Hello PostcardNiwa Says Hello Postcard
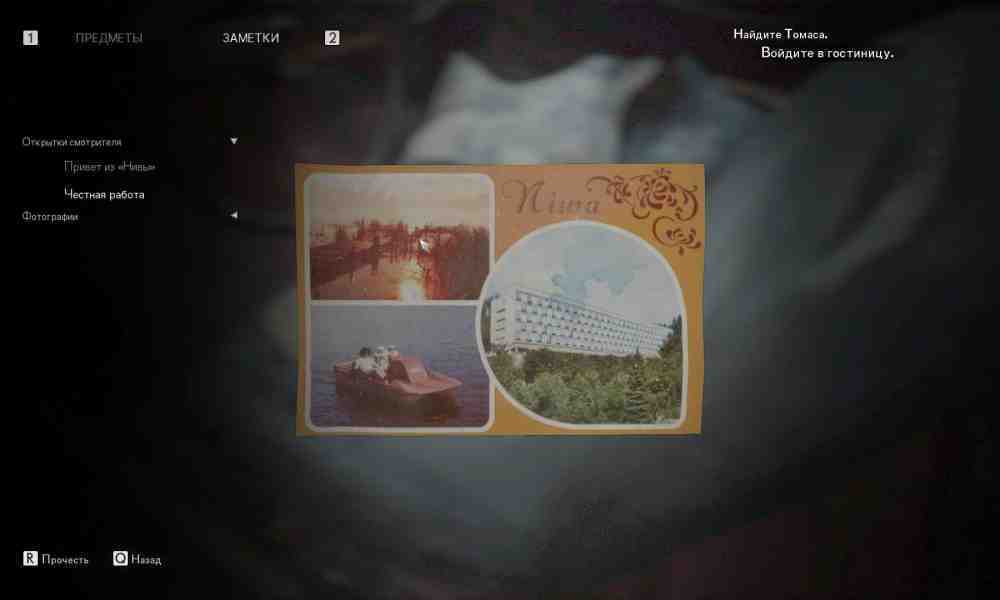
Honest Work
In the parking lot outside the hotel, inspect the old car. The postcard is on the front seat on the driver's side.Honest Work PostcardHonest Work Postcard
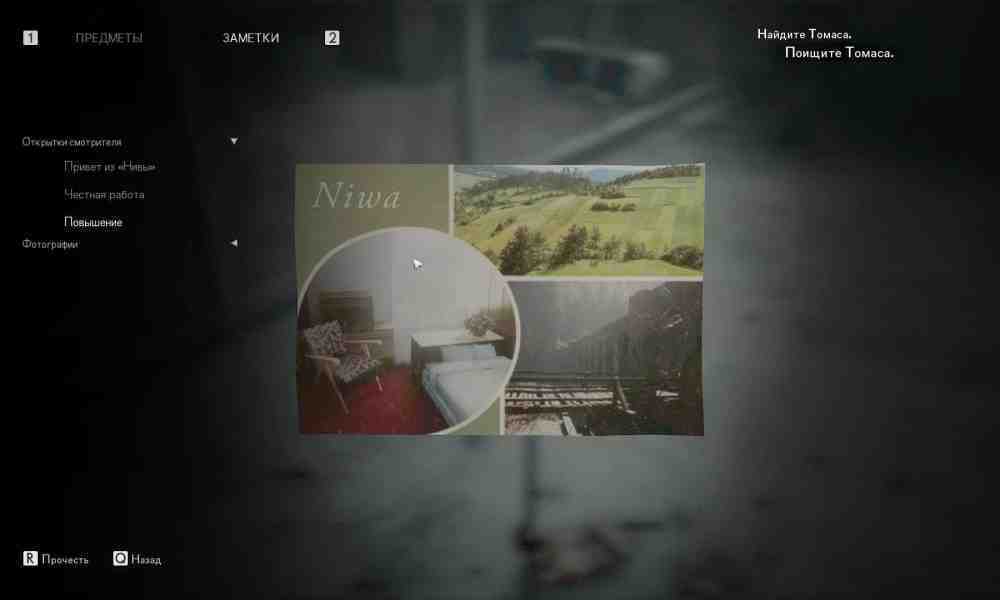
Promotion
After entering the hotel, search the main hall near the reception desk. The postcard is on a chair.Promotion PostcardPromotion Postcard
Someday
After reaching the swimming pool and entering the changing room behind it, search the boxes in the room. The postcard is inside one of them.
A Scenic View
After obtaining the examination room key and unlocking the corresponding door, turn left instead of immediately following the main route. Search the waste bin in the side area.
Won't Stop
After leaving Niwa and entering the forest, take the first path to the left. The postcard is near the telephone that also contains an Echo.
Poor Thing
Continue through the nature park until you reach the viewing platform. The postcard is on a bench.
Harder and Harder
At the first major intersection in the nature park, follow the Landscape Trail instead of rushing after the story route.
Whispers in the Dark
At the next intersection, do not follow the dog immediately. Take the path to the right and collect the postcard before returning.
A New Companion
When you reach the campsite, search the area before inspecting the tent. The postcard is outside the tent.
Regrets
Enter the tent at the campsite. The final postcard is inside, close to the Staff Photo.
Eerie Drawings
There are 8 Eerie Drawings. They are optional collectibles and are not tied to a dedicated achievement.
Someone New
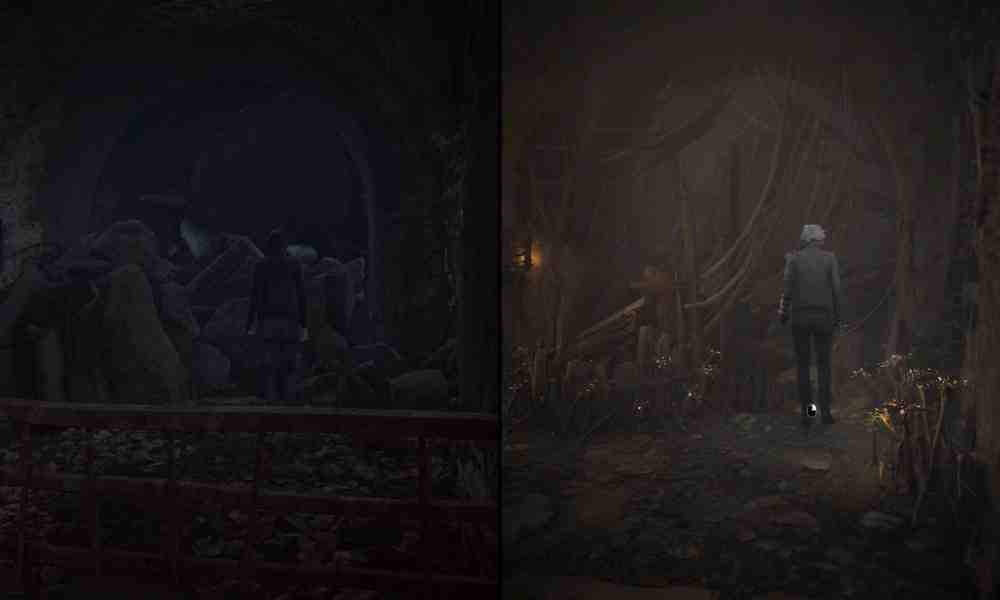
During the first split-reality sequence on the way to the hotel, look to the right of the electrical box that must be powered with Spirit Blast.Someone New Eerie DrawingSomeone New Eerie Drawing
Friends Forever
During the second split inside the hotel, return toward the locked corridor beside reception. Leave Marianne's body and move deeper into the spirit-world version of the corridor.
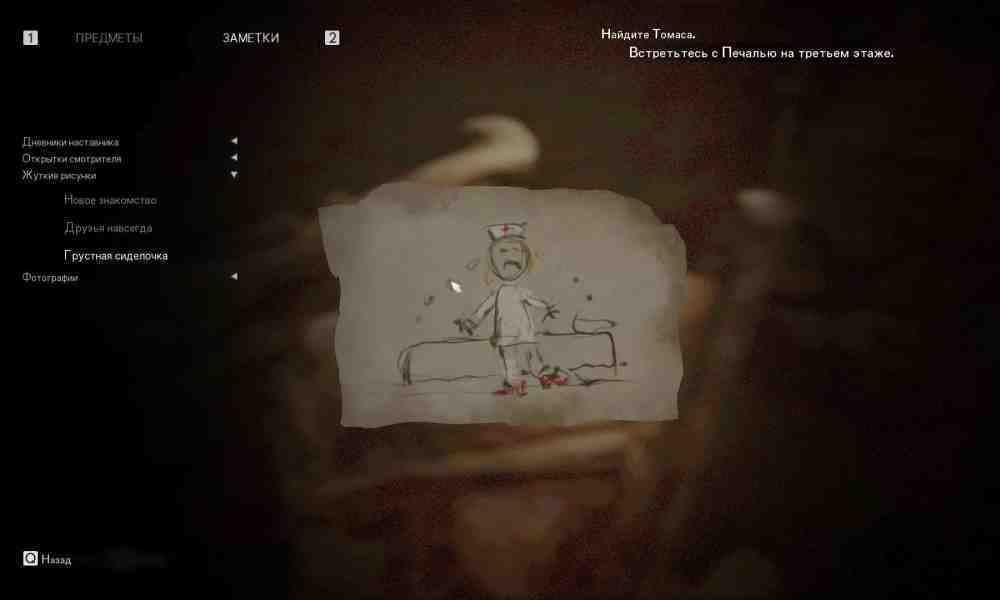
Sad Nursie
After dropping into the lower apartment area, leave the first apartment through the front door and backtrack toward the staircase.Sad Nursie Eerie DrawingSad Nursie Eerie Drawing
Lonely
After surviving the second moth swarm, do not immediately enter the door on the left. Continue toward the edge of the accessible spirit-world area.
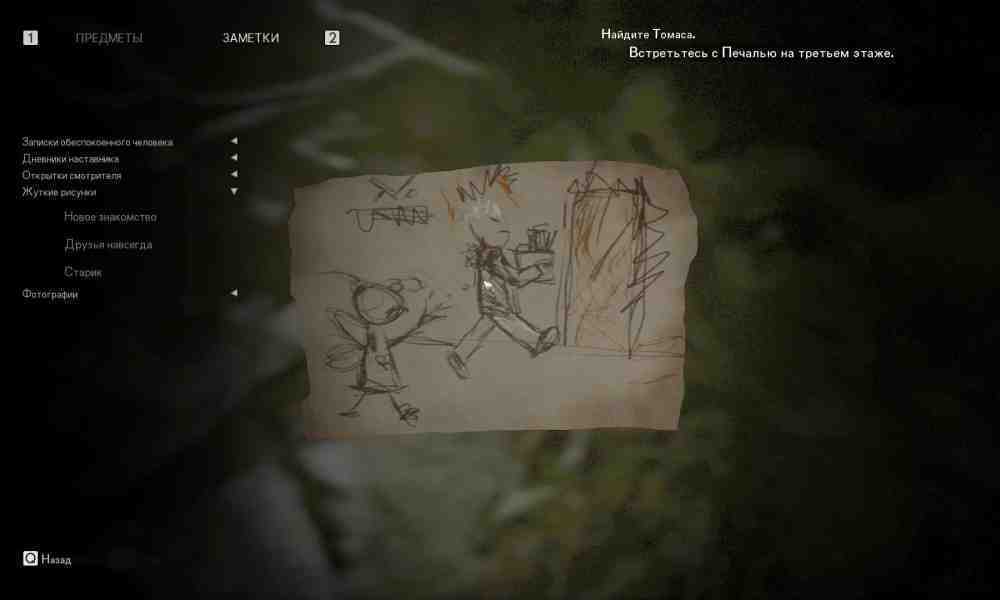
Old Man
In Thomas' office reception area, look in the far-left corner in the spirit world.Old Man Eerie DrawingOld Man Eerie Drawing
Bad Nursie
In the examination room, use the mirror to cross into the spirit world. Search the room before moving on.
Dark
After dealing with the two lost souls, enter the next room but do not go upstairs yet. Search the spirit-world side of the room.
Taken Away
In the Dayroom globe area, rotate the globe roughly 110 degrees counterclockwise to open the route to the drawing.
Troubled Man's Notes
There are 20 Troubled Man's Notes. Finding the first unlocks A Dangerous Method. Collecting all 20 of Thomas' notes in one playthrough unlocks An Unknown Outcome.
A Peaceful Place
After the second moth swarm, go through the door on the left and search the box in the office reception area.
To-Do List
Inside Thomas' office, open the drawer in the desk on the right.
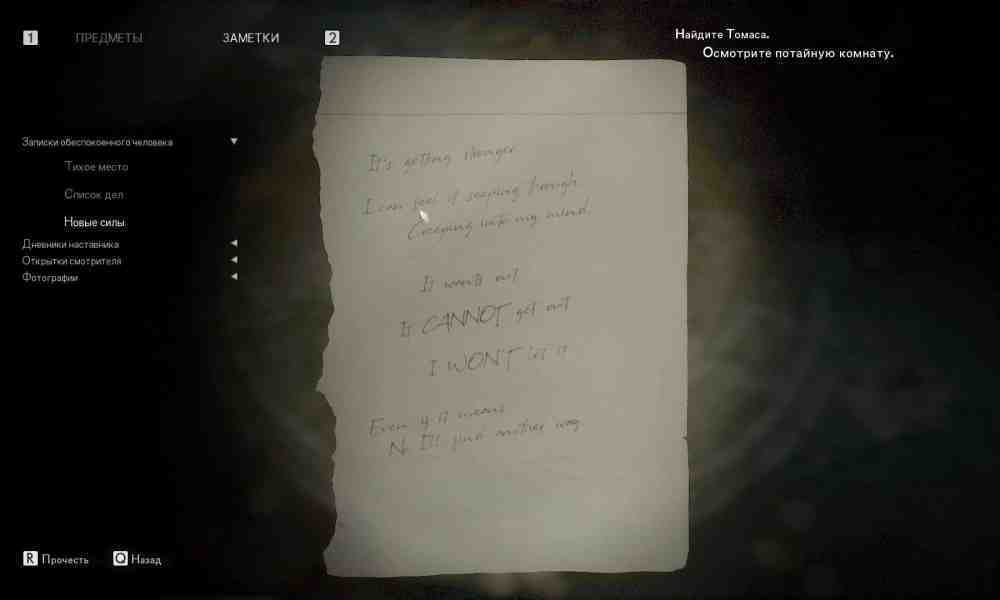
Getting Stronger
Solve the grandfather clock puzzle in Thomas' office to open the secret room. The note is on the floor inside the ritual symbol.Getting Stronger Troubled Man's NoteGetting Stronger Troubled Man's Note
Fever Dreams
In the Natatorium section, search the area in front of the locked Dayroom door before progressing.
Good Old Frank
After passing through the pool and changing-room sequence, reach the upper hallway. The note is near the beginning of the corridor.Good Old Frank Troubled Man's NoteGood Old Frank Troubled Man's Note
Dust and Death
After obtaining the Bolt Cutters, return to the hotel reception area and use them on the locked gate leading into the western corridor. This note is extremely easy to miss.
Hell's Angel
At the Red House area, search the toolshed. After finding the wooden figure that contains an Echo, look just above it for the note.
Something Broken
Enter the garage attached to the toolshed. The note is beside the suitcase containing another Echo.
Demons
After the vision sequence inside the Red House, inspect the interior before continuing downward.
A Different Kind of Sickness
In the Red House basement, locate the central room containing the shoe, teddy bear, and syringe Echoes. This note is beside the syringe.
The Missing Piece
Still in the basement, cross to the opposite corner of the room and search the furniture.
Found a Way
Enter the wine cellar behind the previous area. The note is inside.
Separation
Once you reach the fallout shelter, search the initial rooms carefully before the later pump-station sequence.
A Relic of the Past
In the fallout shelter, inspect the main control panel.
A Thin Line
After leaving the pump station, enter the storage room and search it before moving on.
Alone
Enter Lily's room in the shelter. The note is on the desk.
Just Me and Her
Search the kitchen in the fallout shelter.
Keeping Distance
Enter Thomas' workspace and inspect the desk area.
Business Card
This note is next to Keeping Distance in Thomas' workspace.
Hypothesis
The final note is also in Thomas' workspace, close to the previous two collectibles.
Photos
There are 3 Photos. They are optional and do not unlock a dedicated collectible achievement.
Jack
At the beginning of the game, enter the darkroom behind the kitchen in Jack's apartment and develop the photograph by following the instructions on the wall.
From Hiding
After opening the secret room behind Thomas' office, find the photographic equipment inside and develop the picture before leaving.
Staff Photo
In the forest campsite, search beside the final Groundskeeper's Postcard inside the tent.
Echoes
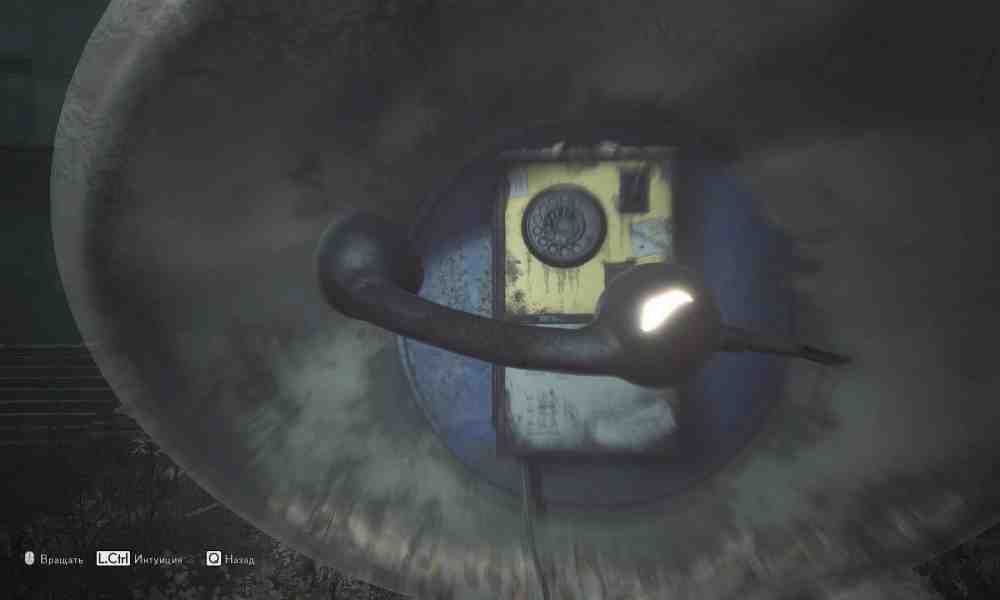
There are 28 Echoes in total. Finding one unlocks Left Behind. Other Echo-related achievements include Caught the Scent, Followed the Trail, and Calling Out to Me.To activate an Echo, inspect the relevant object and use Insight. Rotate the object until the glowing crack aligns and the recorded memory starts playing.
Echo 1: Mysterious Caller
Before entering the hotel, inspect the ringing telephone in the parking area.First Echo in The MediumFirst Echo in The Medium
Echo 2: Niwa Massacre
Immediately after entering the hotel, inspect the old shoe near the entrance.Niwa Massacre EchoNiwa Massacre Echo
Echo 3: You'll Get What You Want
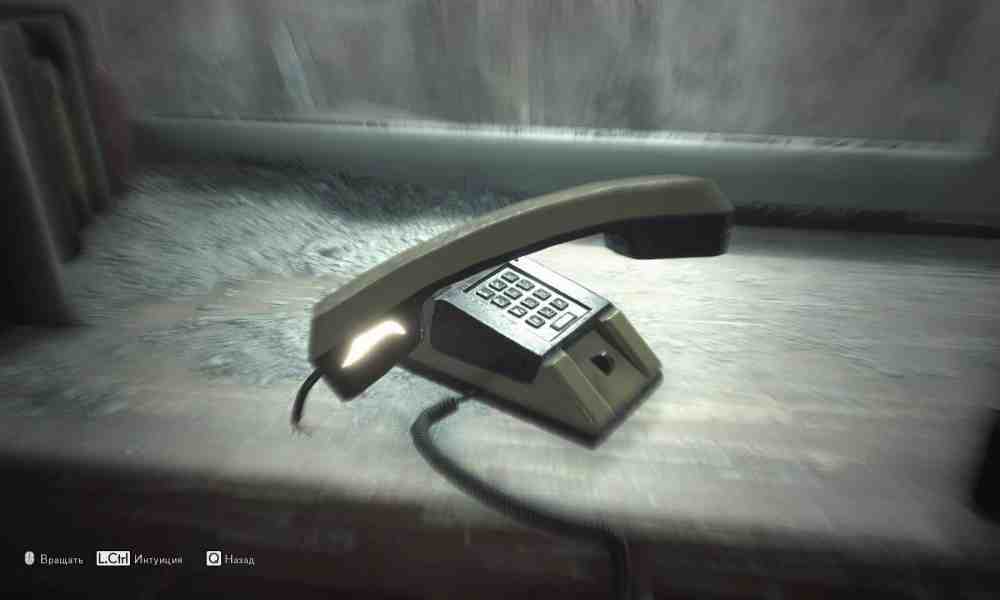
On the upper hotel floor, inspect the telephone near the large hole used to descend during the story.Hotel Telephone EchoHotel Telephone Echo
Echo 4: It Crushed Her Spirit
In the bathroom containing An Apology, inspect the medicine bottle near the sink.
Echo 5: You Are Nothing
In the second apartment area, inspect the mirror in the bathroom.
Echo 6: This Case Is Problematic
In the swimming pool, inspect the barrier inside the pool area.
Echo 7: The Nurse Was It
Inspect the second barrier in front of the swimming pool.
Echo 8: Cover Your Nose
In the changing room behind the pool, inspect the clothes.
Echo 9: Come On Slowpoke
After the mirror sequence, follow the Insight trail and inspect the spinning top.
Echo 10: Ready or Not
Continue following the same Insight trail and inspect the stuffed animal.
Echo 11: What a Freak
The trail next leads to a teddy bear. Inspect it before moving on.
Echo 12: This Isn't Funny
Continue along the trail to the toy tank and activate its Echo.
Echo 13: No Time to Explain
In the examination room, inspect the telephone.
Echo 14: The Voting's About to Start
Before entering the conference room fully, inspect the telephone near the entrance.
Echo 15: Boris
In the second conference room, inspect the ashtray at the back.
Echo 16: I Don't Care
Inside the apartment belonging to Vivienne's manager, inspect the autograph card.
Echo 17: Hello My Love
After freeing the two souls, go through the hole in the wall and inspect the wheelchair.
Echo 18: Friends
In the Dayroom, inspect the drawing on the left side of the room.
Echo 19: Come On, Richard
Inside the teacher's room, inspect the pencil case.
Echo 20: I'll Be Back Soon
In the forest, take the first path to the left and inspect the telephone near the postcard Won't Stop.
Echo 21: Well Deserved Smoke
At the Red House area, inspect the cigarette pack outside the toolshed.
Echo 22: Nice Chat
Near the previous Echo, inspect the wheel in front of the toolshed.
Echo 23: Go Away
Inside the toolshed, inspect the wooden figure.
Echo 24: One of Them
Enter the toolshed garage and inspect the suitcase.
Echo 25: The Gemini Case
In the garage, inspect the cassette player lying on the floor.
Echo 26: The Voice
In the Red House basement, inspect the shoe in the central room.
Echo 27: Where Is Marianne?
Inspect the teddy bear beside the previous Echo.
Echo 28: I'm So Sorry
Inspect the syringe beside the teddy bear. This is the final Echo.
Memory Shards
There are 10 Memory Shards. Reconstructing one unlocks I Know the Pieces Fit. Reconstructing all ten in a single playthrough unlocks Puzzling Out the Past.
Memory Shard 1: Sunflower
After dropping into the lower apartment section of the hotel, search the first apartment before entering the bathroom containing An Apology.
Memory Shard 2: Wheelchair
The second shard is in the next apartment on the same floor.
Memory Shard 3: Somewhere Else
In the Dayroom, inspect the object near the central part of the room.
Memory Shard 4: You're... Special
Search near the piano after progressing through the Dayroom puzzle.
Memory Shard 5: Lying There
Inside the teacher's room, reconstruct the shard close to the desk containing Growing Apart.
Memory Shard 6: Painting Lily
After leaving the Dayroom, the story leads you through a sequence of memory objects. The first is connected to a painting of Lily.
Memory Shard 7: Doll
Continue through the same story area and reconstruct the memory connected to the doll.
Memory Shard 8: Ribbon
The third shard in this sequence is connected to the ribbon.
Memory Shard 9: You'll Beg Me
Outside the Red House, inspect the memory object before entering the building.
Memory Shard 10: You'll Burn
Search the left side of the Red House exterior for the final shard before progressing too far inside.
Other Optional Collectibles
The game also contains three optional story objects that do not have their own collectible achievement.
Torn Illustration
After the swimming pool section, follow the Insight trail through the mirror sequence and into the changing-room area. The trail eventually leads to a locker that can be opened after obtaining the Bolt Cutters.
A Quiet Girl
After freeing the two lost souls in the hotel, inspect the dressing-table area with the mirror.
Empty Eyes
From the previous collectible, go through the nearby opening toward the wheelchair. Empty Eyes is on the table beside it.
Which Collectibles Are Required for Achievements?
Collectible Type
Total
Achievement
Mentor's Diaries
7
Guiding Light, Devouring Darkness
Groundskeeper's Postcards
11
From Niwa with Love, All That's Left Unsaid
Echoes
28
Left Behind, Caught the Scent, Followed the Trail, Calling Out to Me
Memory Shards
10
I Know the Pieces Fit, Puzzling Out the Past
Troubled Man's Notes
20
A Dangerous Method, An Unknown Outcome
Eerie Drawings
8
No dedicated achievement
Photos
3
No dedicated achievement
Other optional items
3
No dedicated achievement
The most dangerous collectible to miss is Dust and Death. After getting the Bolt Cutters, return to the hotel lobby and open the previously locked gate before moving too far into the Dayroom route.The Medium does not provide a conventional chapter-select system for cleaning up one missed collectible at the end, so finish each major area carefully before moving on.A complete collectible run in The Medium includes 7 Mentor's Diaries, 11 Groundskeeper's Postcards, 8 Eerie Drawings, 20 Troubled Man's Notes, 3 Photos, 28 Echoes, 10 Memory Shards, and 3 additional optional objects. The old guide missed most of the later-game collectibles, including the full Red House and fallout shelter sections.