The Ice Arrows in The Legend of Zelda: Ocarina of Time Remake are hidden inside the Gerudo Proving Grounds, an optional dungeon at Gerudo Fortress. Getting to the treasure isn't quite as simple as defeating a few enemies: you'll have to cross lava, solve several puzzles, and find enough Small Keys to open a long series of locked doors. The Nintendo Switch 2 remake also changes the layout and key locations from the original game, so following an old walkthrough can send you in the wrong direction. In this guide, we'll explain how to enter the training grounds, collect all eight keys, and reach the chest containing the Ice Arrows.
You can only take on this challenge as an adult Link. First, head to Gerudo Fortress and rescue all four carpenters held prisoner inside. Once they're free, you'll receive the Gerudo Pass and can explore the fortress without being arrested by the guards.Look for the wooden gate watched by a Gerudo attendant. Speak to her, agree to attempt the trials, and pay 30 rupees to enter. The course is optional, so you don't need the Ice Arrows to finish the main story. Still, if you're collecting every piece of equipment, this is one stop you won't want to miss.
We recommend coming here after the Spirit Temple, when you've had time to collect the equipment needed for the full route. The most important items are:
Silver Gauntlets — to move the heavy block after the Wolfos encounter;
Longshot — to cross gaps and reach targets above the lava;
Fairy Bow and arrows — for switches and enemies that are difficult to approach;
Megaton Hammer — to break stone objects and reveal hidden mechanisms;
Goron Tunic and Zora Tunic — for the lava chambers and underwater section;
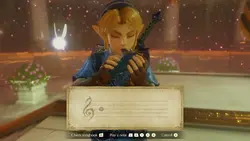
Ocarina with the Song of Time and your Scarecrow's Song — both are used to reach otherwise inaccessible platforms;
Bombs, a shield, and some healing items — for combat and the obstacles along the way.
Bring the Lens of Truth and Iron Boots as well if you have them, especially if you want to inspect hidden switches and underwater corners. You can leave the training grounds before finishing, but you'll have to pay another 30 rupees when you return. It's much easier to prepare properly and clear the course in one visit.
How to Get the First Small Key — Stalfos Arena
Once inside, cross the entrance hall and climb the steps toward the doorway beneath the carved stone face. You'll enter an arena with a sandy floor, where Stalfos and other armored opponents are waiting. Don't rush into the middle of the group. Keep your shield raised, let one enemy attack, then counter before the others can surround you.When the last opponent falls, a chest appears on the platform at the far end of the arena. Open it to collect Small Key #1, then go through the newly opened doorway. You'll need the keys much later, so don't worry about finding a lock right away.
How to Get the Second Small Key — Boulders, Wolfos, and the Hammer
The next area consists of sloping corridors with large boulders rolling down them. Wait for a boulder to pass before moving forward, and use the Longshot on the targets attached to the walls and ceiling. There's no reason to gamble on squeezing past every obstacle when the targets can pull you across the dangerous sections.Eventually you'll reach a room filled with Wolfos. Deal with them one at a time, preferably by blocking their lunges and striking when their backs are exposed. After the fight, check the nearby chest for a Blue Rupee, then inspect the large block marked with a Gerudo emblem. Push it out of the way with the Silver Gauntlets to uncover the passage behind it.
Continue through the corridor and look above the barred gate for a switch. If you cannot see it, use the Lens of Truth to check the wall above the doorway. Shoot the switch with your Bow to open the path ahead. You'll come across several snapping plants in the next rooms. You can cut them down with your sword, but we recommend using Bombs or arrows when there's enough space. One chest contains five Bombs, while another holds a Business Scrub Seed, an optional collectible worth taking before you move on.Shoot the revealed eye switch to activate the mechanismShoot the revealed eye switch to activate the mechanismIn the following alcove, look for stone objects surrounding a chest on a raised platform. Smash the breakable pieces with the Megaton Hammer and open the chest to receive Small Key #2. There's also a Red Rupee in a chest farther along the route. Pick it up if you like, then continue toward the lava chambers.
How to Get the Third and Fourth Small Keys — The Lava Eye and Scarecrow
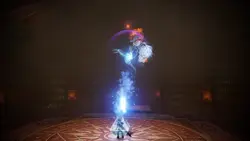
Put on the Goron Tunic before entering the next area. The heat is dangerous without it, and the platforms here are narrow enough that you'll want to concentrate on moving rather than watching your health disappear.From the circular ledge, look across the lava for the place where a scarecrow can appear. Play your Scarecrow's Song to summon it. If nothing happens, you'll need to set up the melody with the scarecrow at Lake Hylia, both as a young Link and as an adult. For now, keep the distant ledge in mind — you'll return to it after dealing with the obstacle in the middle of the room.The central stone creature has a glowing red eye. Take out your Bow and shoot the eye repeatedly from the safety of the ledge. Once the creature is defeated and the lava recedes, step onto the exposed area and collect Small Key #3. Don't try to force your way through the lava before opening the route.Shoot the stone creature's glowing eye with your BowShoot the stone creature's glowing eye with your BowNow aim the Longshot at the scarecrow on the opposite side and pull yourself across. Enter the door on its platform and follow the passage lined with cages. The chest ahead contains Small Key #4. Take it before continuing to the next puzzle room.
How to Get the Fifth Small Key — Hammer and Eye Switch Puzzle
In the next chamber you'll find several large stone objects, wall switches, and a chest protected by fire. The trick is that opening the exit doesn't necessarily remove the flames around the chest, so don't leave as soon as the first mechanism activates.he central chest is protected by flameshe central chest is protected by flamesEquip the Megaton Hammer and break the stone stacks around the room. Inspect the walls as you clear them, since one of the objects conceals an eye switch. Shoot the revealed switch with an arrow, then continue breaking the remaining stone pieces until you uncover a floor switch.Step on the switch to extinguish the flames around the central chest. The effect won't last forever, so head straight to the chest and open it for Small Key #5. There's also a separate chest containing arrows. Once you've collected the key, use the opened passage to reach the next lava area.Use the floor switch to remove the flames around the chestUse the floor switch to remove the flames around the chest
How to Get the Sixth Small Key — Song of Time and the Underwater Room
The next lava chamber has several isolated platforms and Longshot targets. You'll also need to collect five Silver Rupees to open the barred route. Start by checking the rock ledges around the room, including the higher platform near the spiked wall. Use the Longshot whenever the gap looks too wide to jump safely.
You'll soon find a platform marked with the Song of Time symbol. Play the melody to summon blue Time Blocks over the lava. These provide stepping stones to the more distant ledges. One of the Silver Rupees sits on a small platform surrounded by flames. Activate the nearby floor switch to put out the fire, then quickly cross the blocks and collect it before the flames return. If you miss your chance, simply return to the switch and repeat the attempt.After collecting all five Silver Rupees, enter the newly accessible room with a square opening in its floor. A blue Time Block covers the water below. Change into the Zora Tunic and play the Song of Time beside the block to remove it.The underwater challenge is accessed through this square poolThe underwater challenge is accessed through this square poolDrop into the pool and equip the Iron Boots to reach the deeper section. Look out for the underwater enemies and blade traps as you collect the Silver Rupees scattered around the pool. Once you have them all, open the newly available chest for Small Key #6. Remove the Iron Boots to swim back up, then put the Goron Tunic back on before heading into the lava chamber again.
Back in the lava room, use the Time Blocks and Longshot targets to reach the other raised doorway. Follow the passage until you find a chest on a rug. Open it to receive Small Key #7. You can also search the nearby caged rooms for Bombchus and a small supply of arrows, which may come in handy if you've used most of your ammunition on the earlier puzzles.The next arena is surrounded by fire and contains several Lizalfos. It's tempting to run straight at them, but you're better off dealing with one enemy at a time. Block the incoming strikes, wait until Lizalfos finishes its attack, and land a few hits before backing away. The fight is much more manageable when you don't let them attack Link from both sides.
Once the room is clear, a chest appears on the central platform. Inside is Small Key #8. You now have everything needed to reach the main reward, so there's no reason to keep searching the side passages for more keys.Image unavailable
How to Open the Final Doors and Get the Ice Arrows
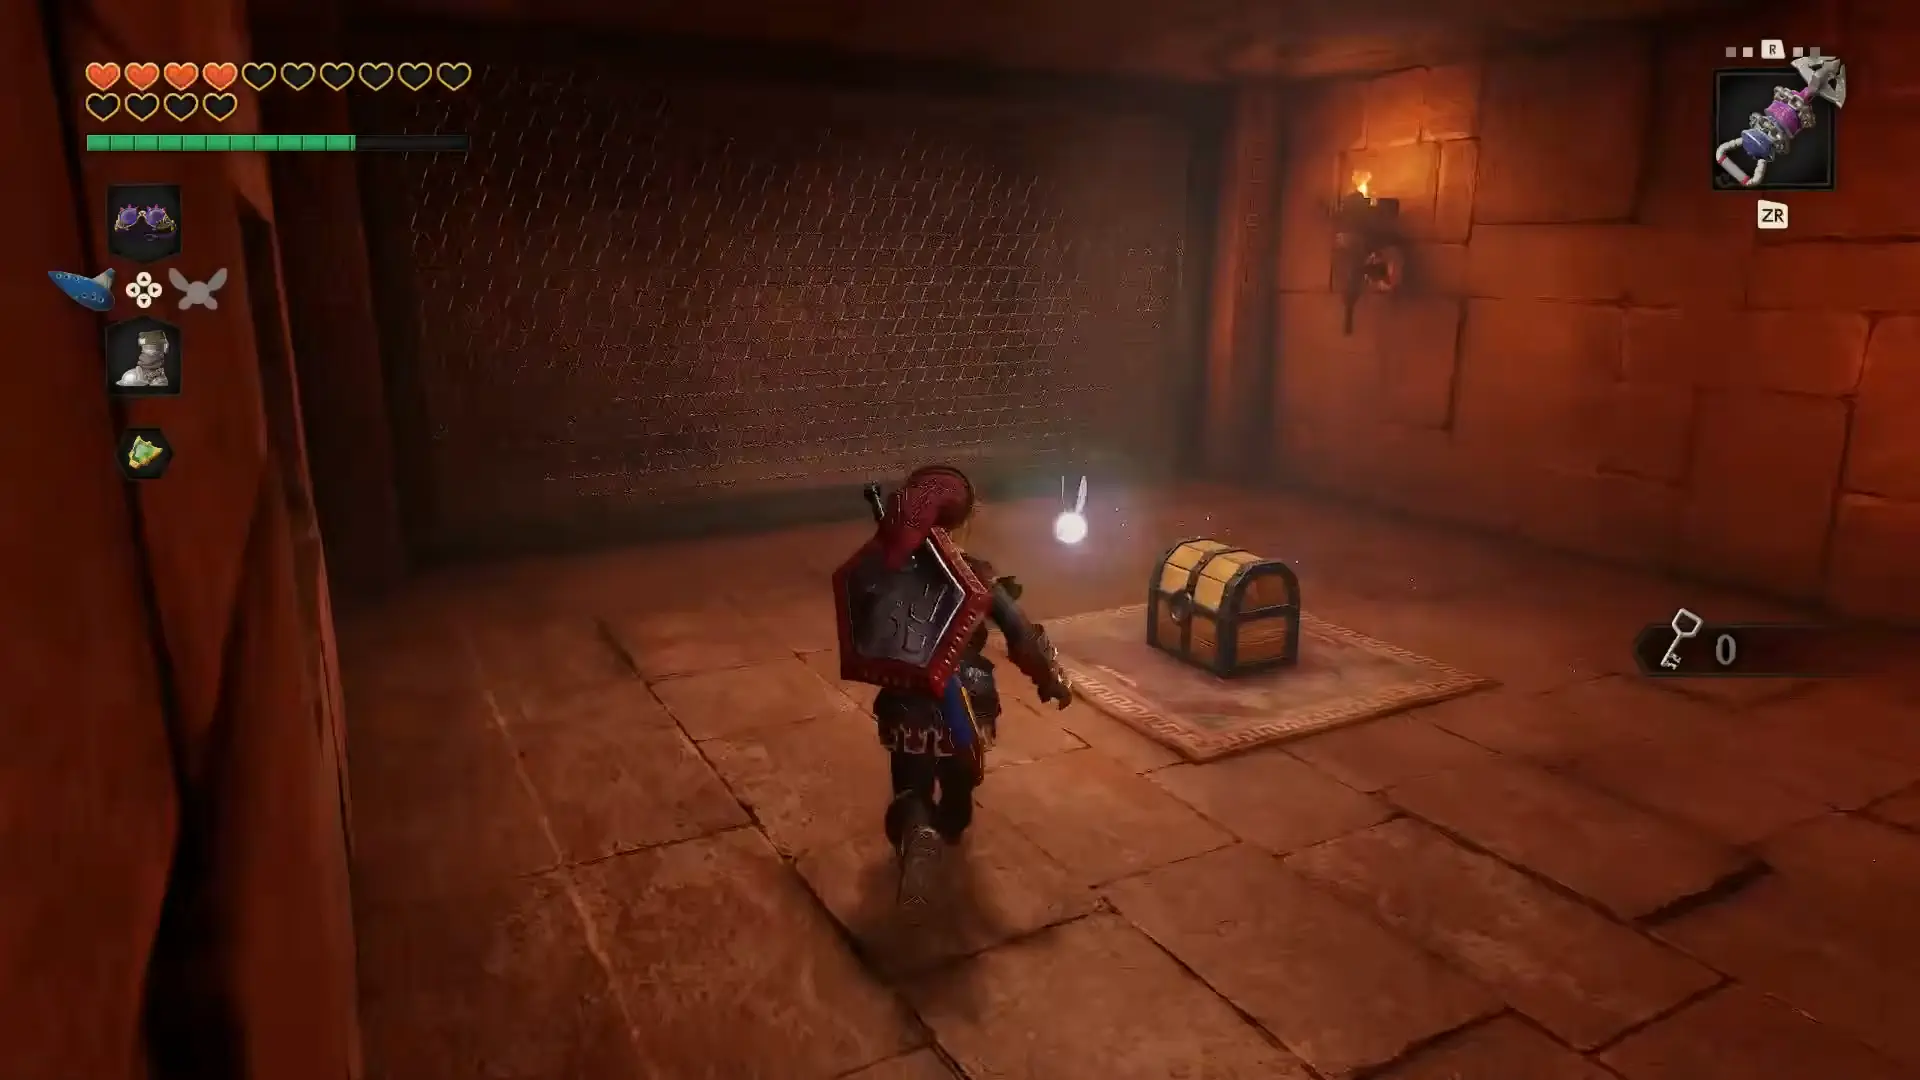
Continue toward the passage lined with chained doors. This is the final obstacle, and it works differently from the usual dungeon puzzles: rather than finding a switch for every gate, you'll spend the Small Keys you've gathered throughout the course.Seven locked doors stand between you and the Ice Arrow chest. Open them one after another, following the connected passages through the caged rooms. You'll pass smaller chests containing a Purple Rupee, a Red Rupee, and some arrows. Feel free to open them, but the real prize is farther ahead.After the seventh door, you'll reach a large chest on a patterned carpet. Open it to claim your reward:These magic-infused arrows freeze enemies, giving Link another way to control tougher encounters. You don't need them to finish the main story, but they're a useful addition to your equipment before the remaining battles.If you followed our route and collected all eight Small Keys, you should still have one left. That's normal — the extra key isn't needed for the final chest.
How to Leave the Gerudo Proving Grounds
With the Ice Arrows collected, retrace your steps through the now-open cage rooms until you reach the passage with red curtains. Look above the dark doorway for a switch and shoot it with your Bow if the way is still closed. In the next room, you can open a small chest beside a sign for a Blue Rupee before climbing the stairs back outside.The Gerudo attendant will acknowledge your success, and you can continue exploring the fortress or return to the main story. There's no boss waiting at the end of these trials, and you don't need to complete any additional quest to keep the Ice Arrows.Image unavailable
Where to Find All Eight Small Keys
If you've reached the final doors with fewer keys than expected, check the locations below before going through the course again:
Key #1: Chest after the Stalfos fight in the sandy arena;
Key #2: Raised chest in the alcove with breakable stone pieces;
Key #3: Exposed area in the lava room after defeating the red-eyed stone creature;
Key #4: Chest in the caged corridor reached with the Longshot and Scarecrow's Song;
Key #5: Central chest protected by flames in the Megaton Hammer puzzle room;
Key #6: Chest unlocked by collecting the Silver Rupees beneath the Song of Time block;
Key #7: Chest in the long corridor beyond the lava platforms;
Key #8: Chest that appears after defeating the Lizalfos in the fire-ringed arena.